Making A Sculptural Glass Coffee Table
Your trash is my treasure
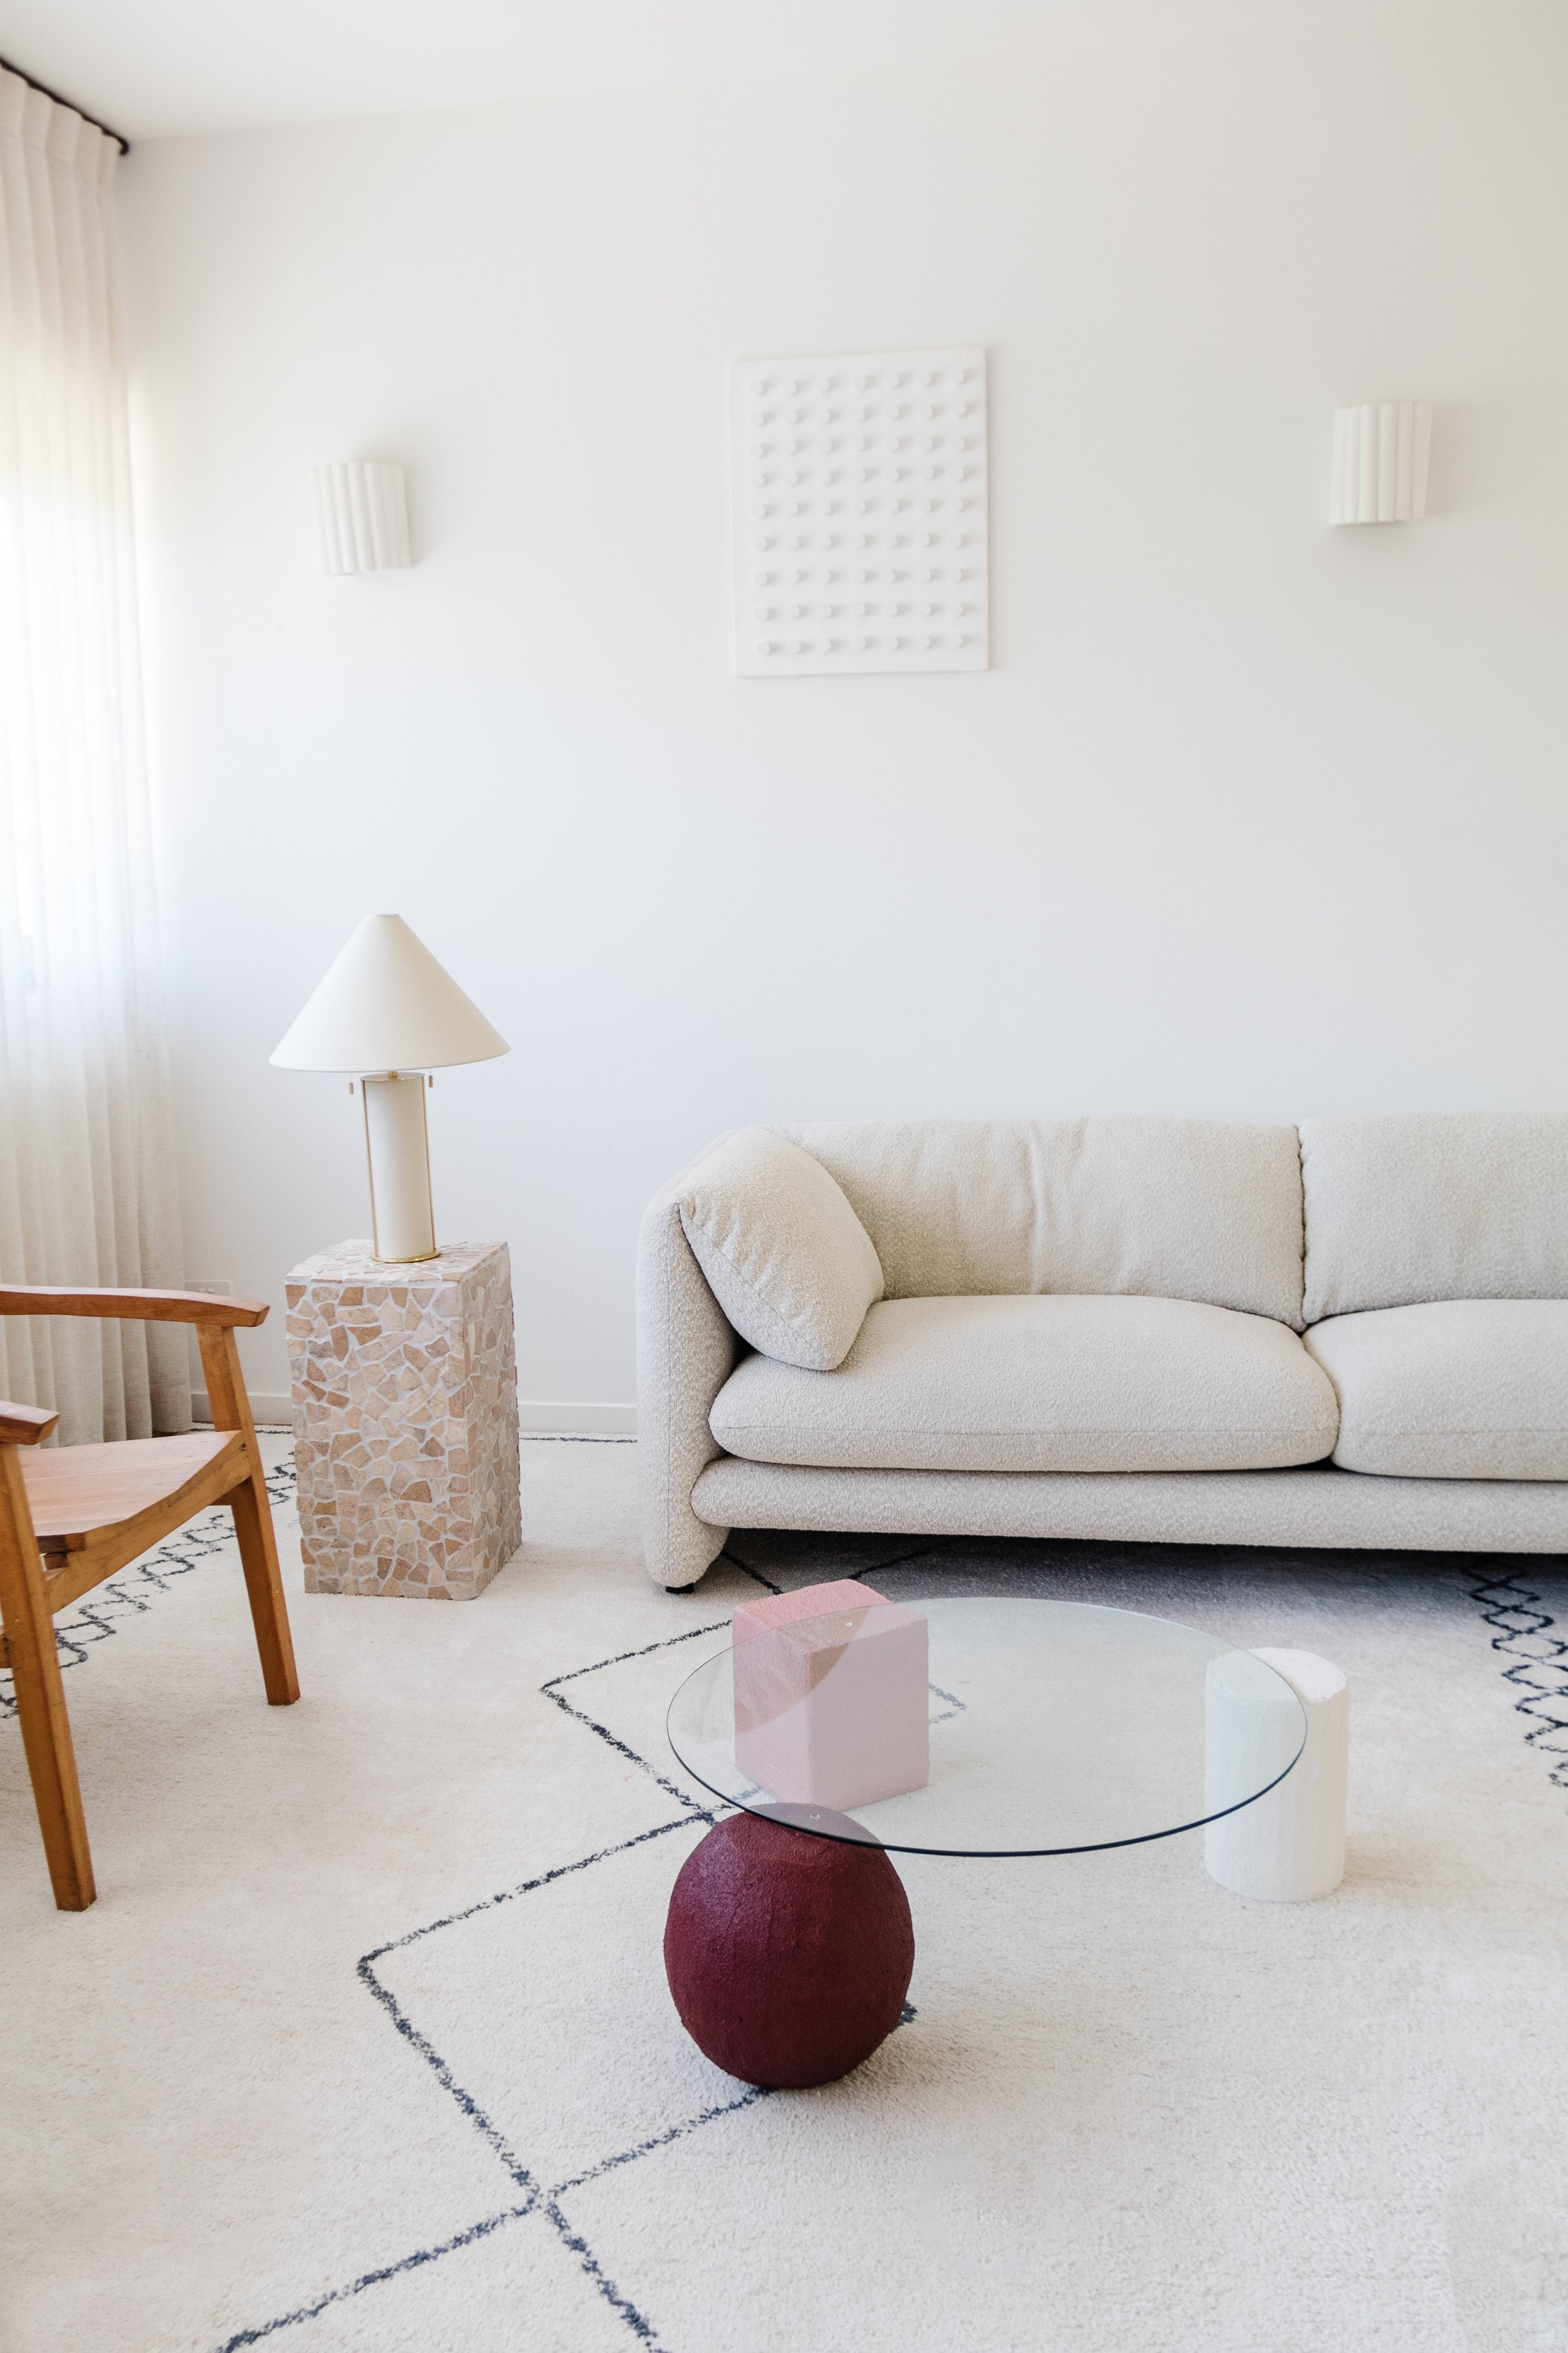
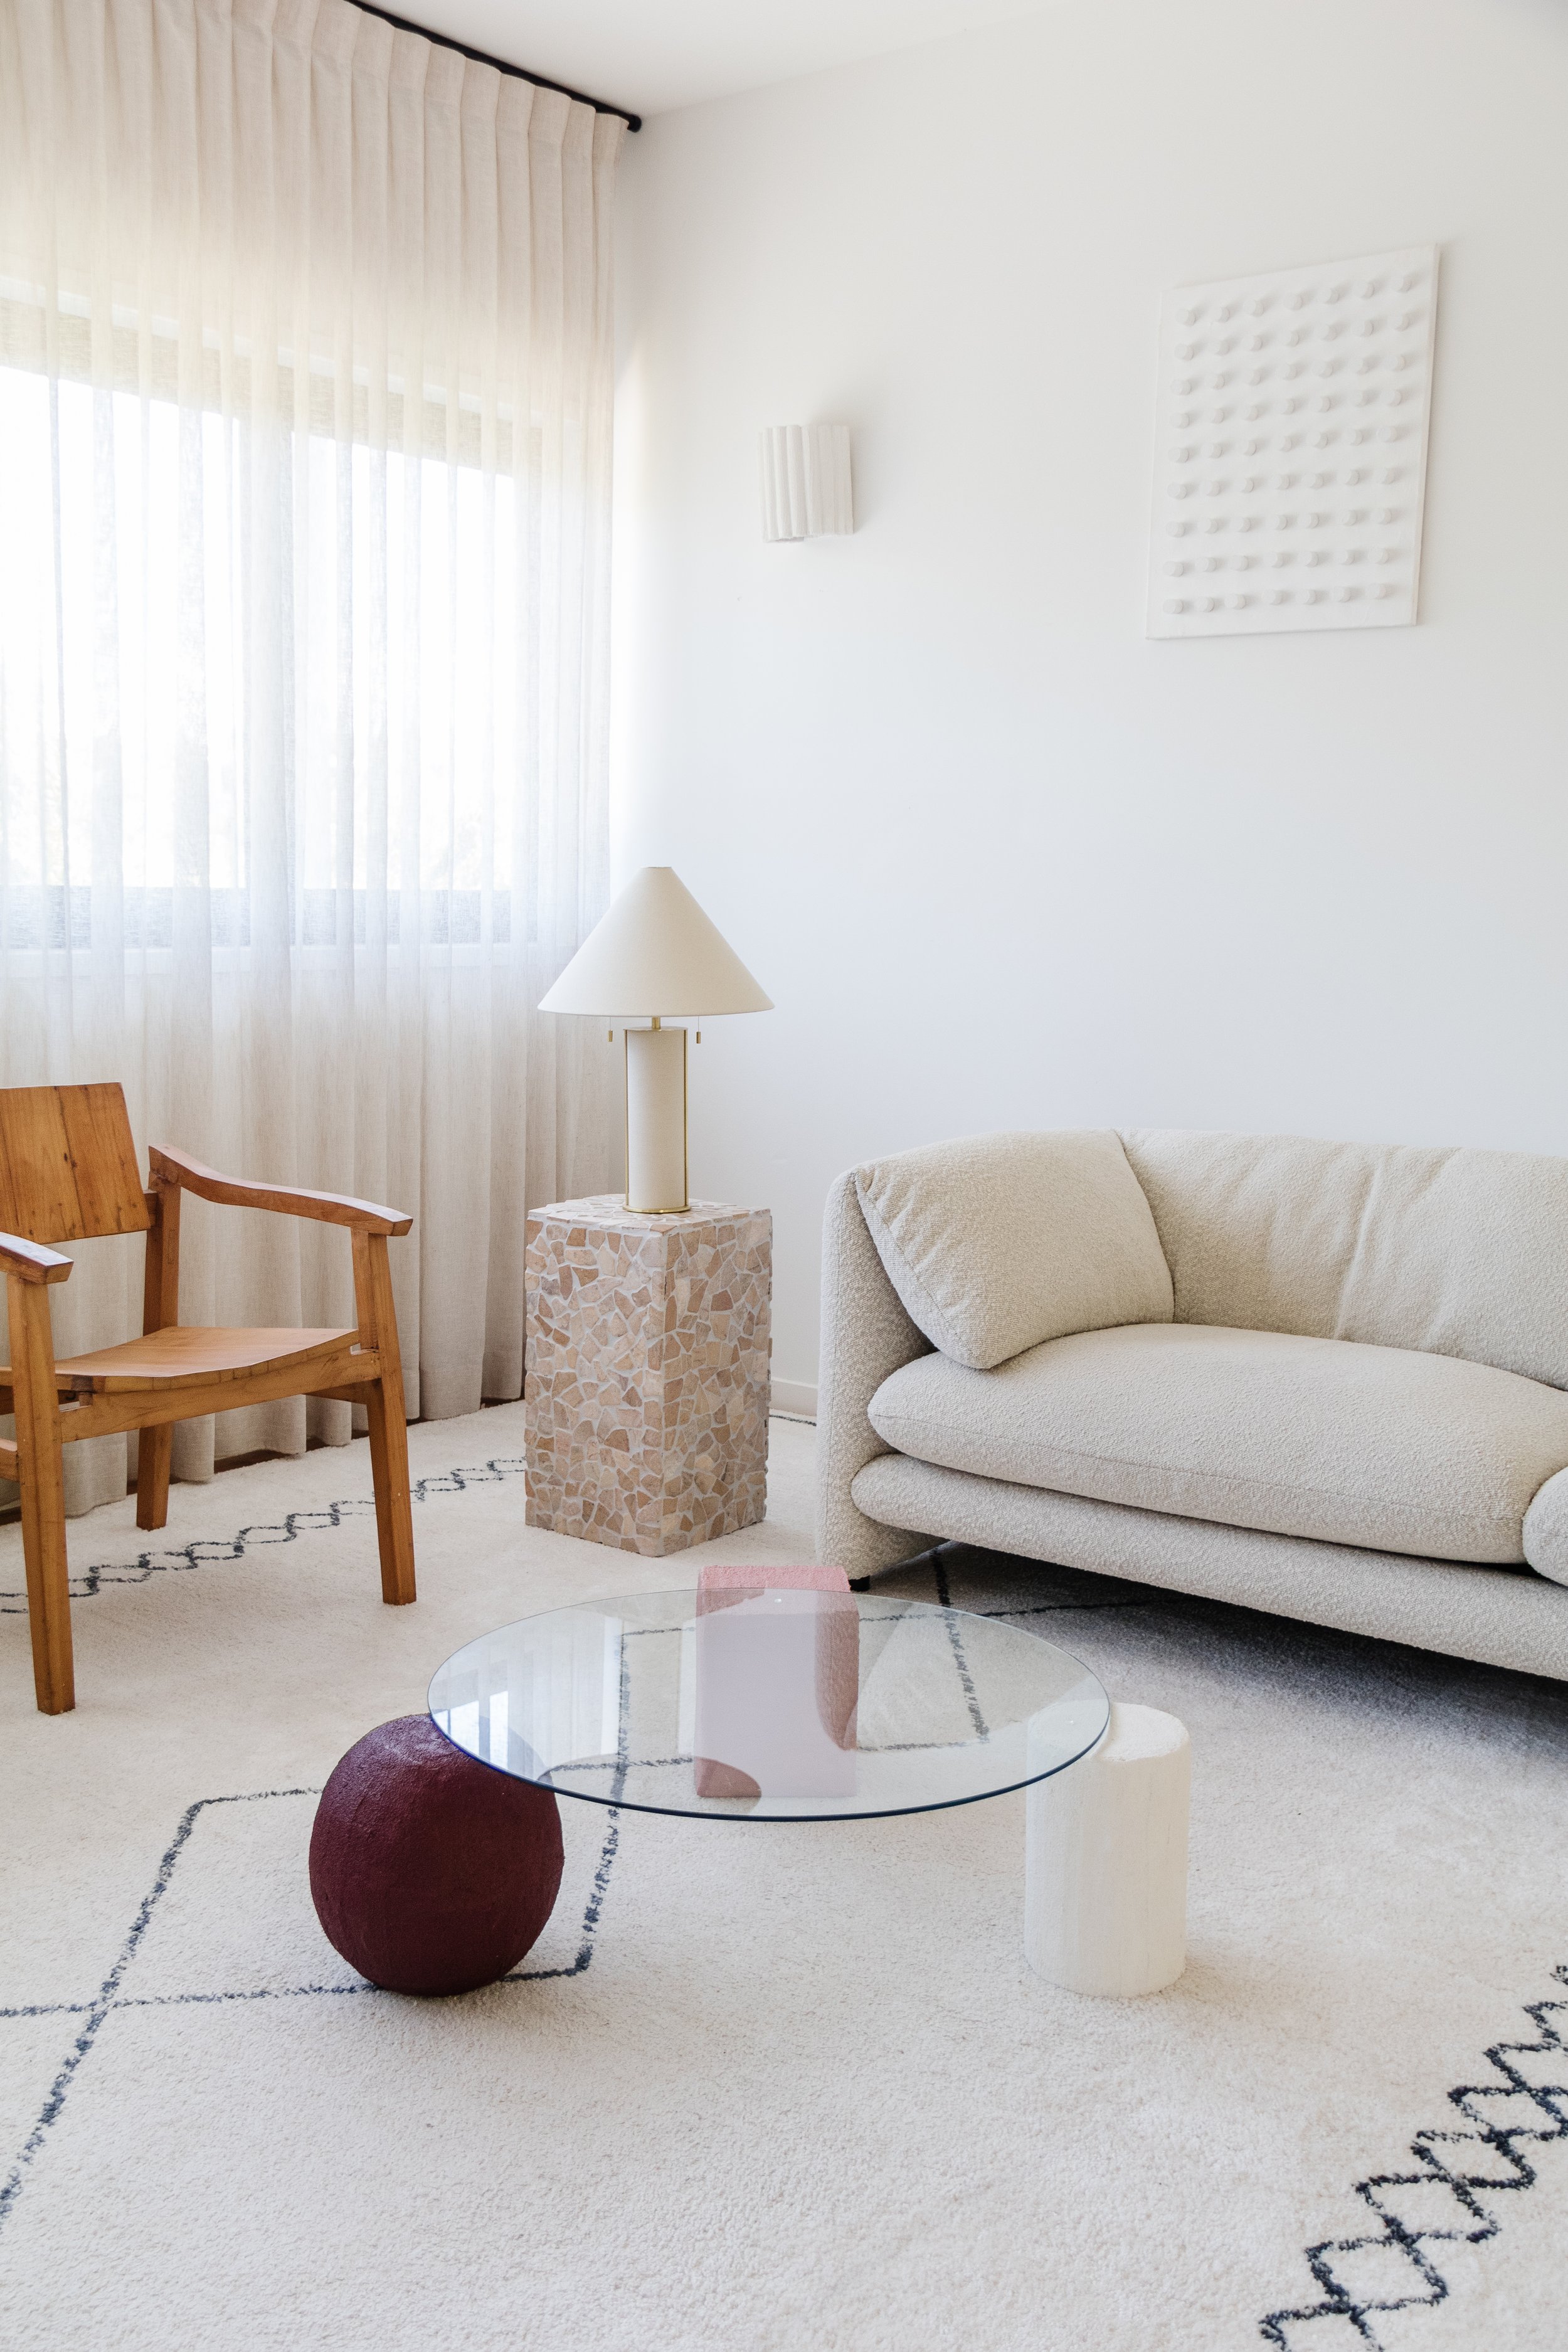
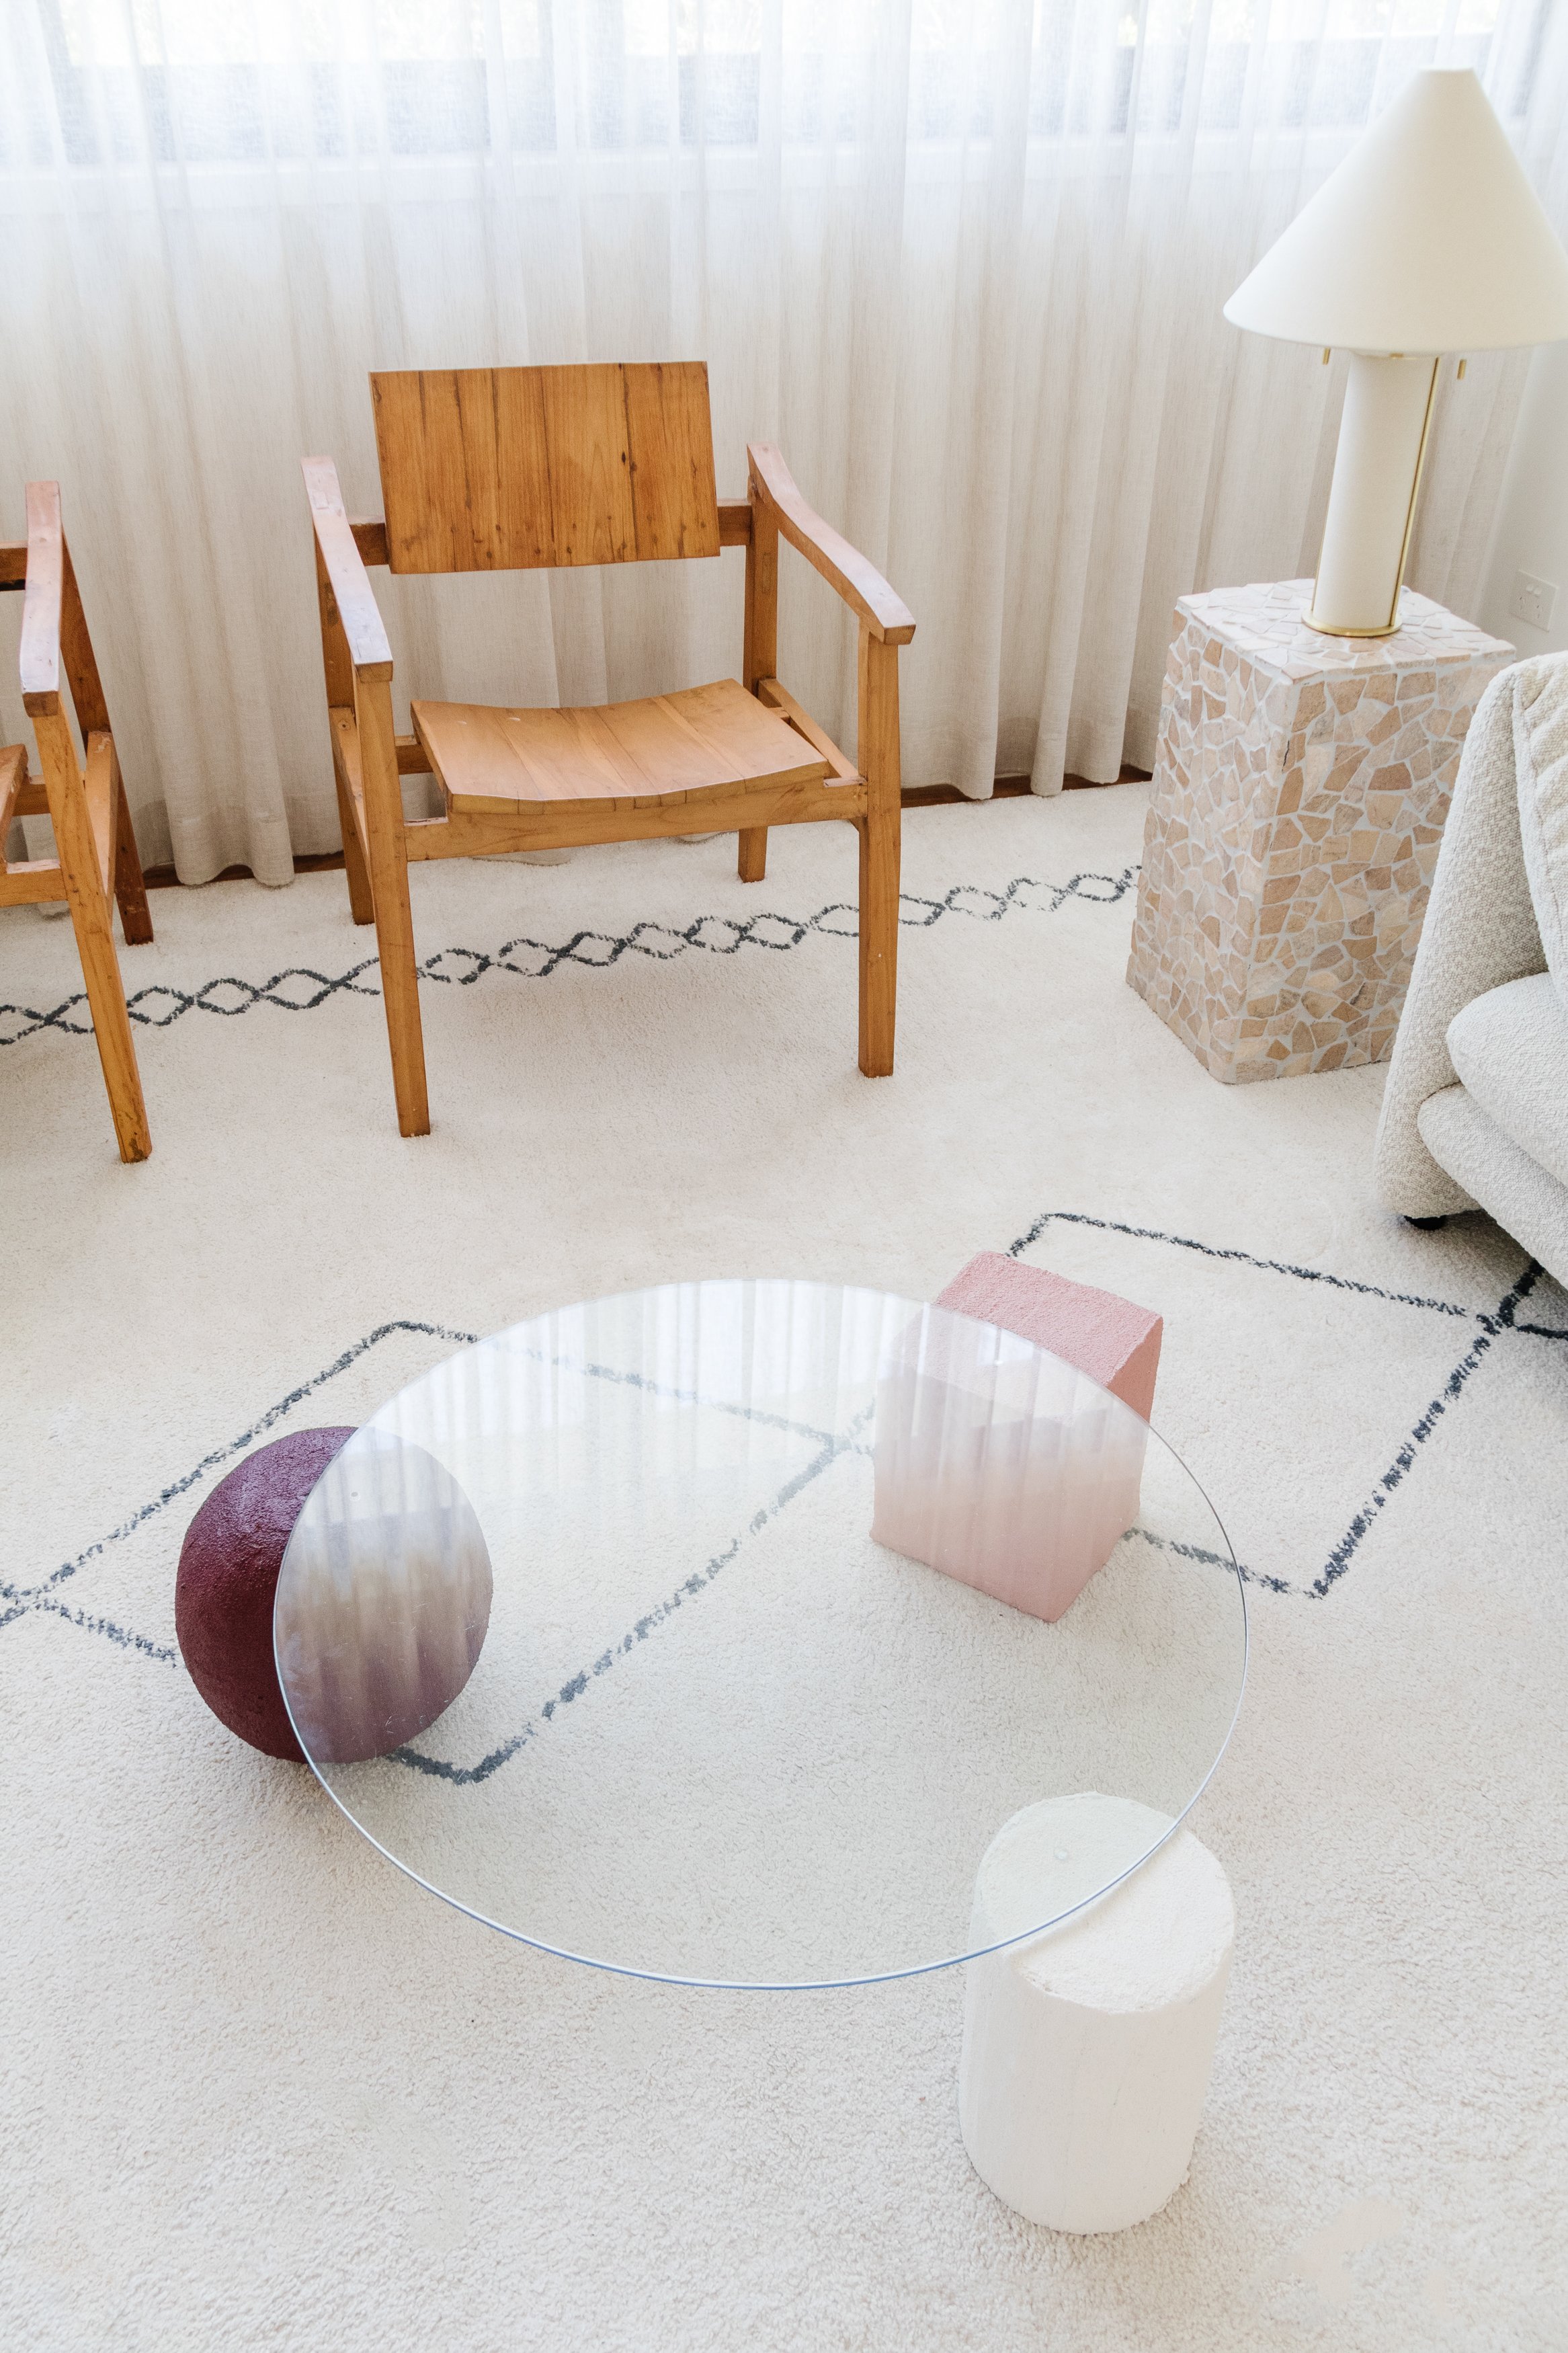
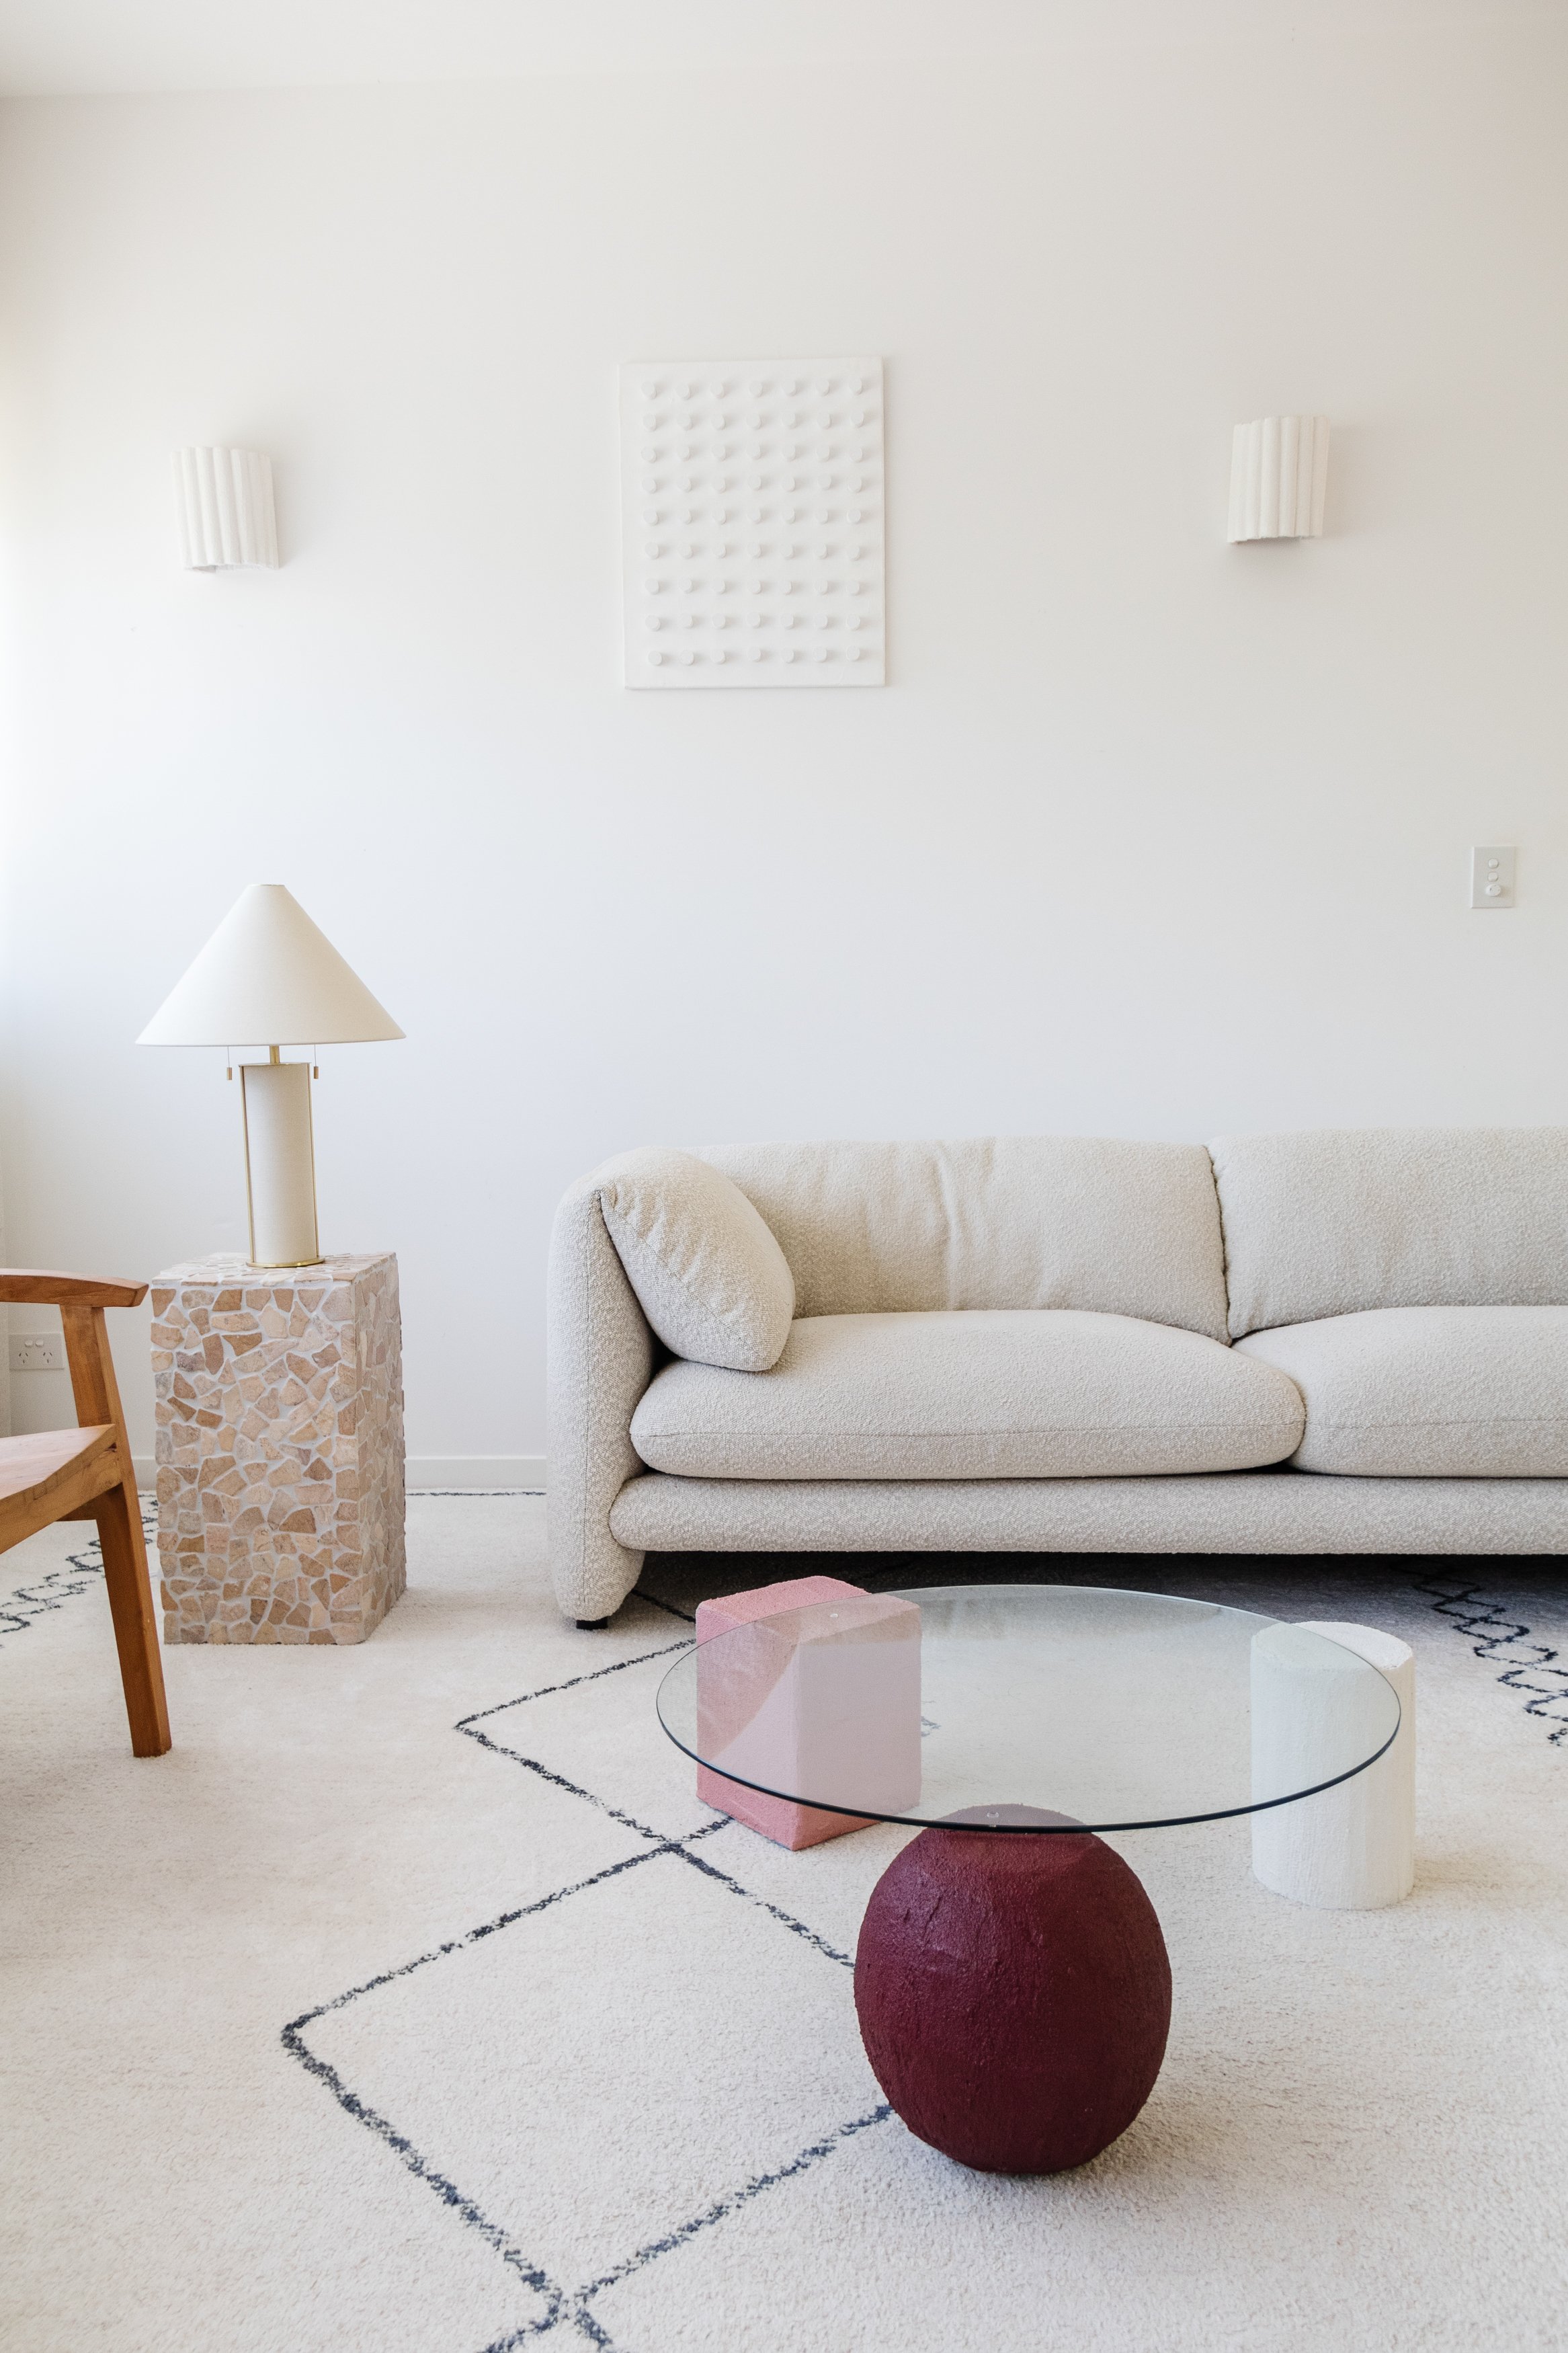
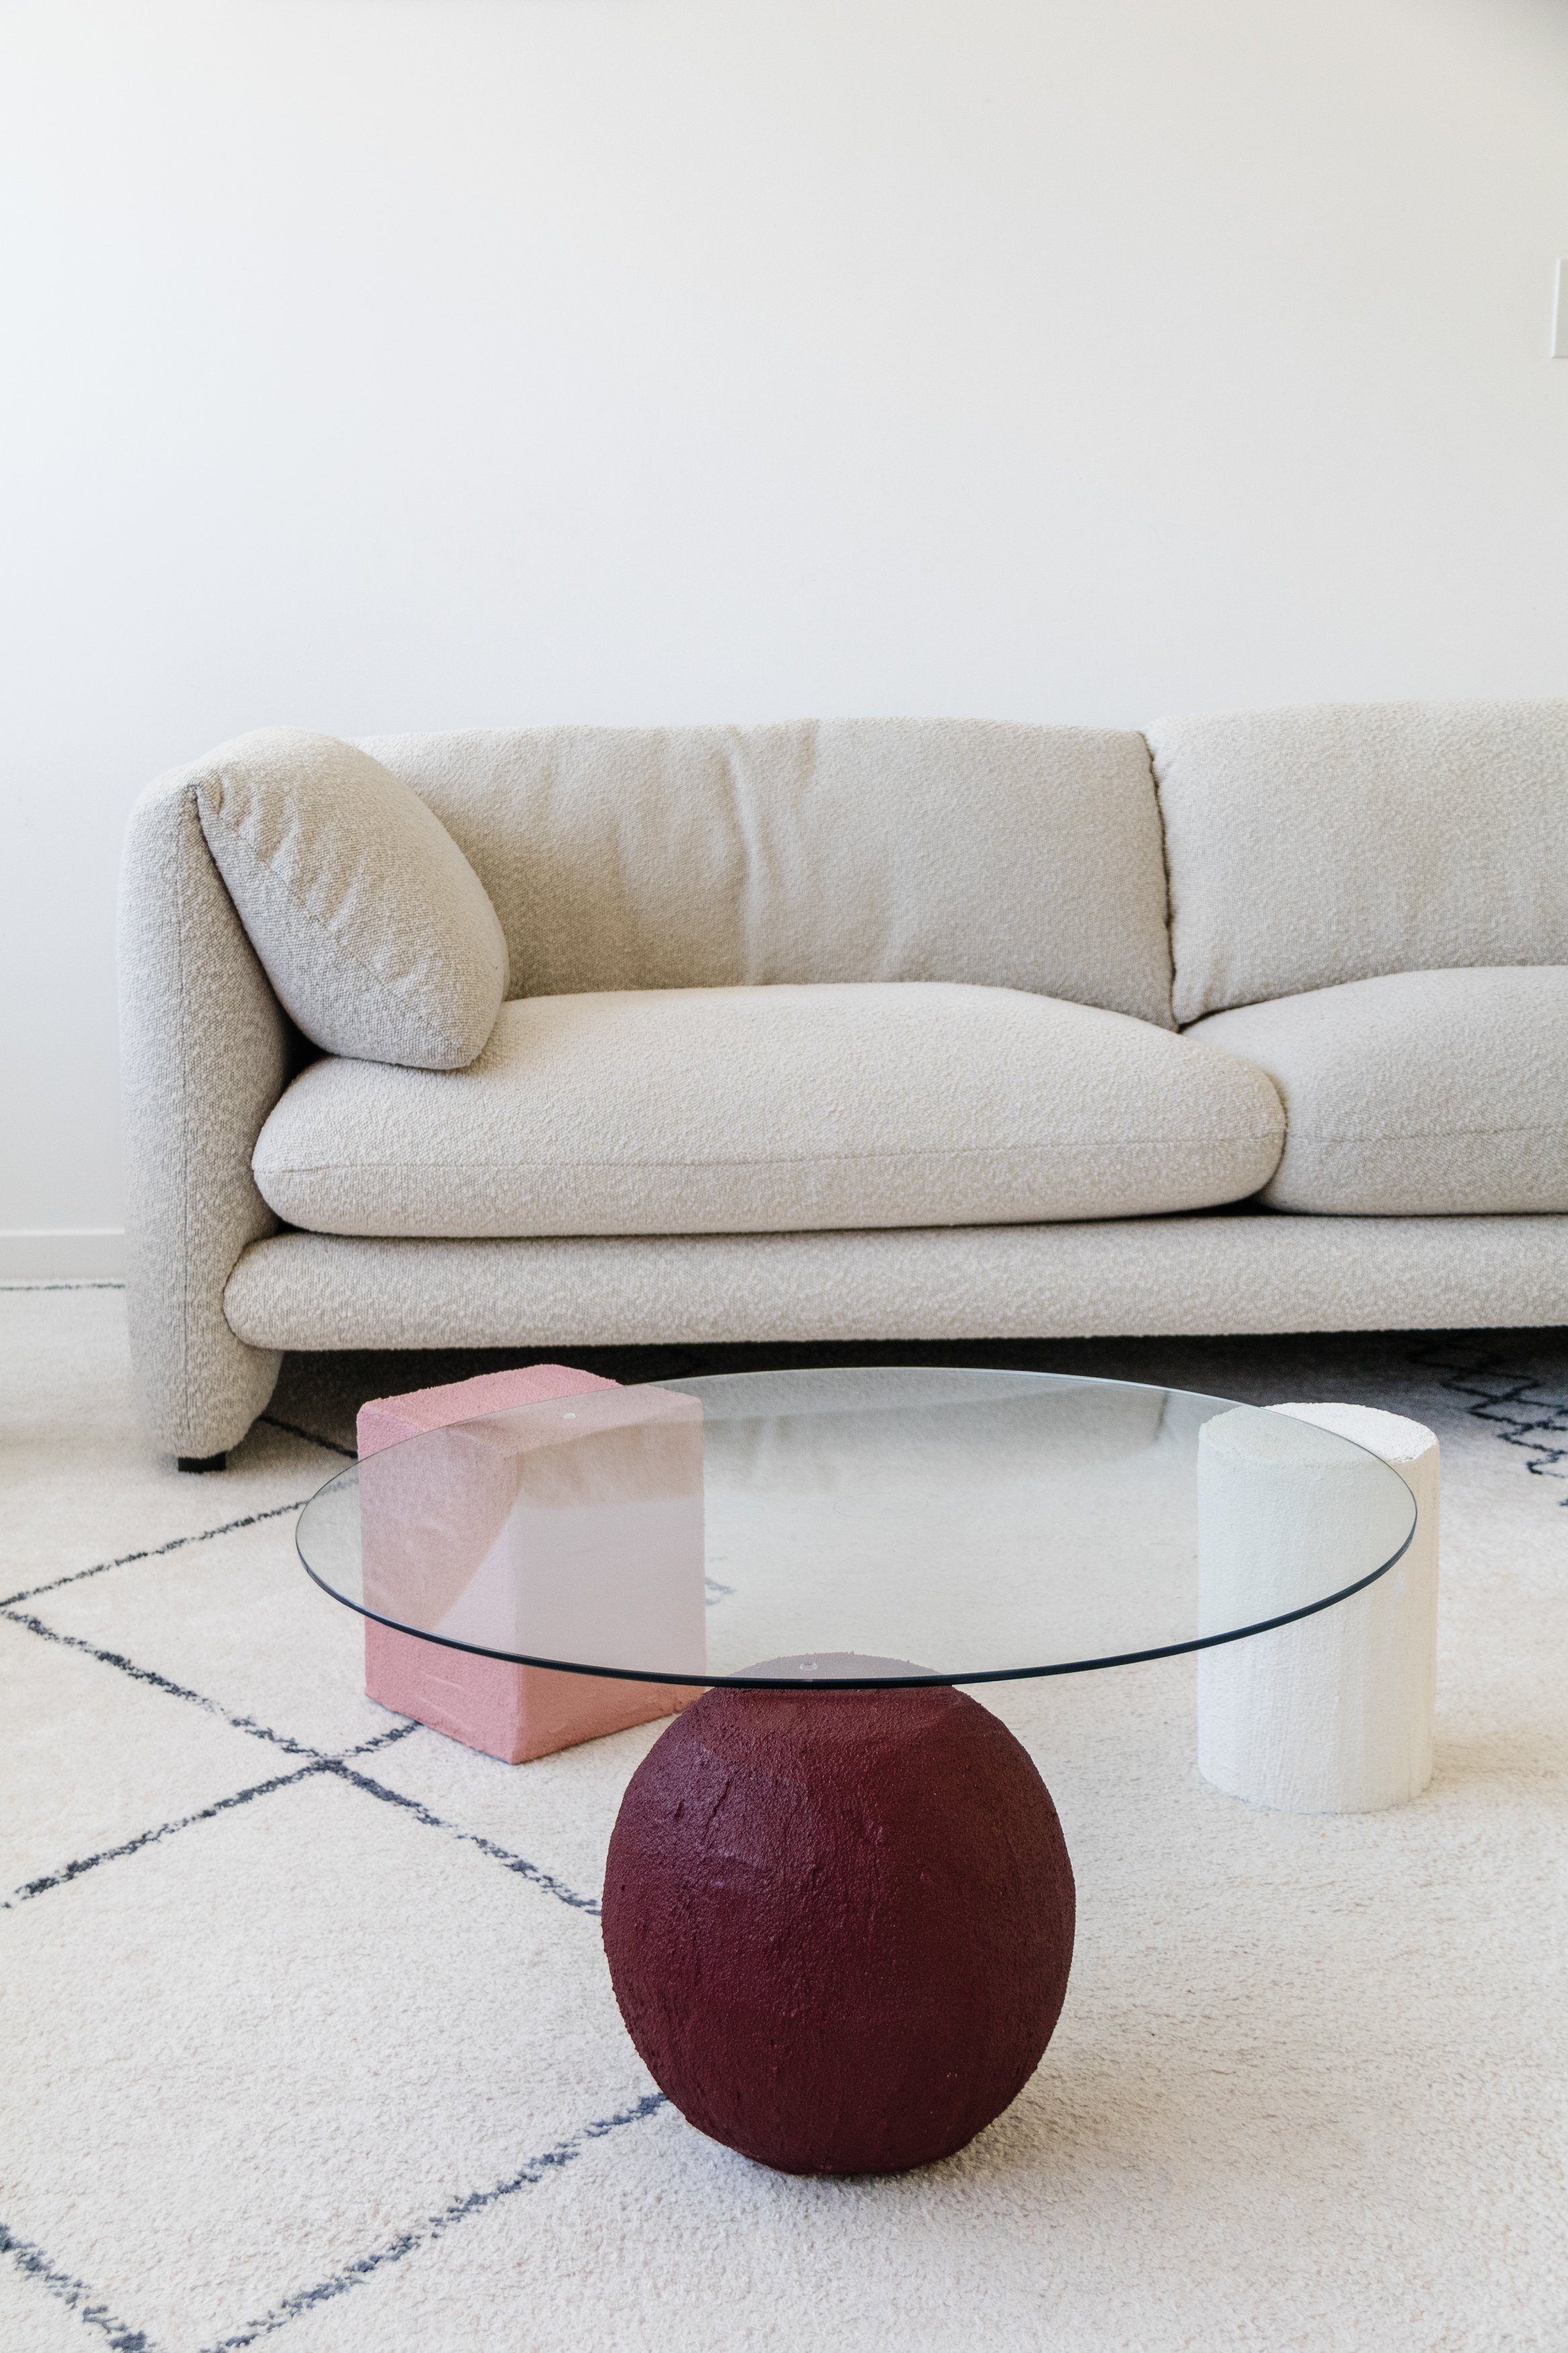
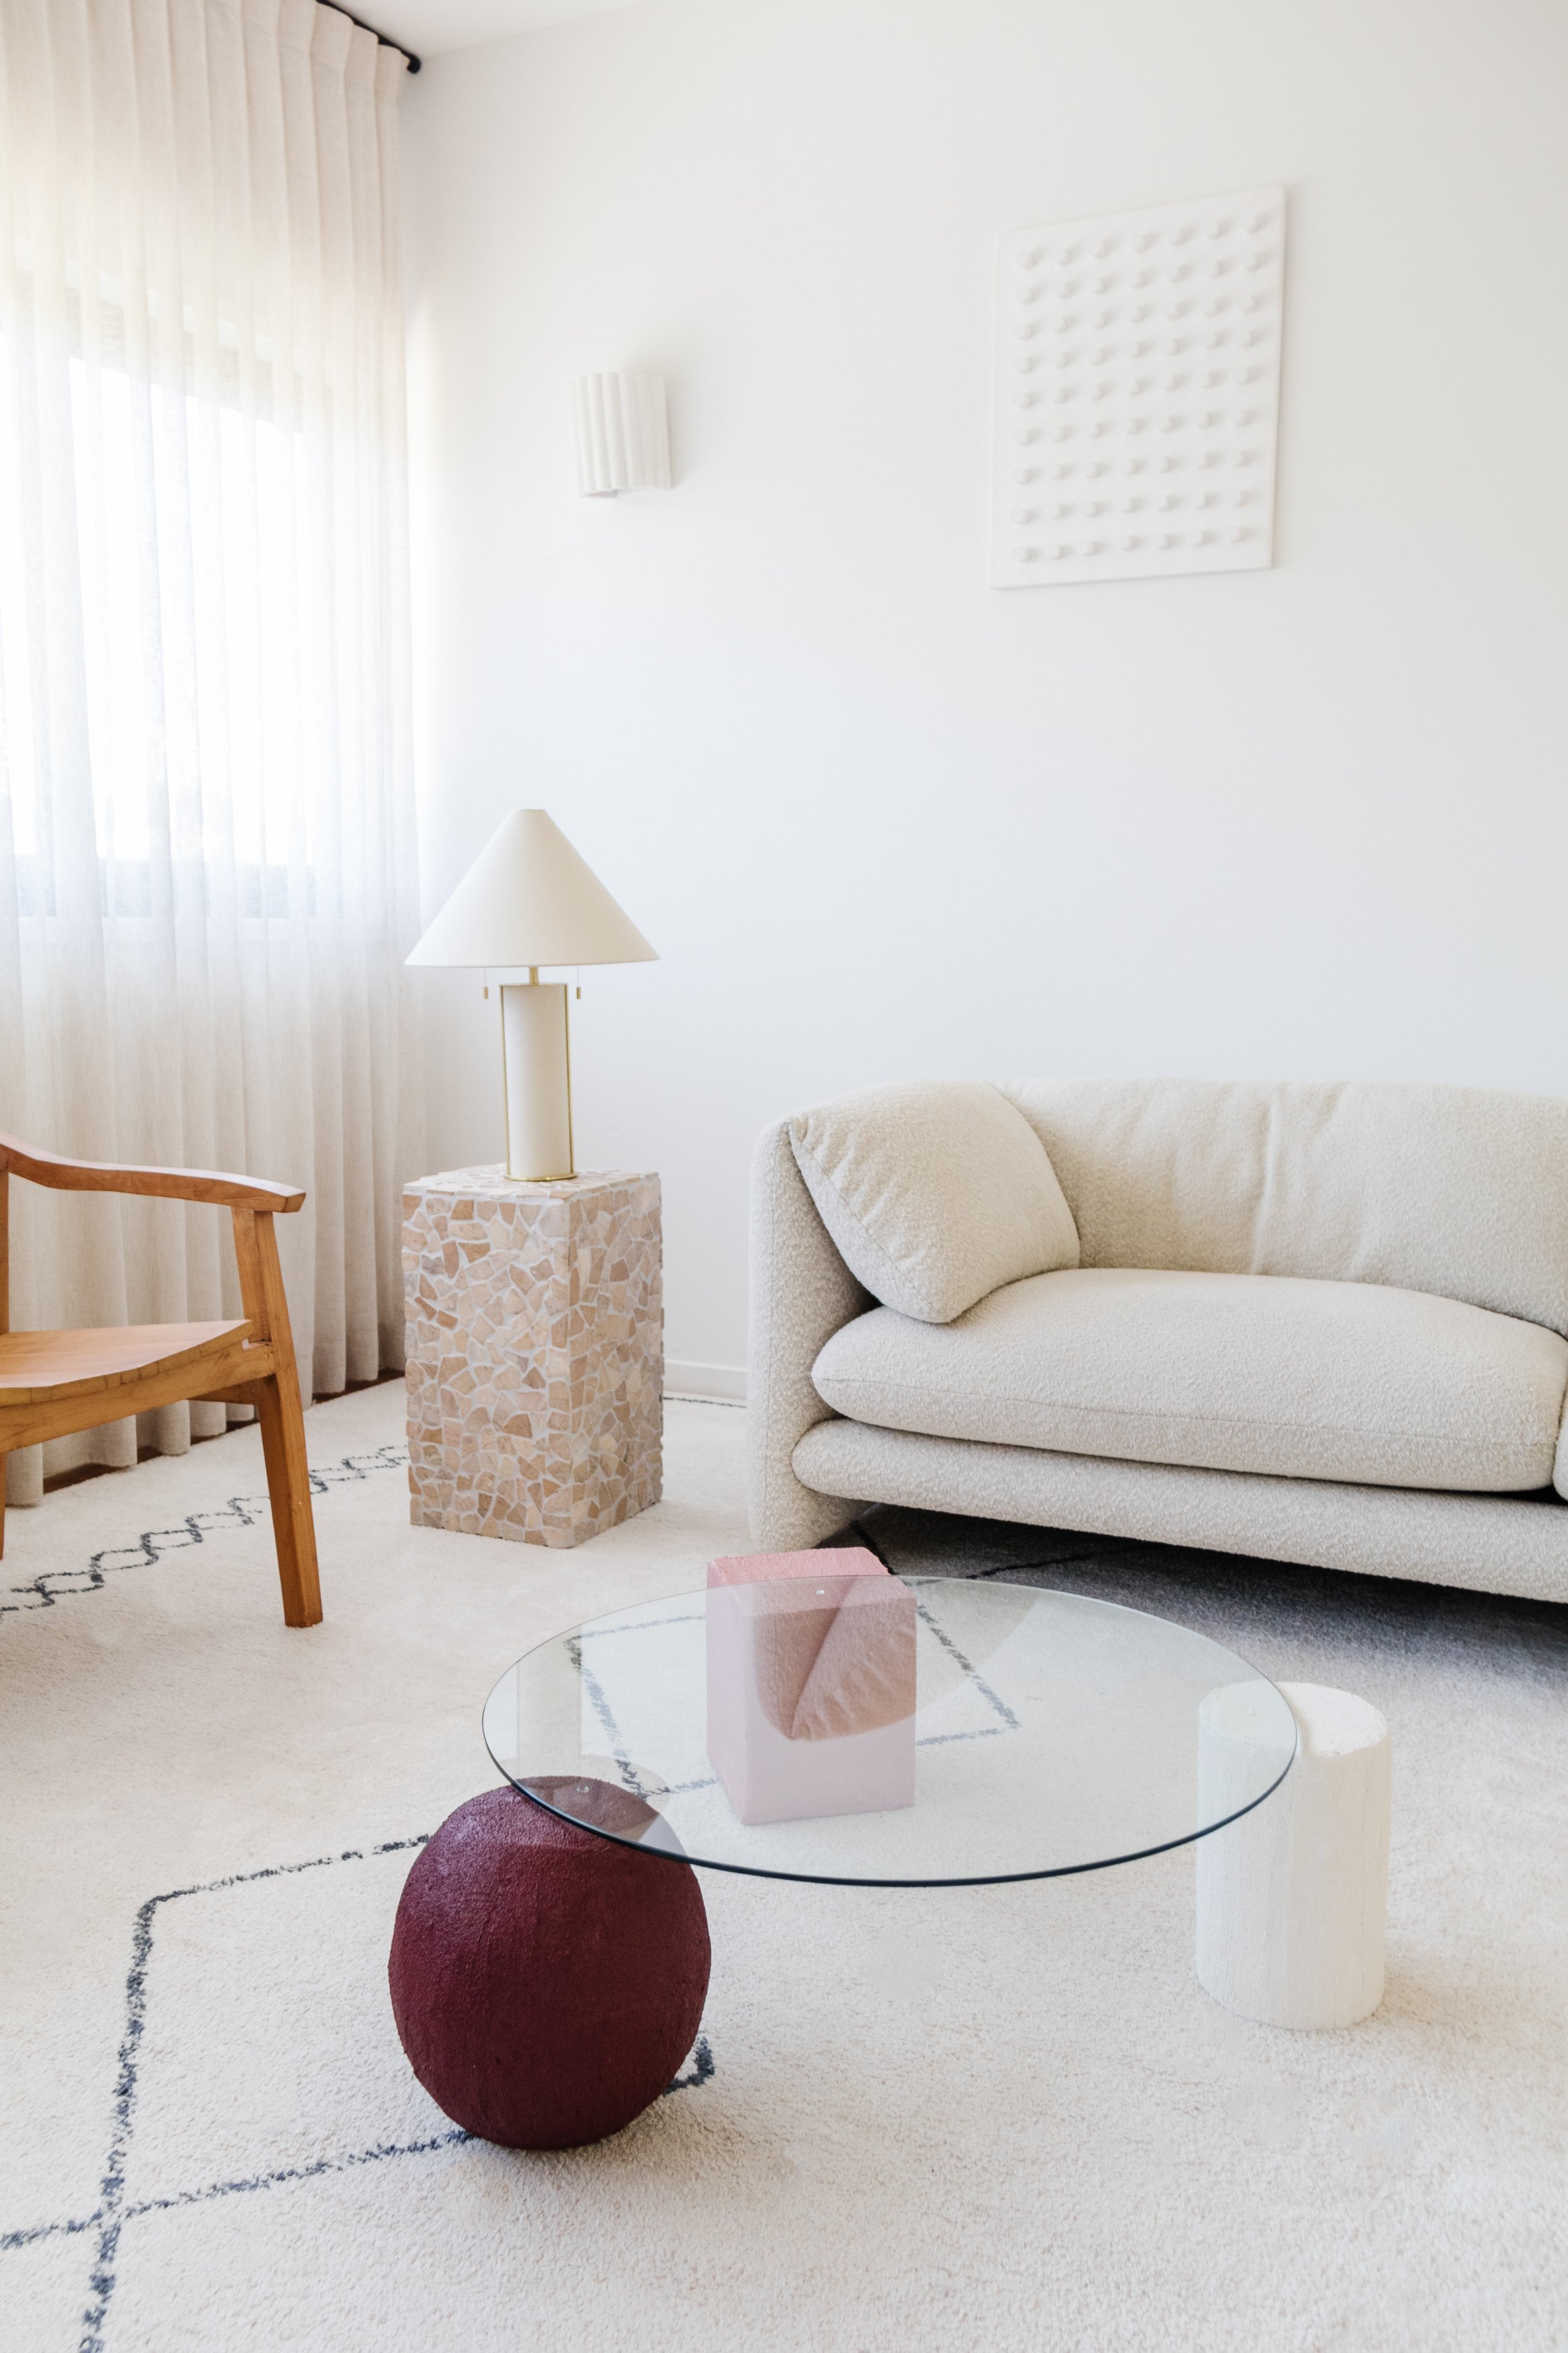
Welcome to the first installment of my Upcycled Glass Coffee Table Series! I am so glad you’re here. Over the next couple of weeks I’m going to show you how to transform a round glass panel I found at the tip shop and make 3 different coffee tables. But first, let’s rewind. I fell in love with this coffee table a while ago and I was intrigued with the forms underneath the glass. And of course, it got me thinking - how could I recreate it in my own way?
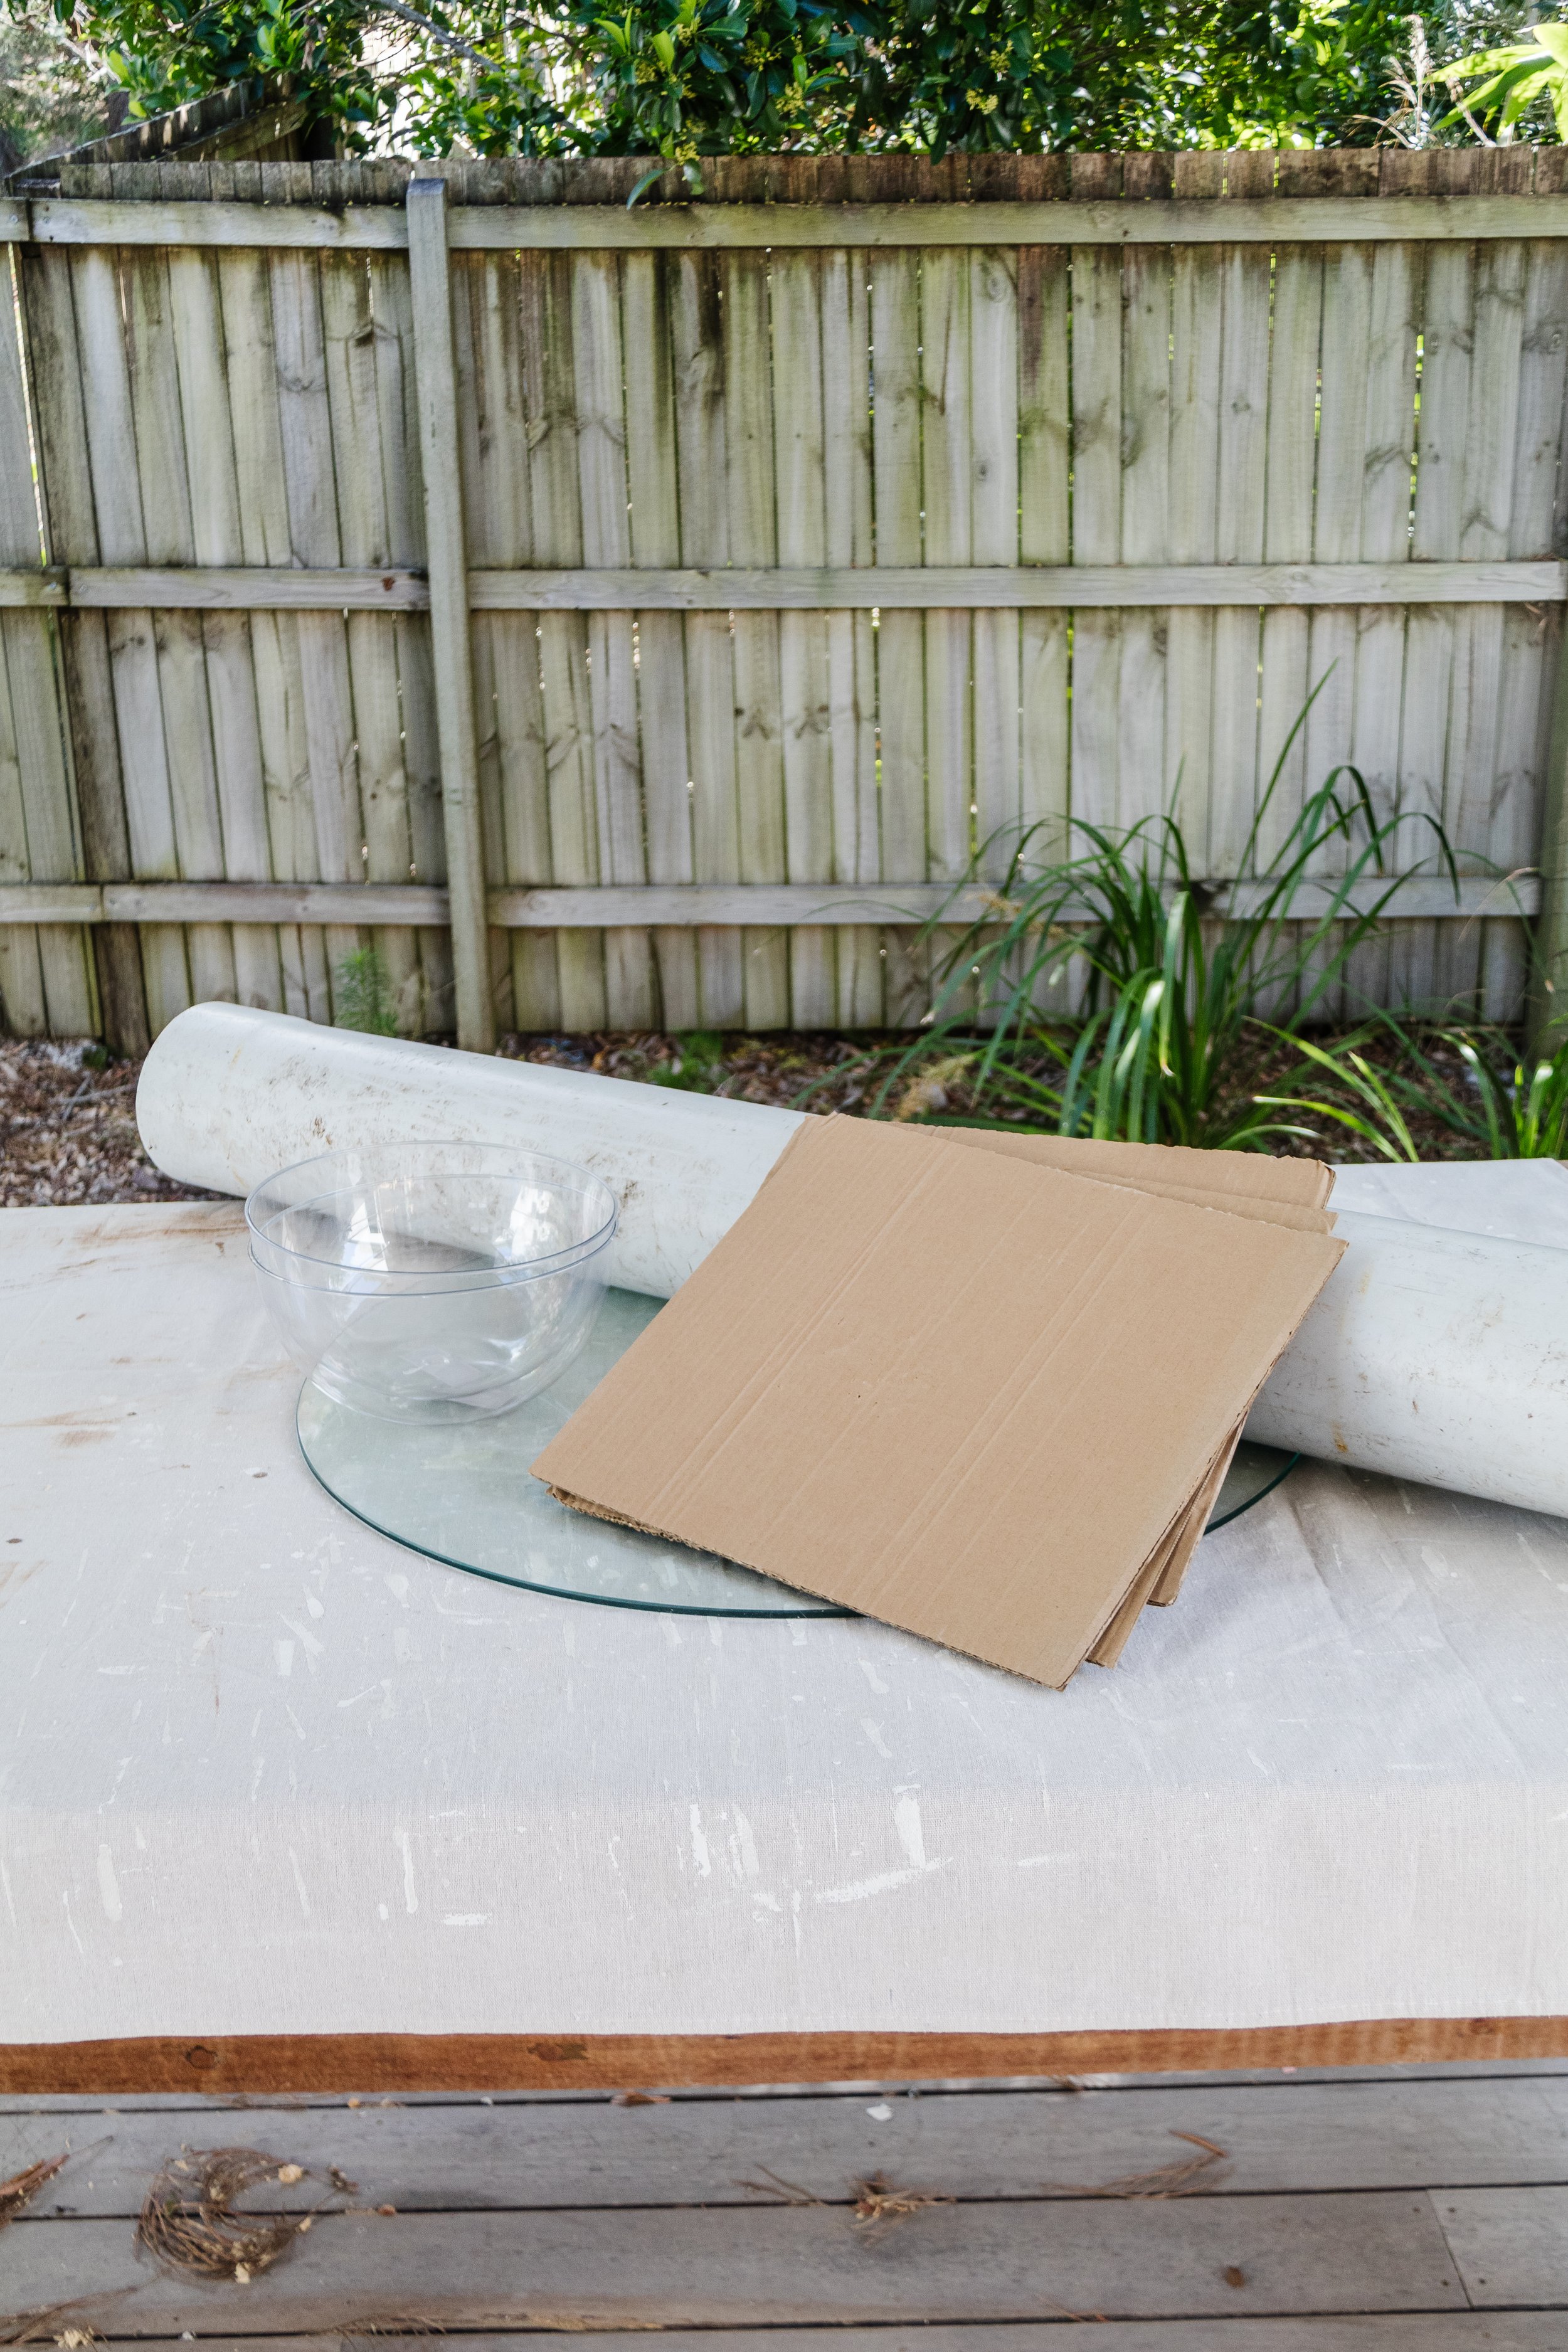
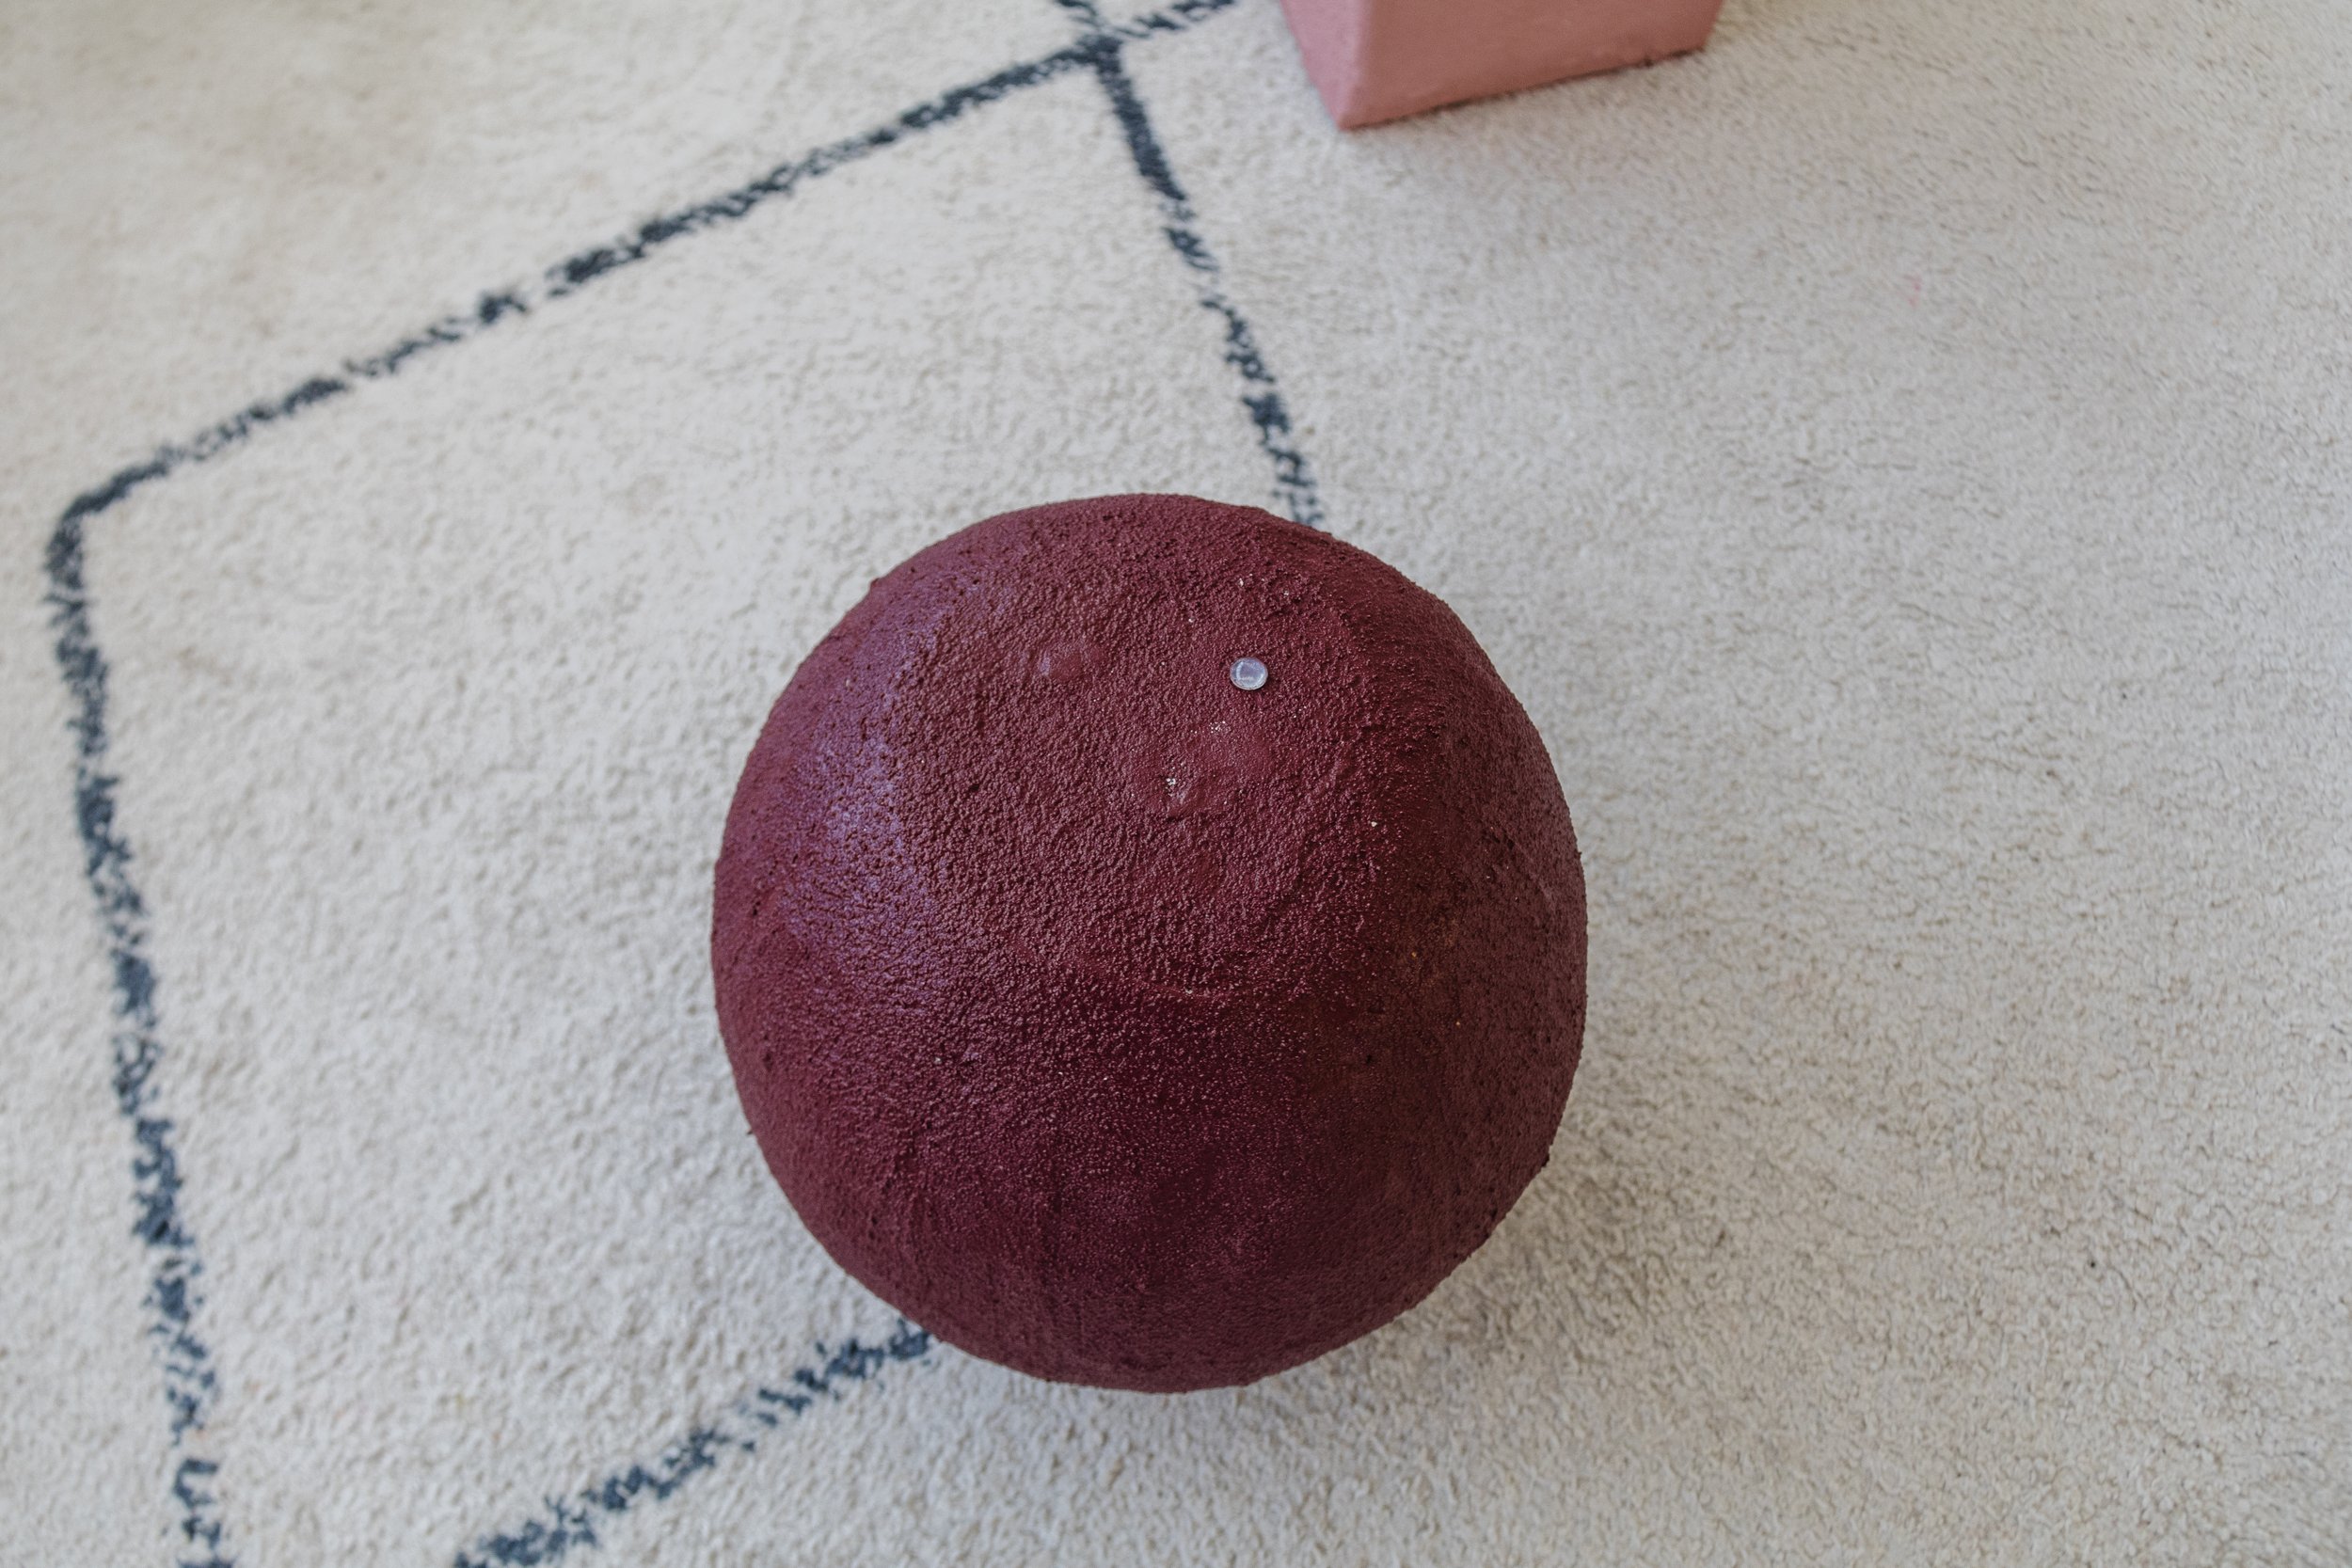
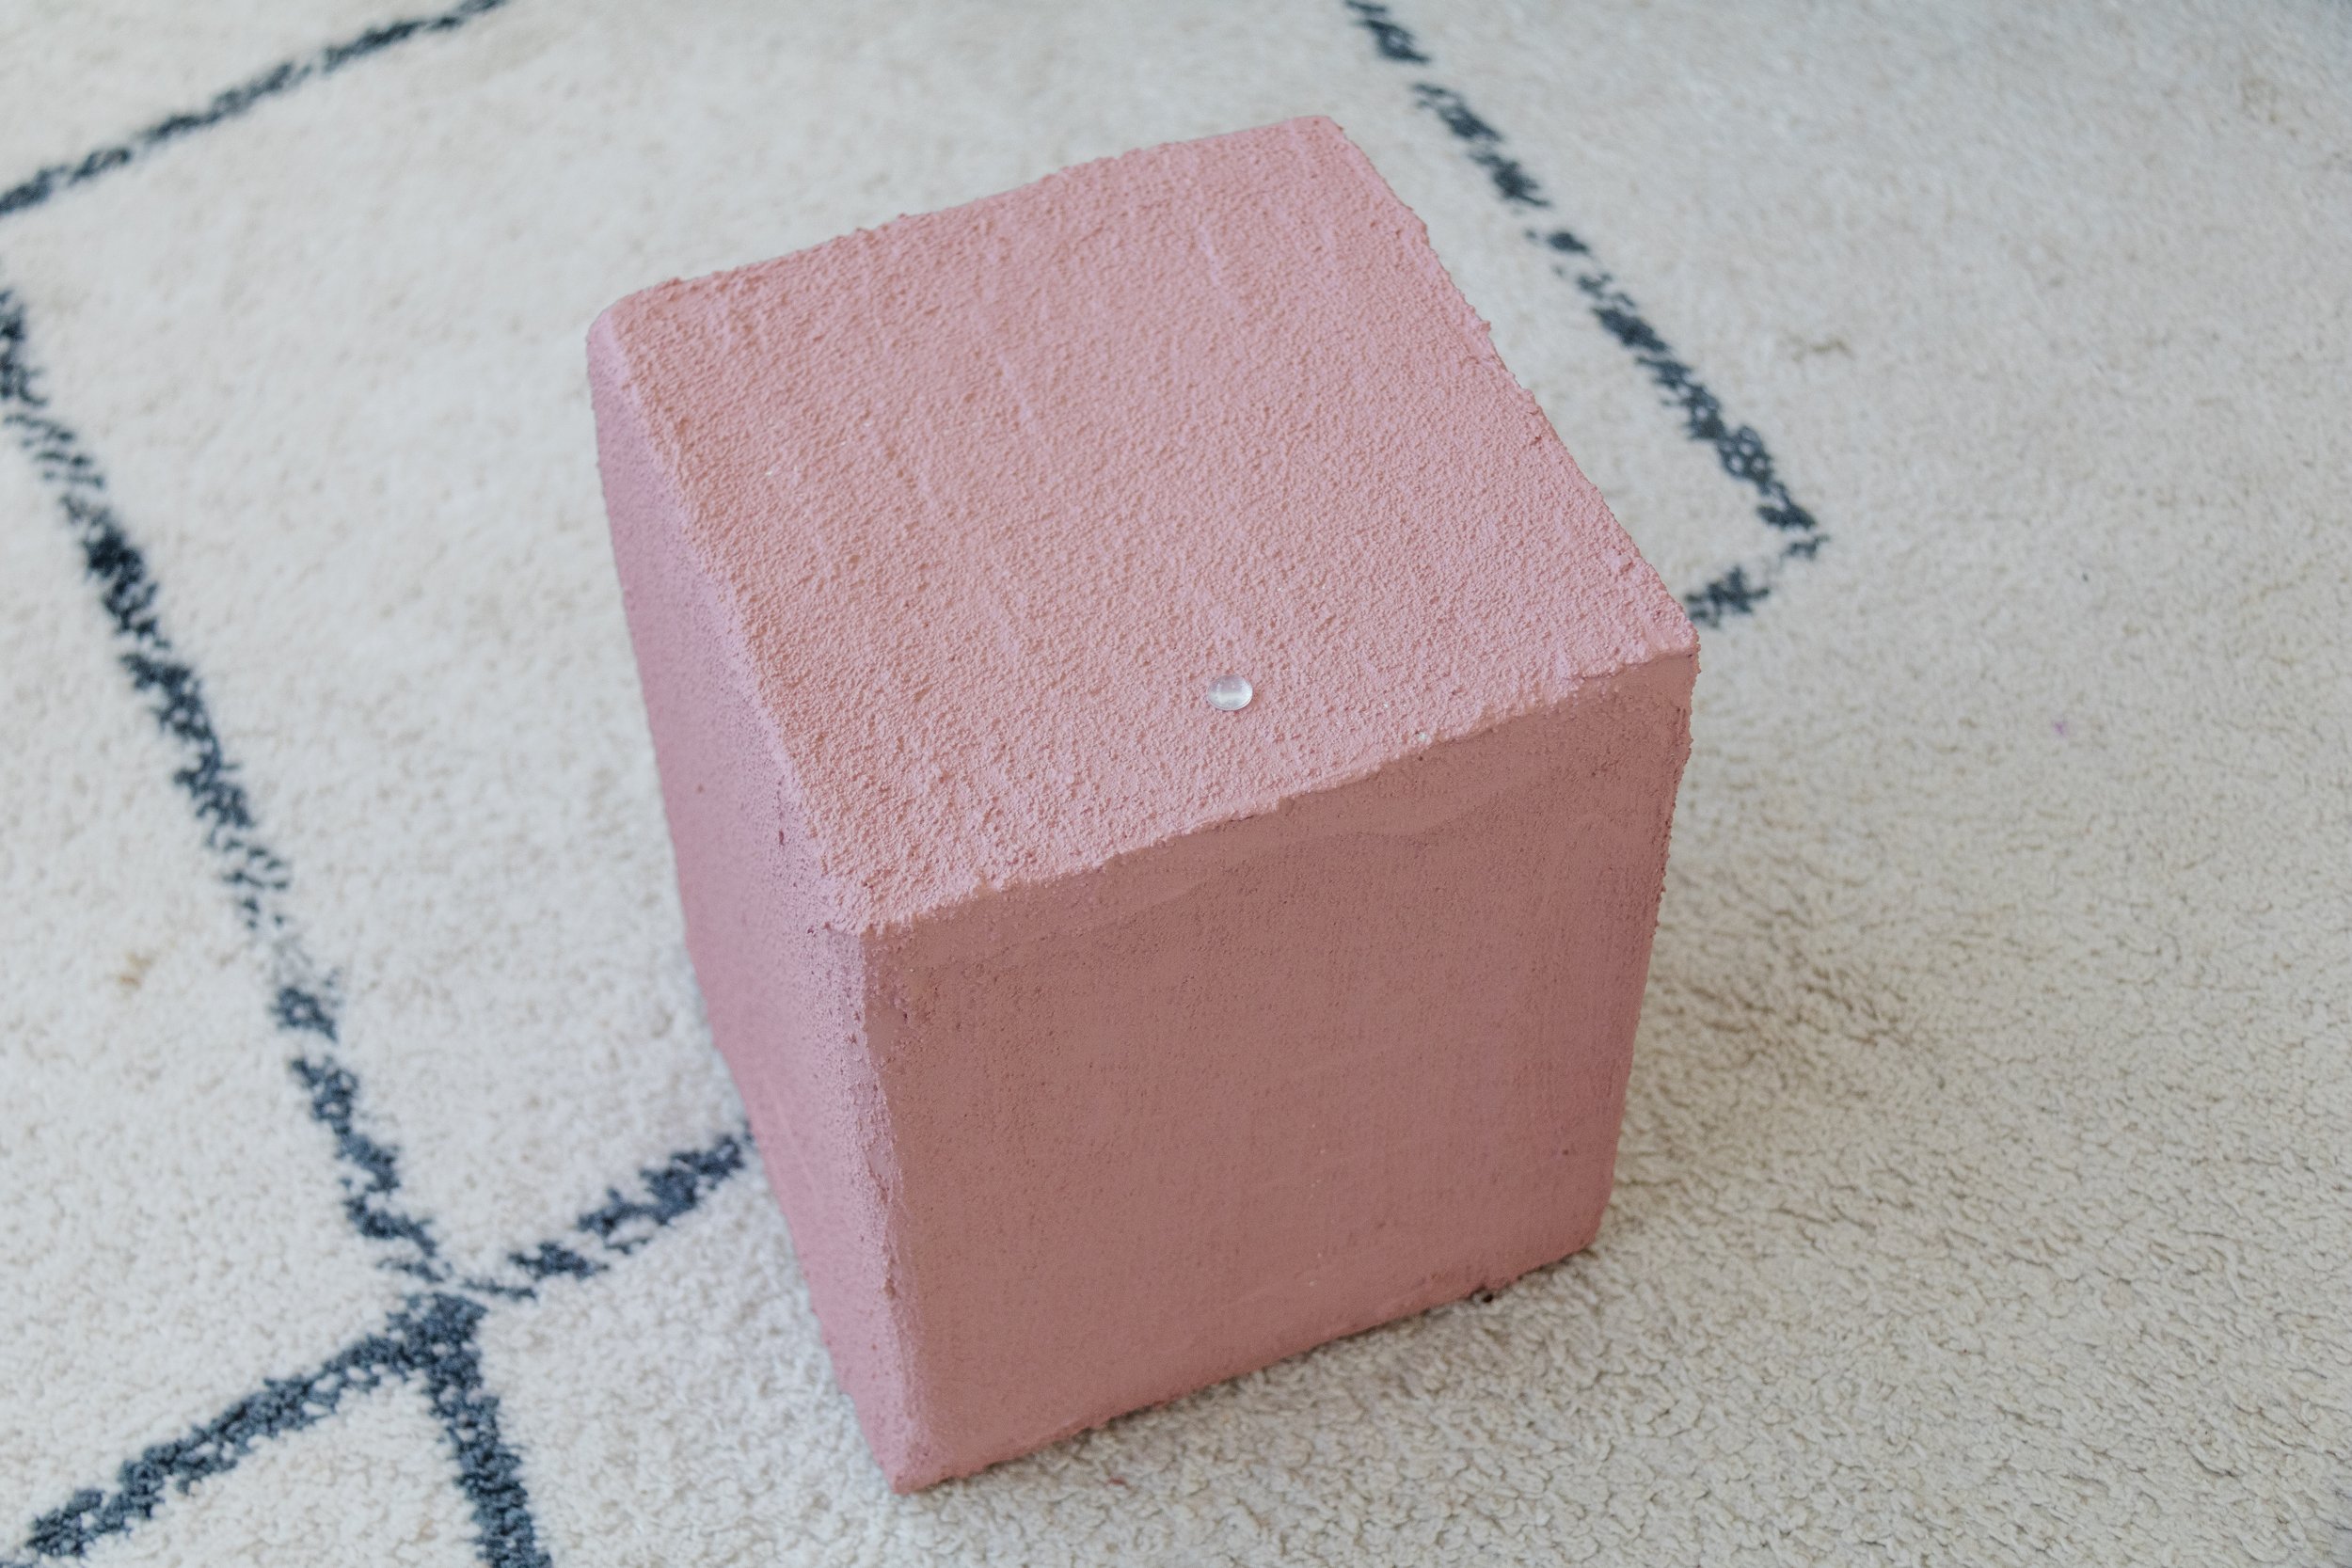
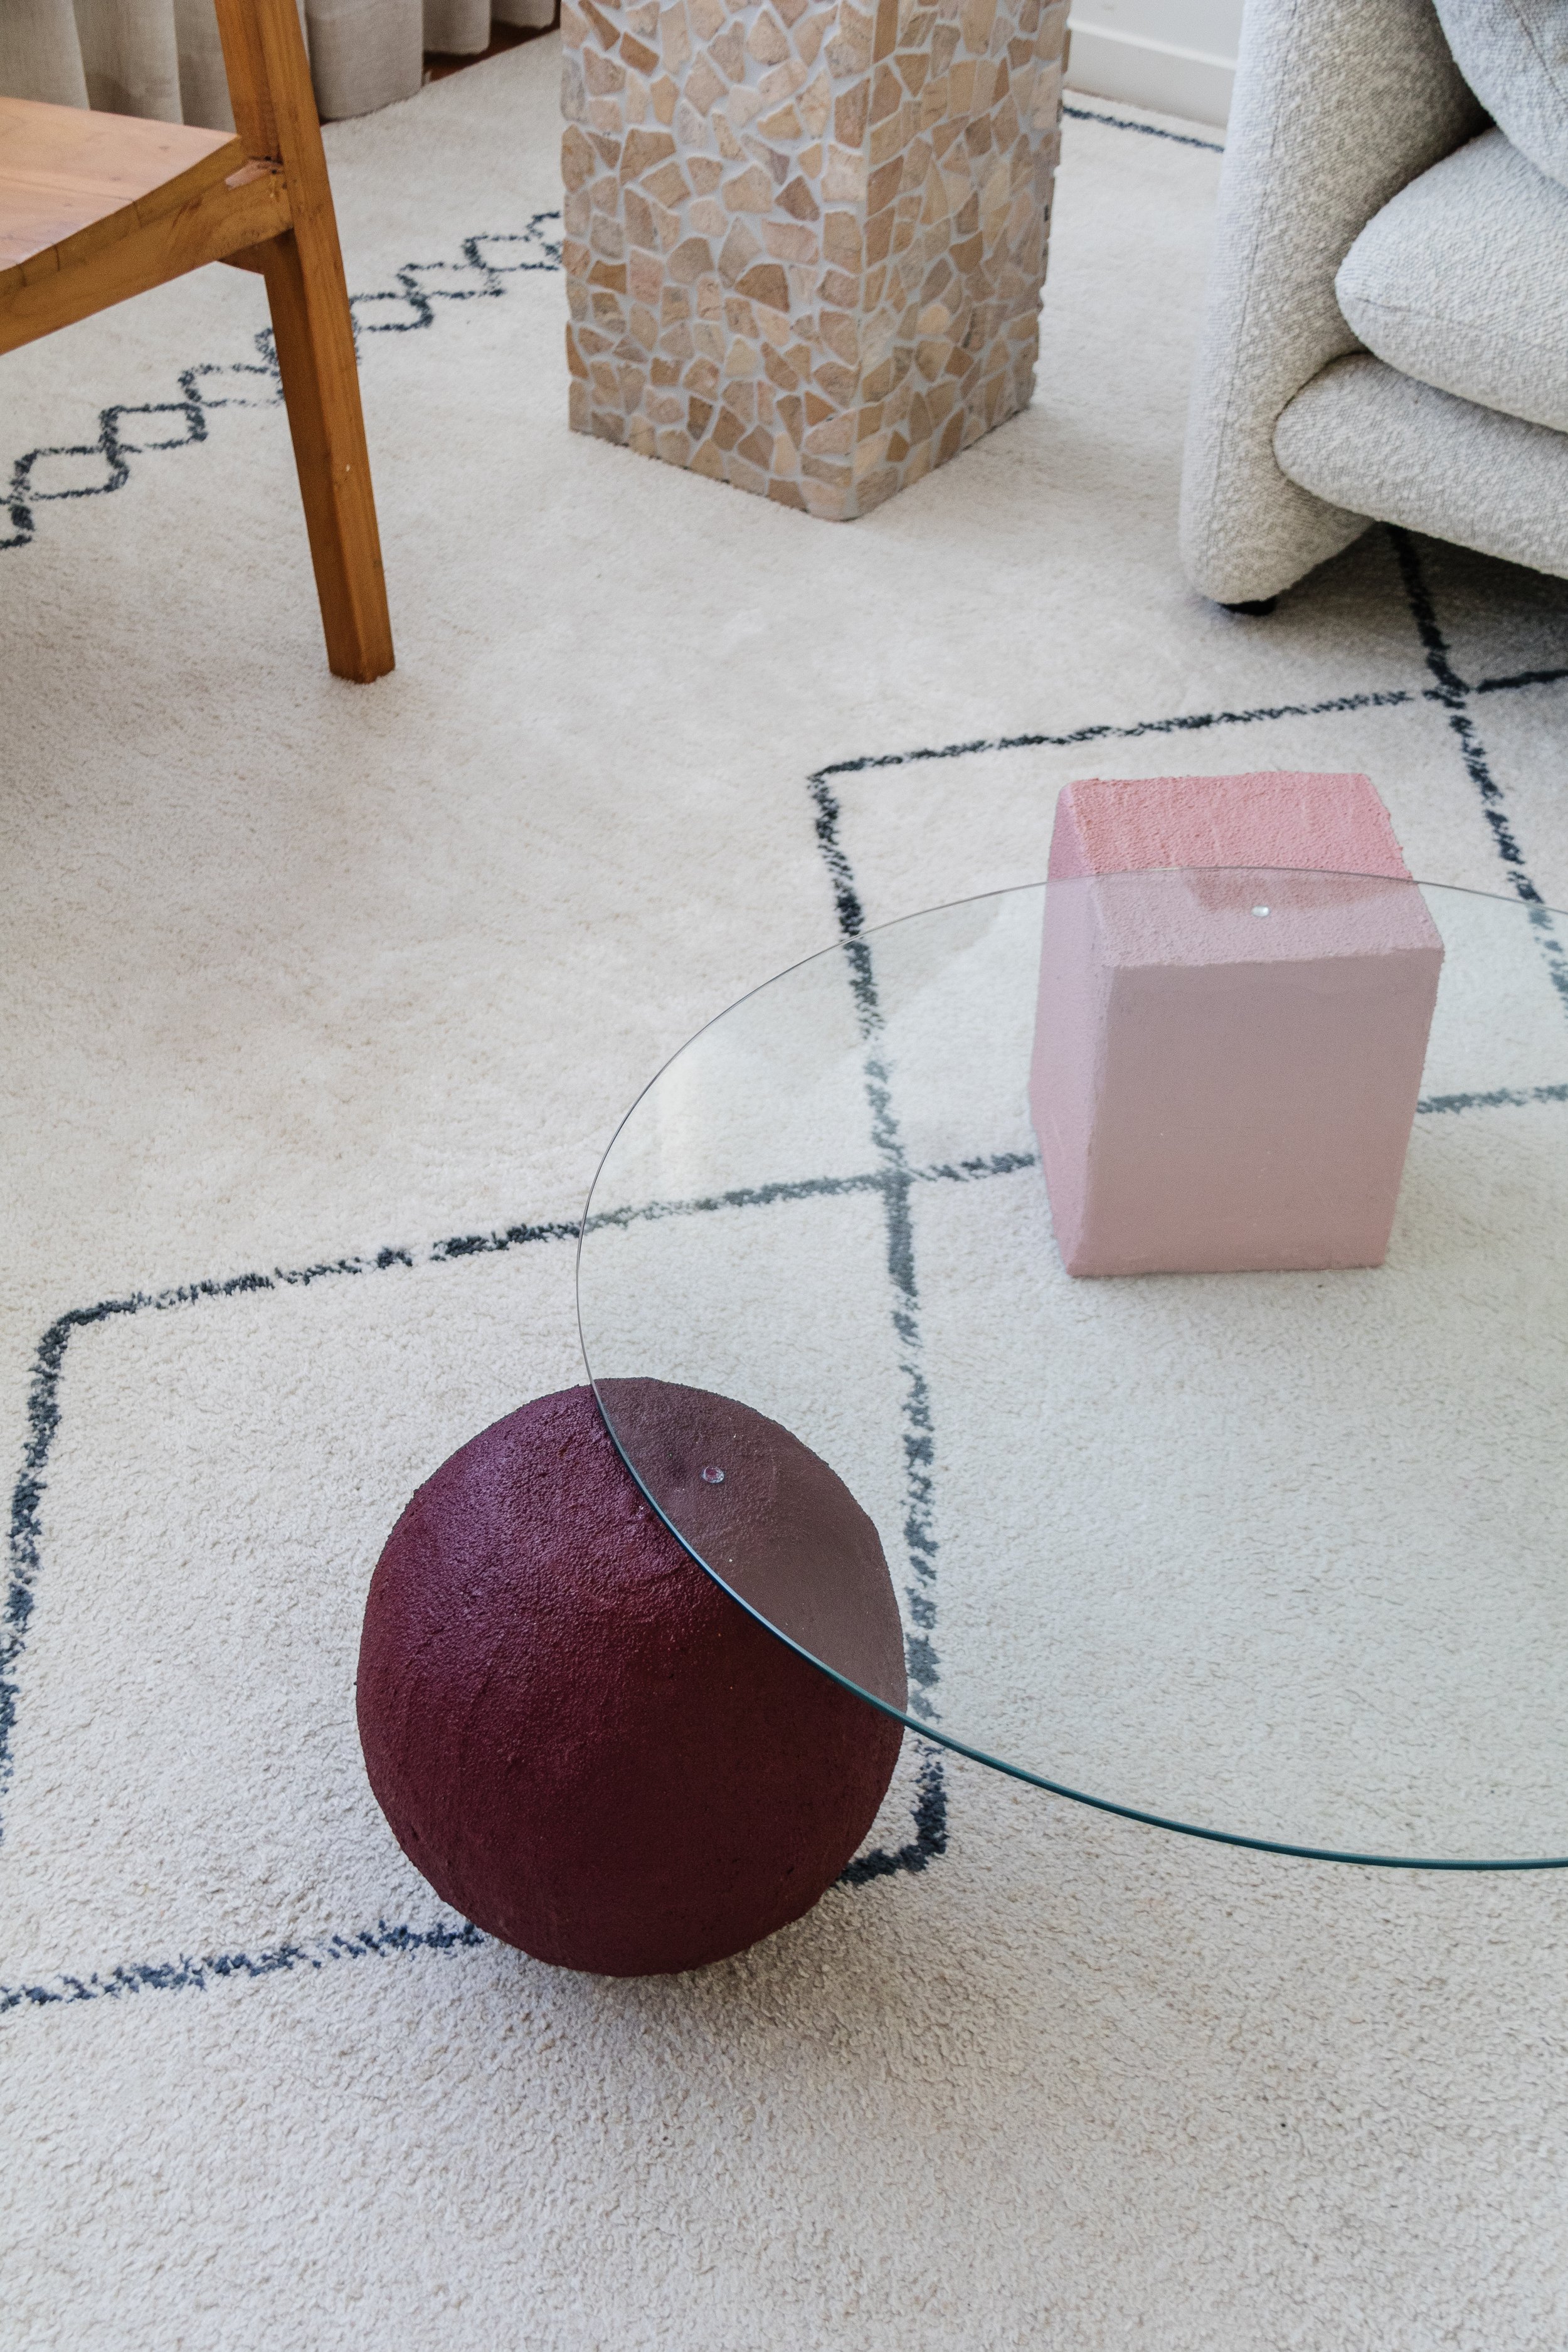
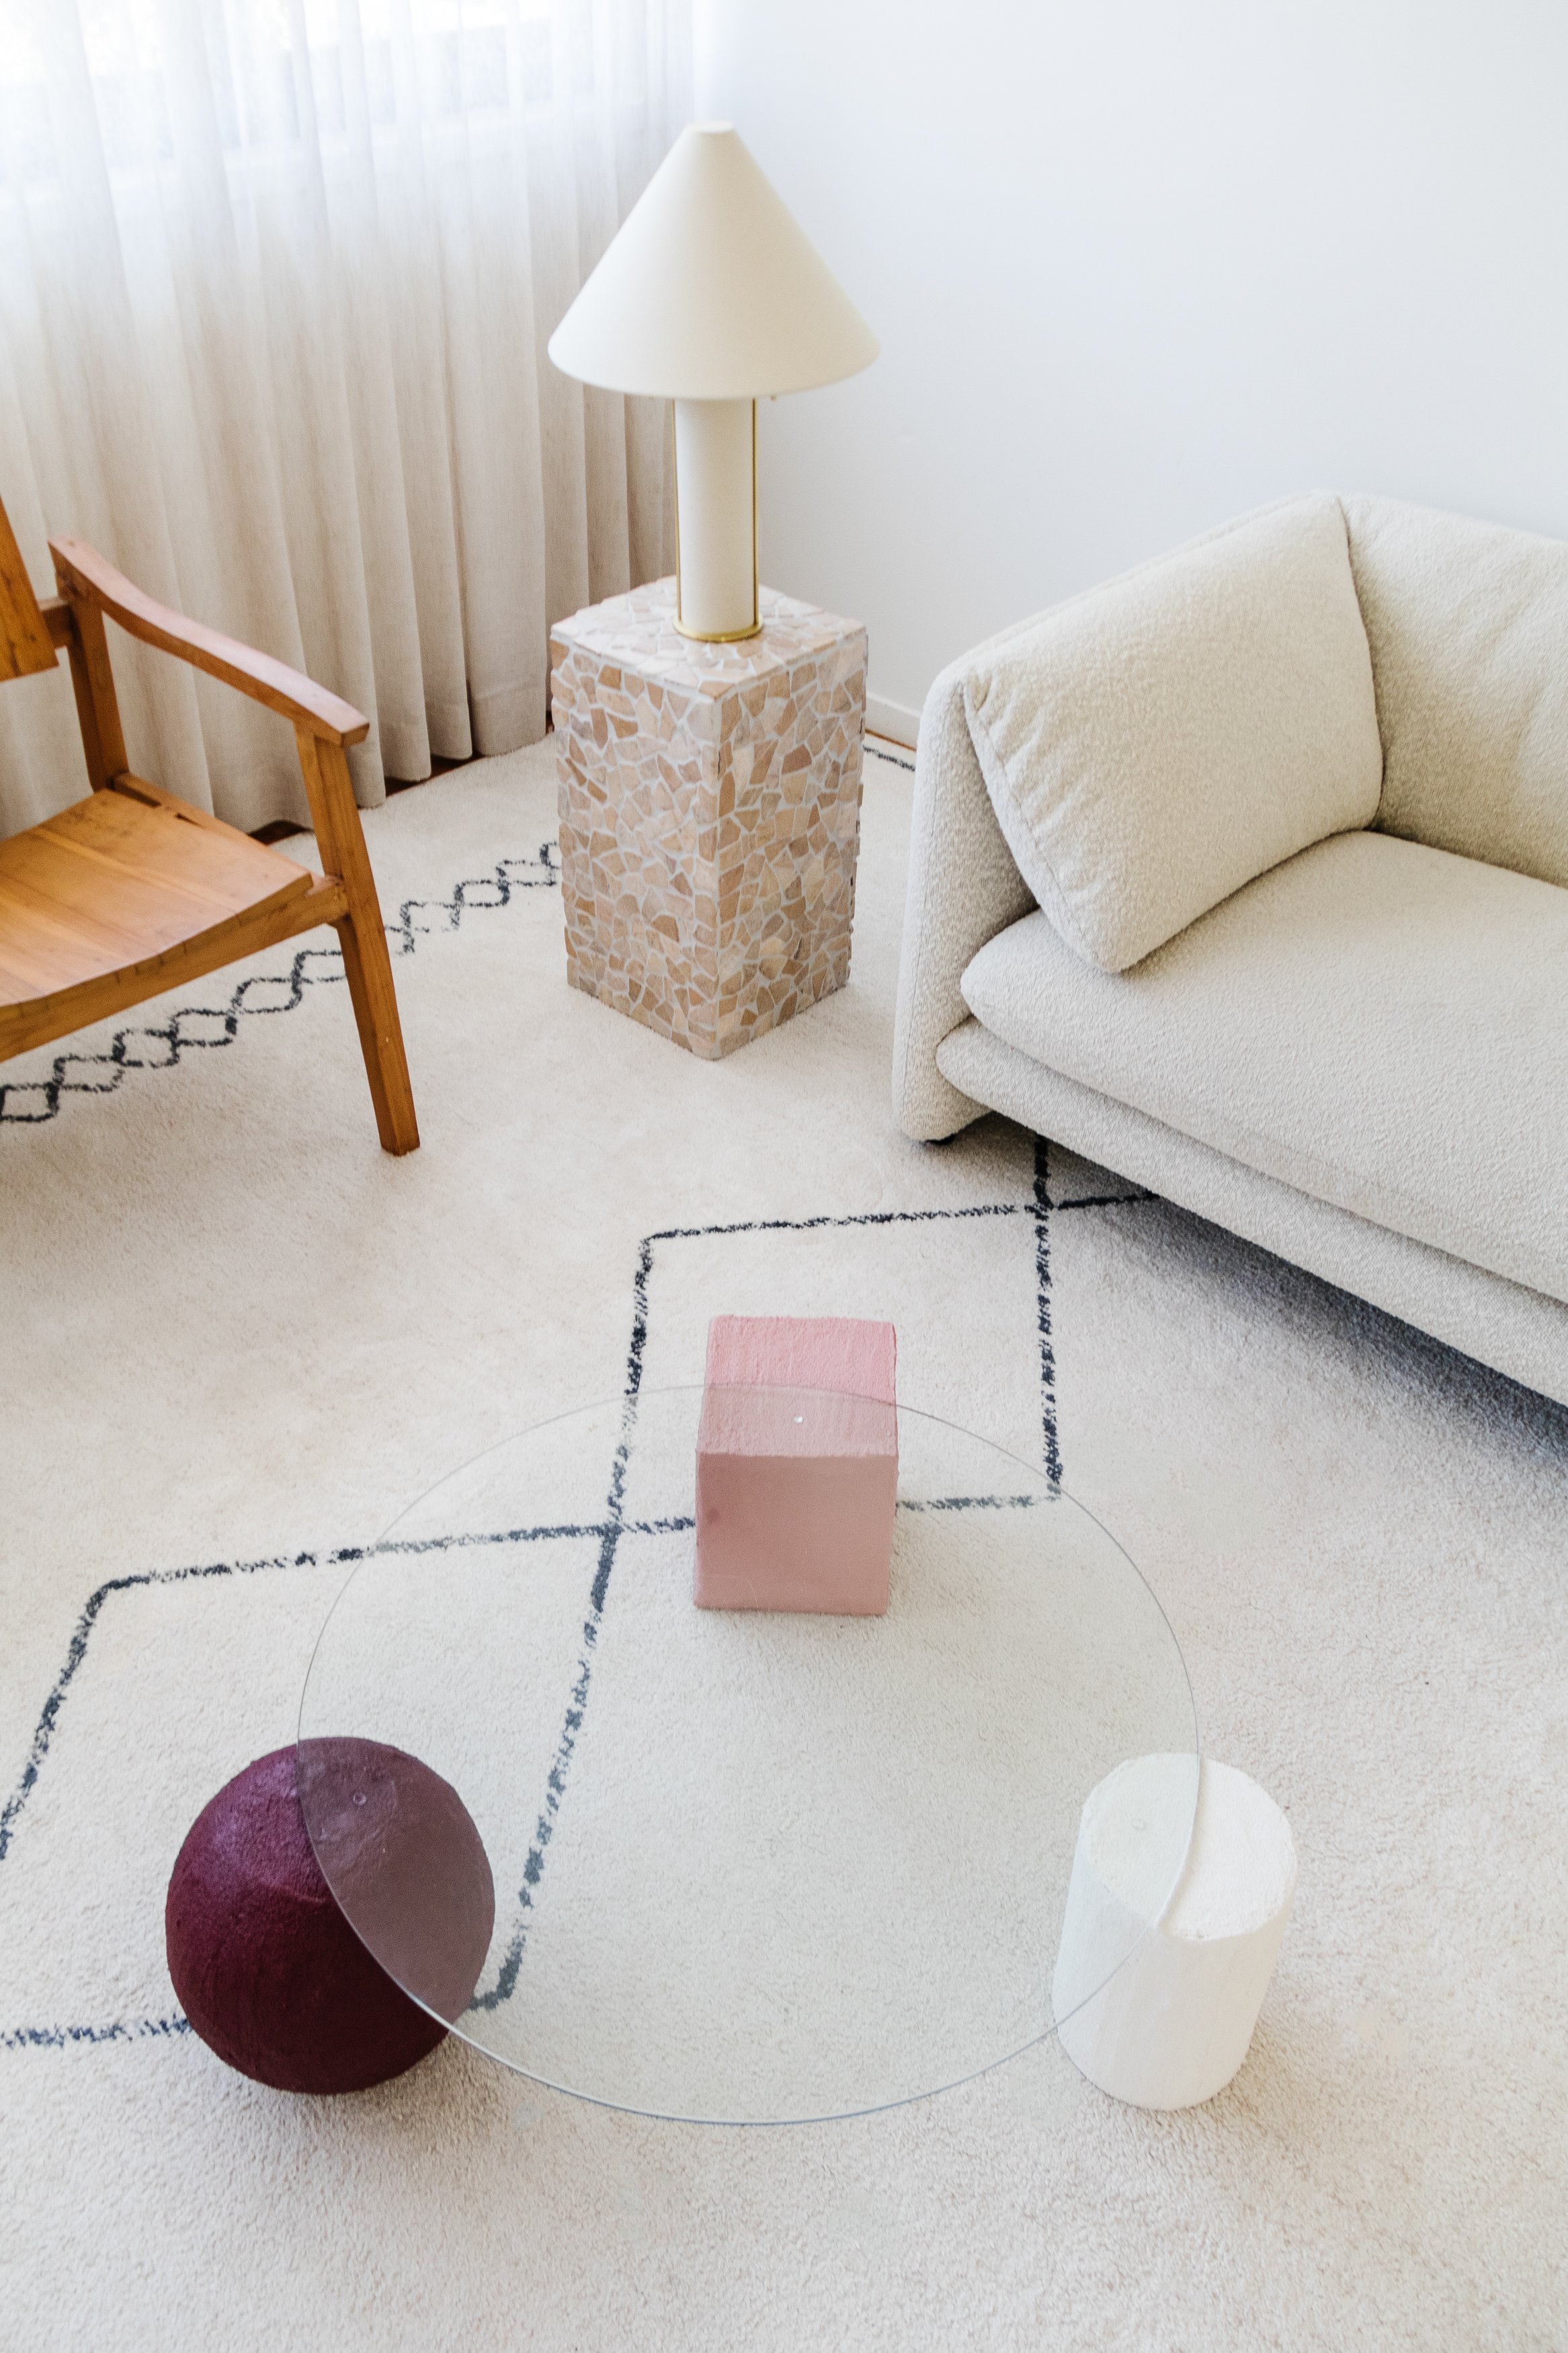
When I went to the tip shop a few weeks ago, I struck gold. I happened to stumble across a round glass panel leaning against a fence, tucked behind a tower of milk crates. I knew it had potential so I brought it home and got to work using an old PVC pipe, two plastic bowls and scrap cardboard. As well as glue, plaster tape and plaster, painters tape, texture paint and door buffers. And thanks to the help of my lovely community on Instagram, I chose “Indian Red” and “Evening Blush” by @duluxaus to paint two of the forms. Read on to find out how I made this Upcycled Sculptural Glass Coffee Table.
To see how it all came together, make sure to watch this video.
Upcycled Sculptural Glass Coffee Table
Project Details
♻️ Upcycling: A Glass Coffee Table
🕒 Project Time Estimate: 3 hours, not including paint and plaster drying time
💰 Materials Cost: $TBC
Tools
Measuring tape
Hand saw
Scissors
Tip: If you have small children at home and you’re conscience about having a glass coffee table around them, you can replace the glass with a piece of acrylic perspex.
Materials
Tempered glass panel. If you can’t find a secondhand panel, you can buy one here, here and here.
2 x plastic bowls
PVC pipe (you can easily find these at your local hardware store)
Heavy duty cardboard box
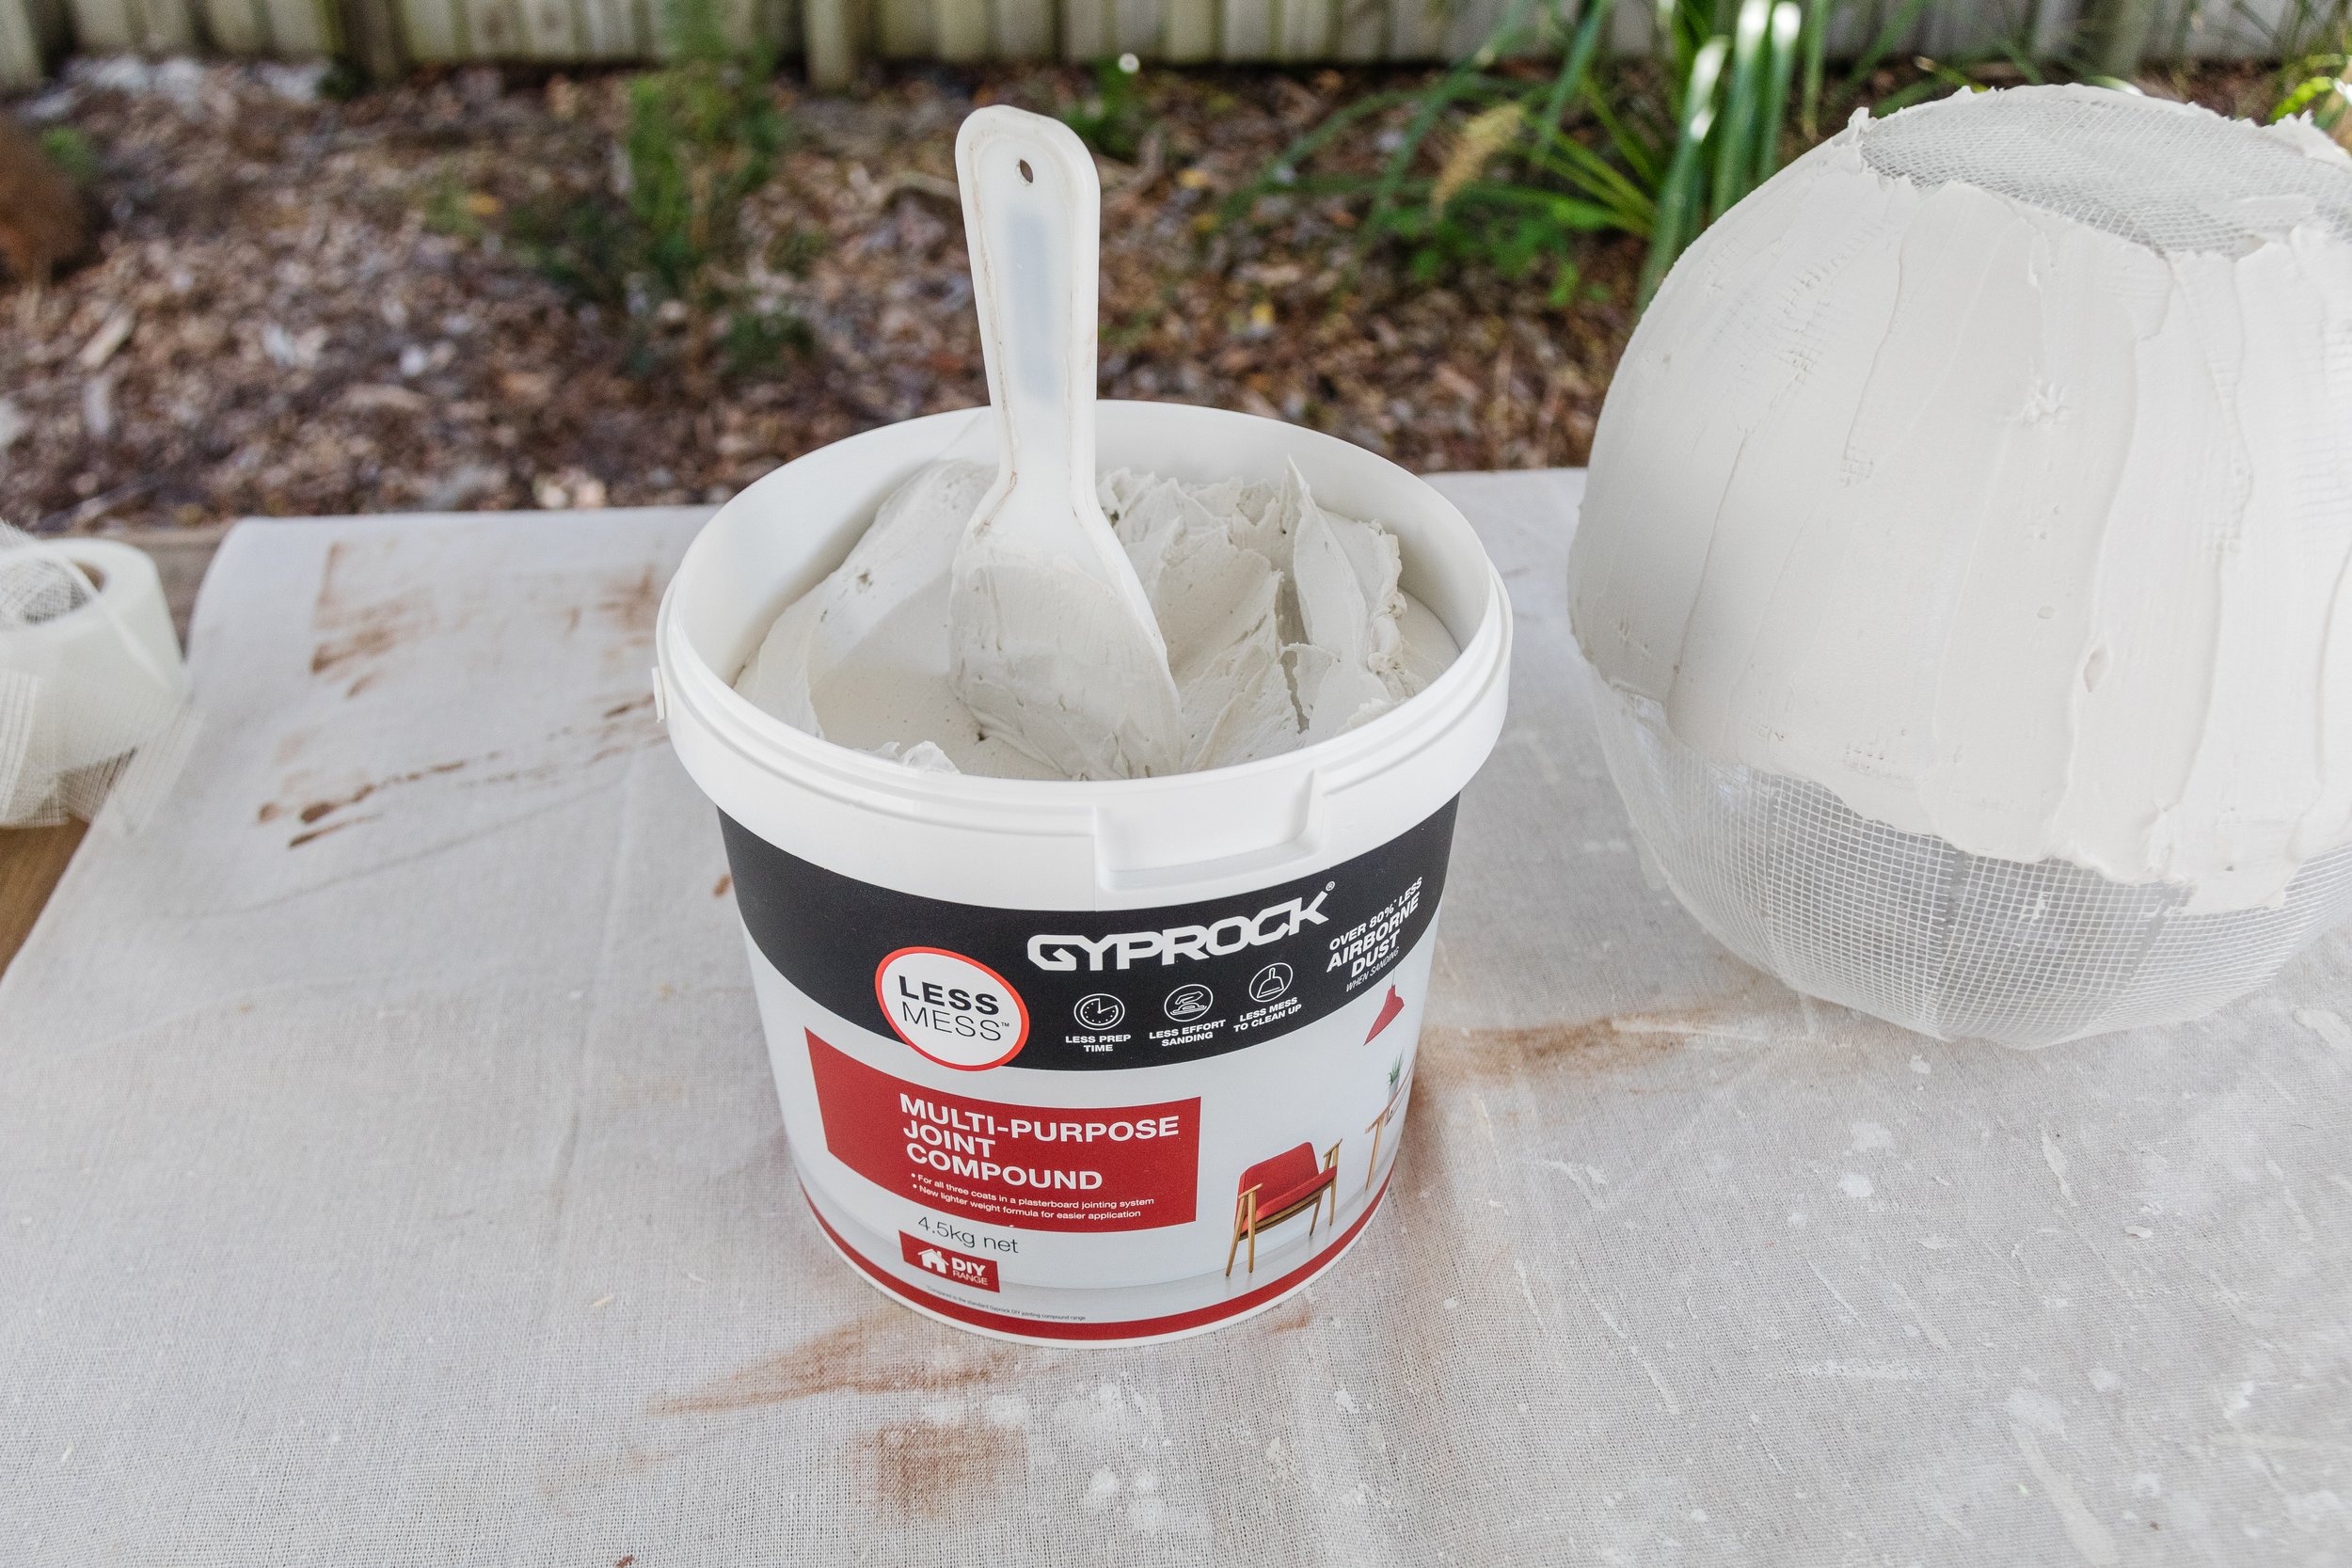
Multipurpose Joint Compound (plaster)
My DIY Texture Paint or Dulux Medium Texture Paint. You can use both textured paints on lots of projects, including these Upcycled Fluted Sconces, Upcycled Round Ball Barstools, and Upcycled Round Ball Side Table.
Paint - I used Dulux “Indian Red” and “Evening Blush”
How To
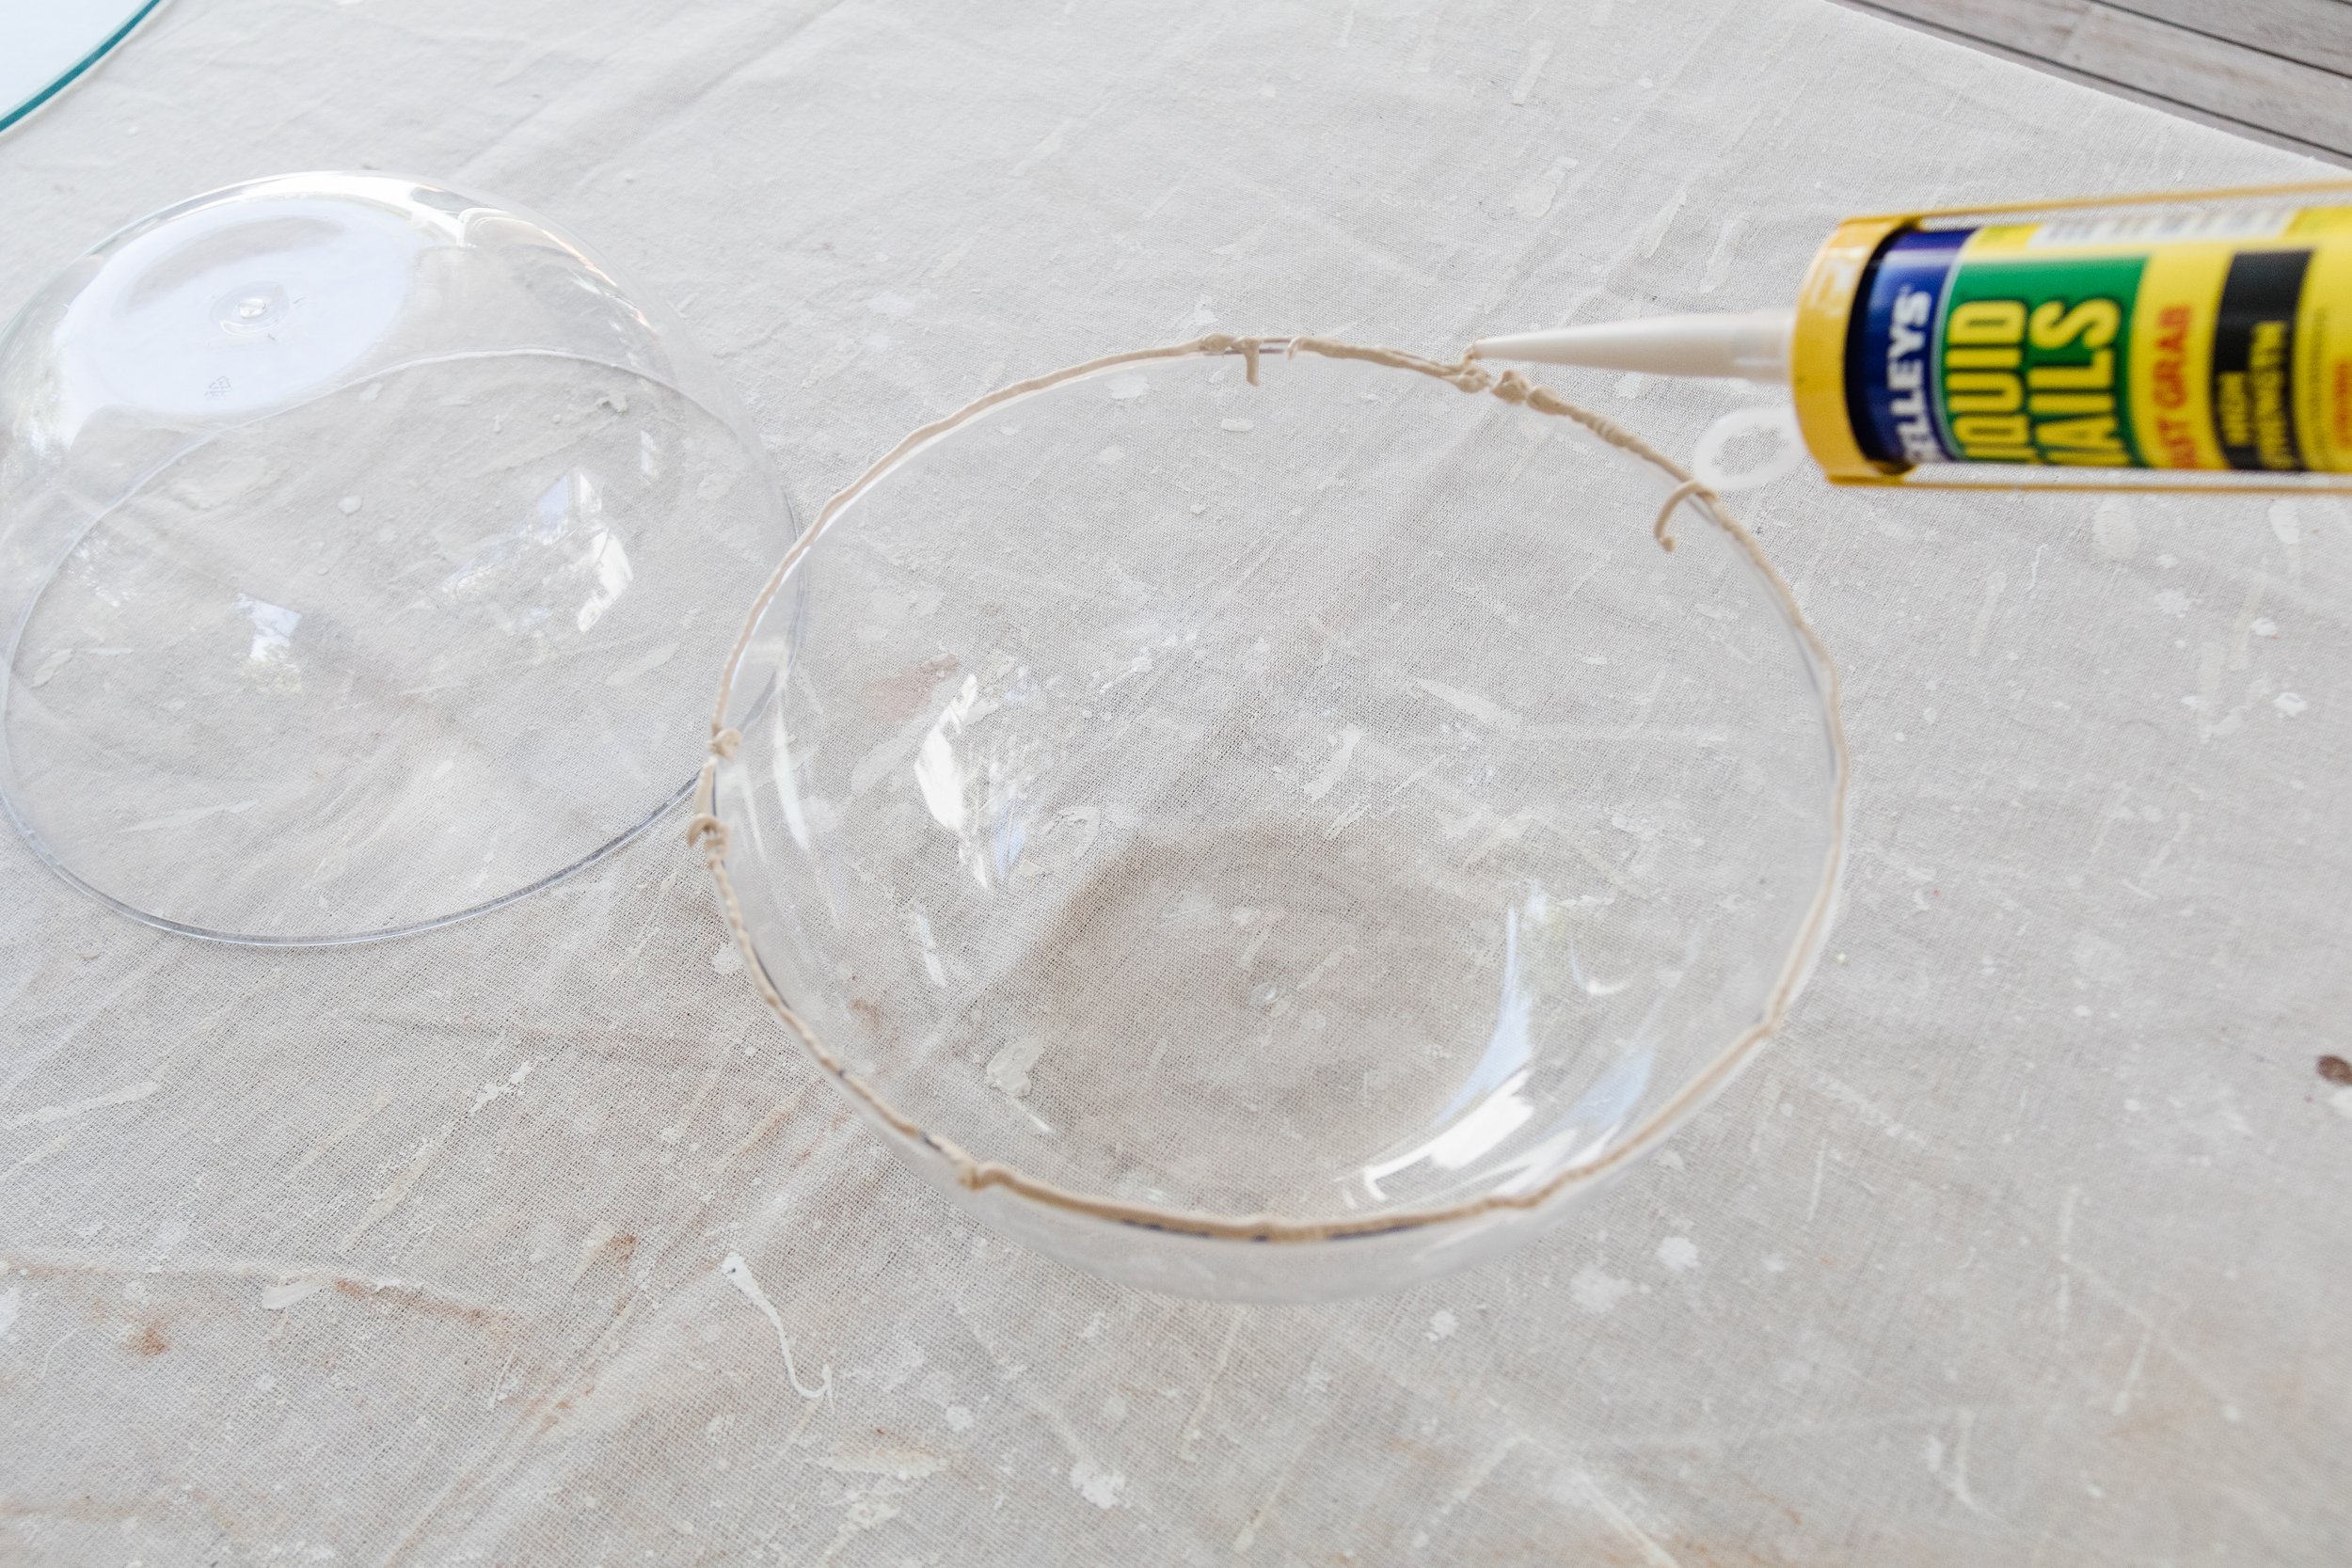
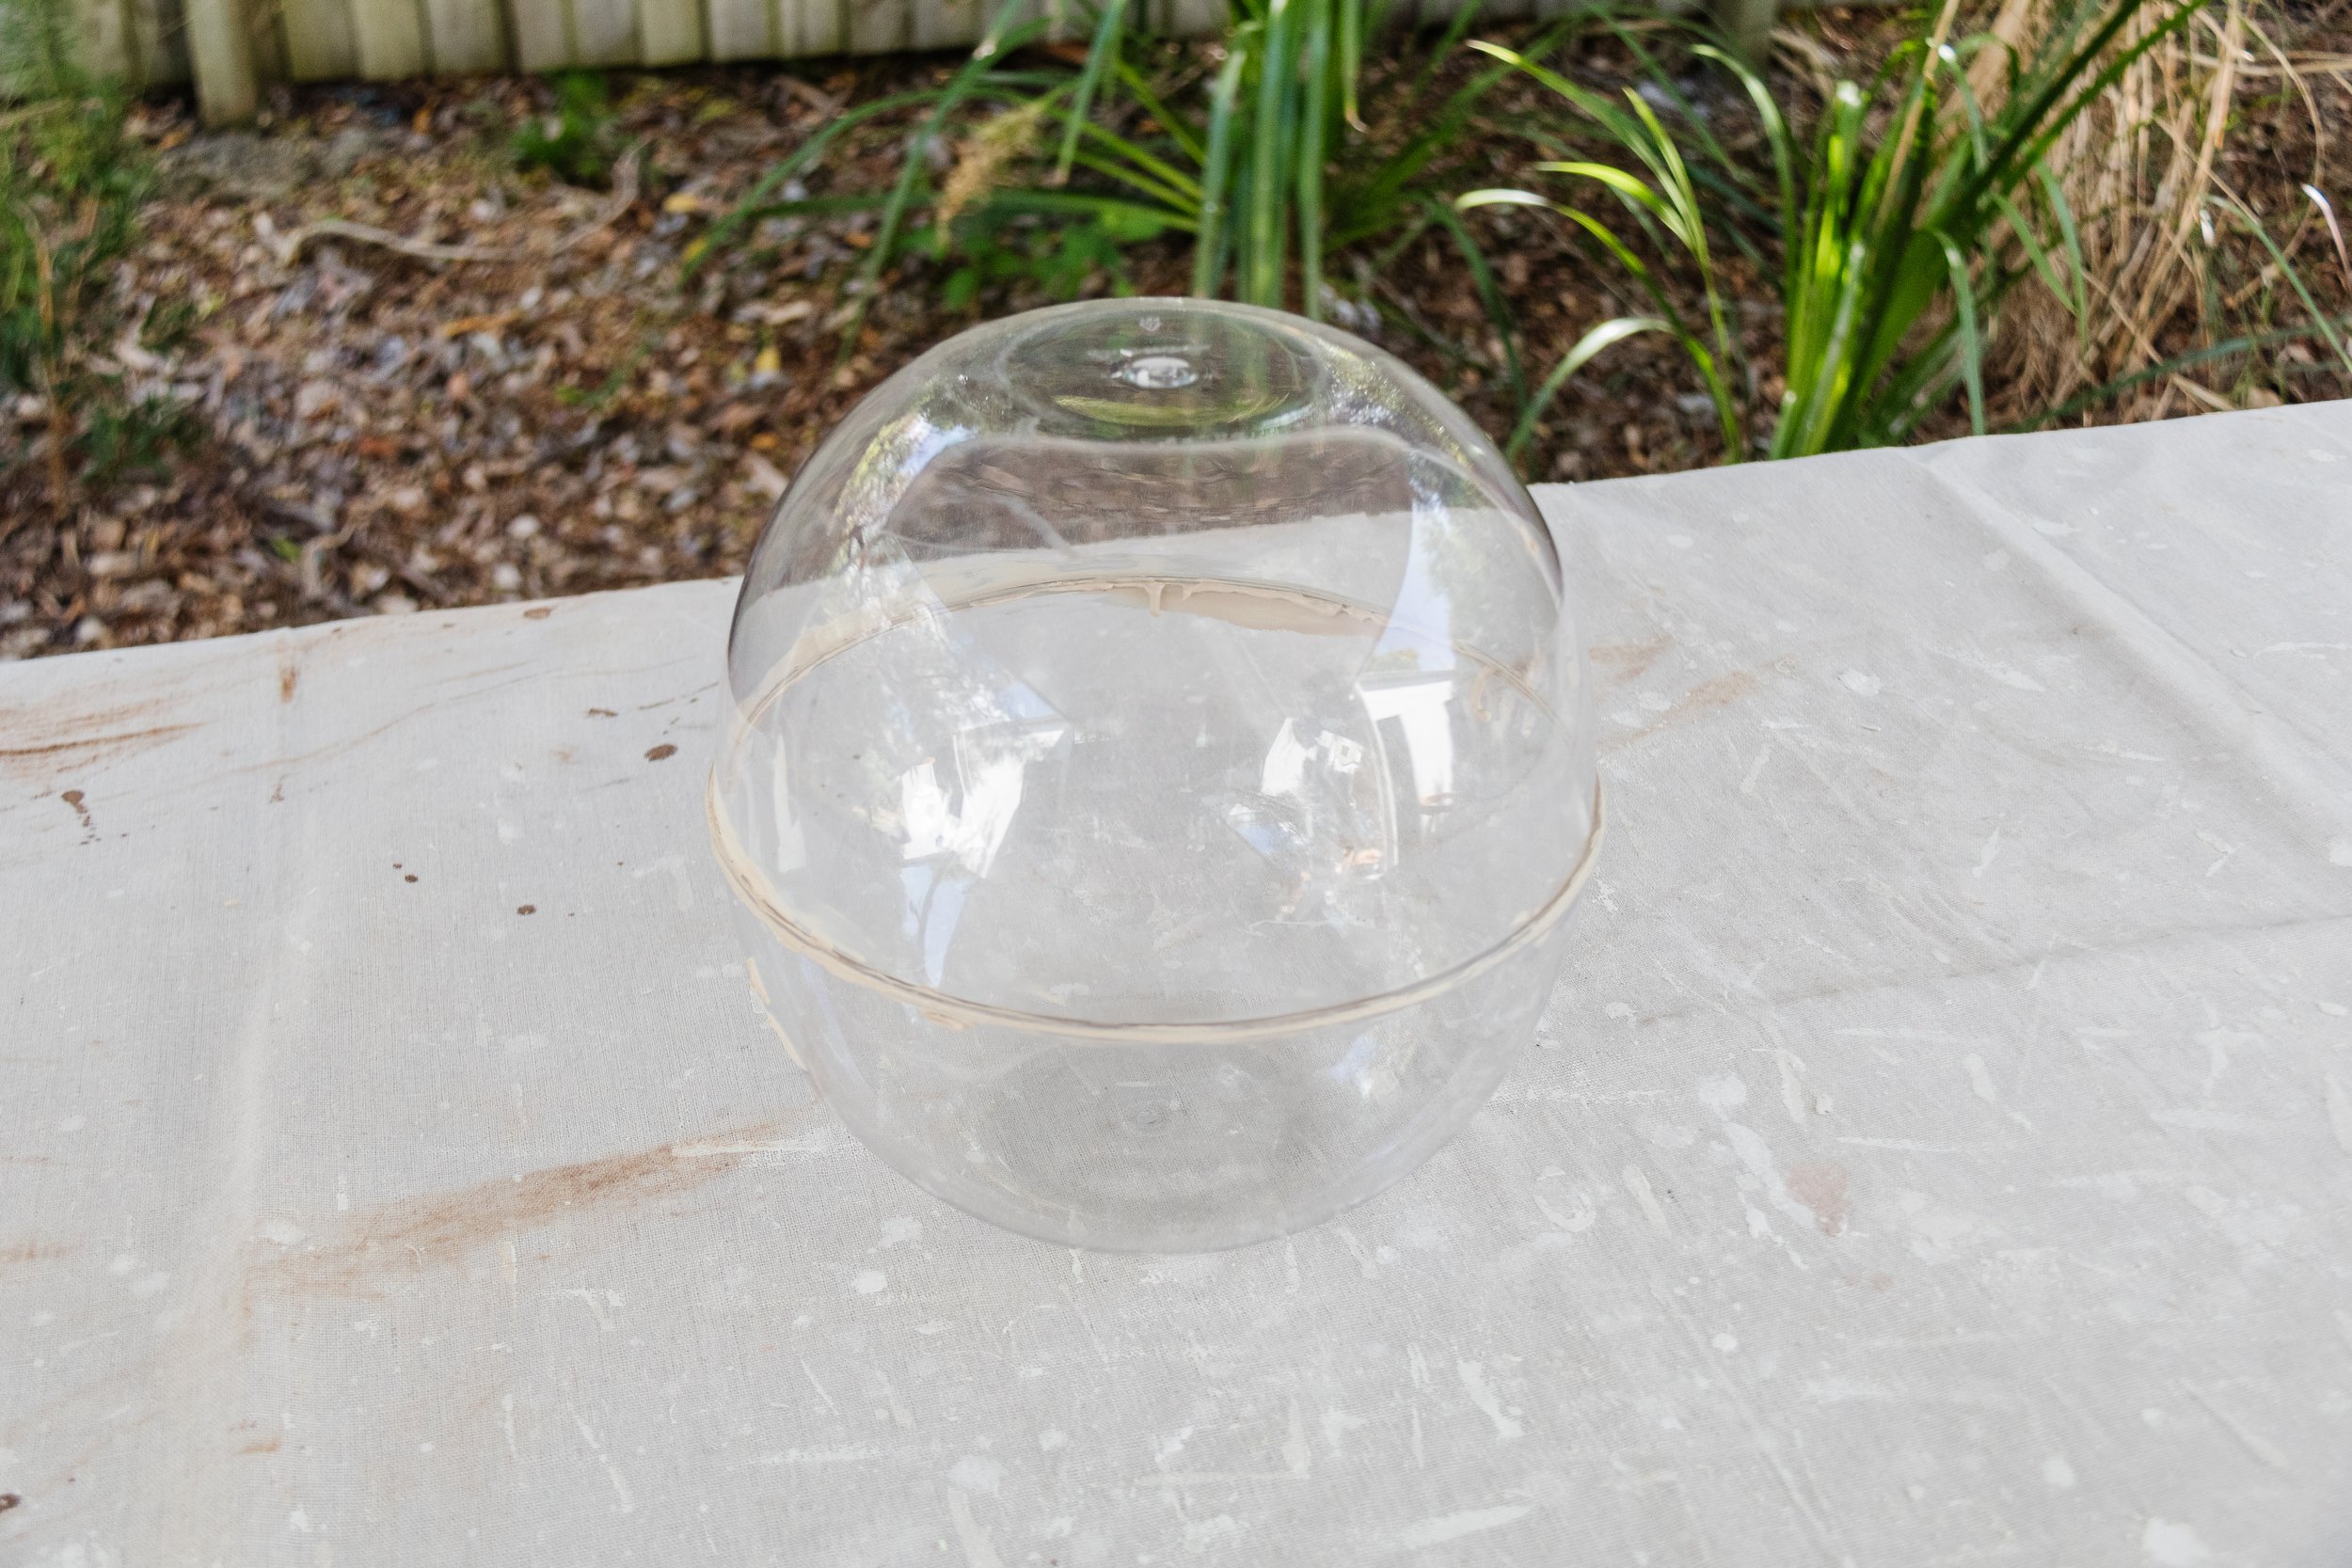
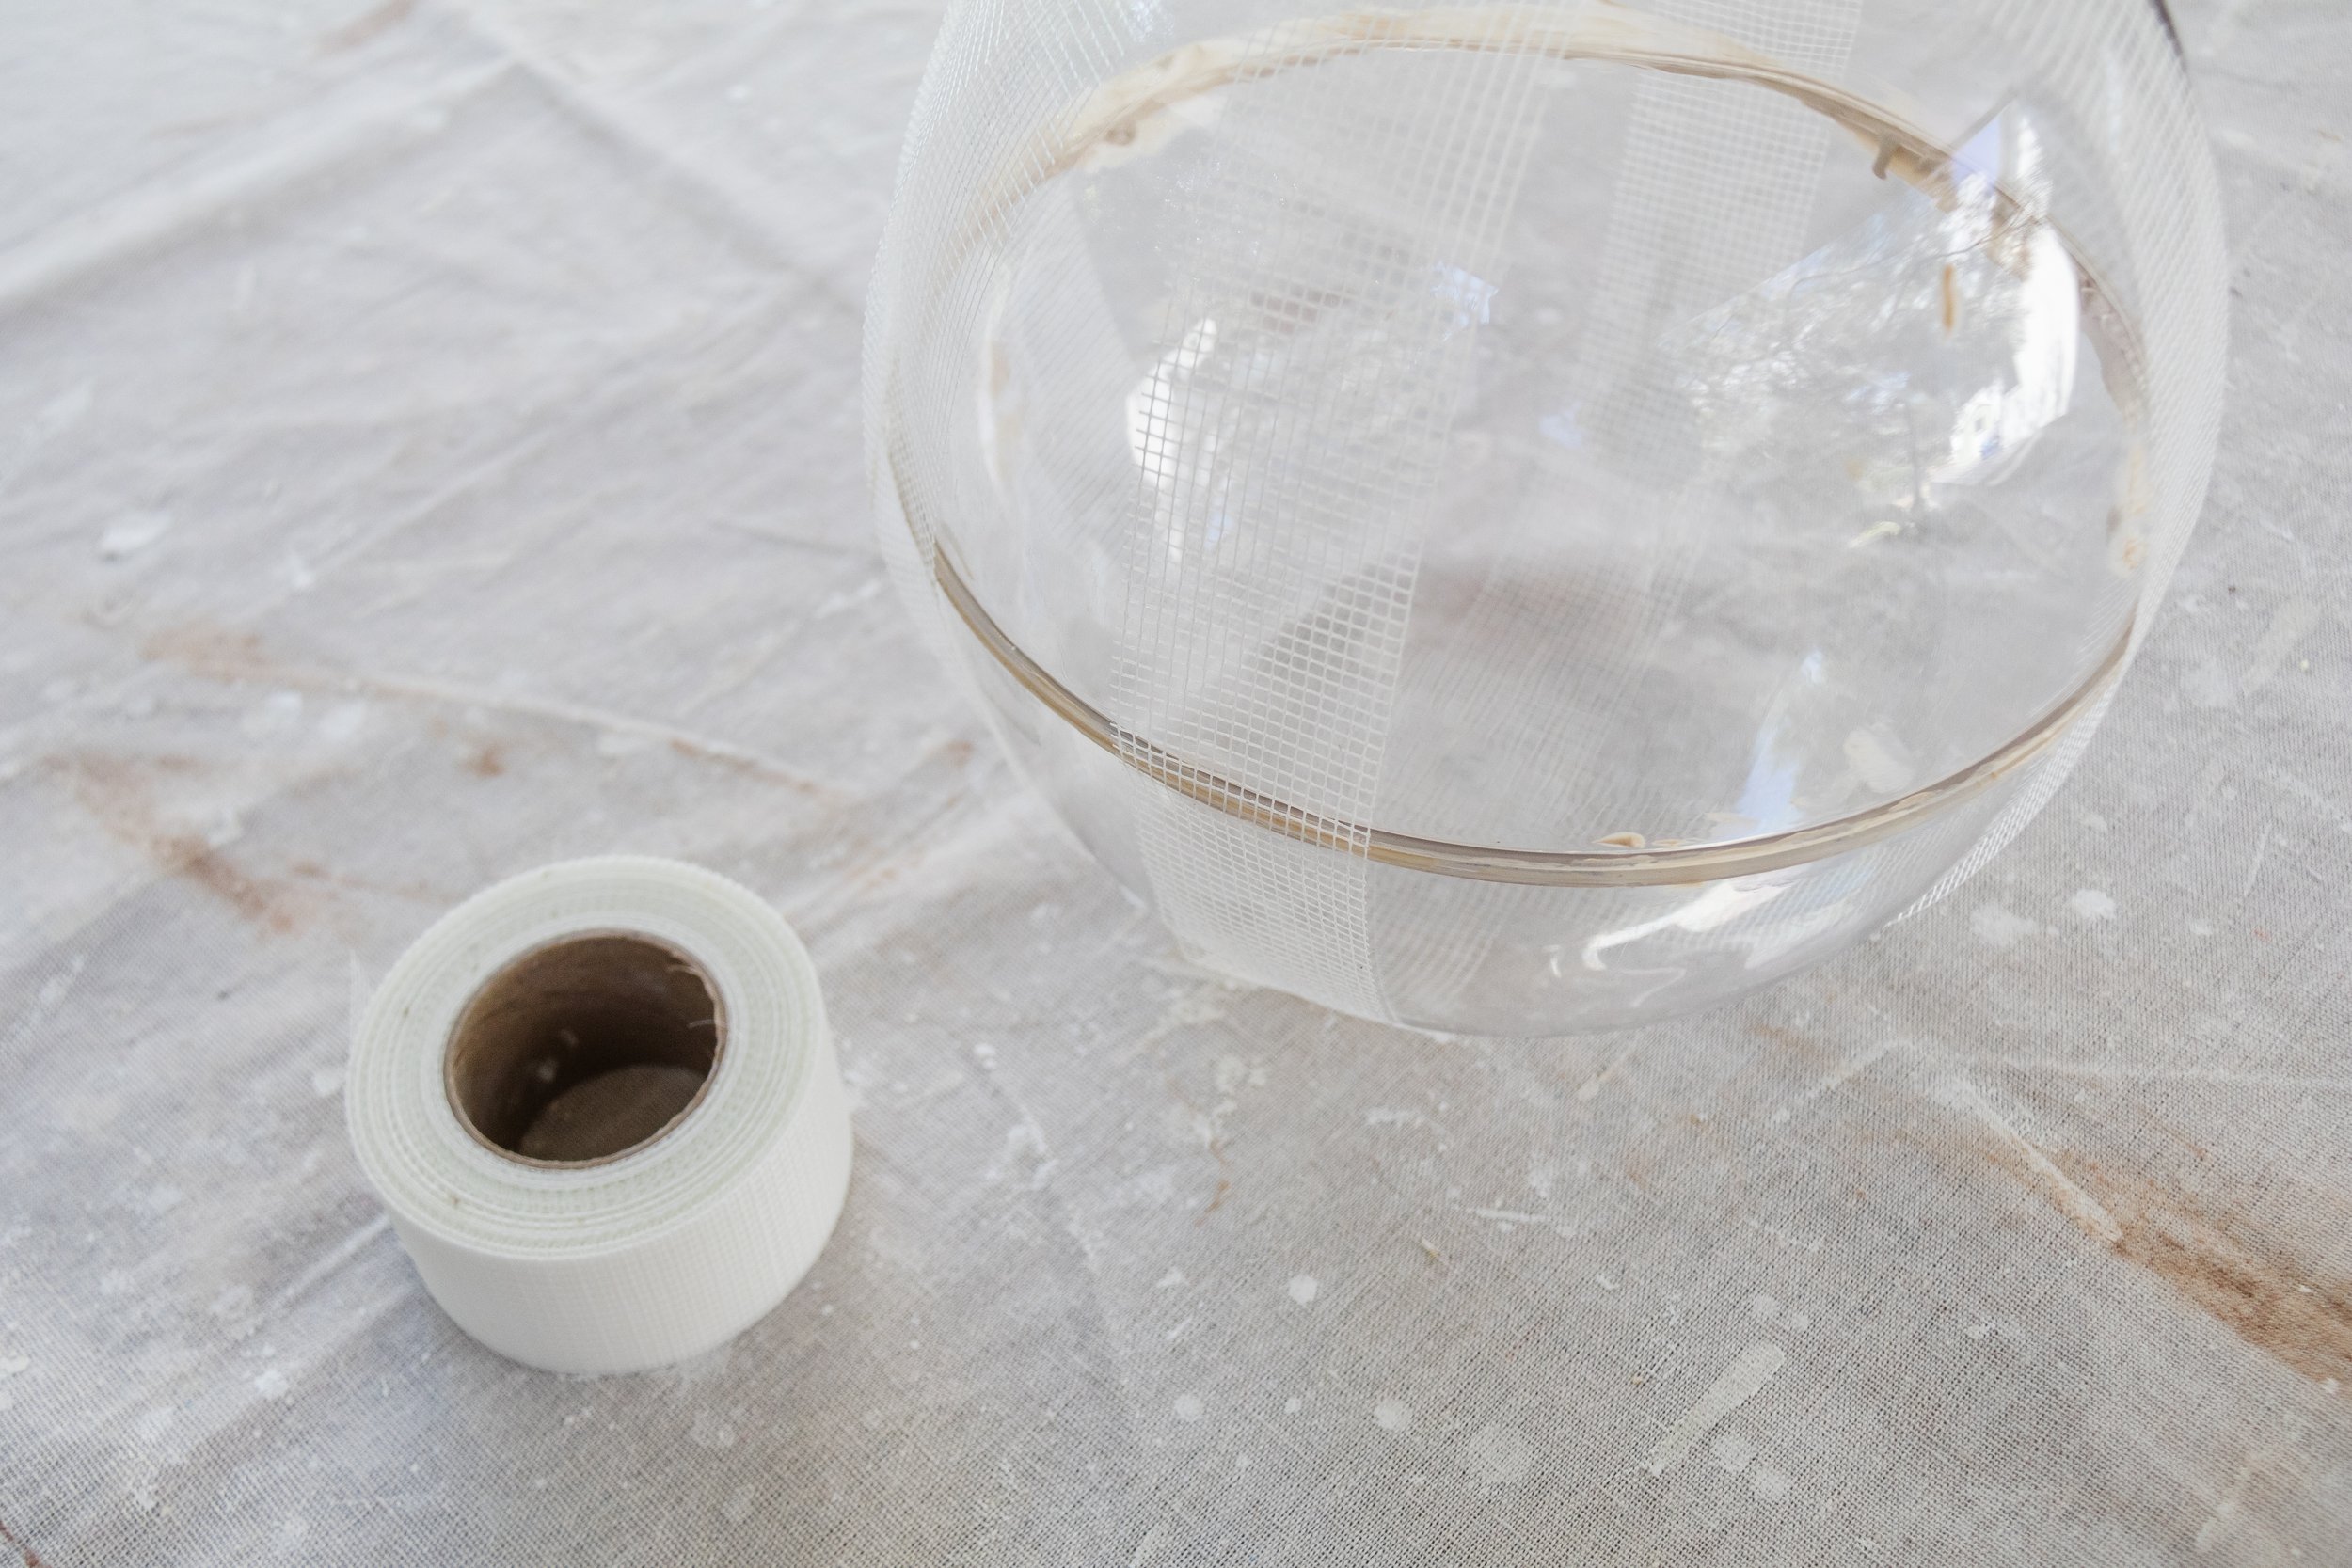
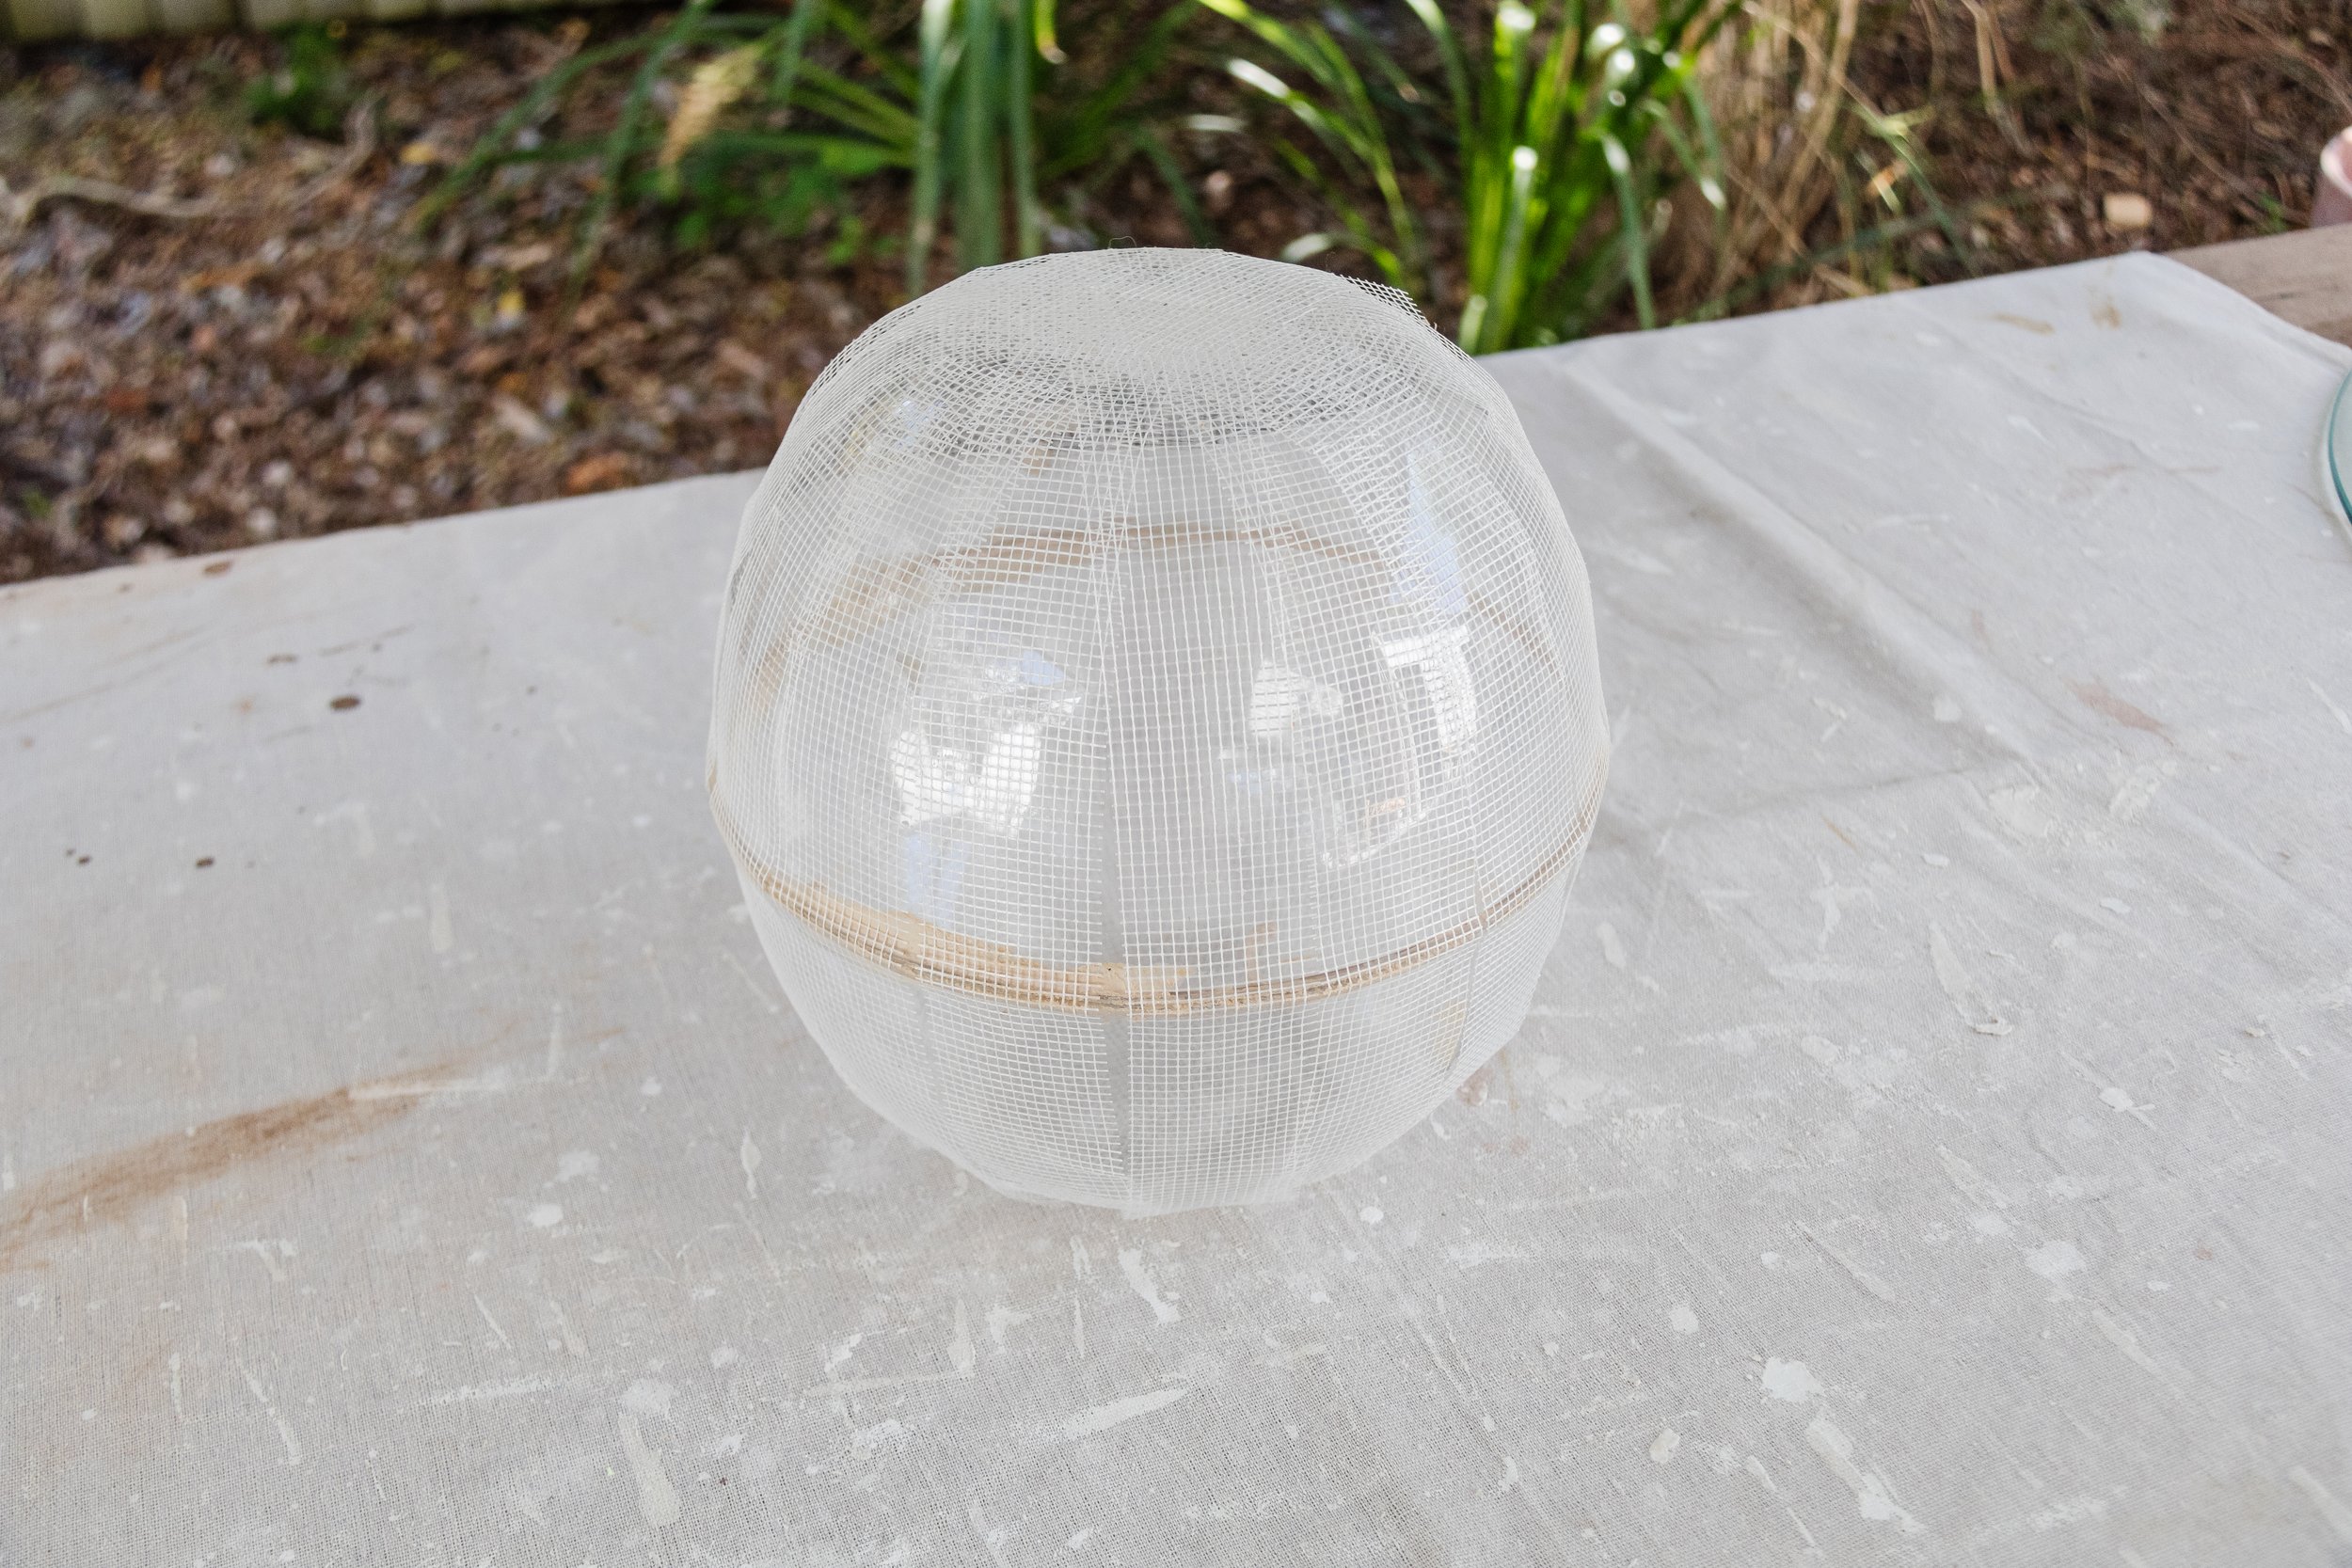
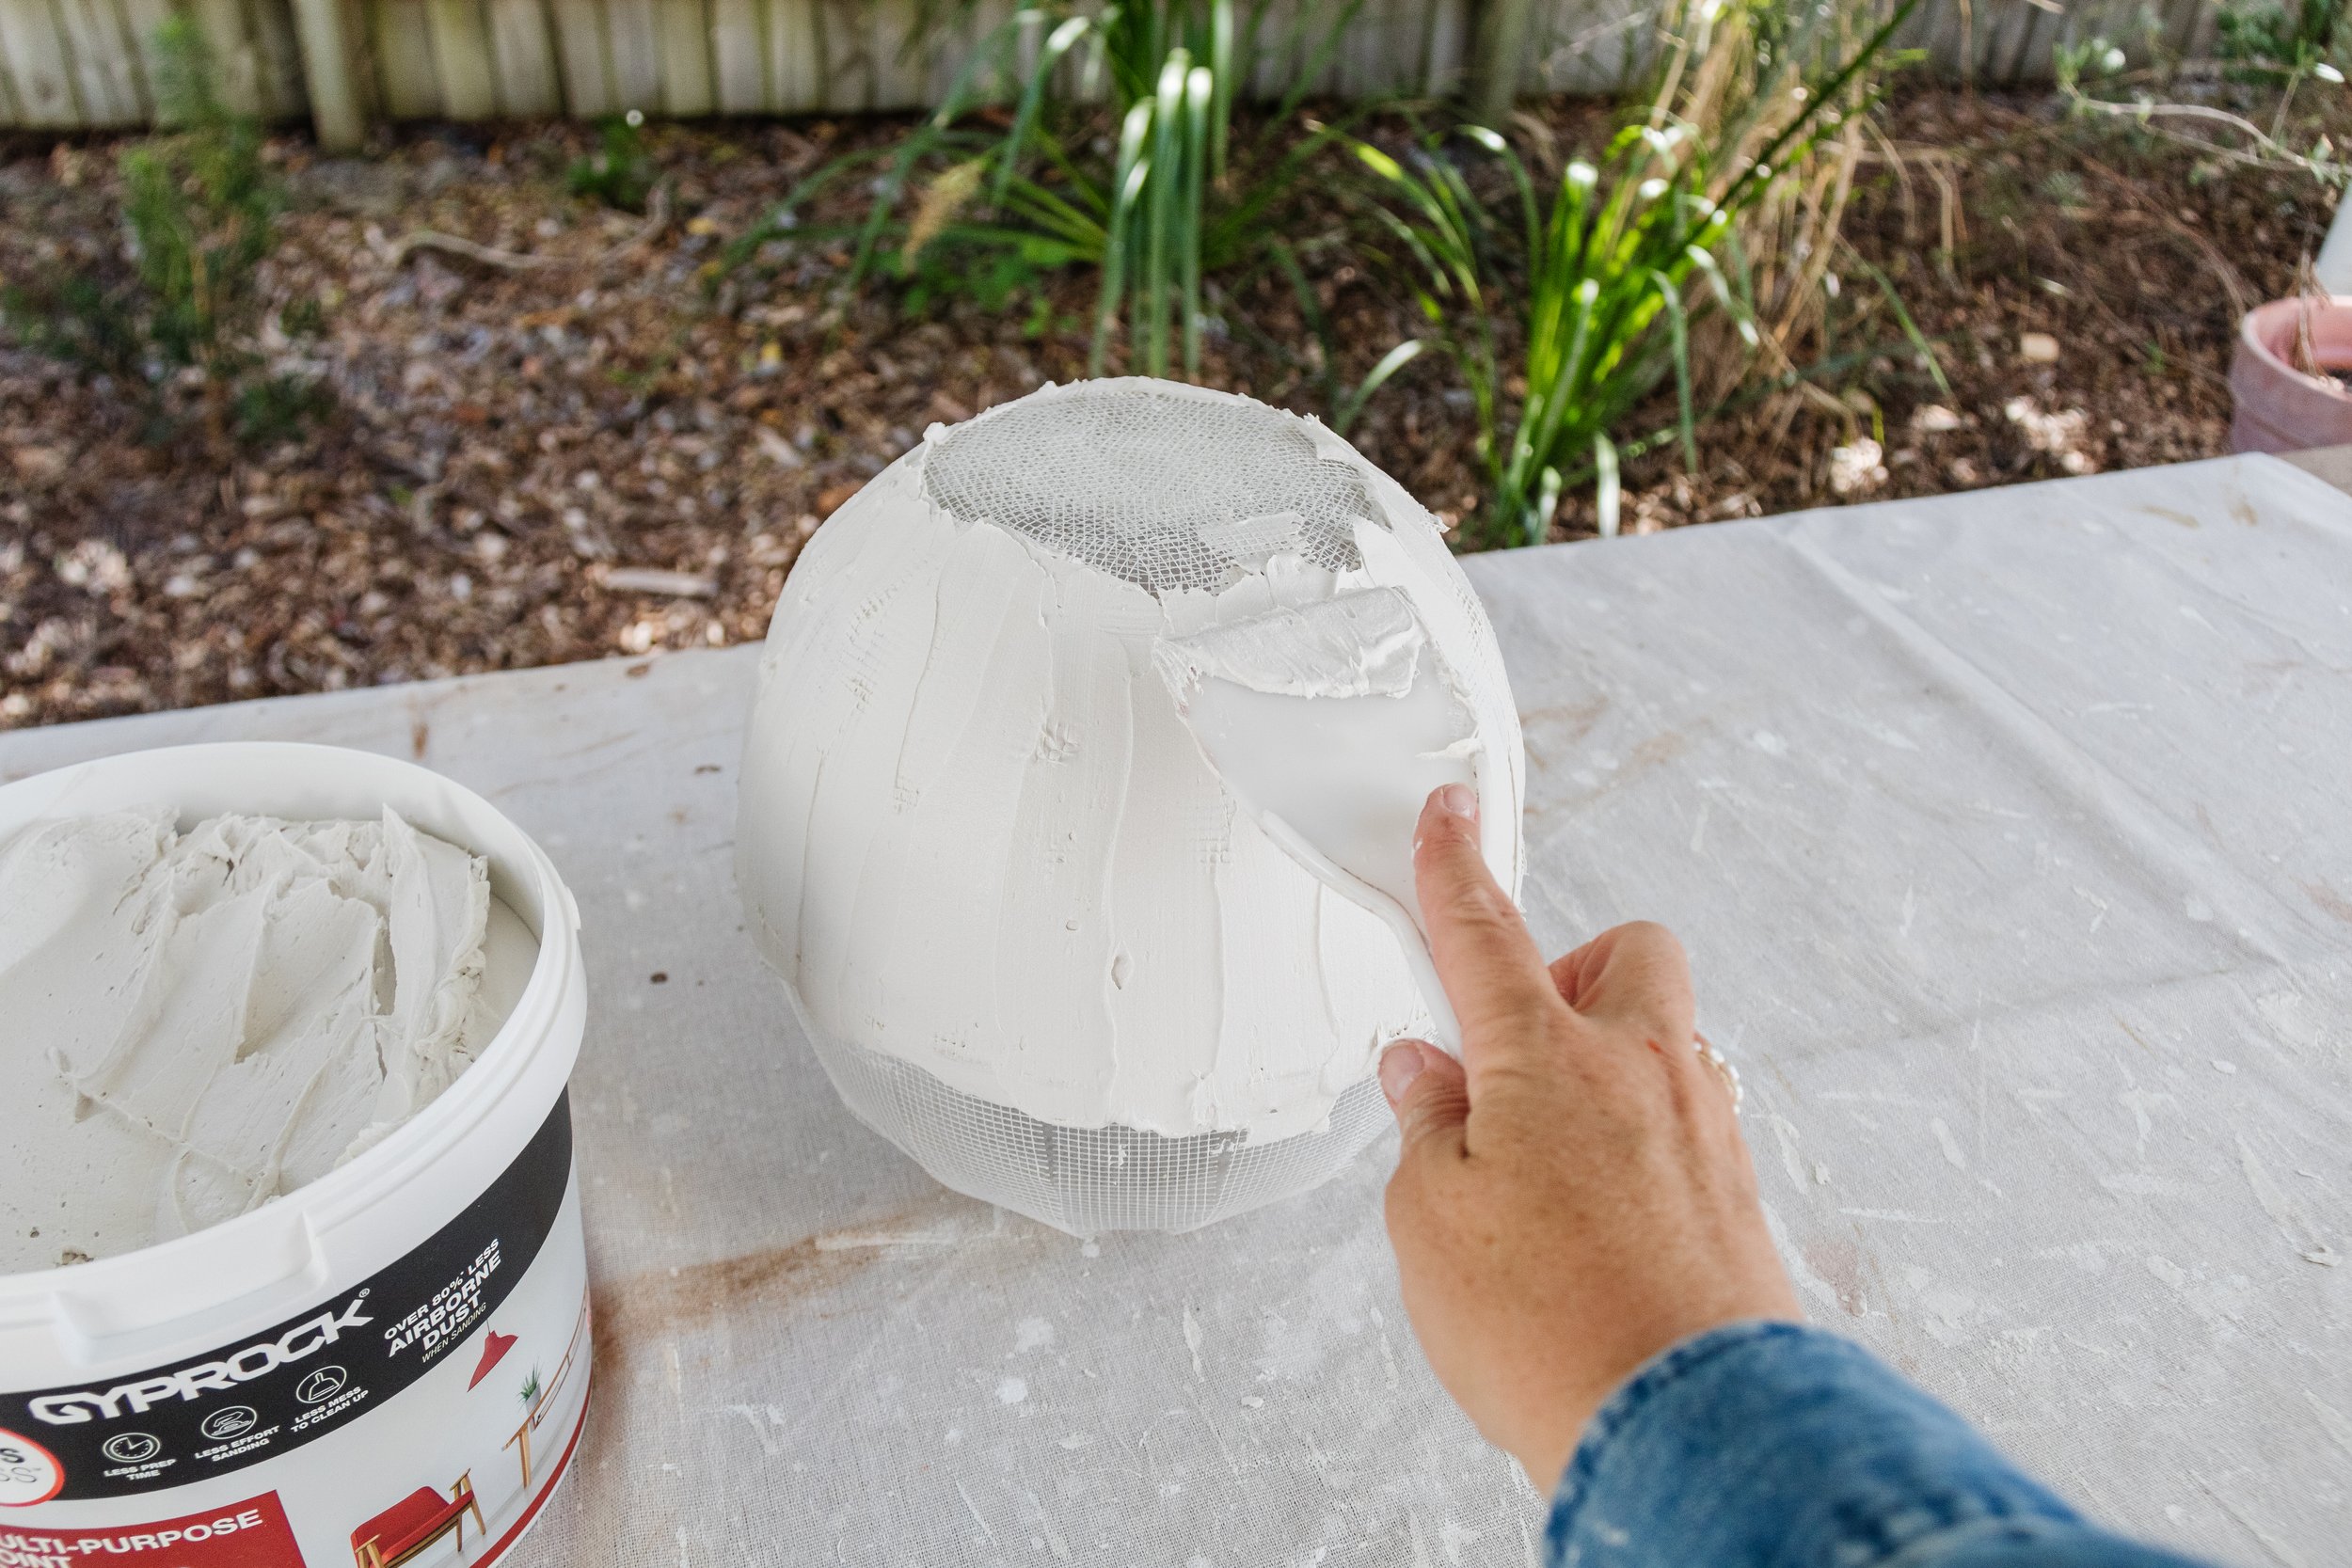
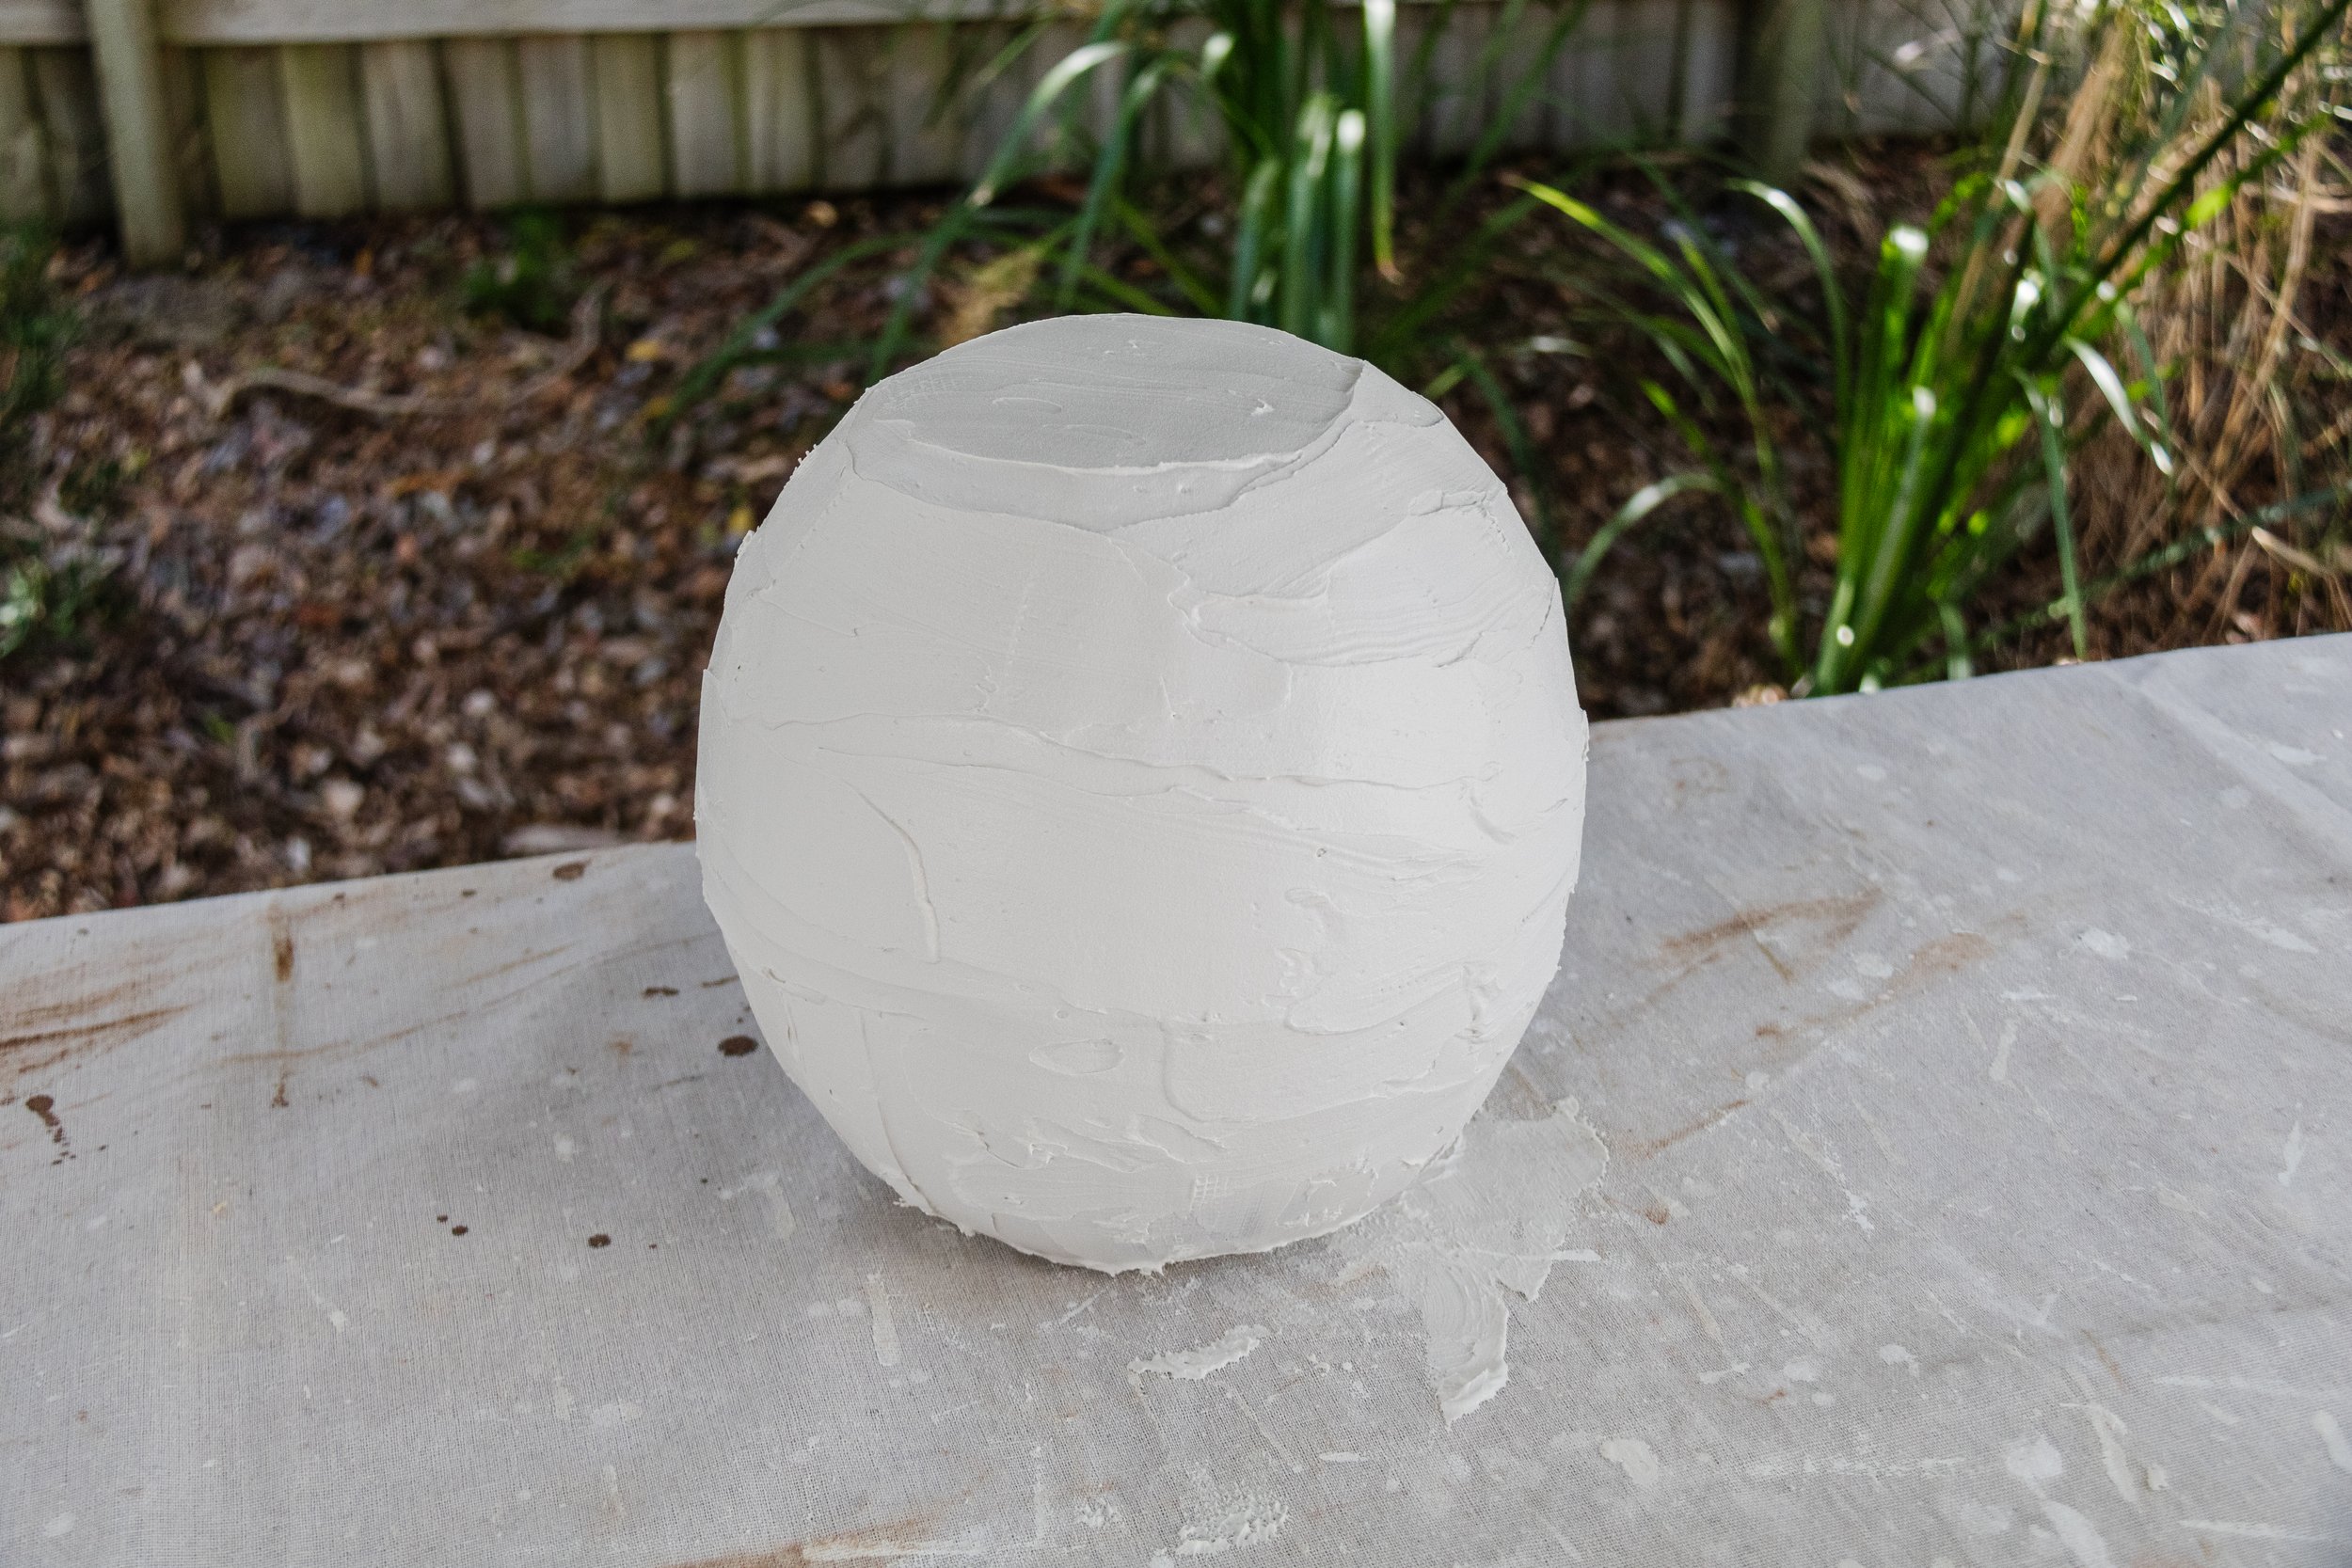
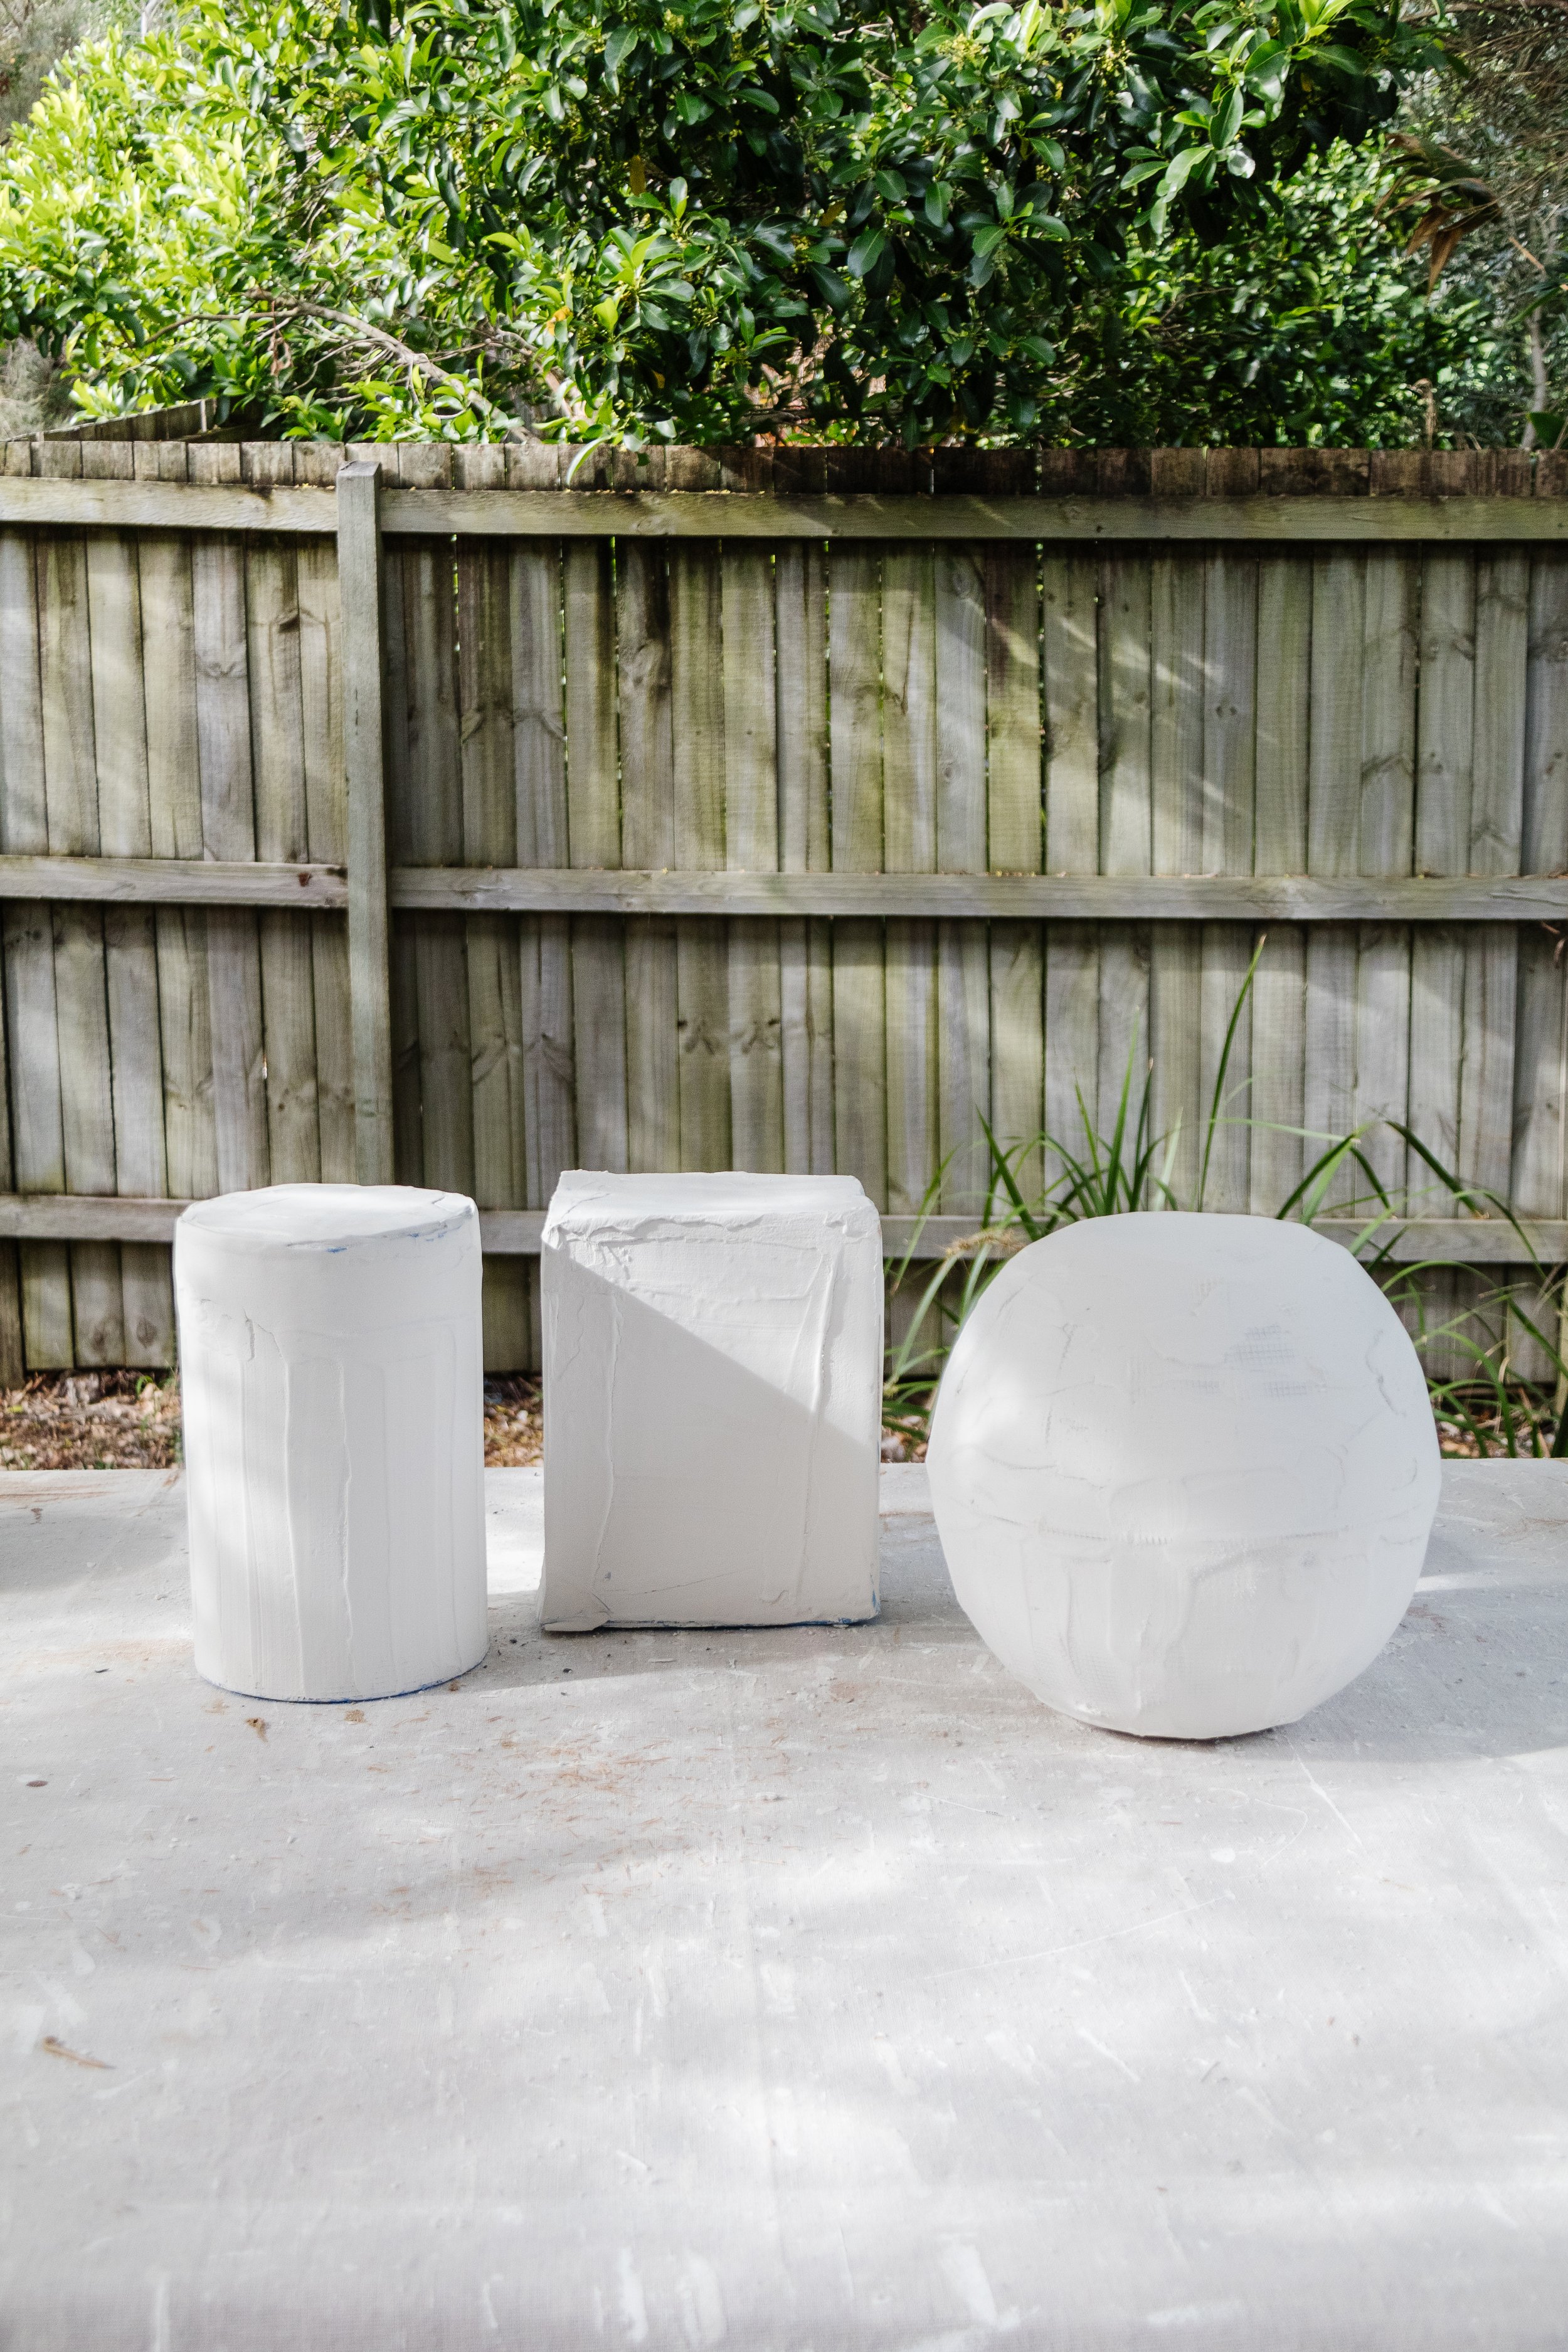
Step 1: Start by gluing the two bowls together with the construction adhesive. While the glue is drying, wrap the ball in plaster cloth. Following this, completely cover the ball with plaster using the plastic scraper (but not the bottom of the ball as you won’t see this anyway). Set aside to dry.
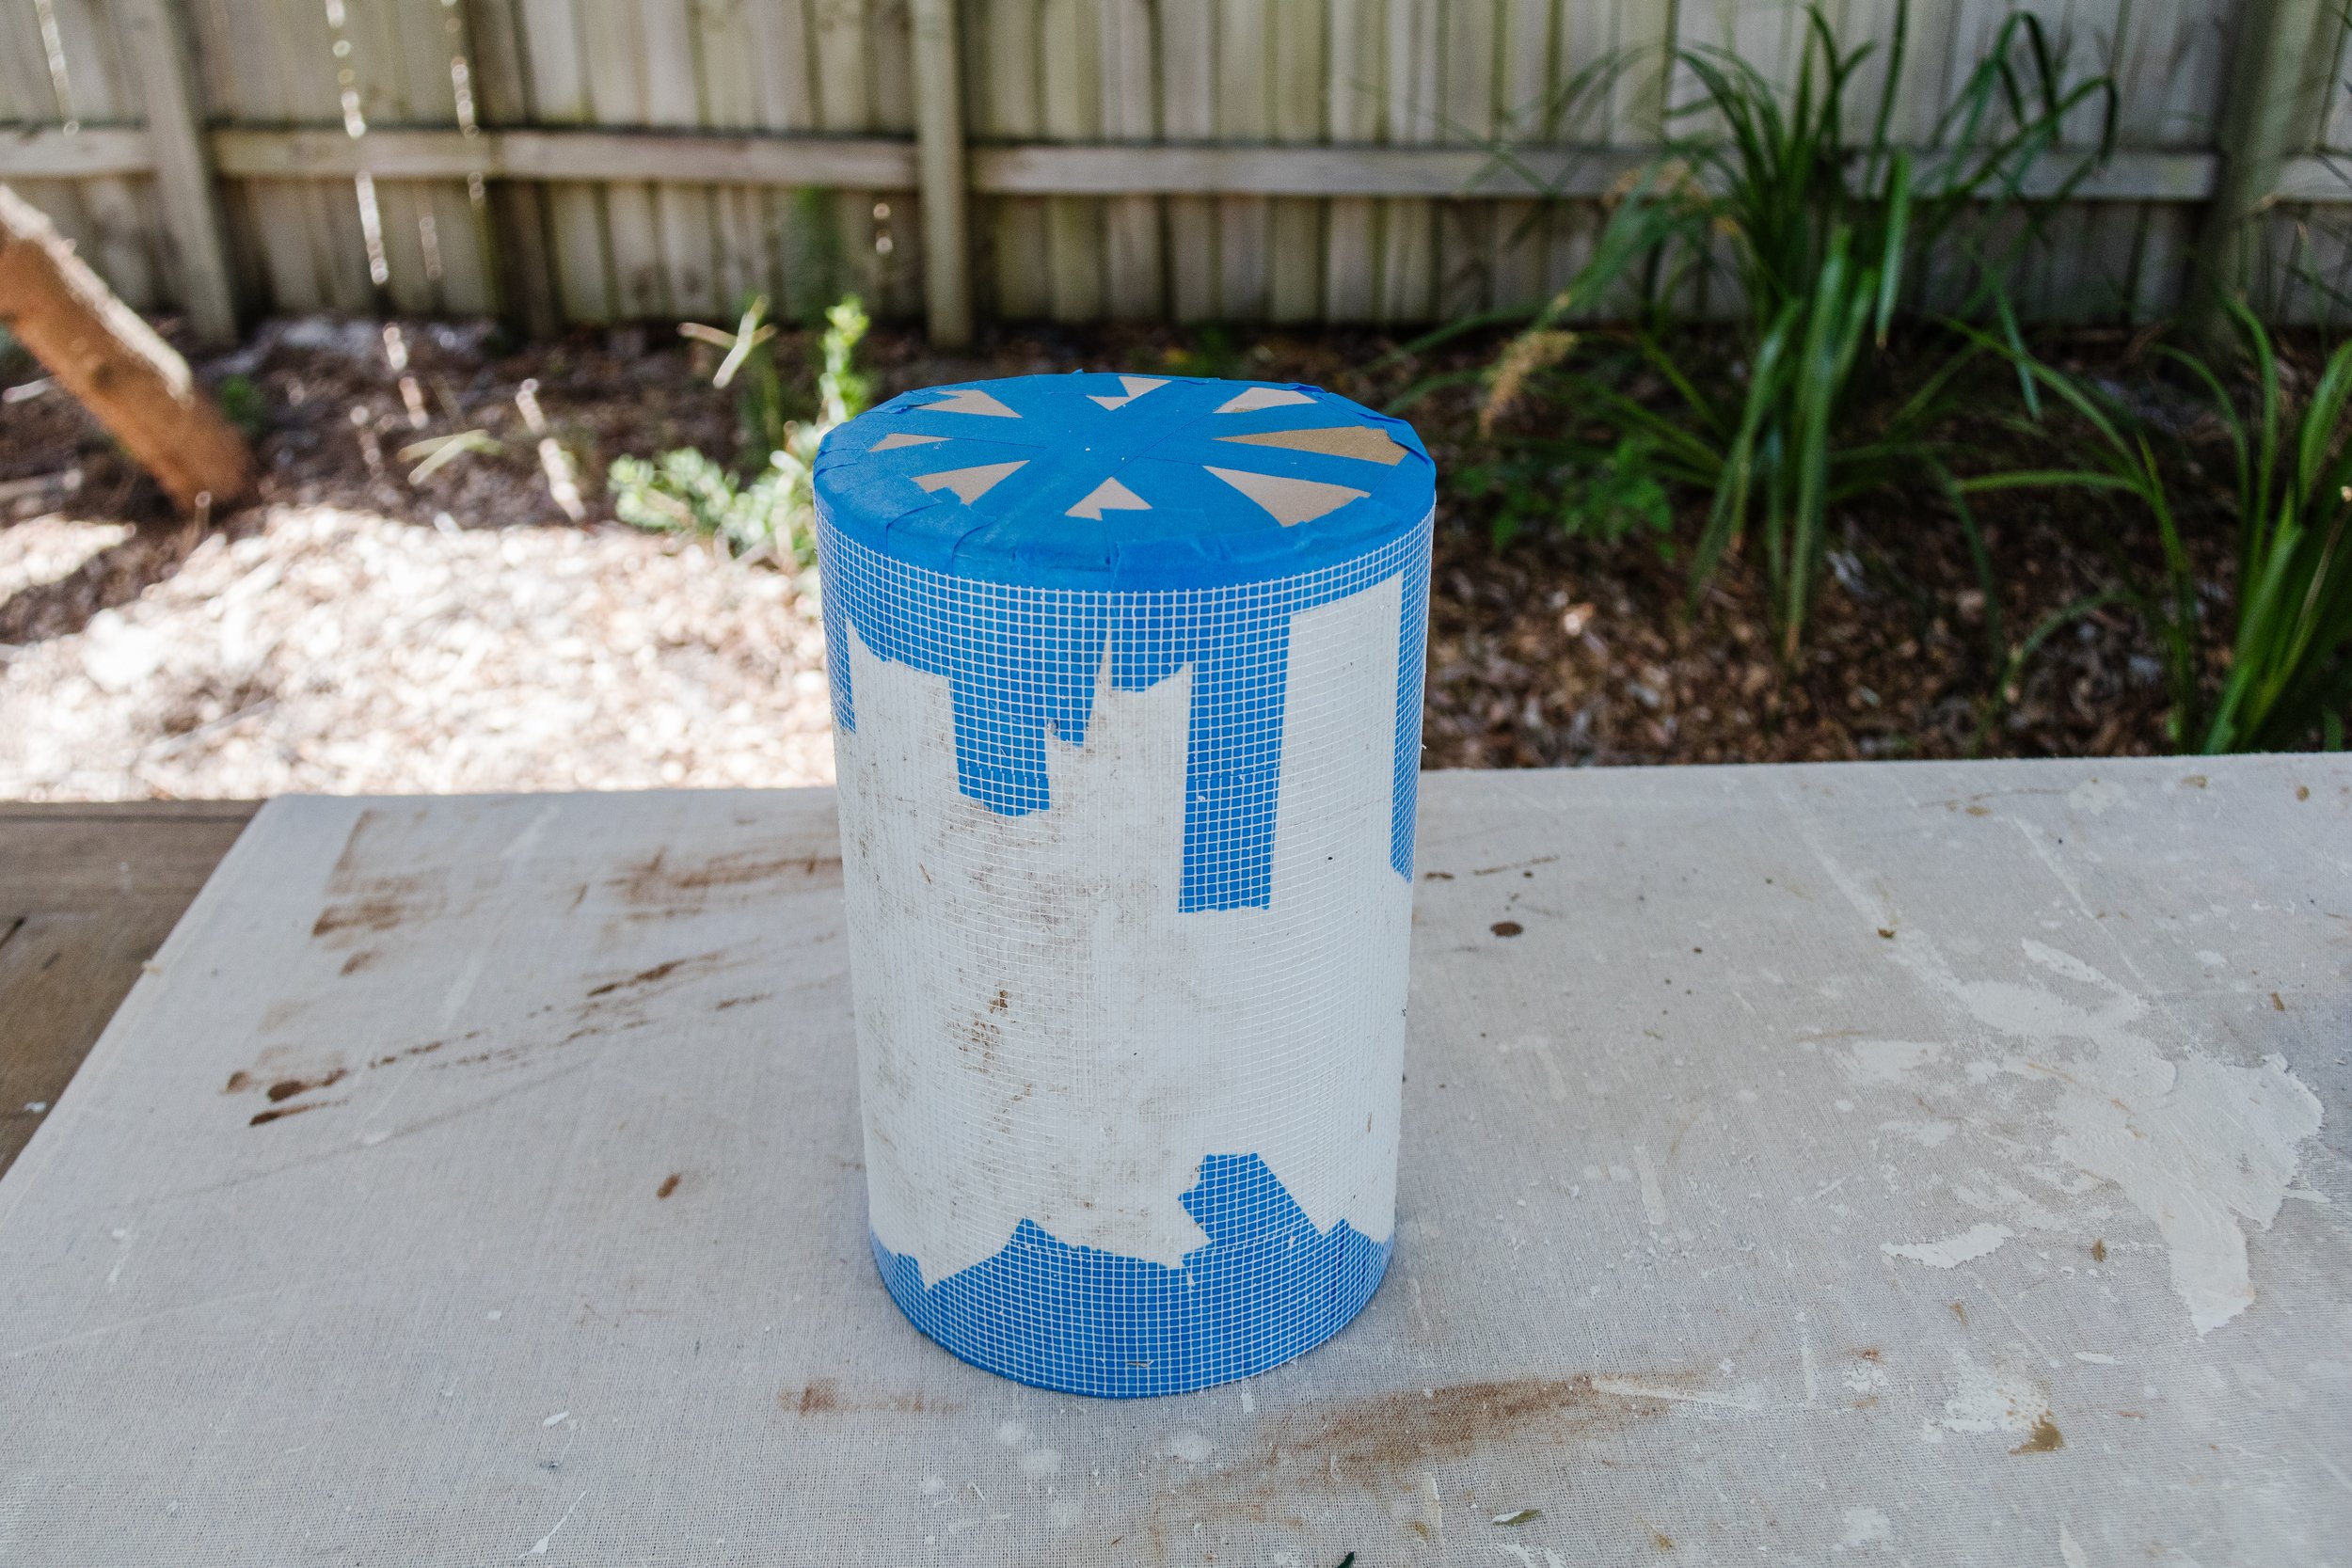
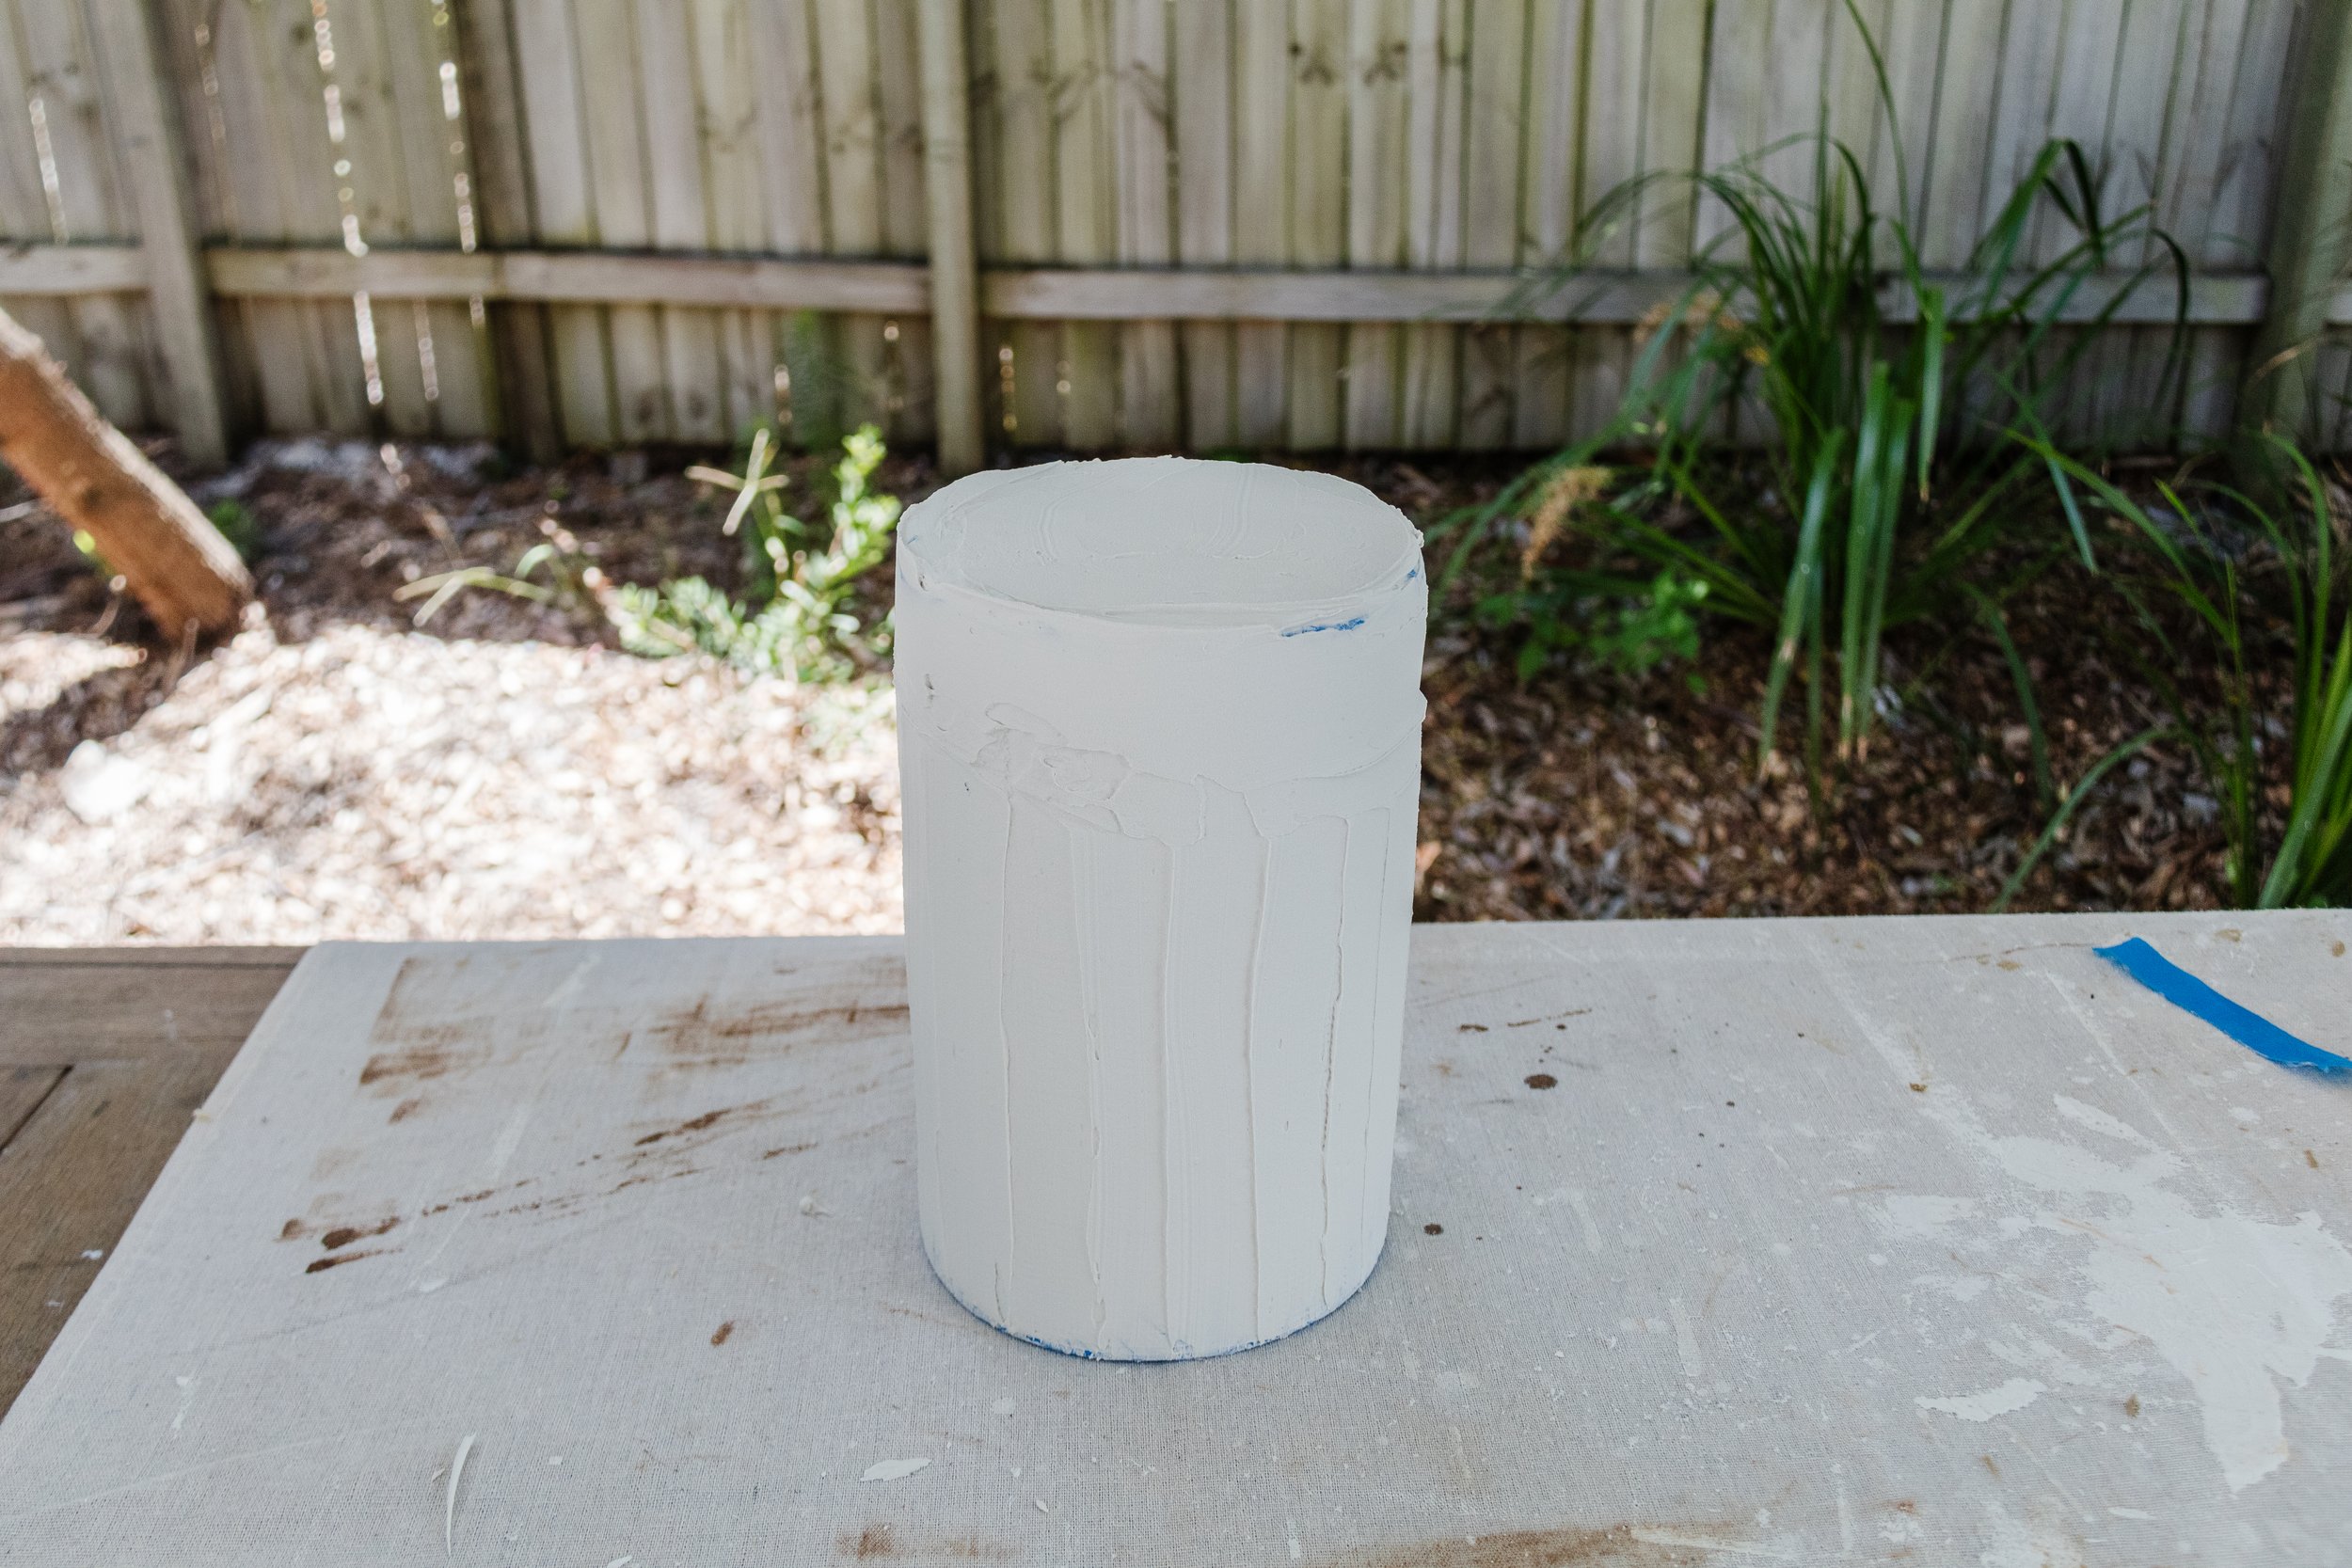
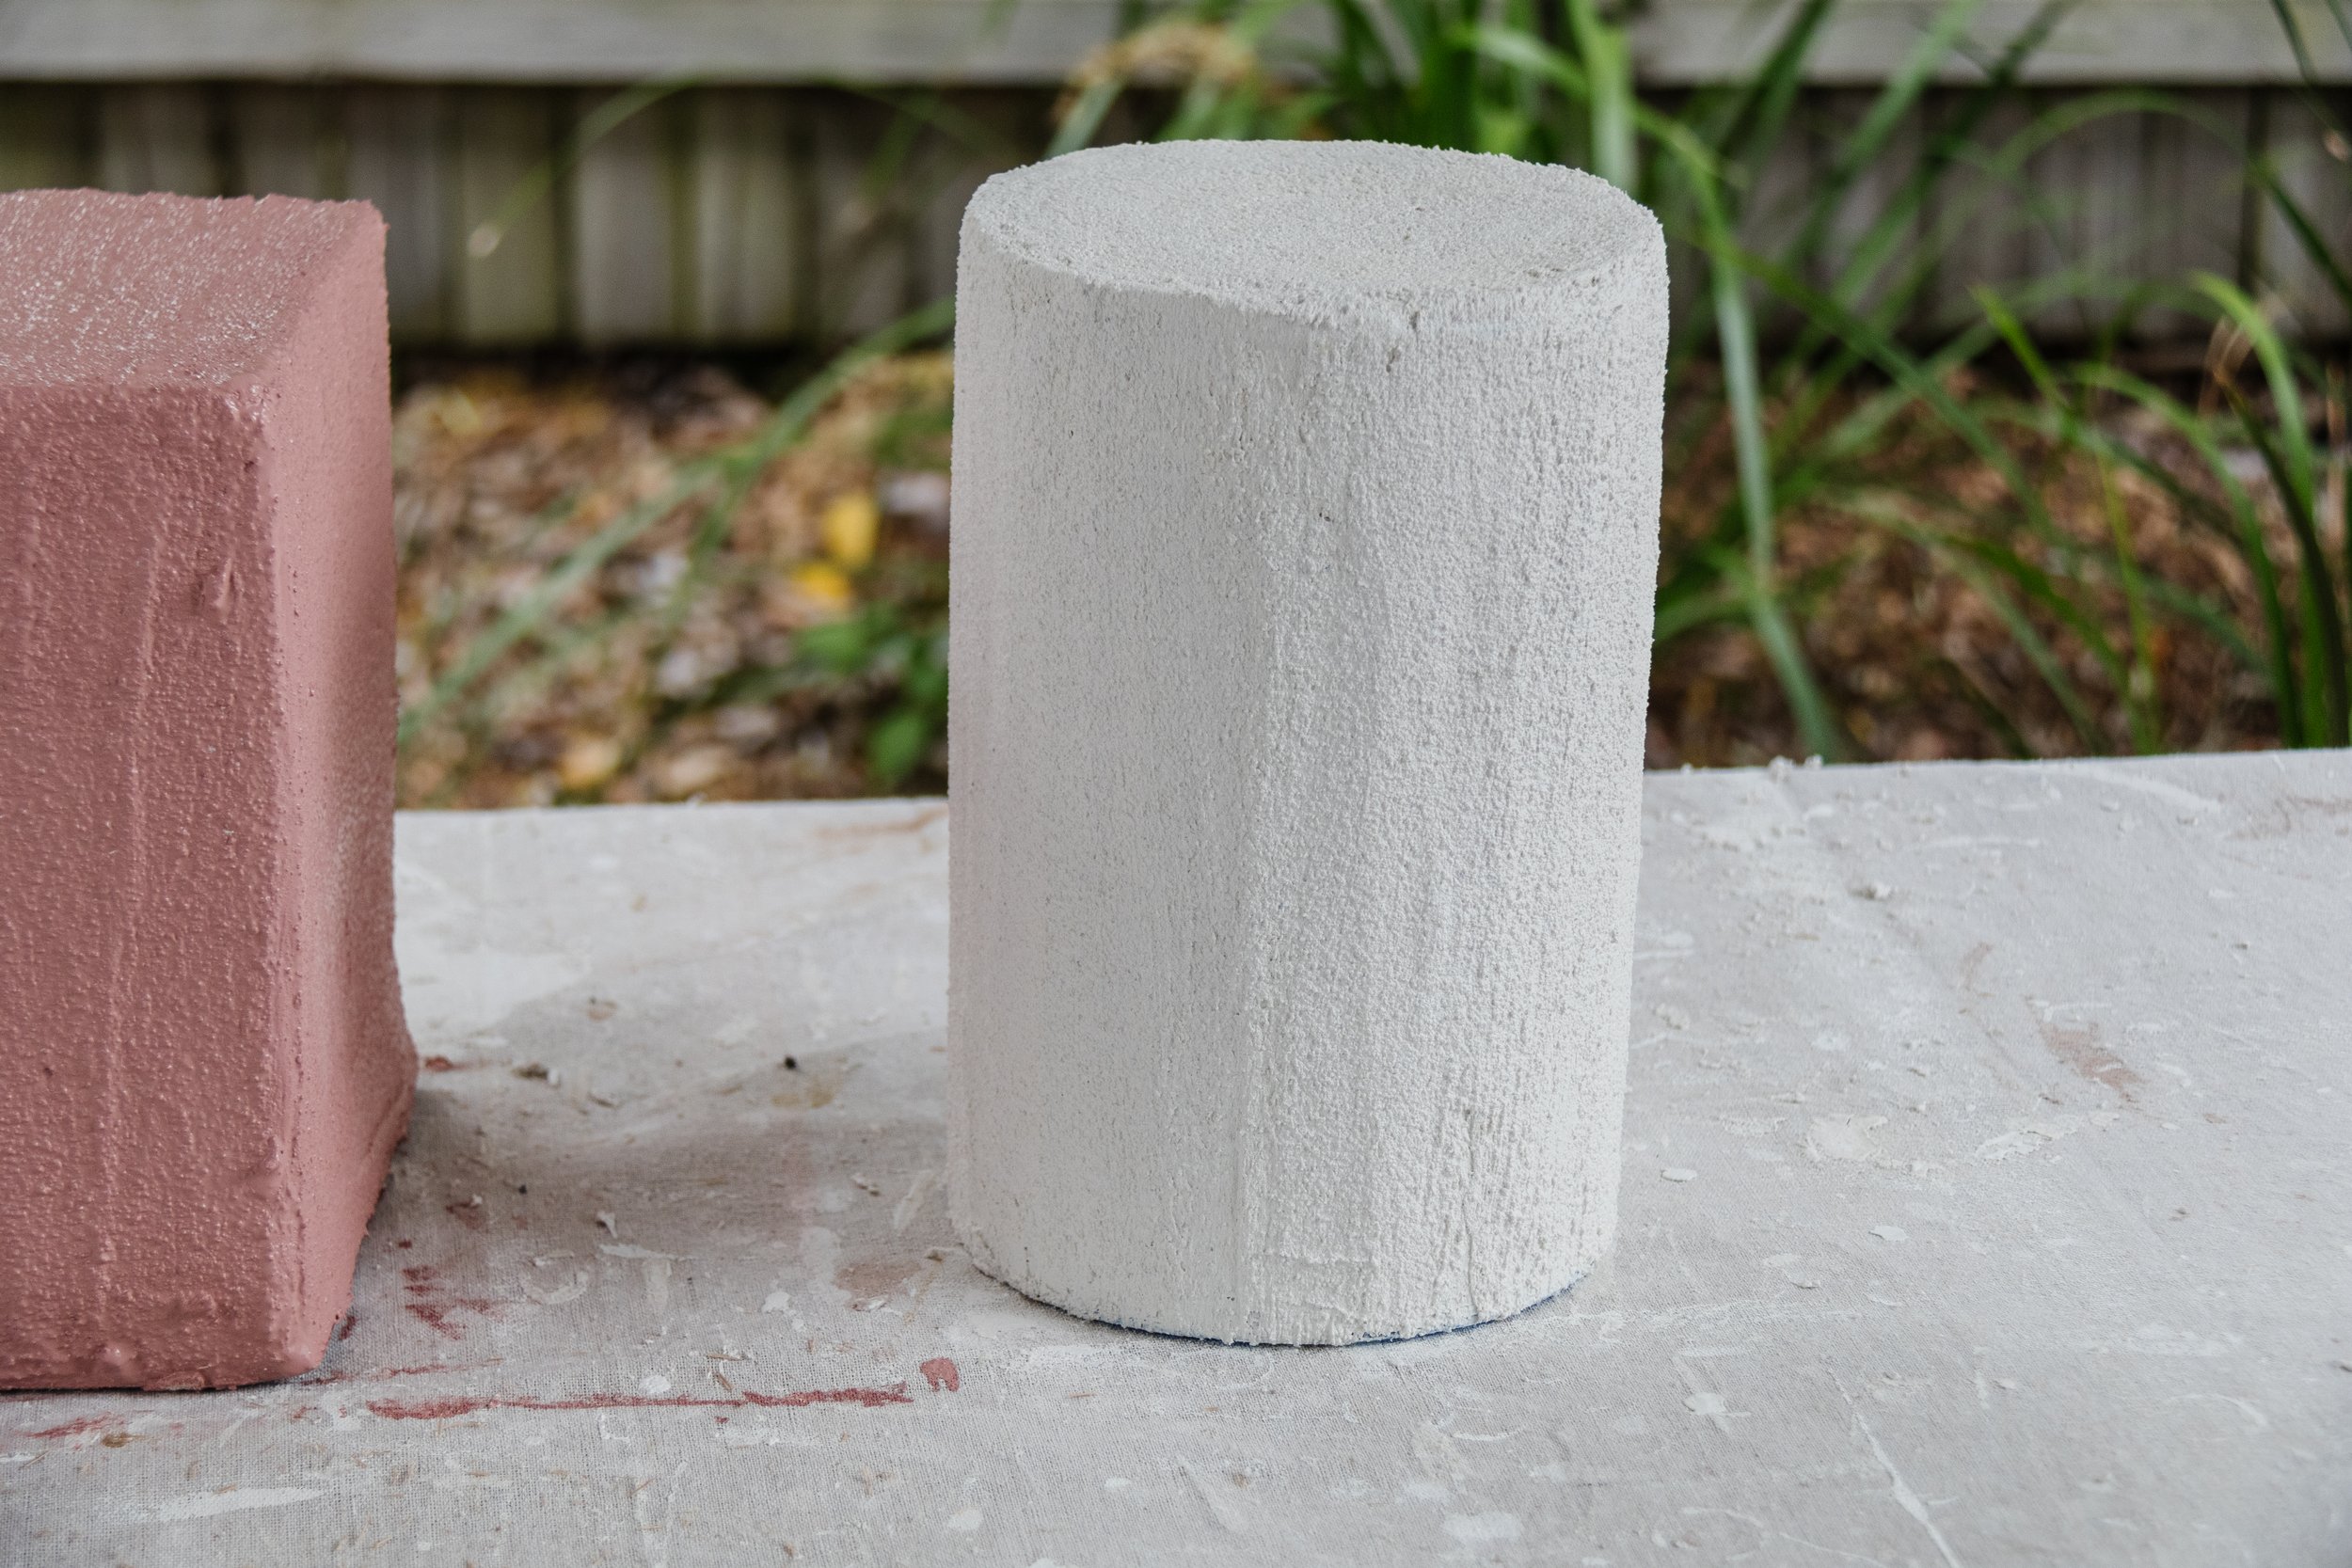
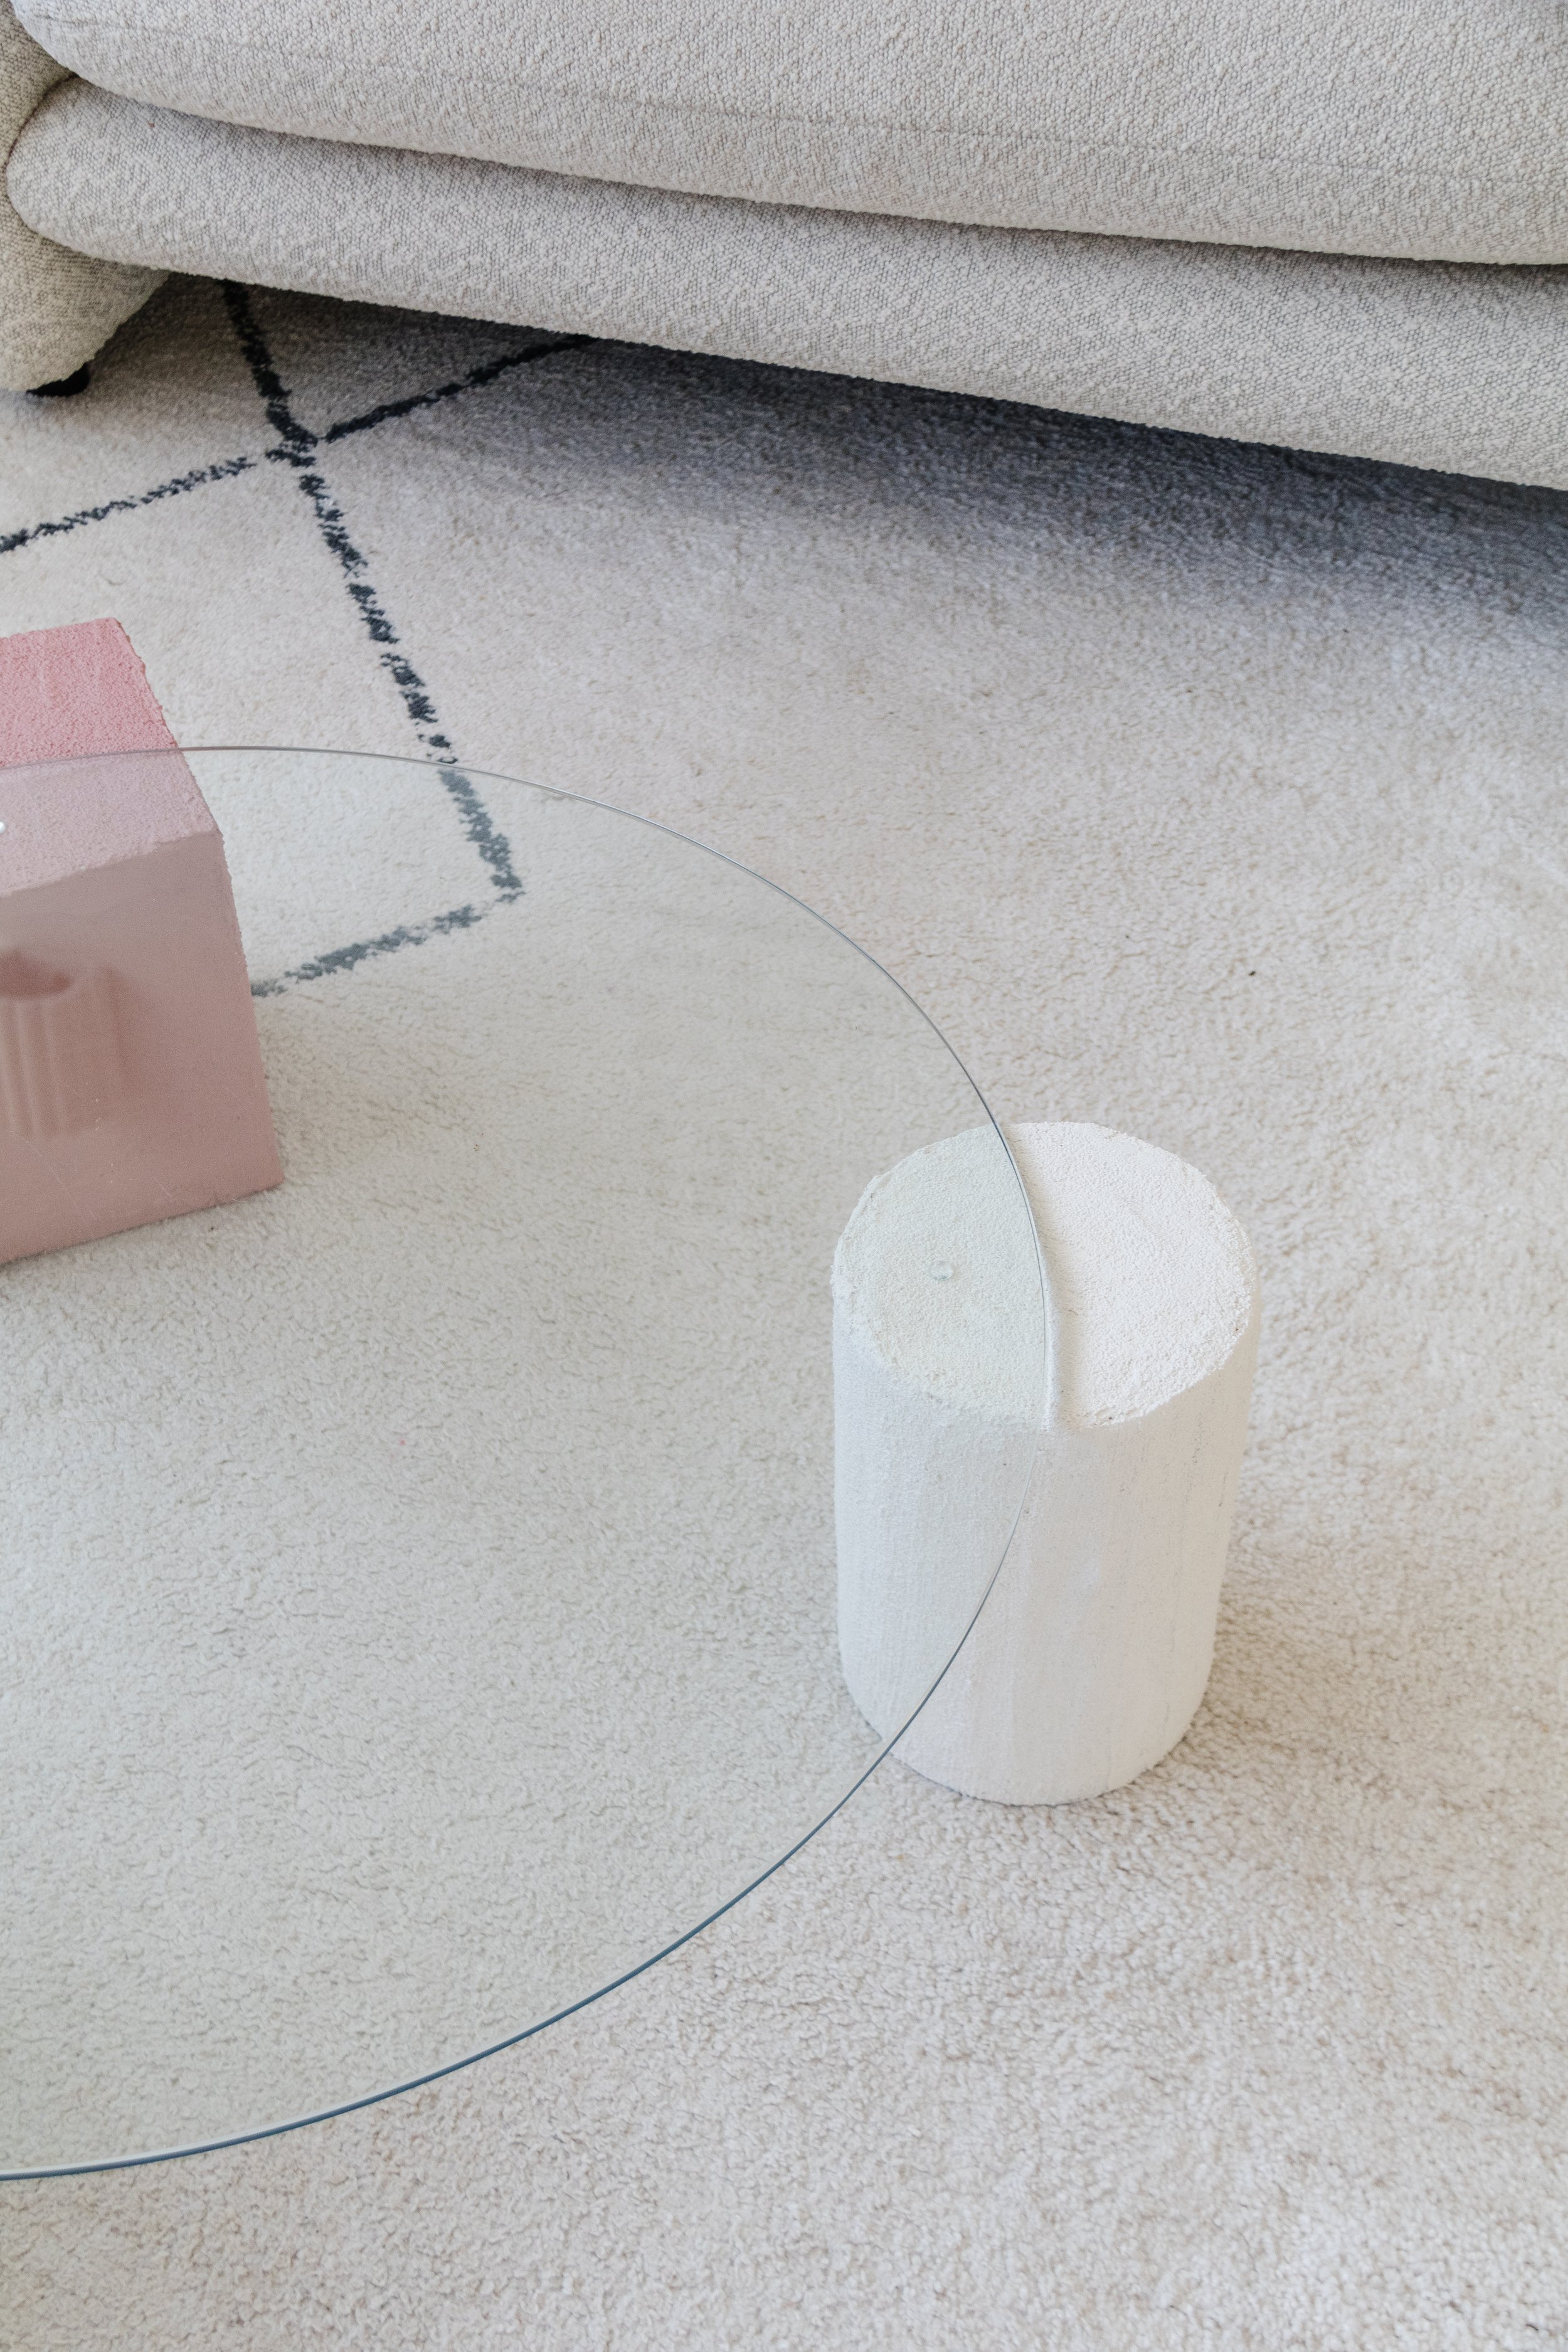
Step 2: Measure the ball from the bottom to the top. Using a hand saw, cut the PVC pipe to the same length. Using scrap cardboard, cut and tape a circle onto the top and bottom of the PVC pipe to make a cylinder. Wrap the pipe in plaster tape then standing the pipe up, completely cover the ball with plaster using the plastic scraper (but not the bottom of the PVC pipe as you won’t see this anyway). Set aside to dry.
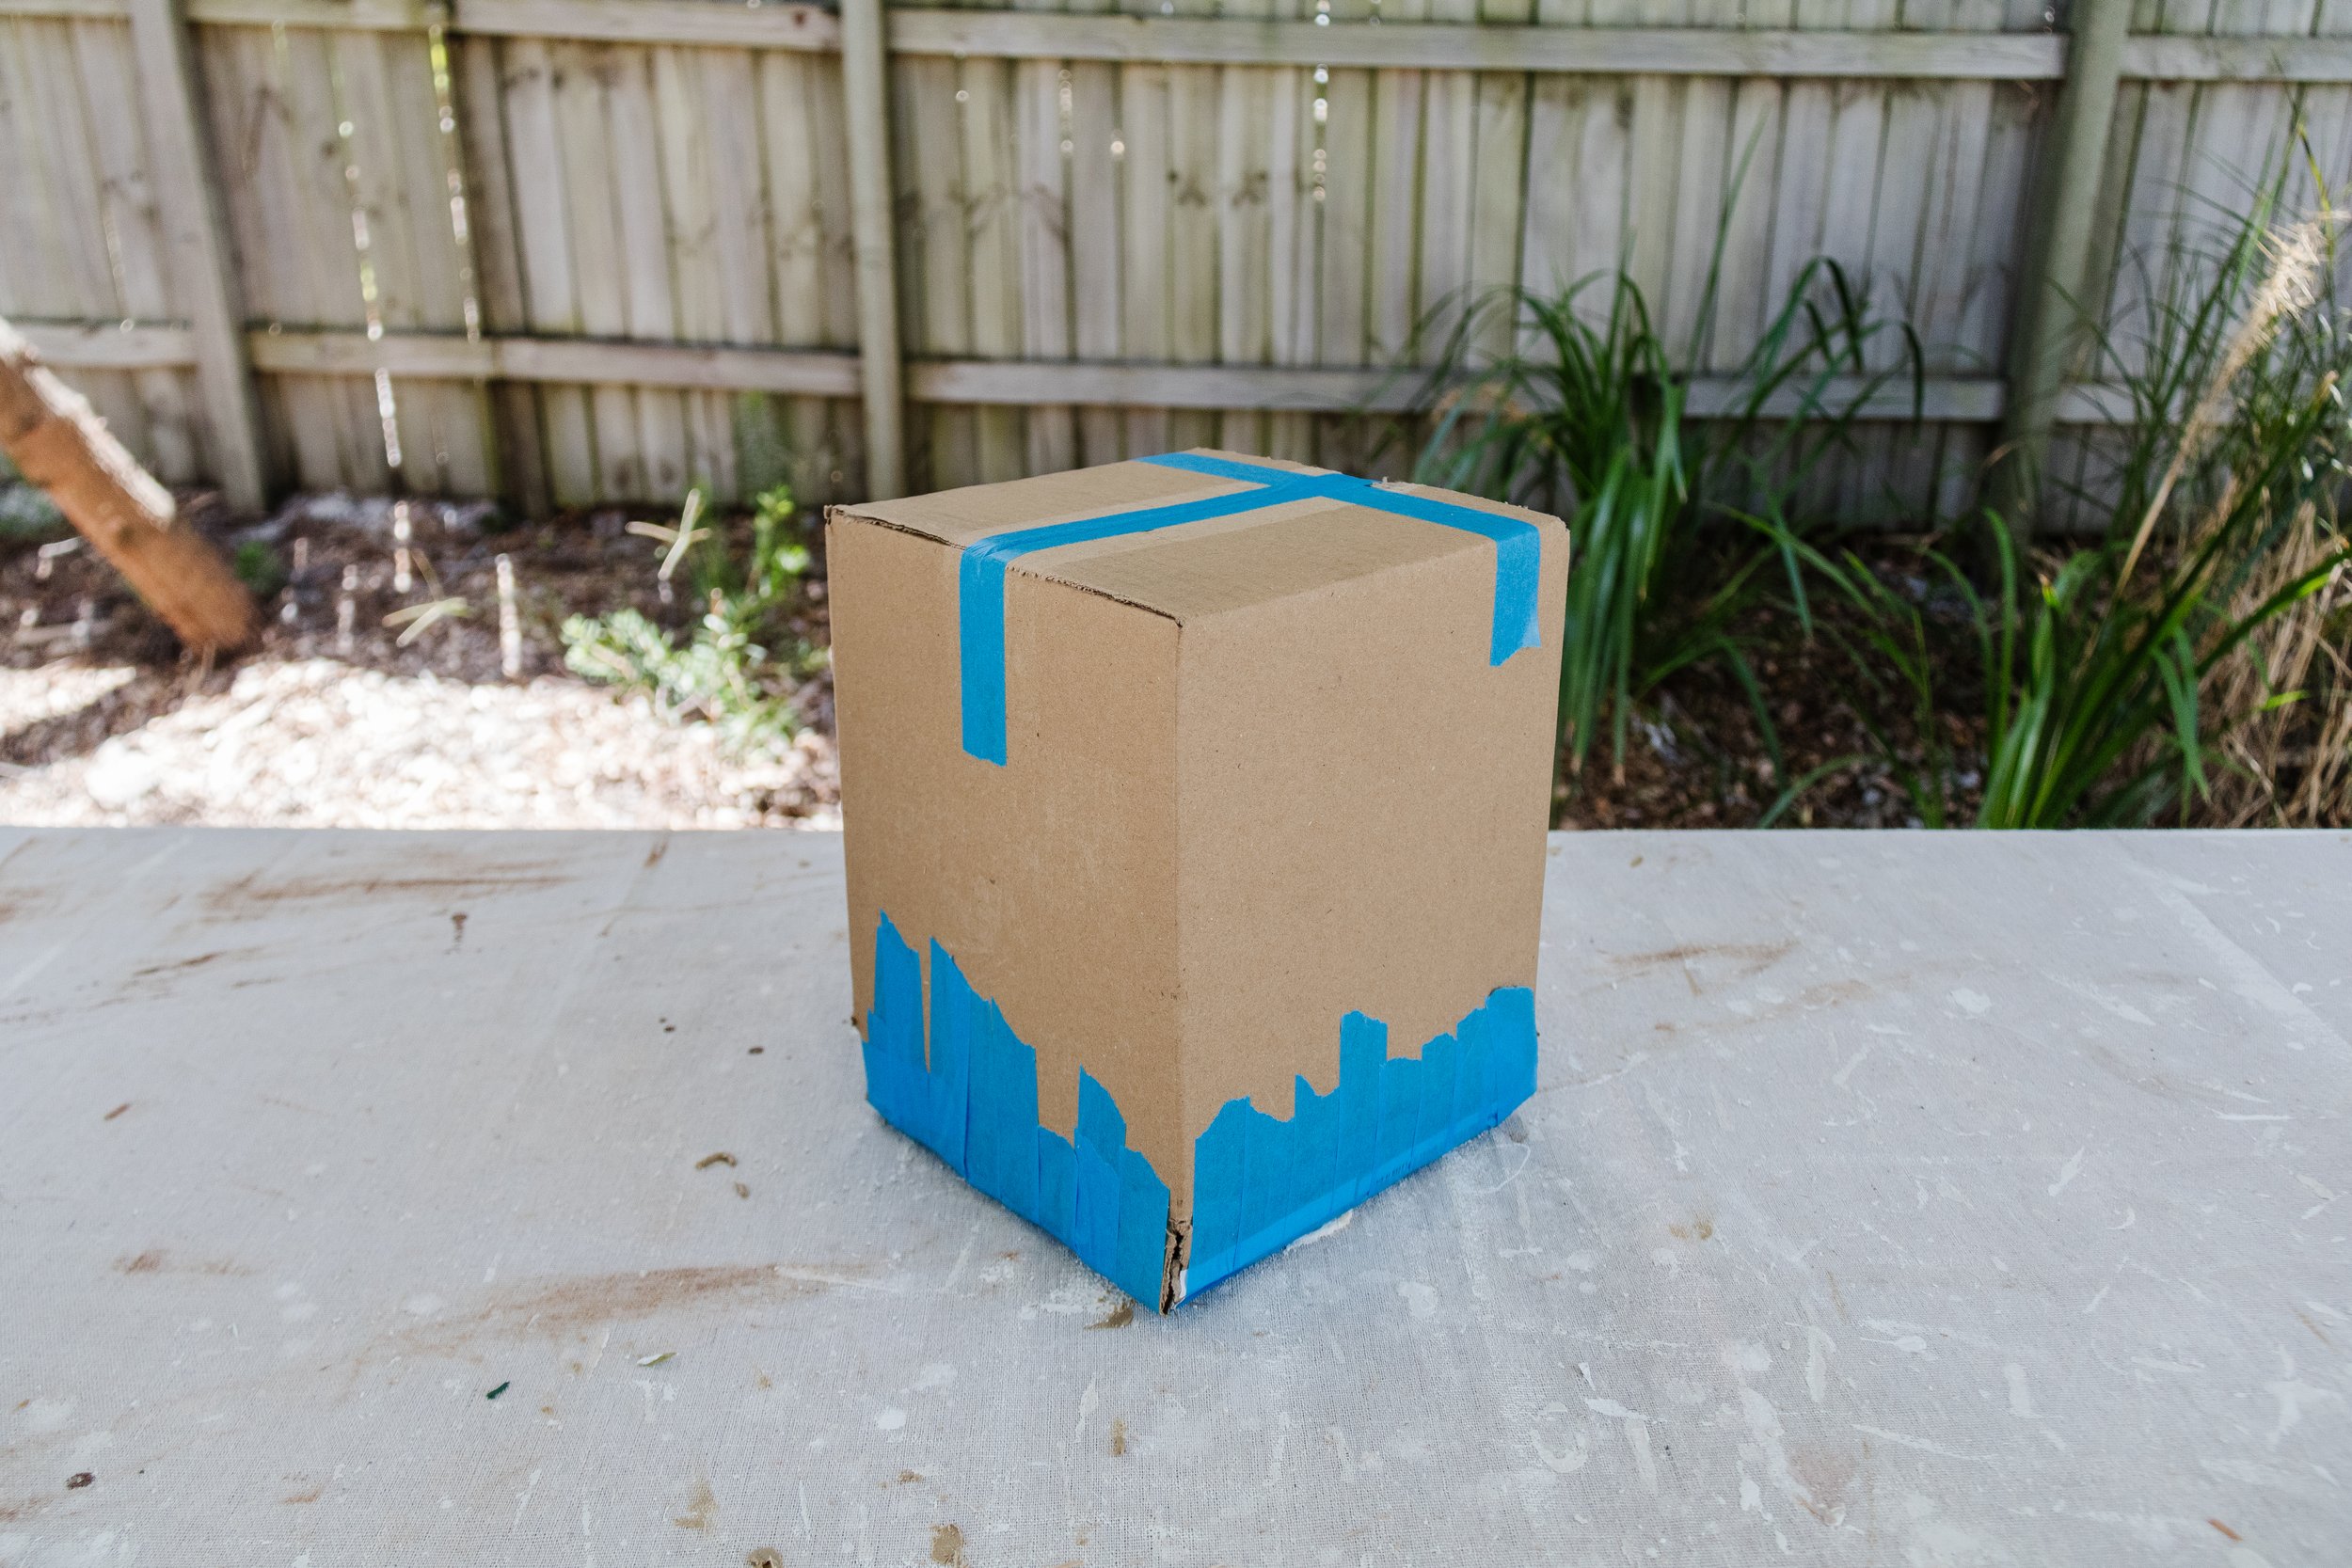
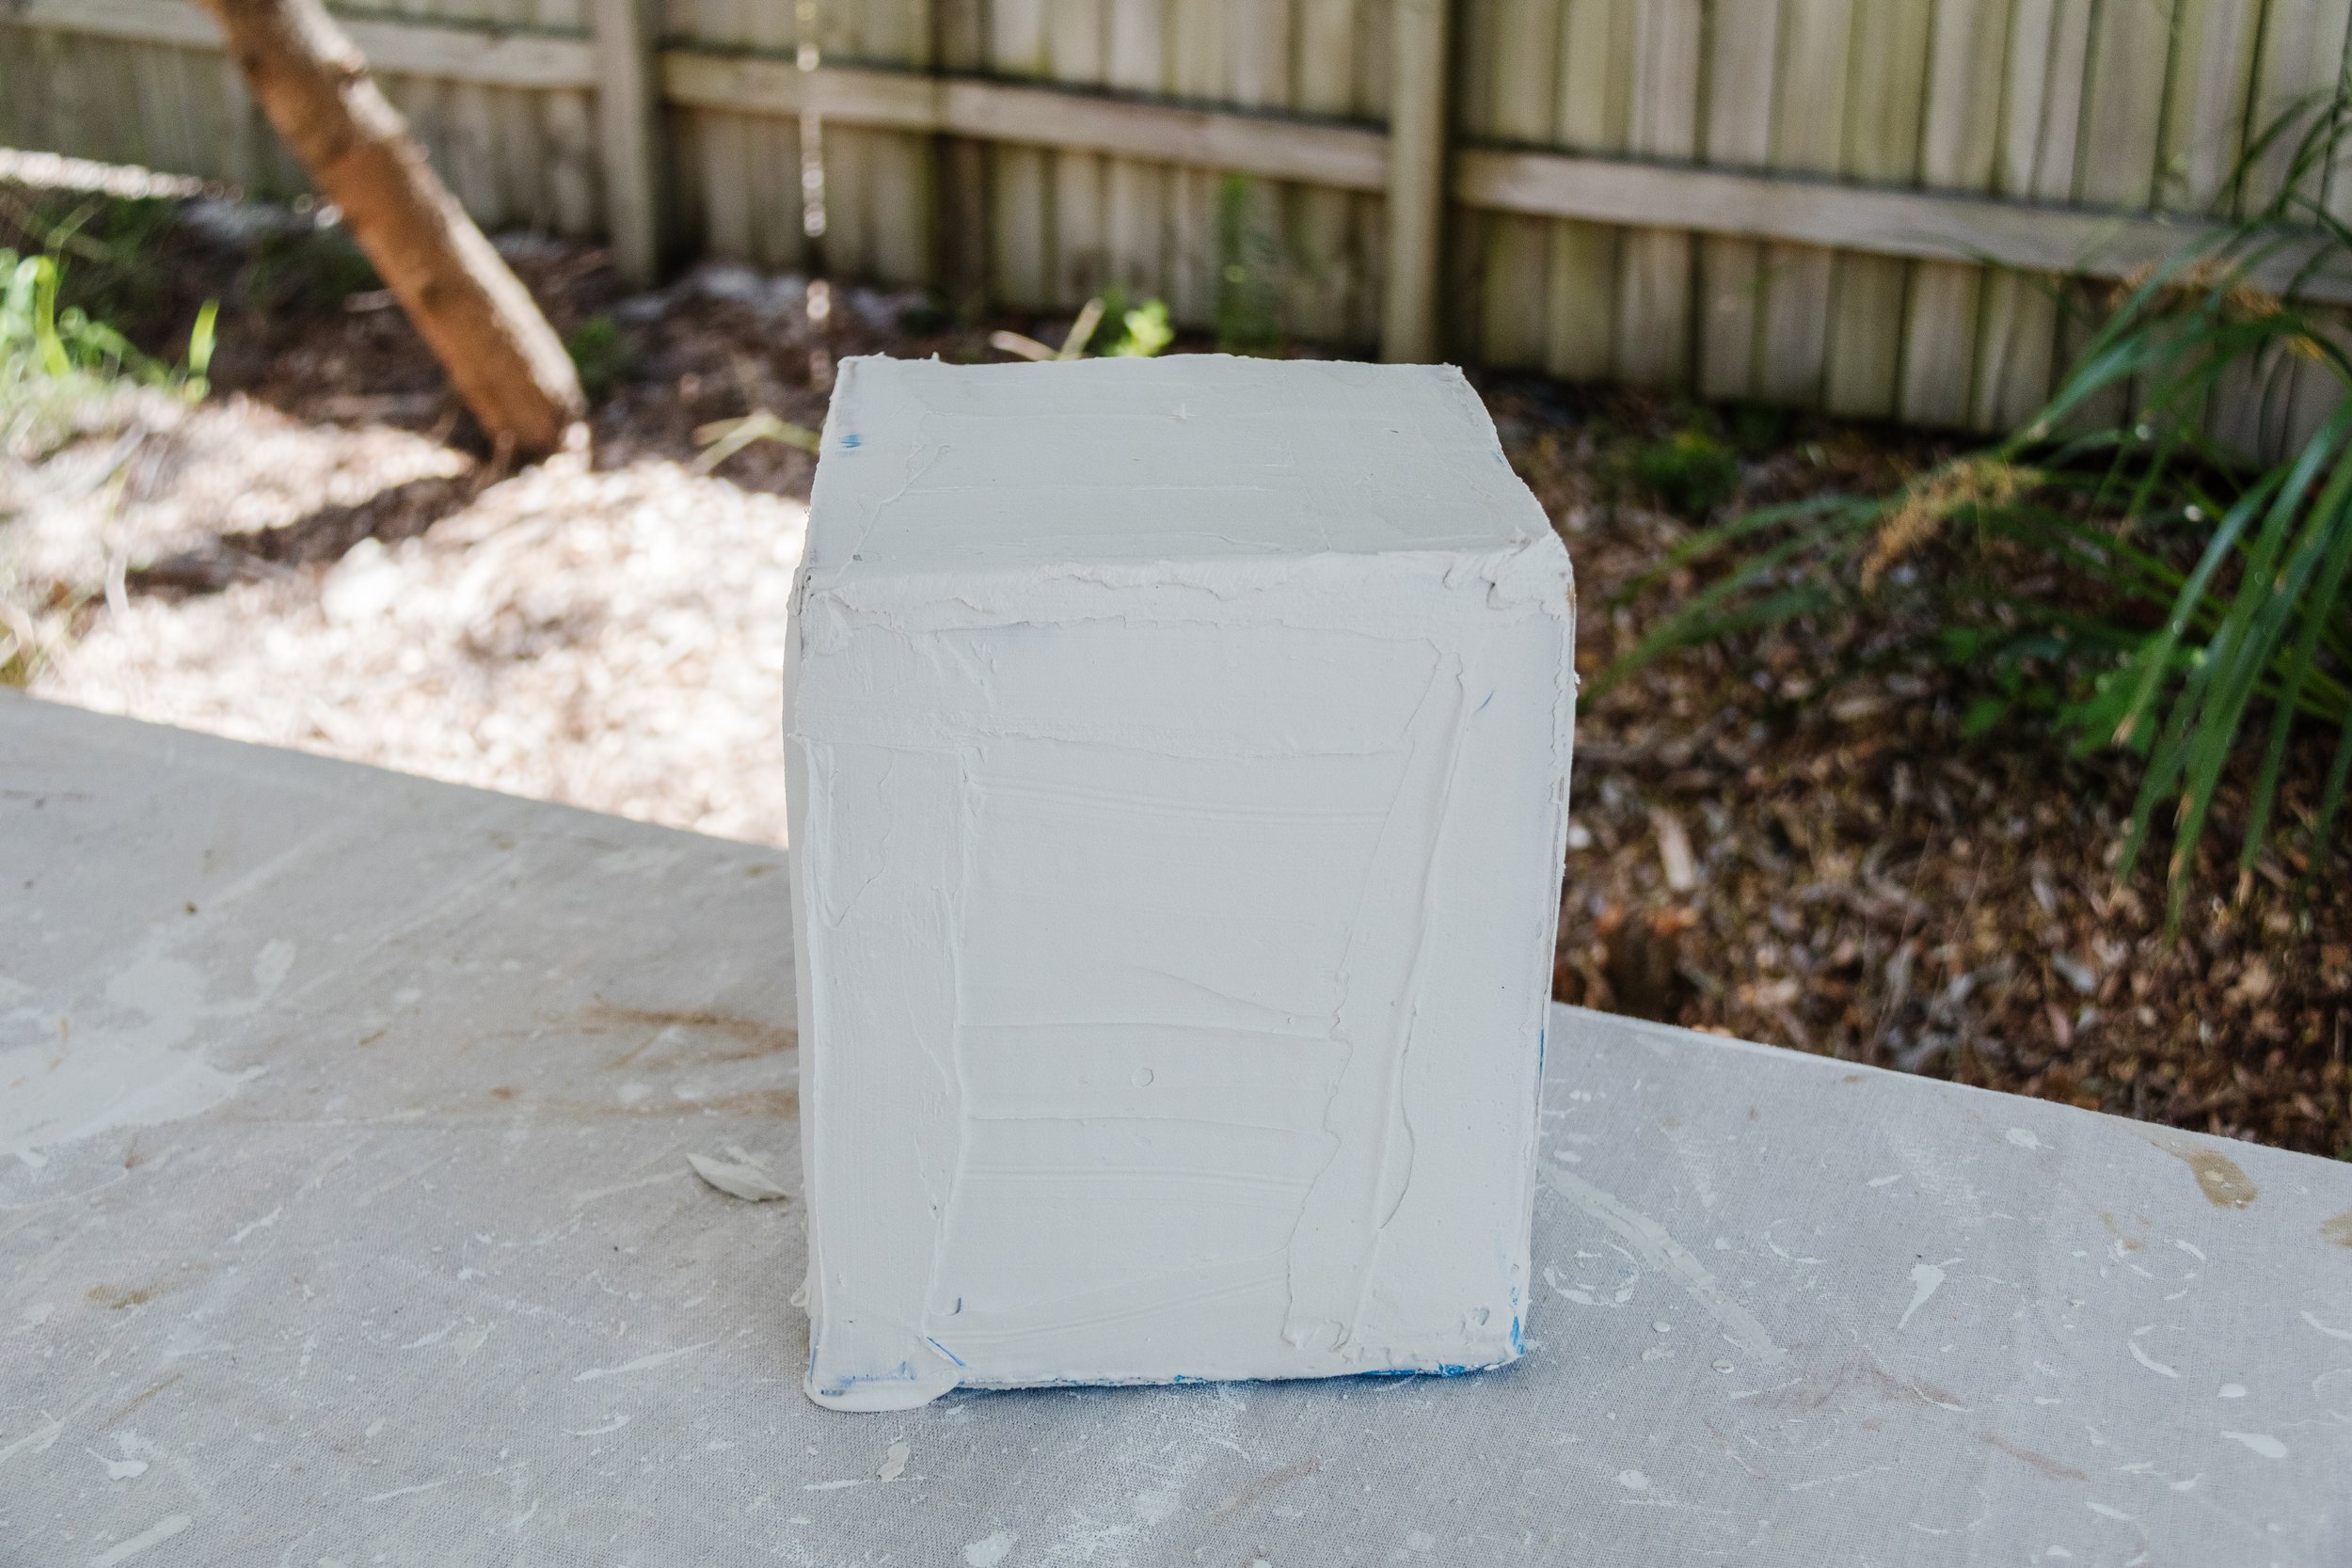
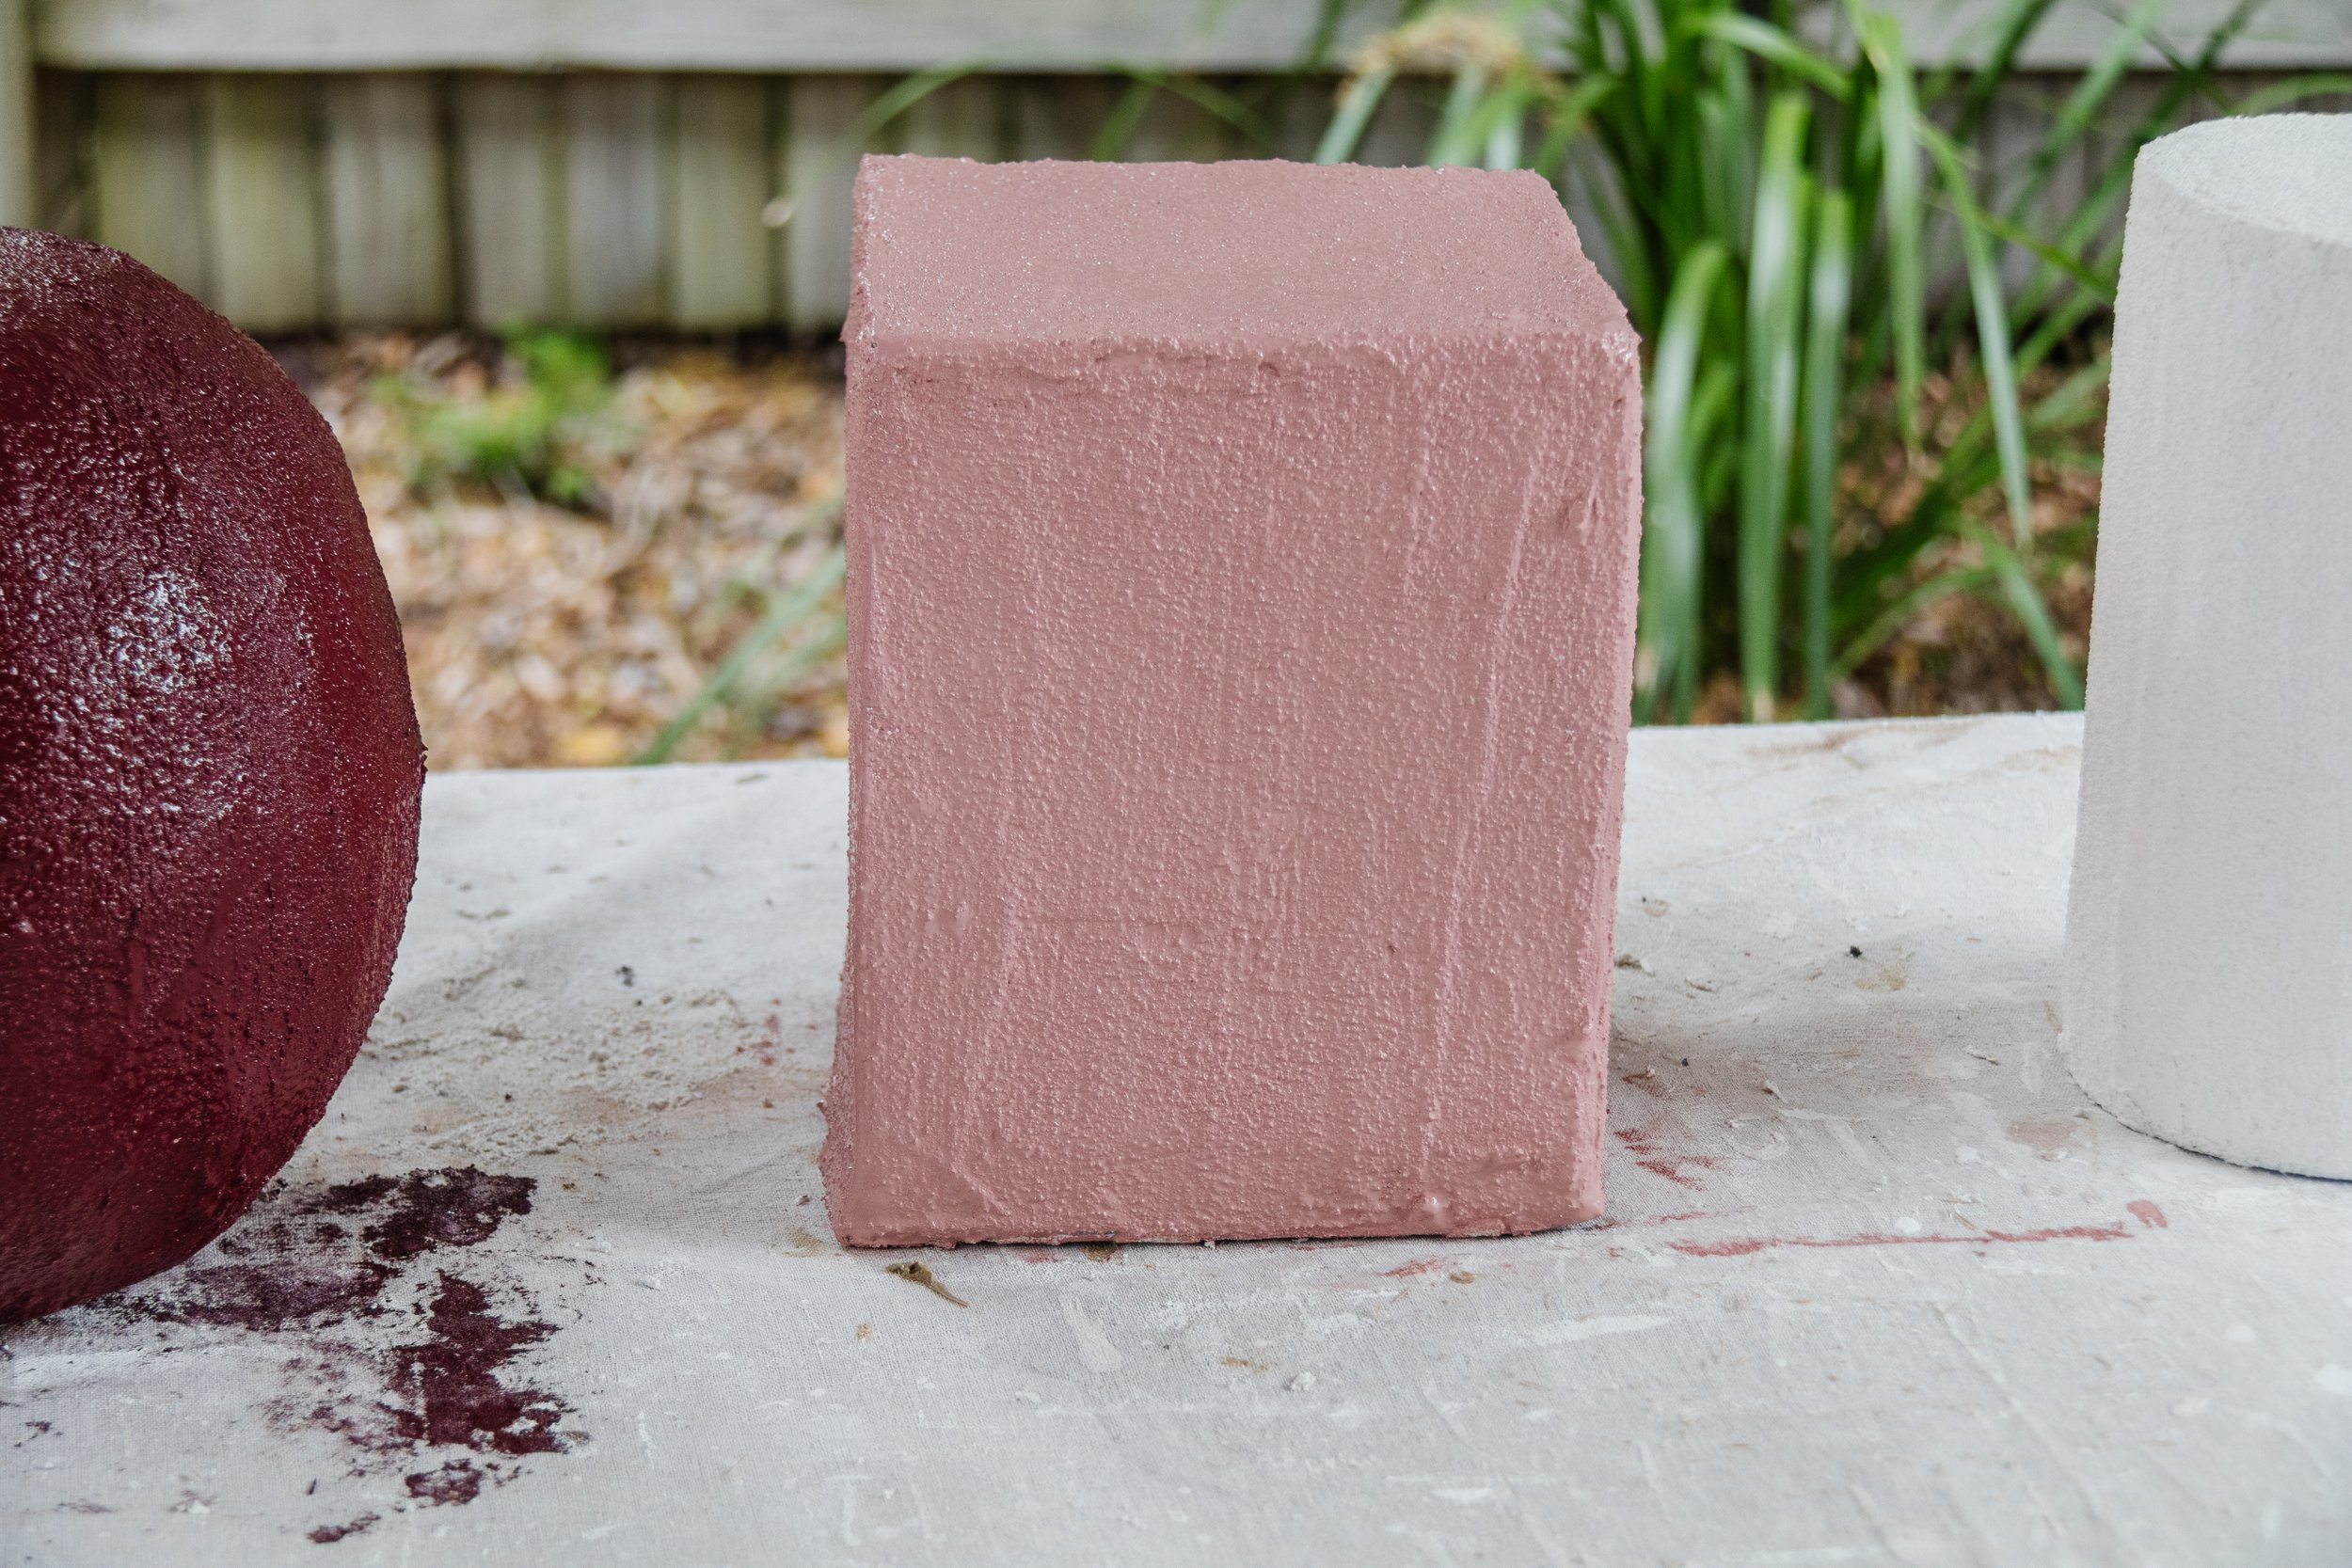
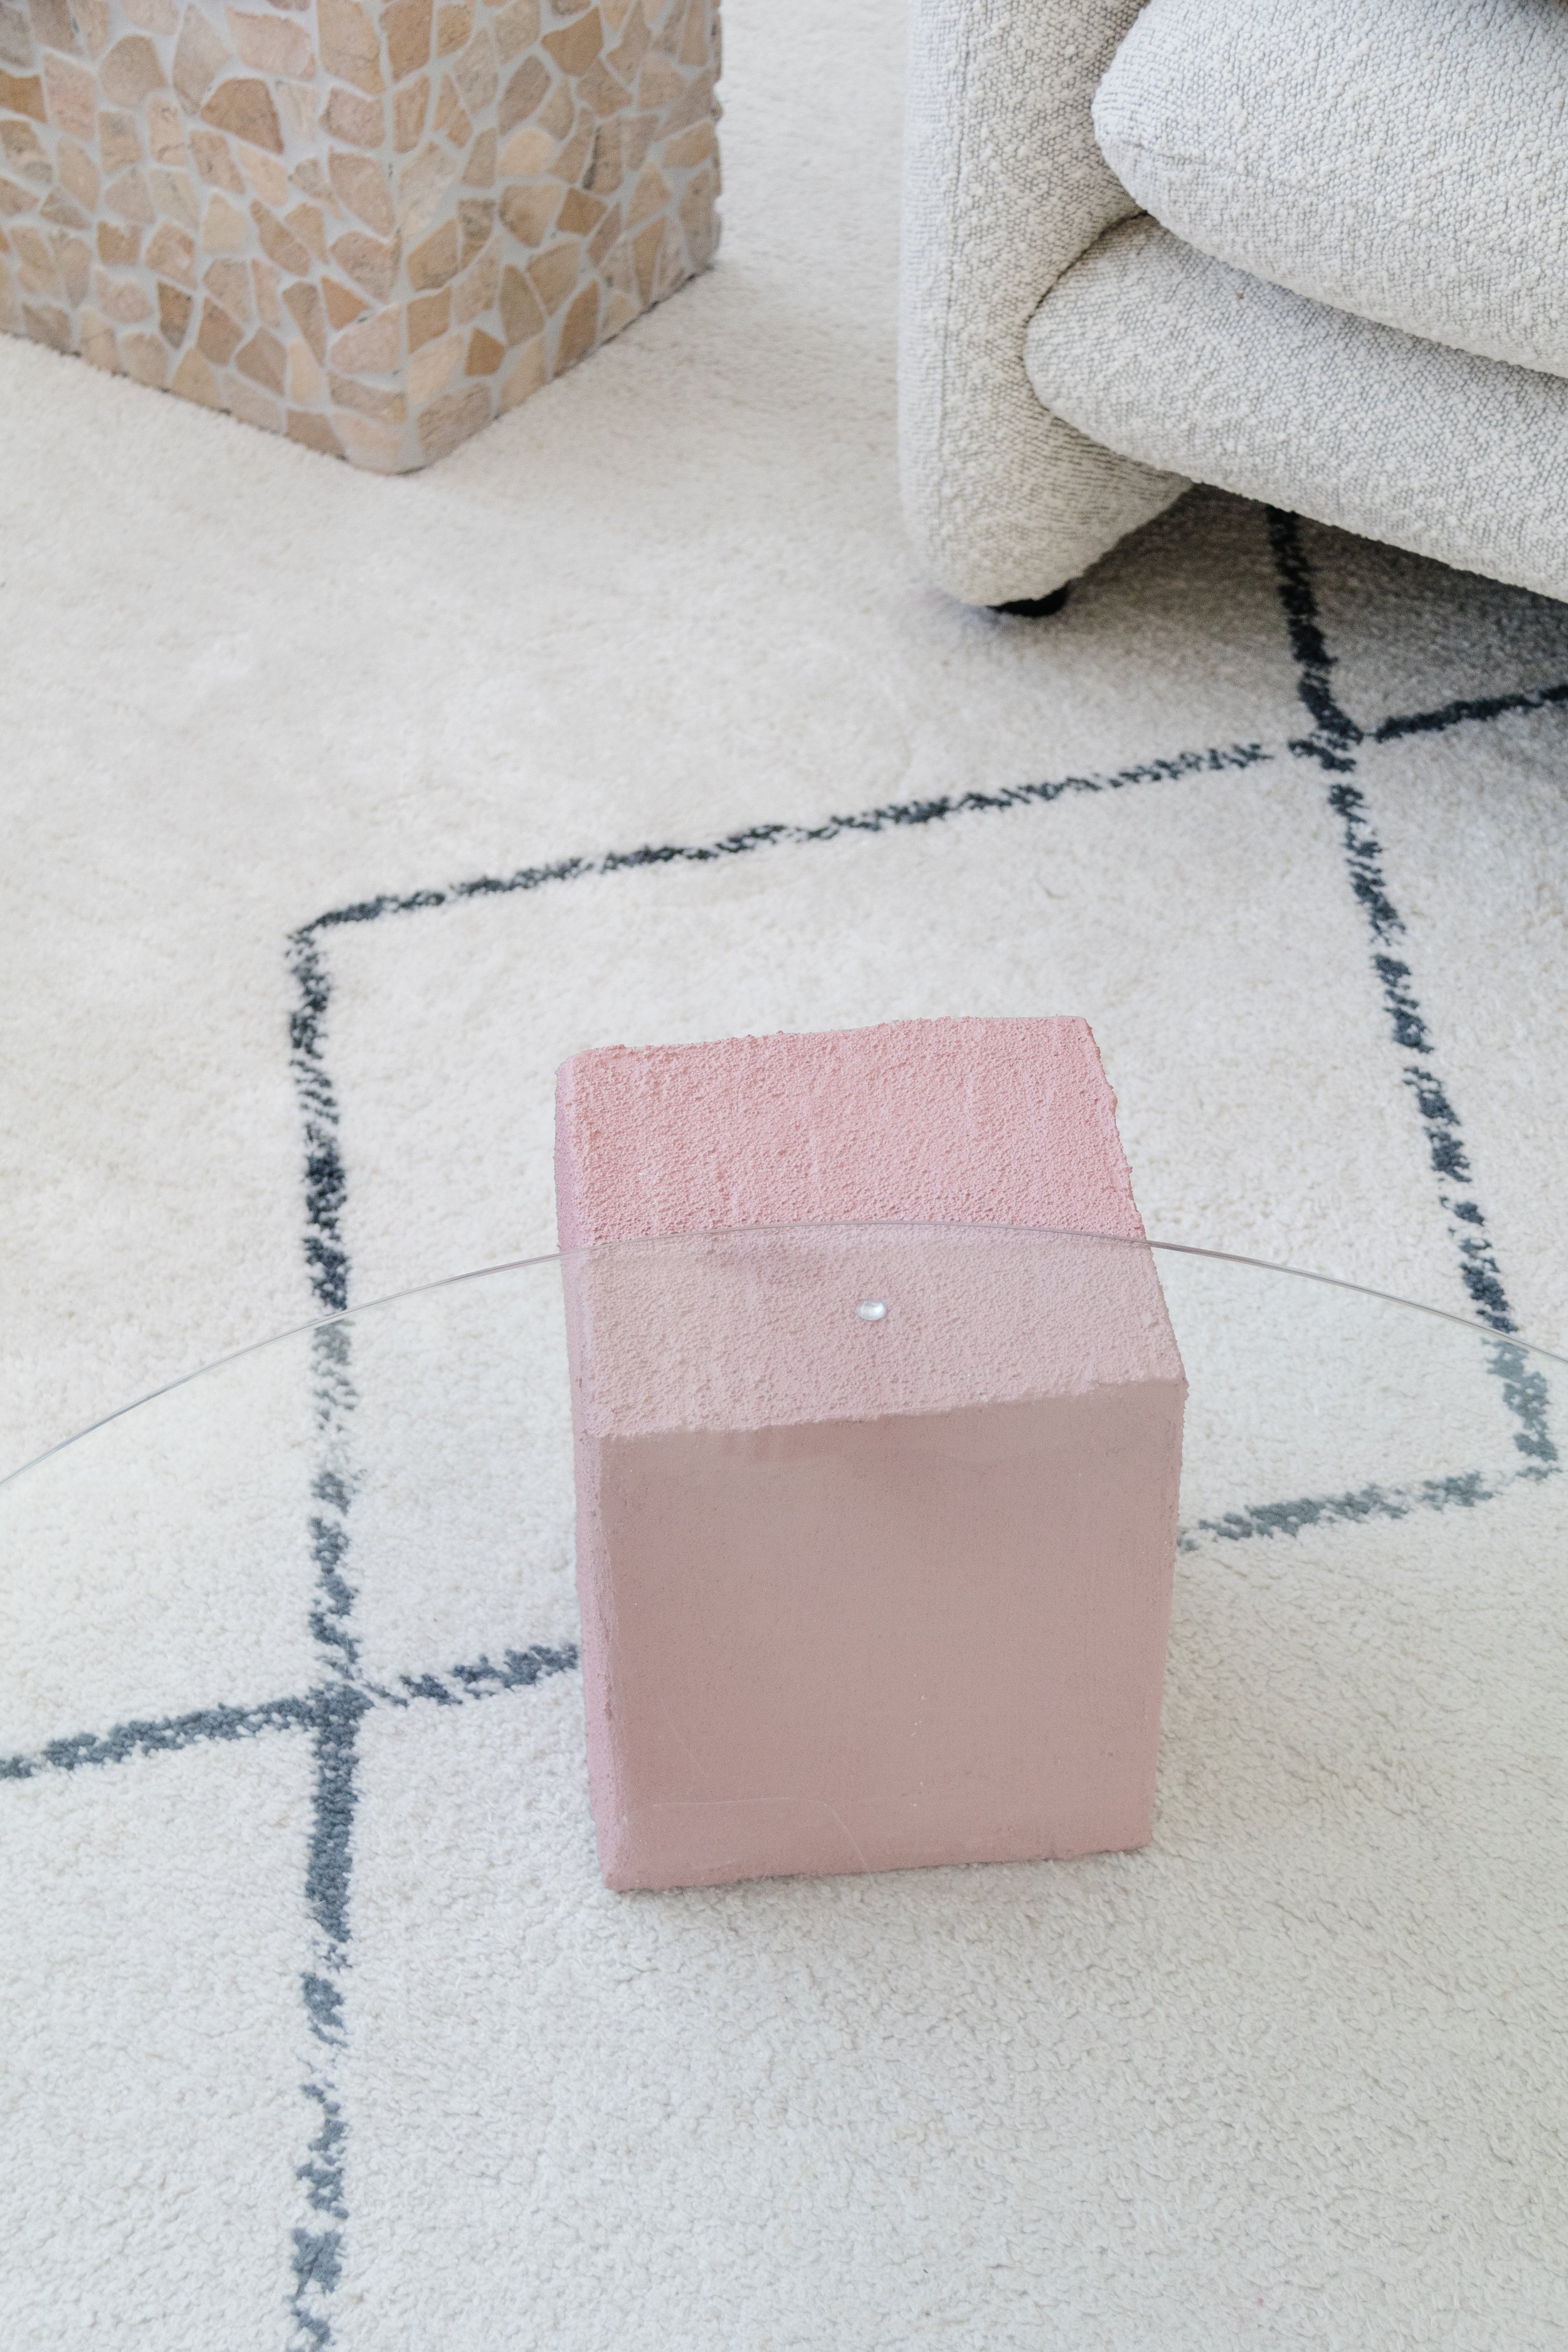
Step 3: Using the same measurements as the height of the ball and cylinder (PVC pipe), make a cube using the scrap cardboard and painters tape. Completely cover the ball with plaster using the plastic scraper (but not the bottom of the cube as you won’t see this anyway). Set aside to dry.
NB: You are more than welcome to make a pyramid with cardboard and painters tape if you like. This will depend on how big your glass panel is. Mine was too small for 4 forms.
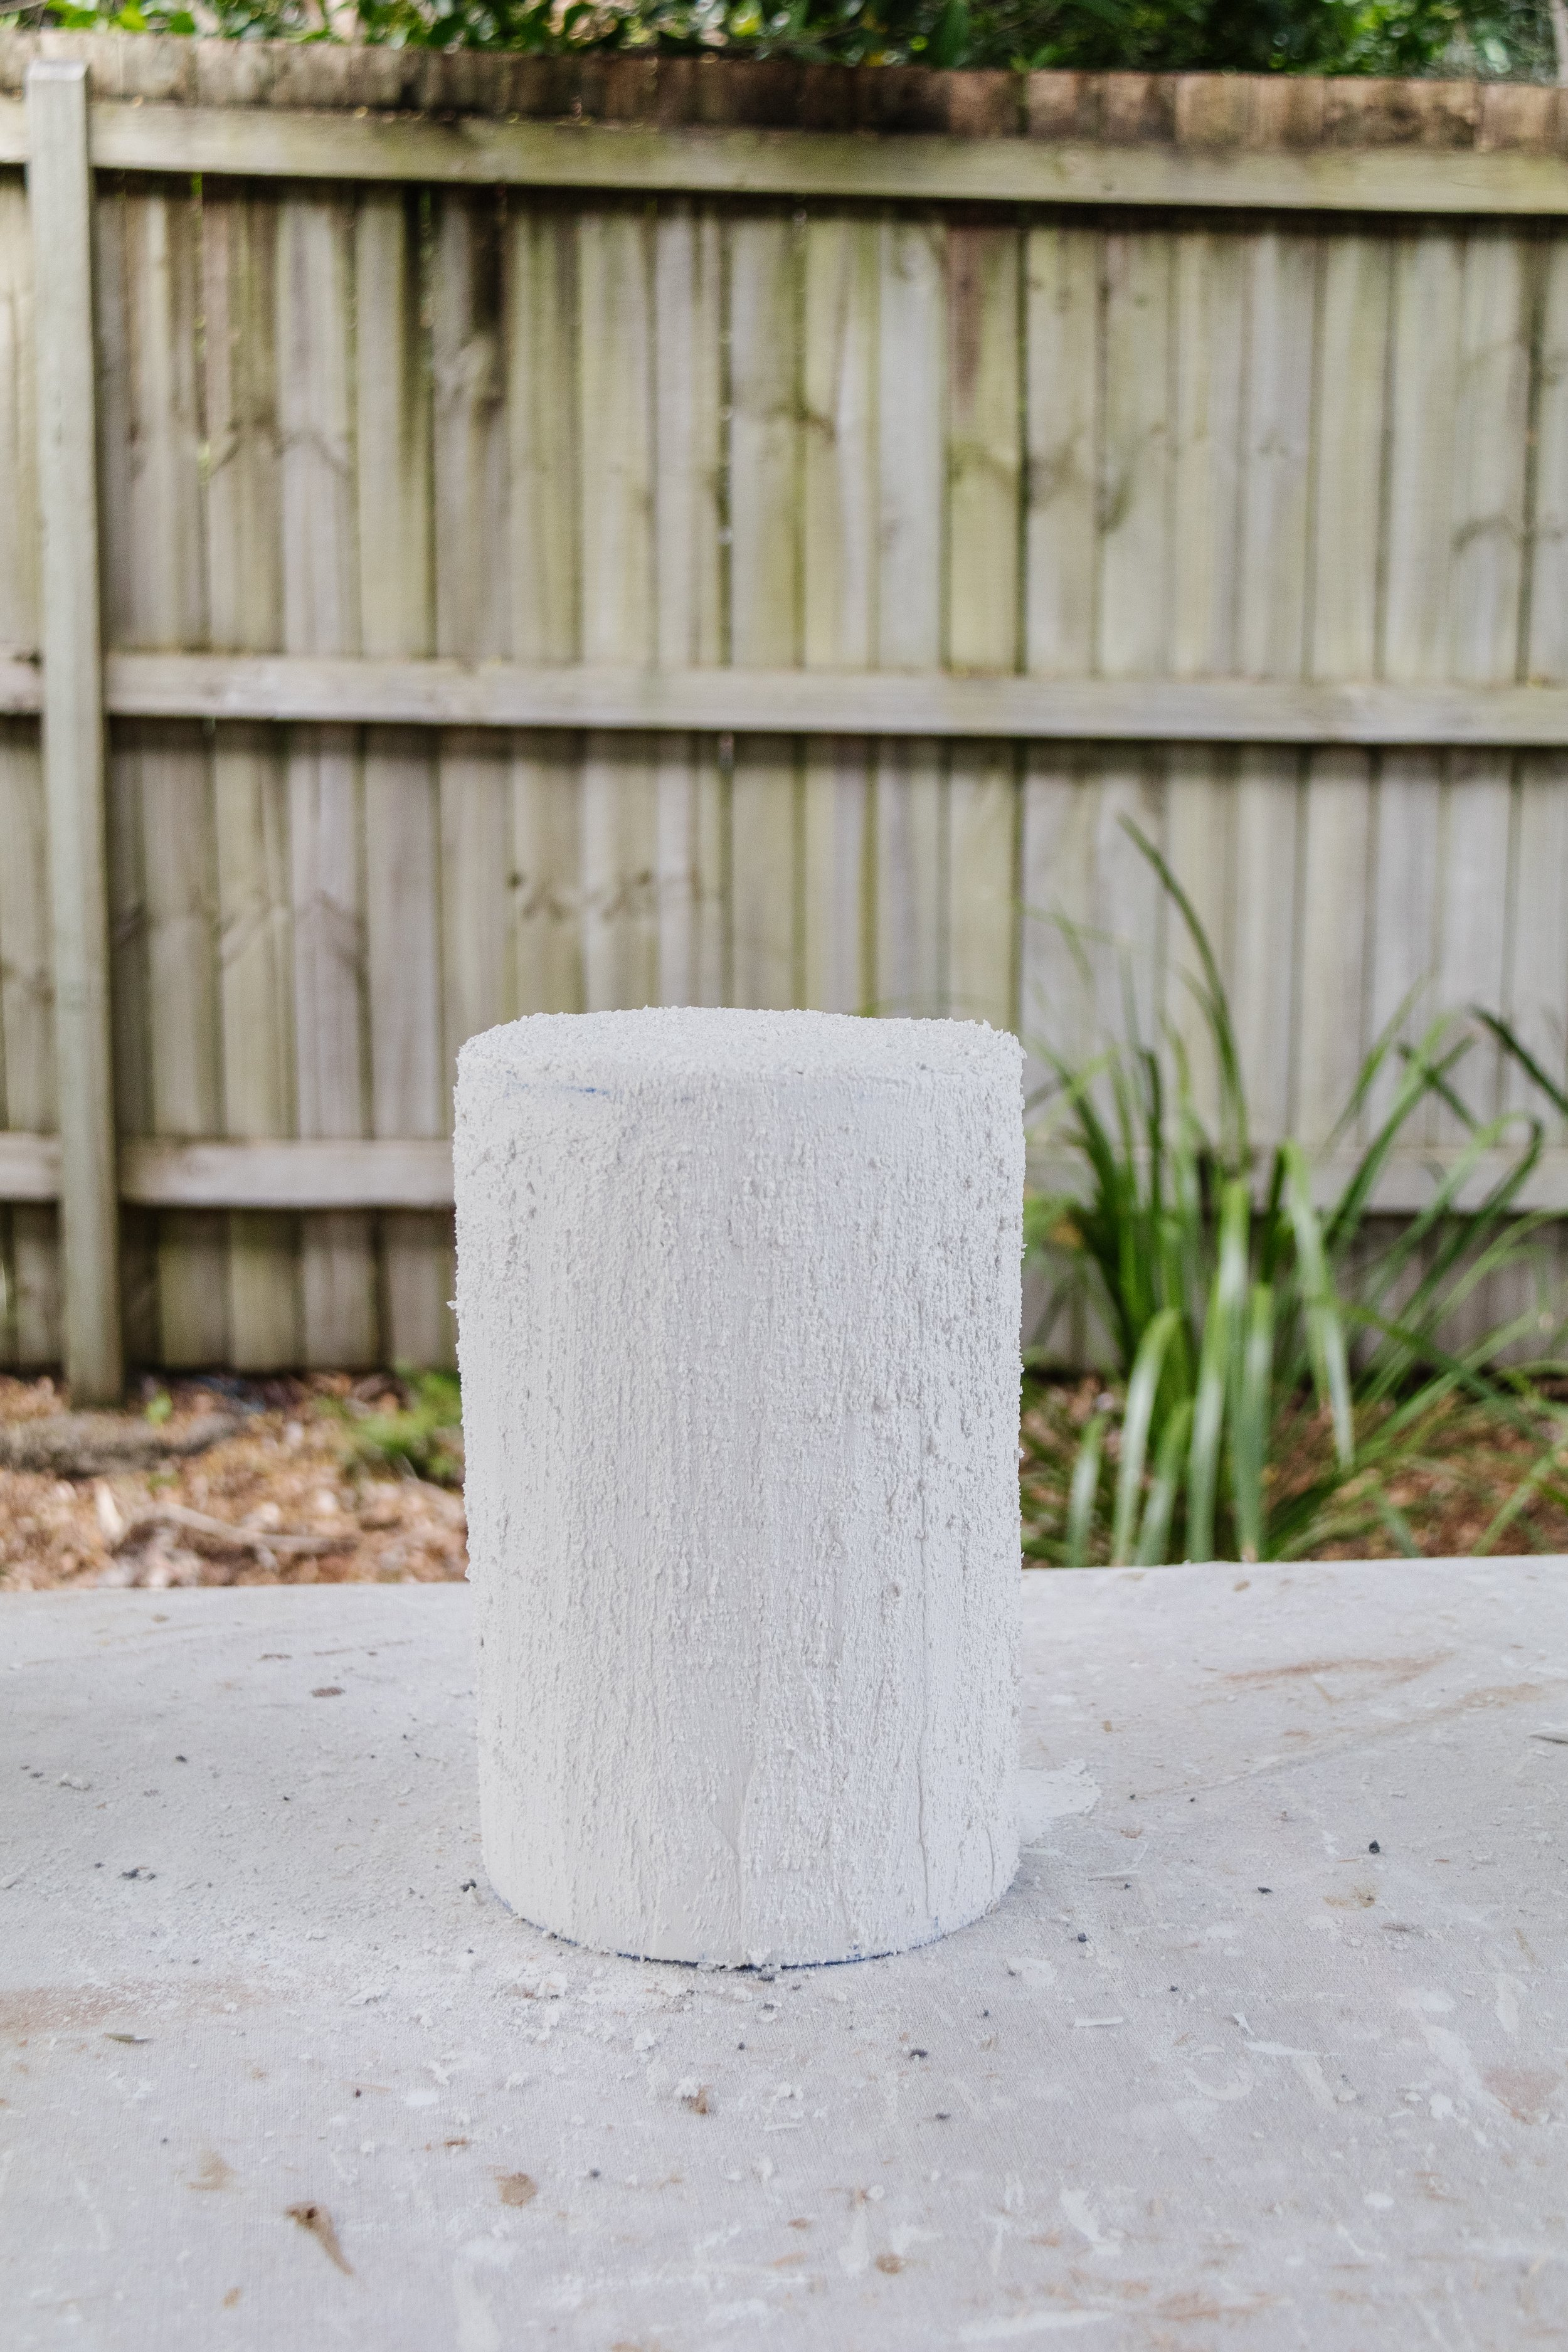
Step 4: When the plaster has completely dried on all forms, sand the surfaces smooth with a sanding sponge. Apply a thick coat of Dulux Medium Texture Paint all over and set aside to completely dry.
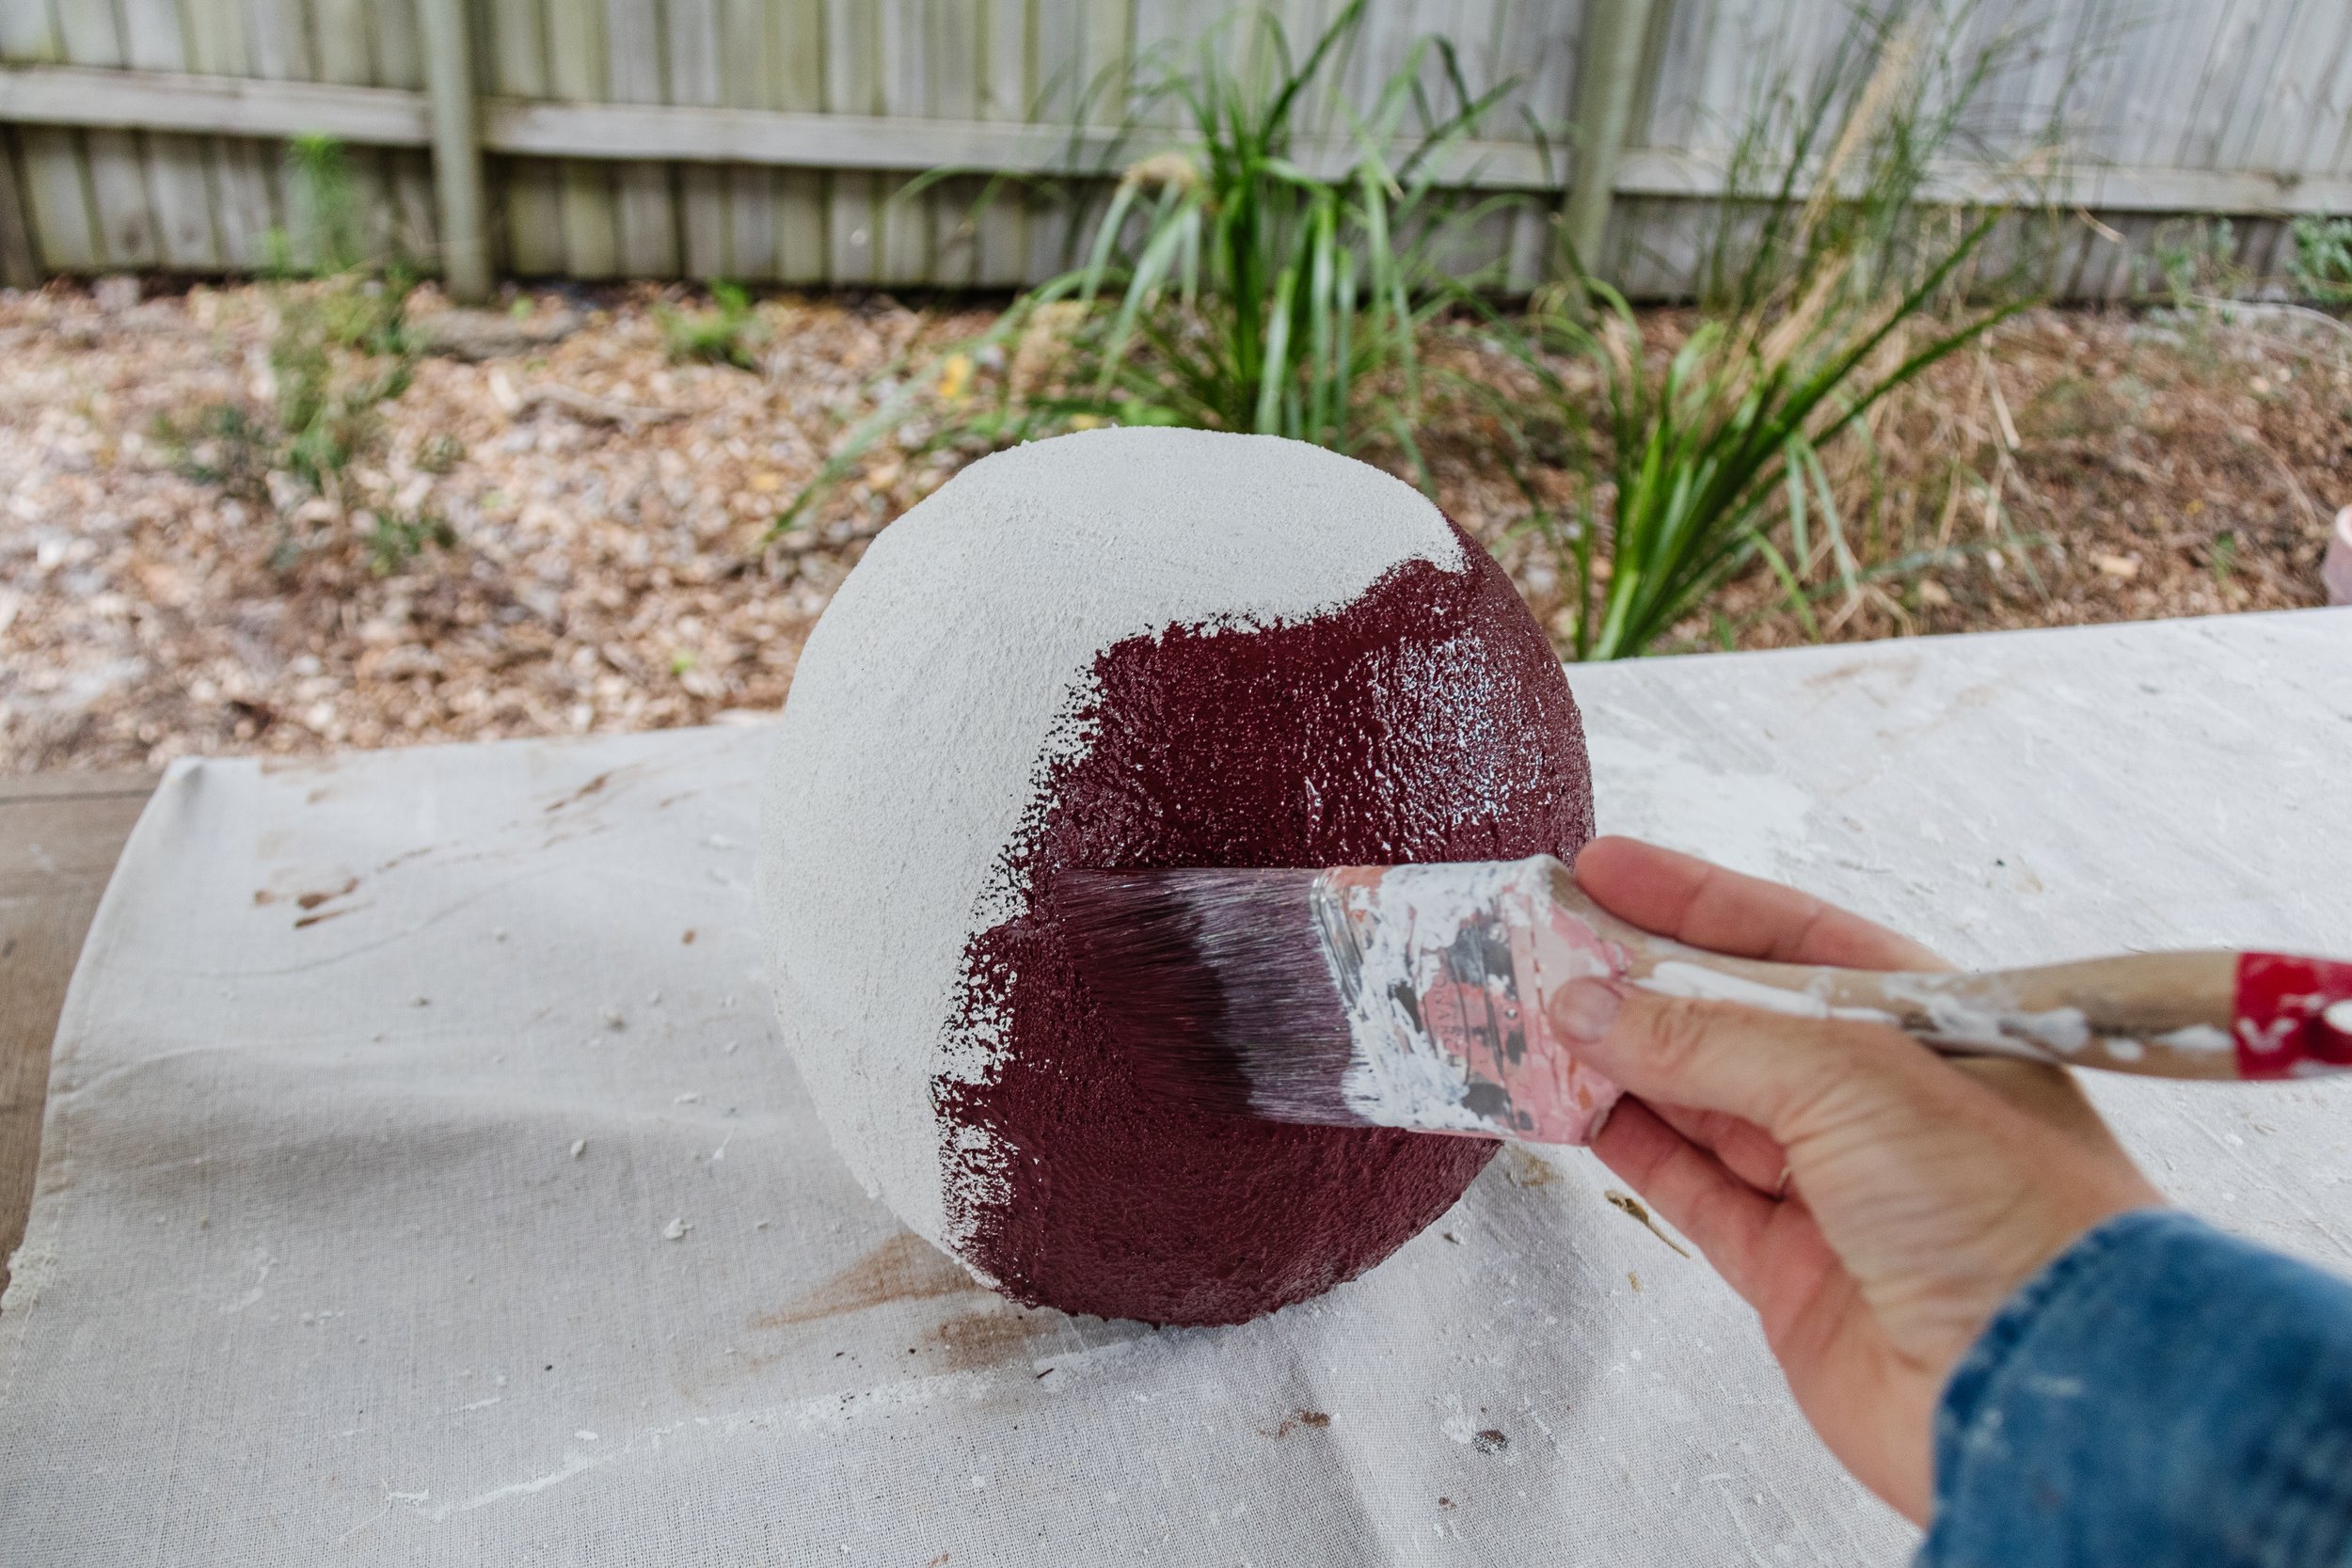
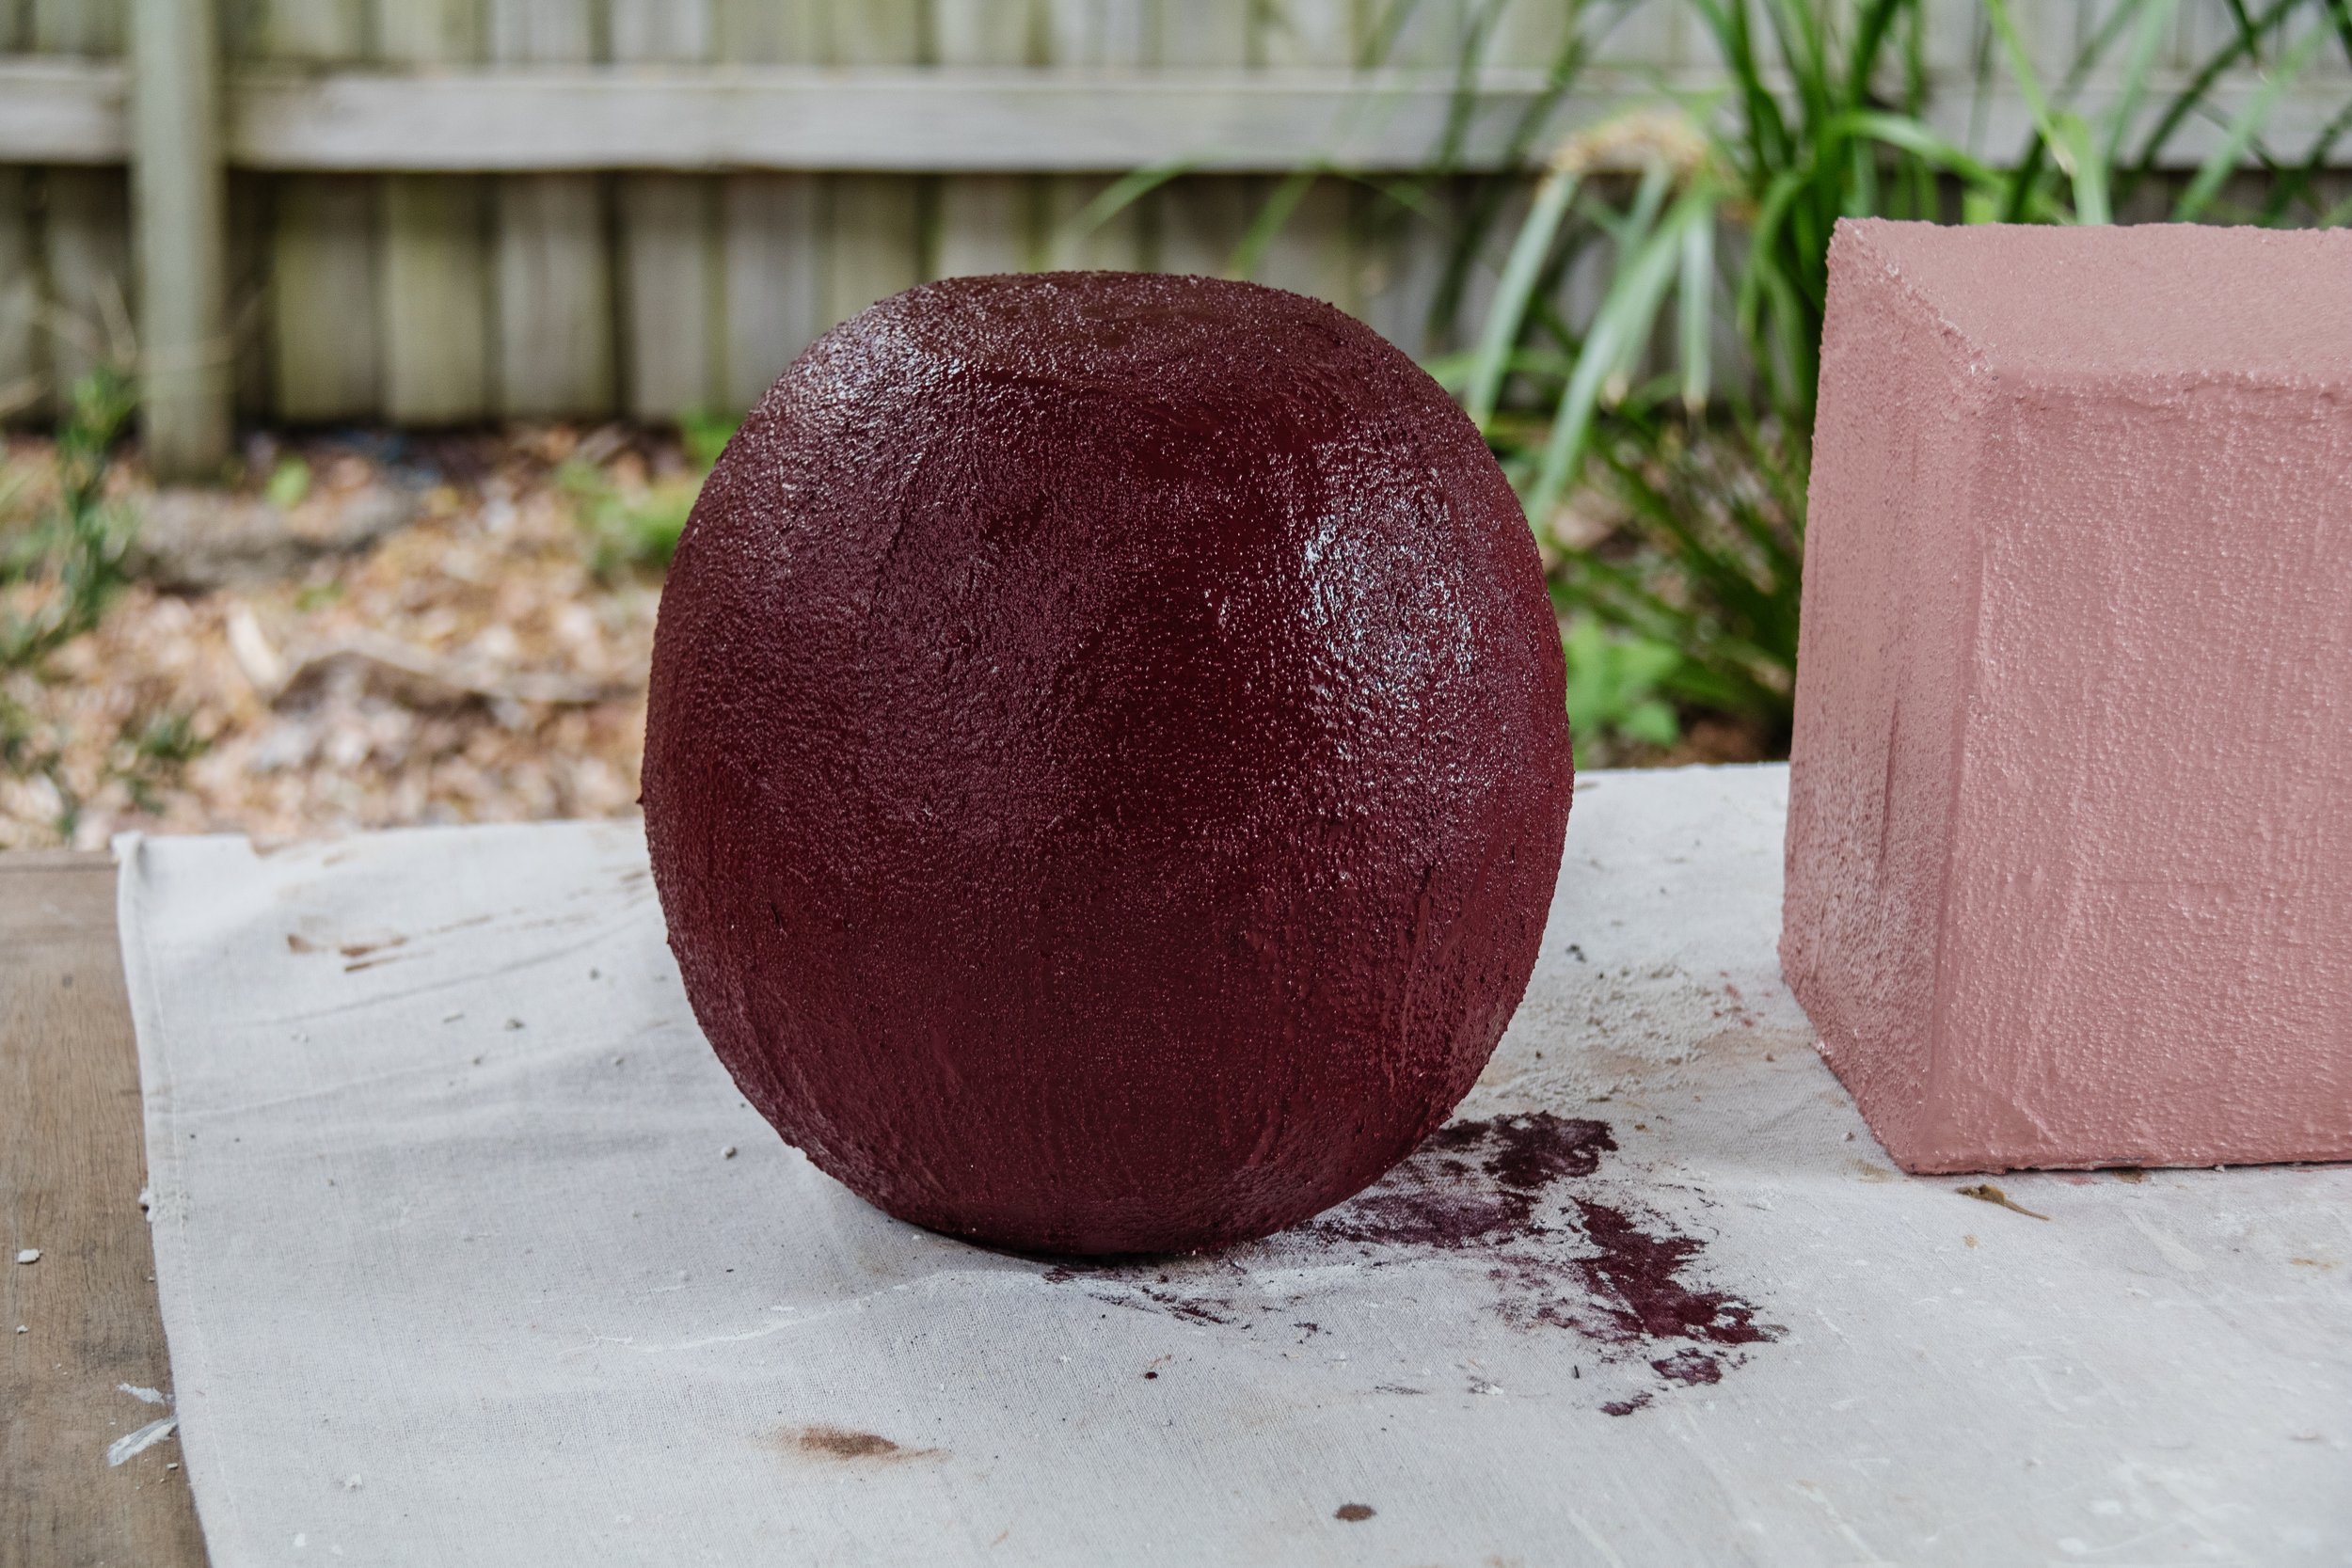
Step 5: Paint each form a different colour; I used Dulux “Indian Red” and “Evening Blush” and left the third shape (the cylinder) unpainted). Set aside to completely dry.
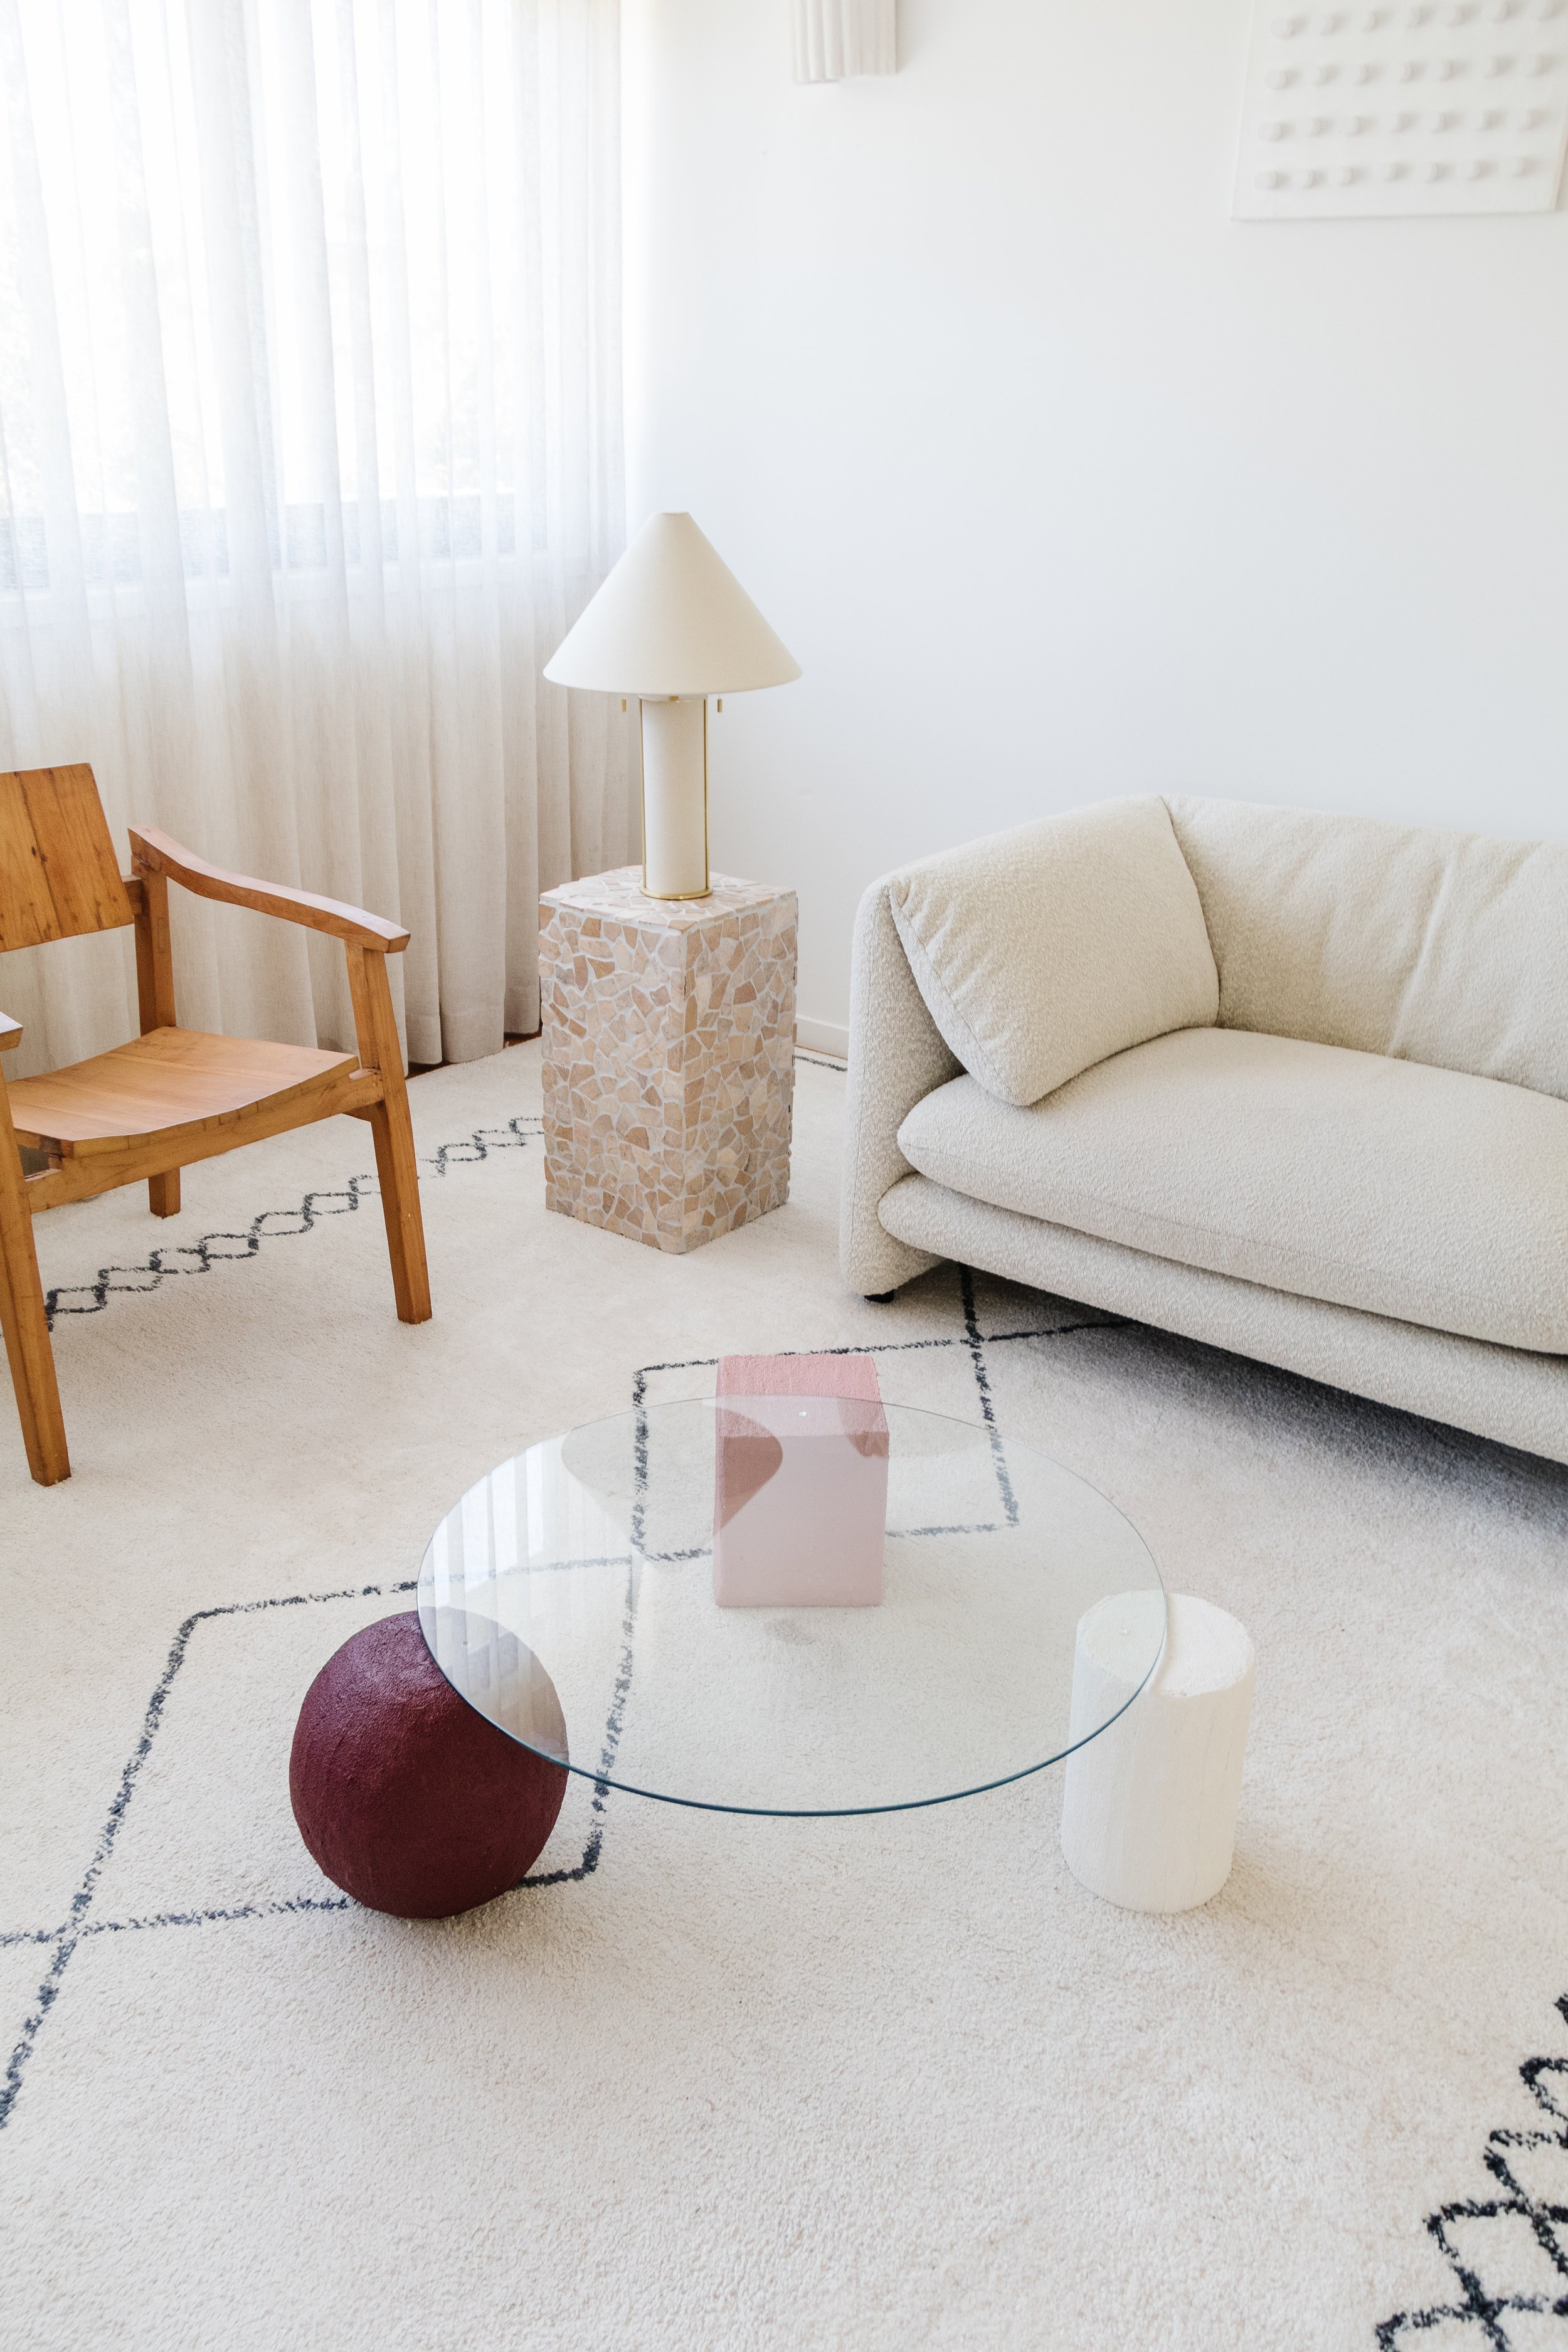
Step 6: Assemble the forms in the desired order, then place a door buffer on the top of each form. Then simply place the glass panel on top. And that’s it! You could place the forms underneath the glass completely, if you like.
Ta daaaa!
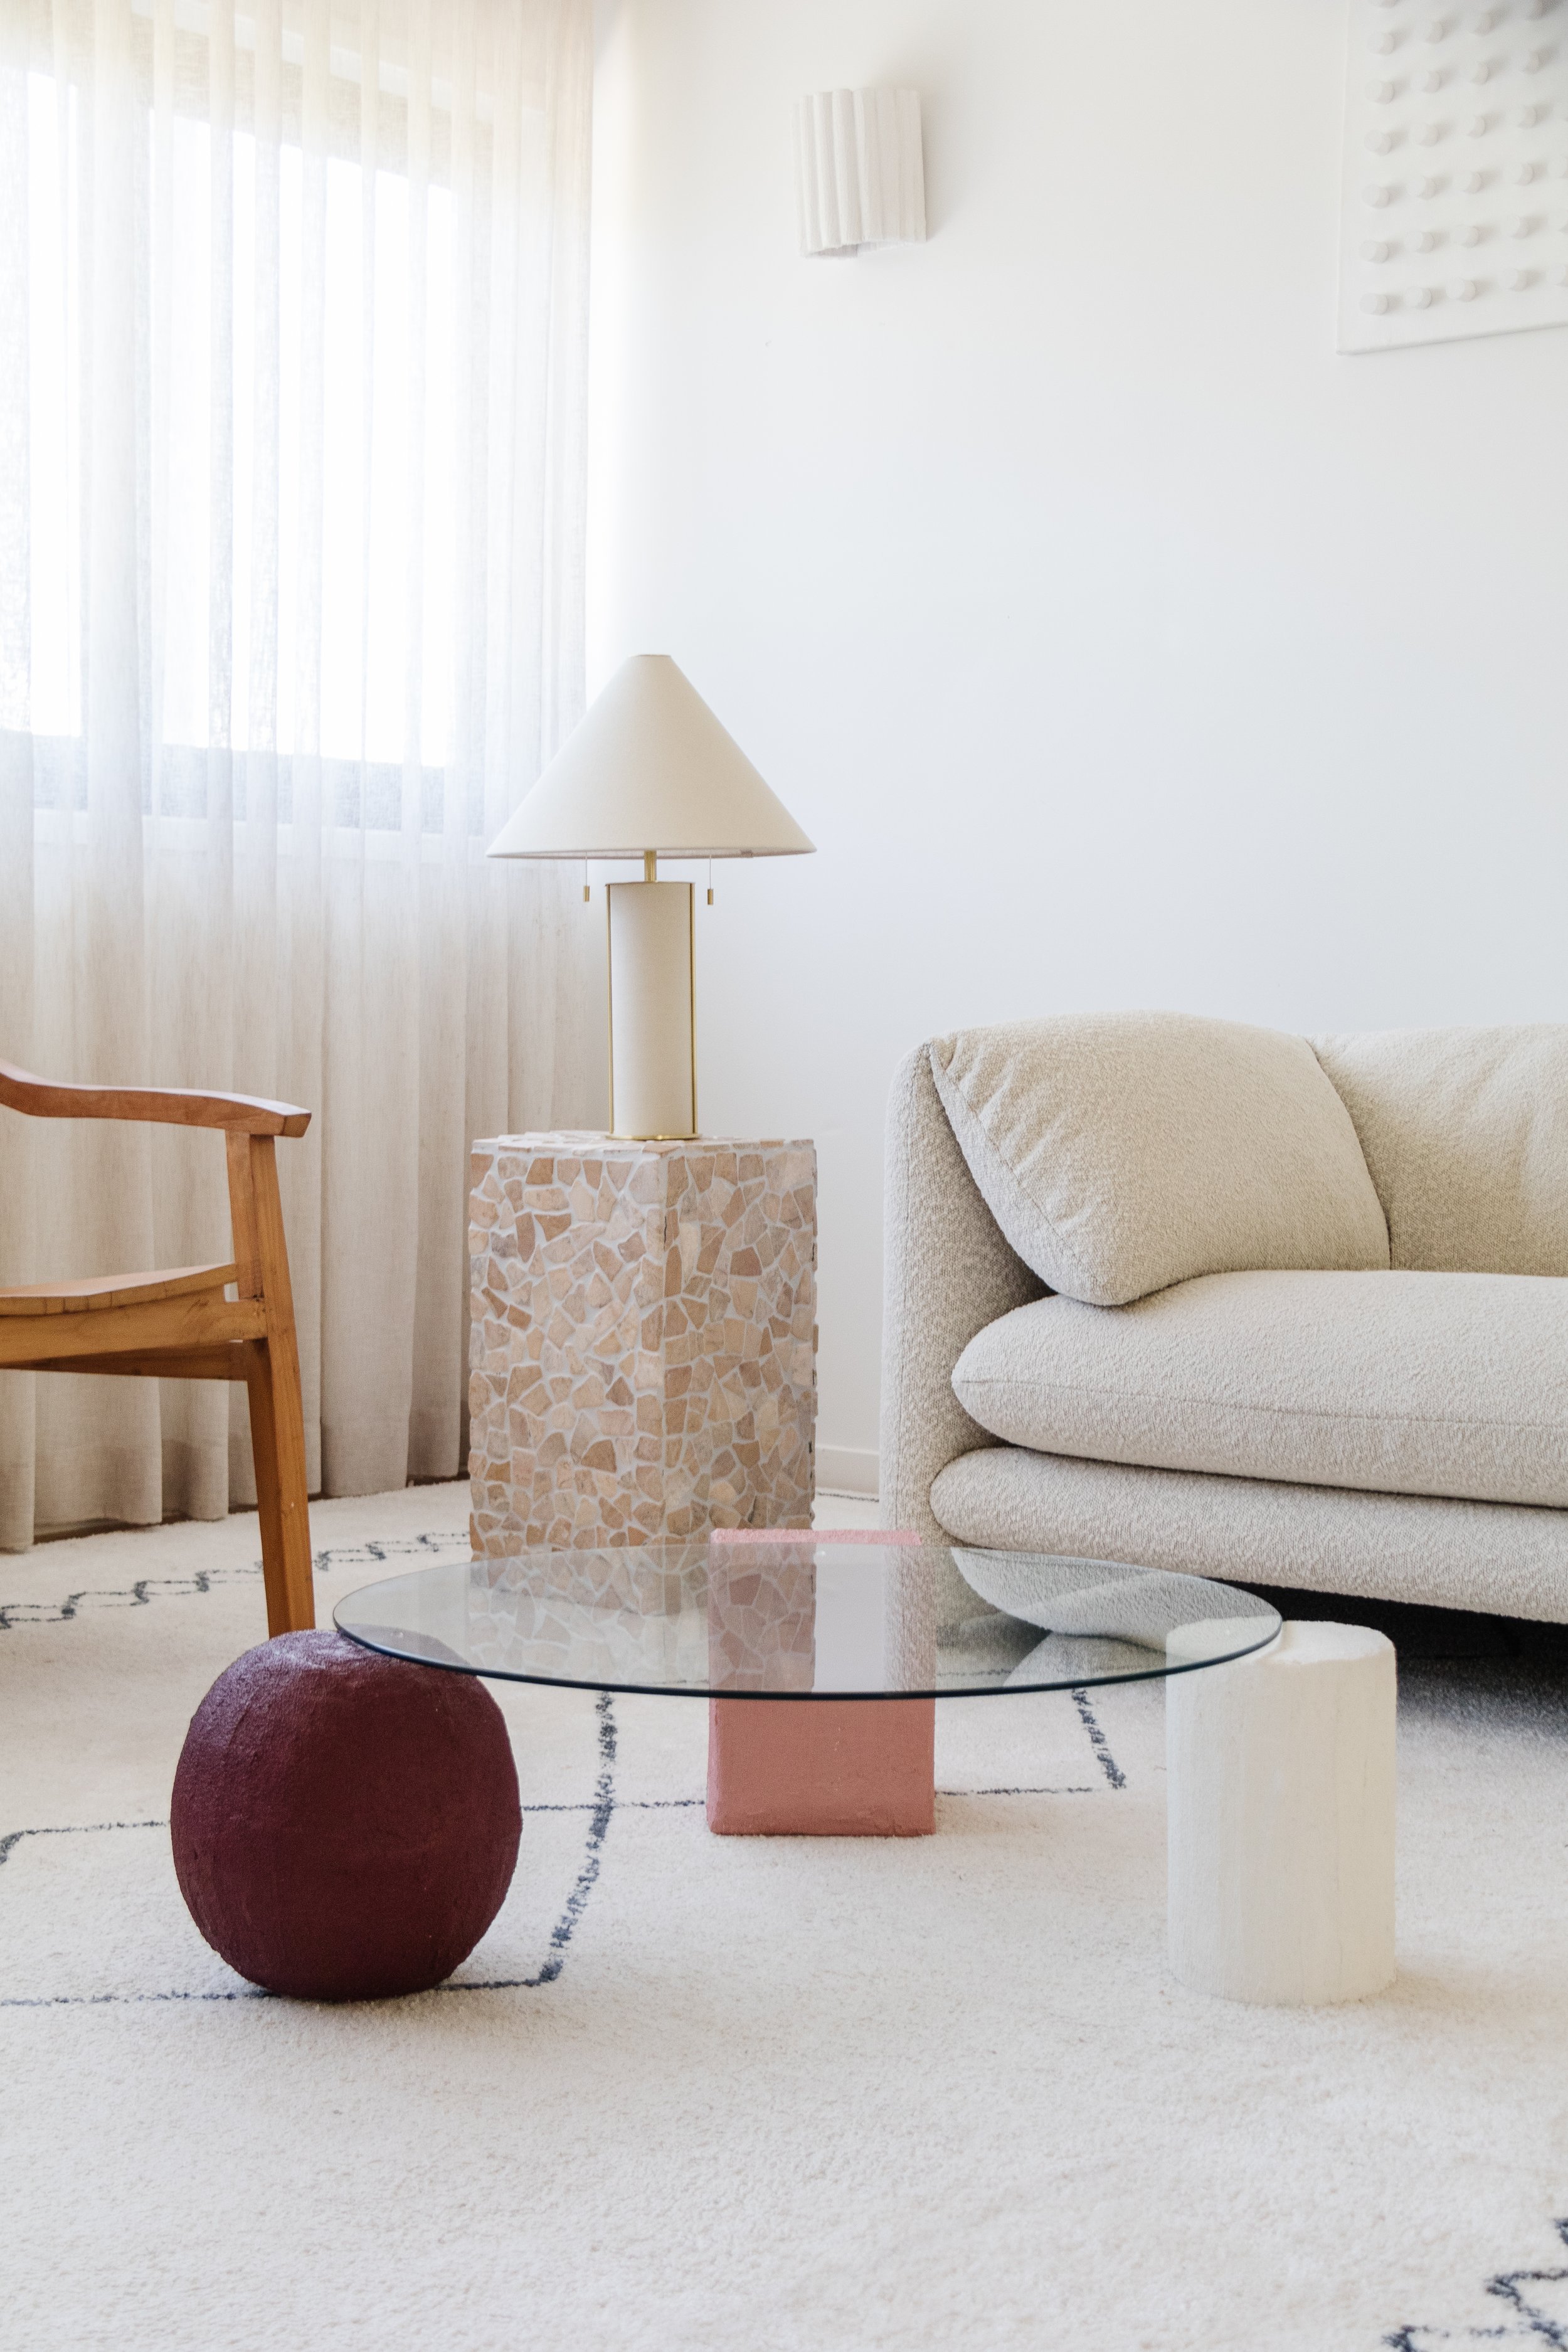
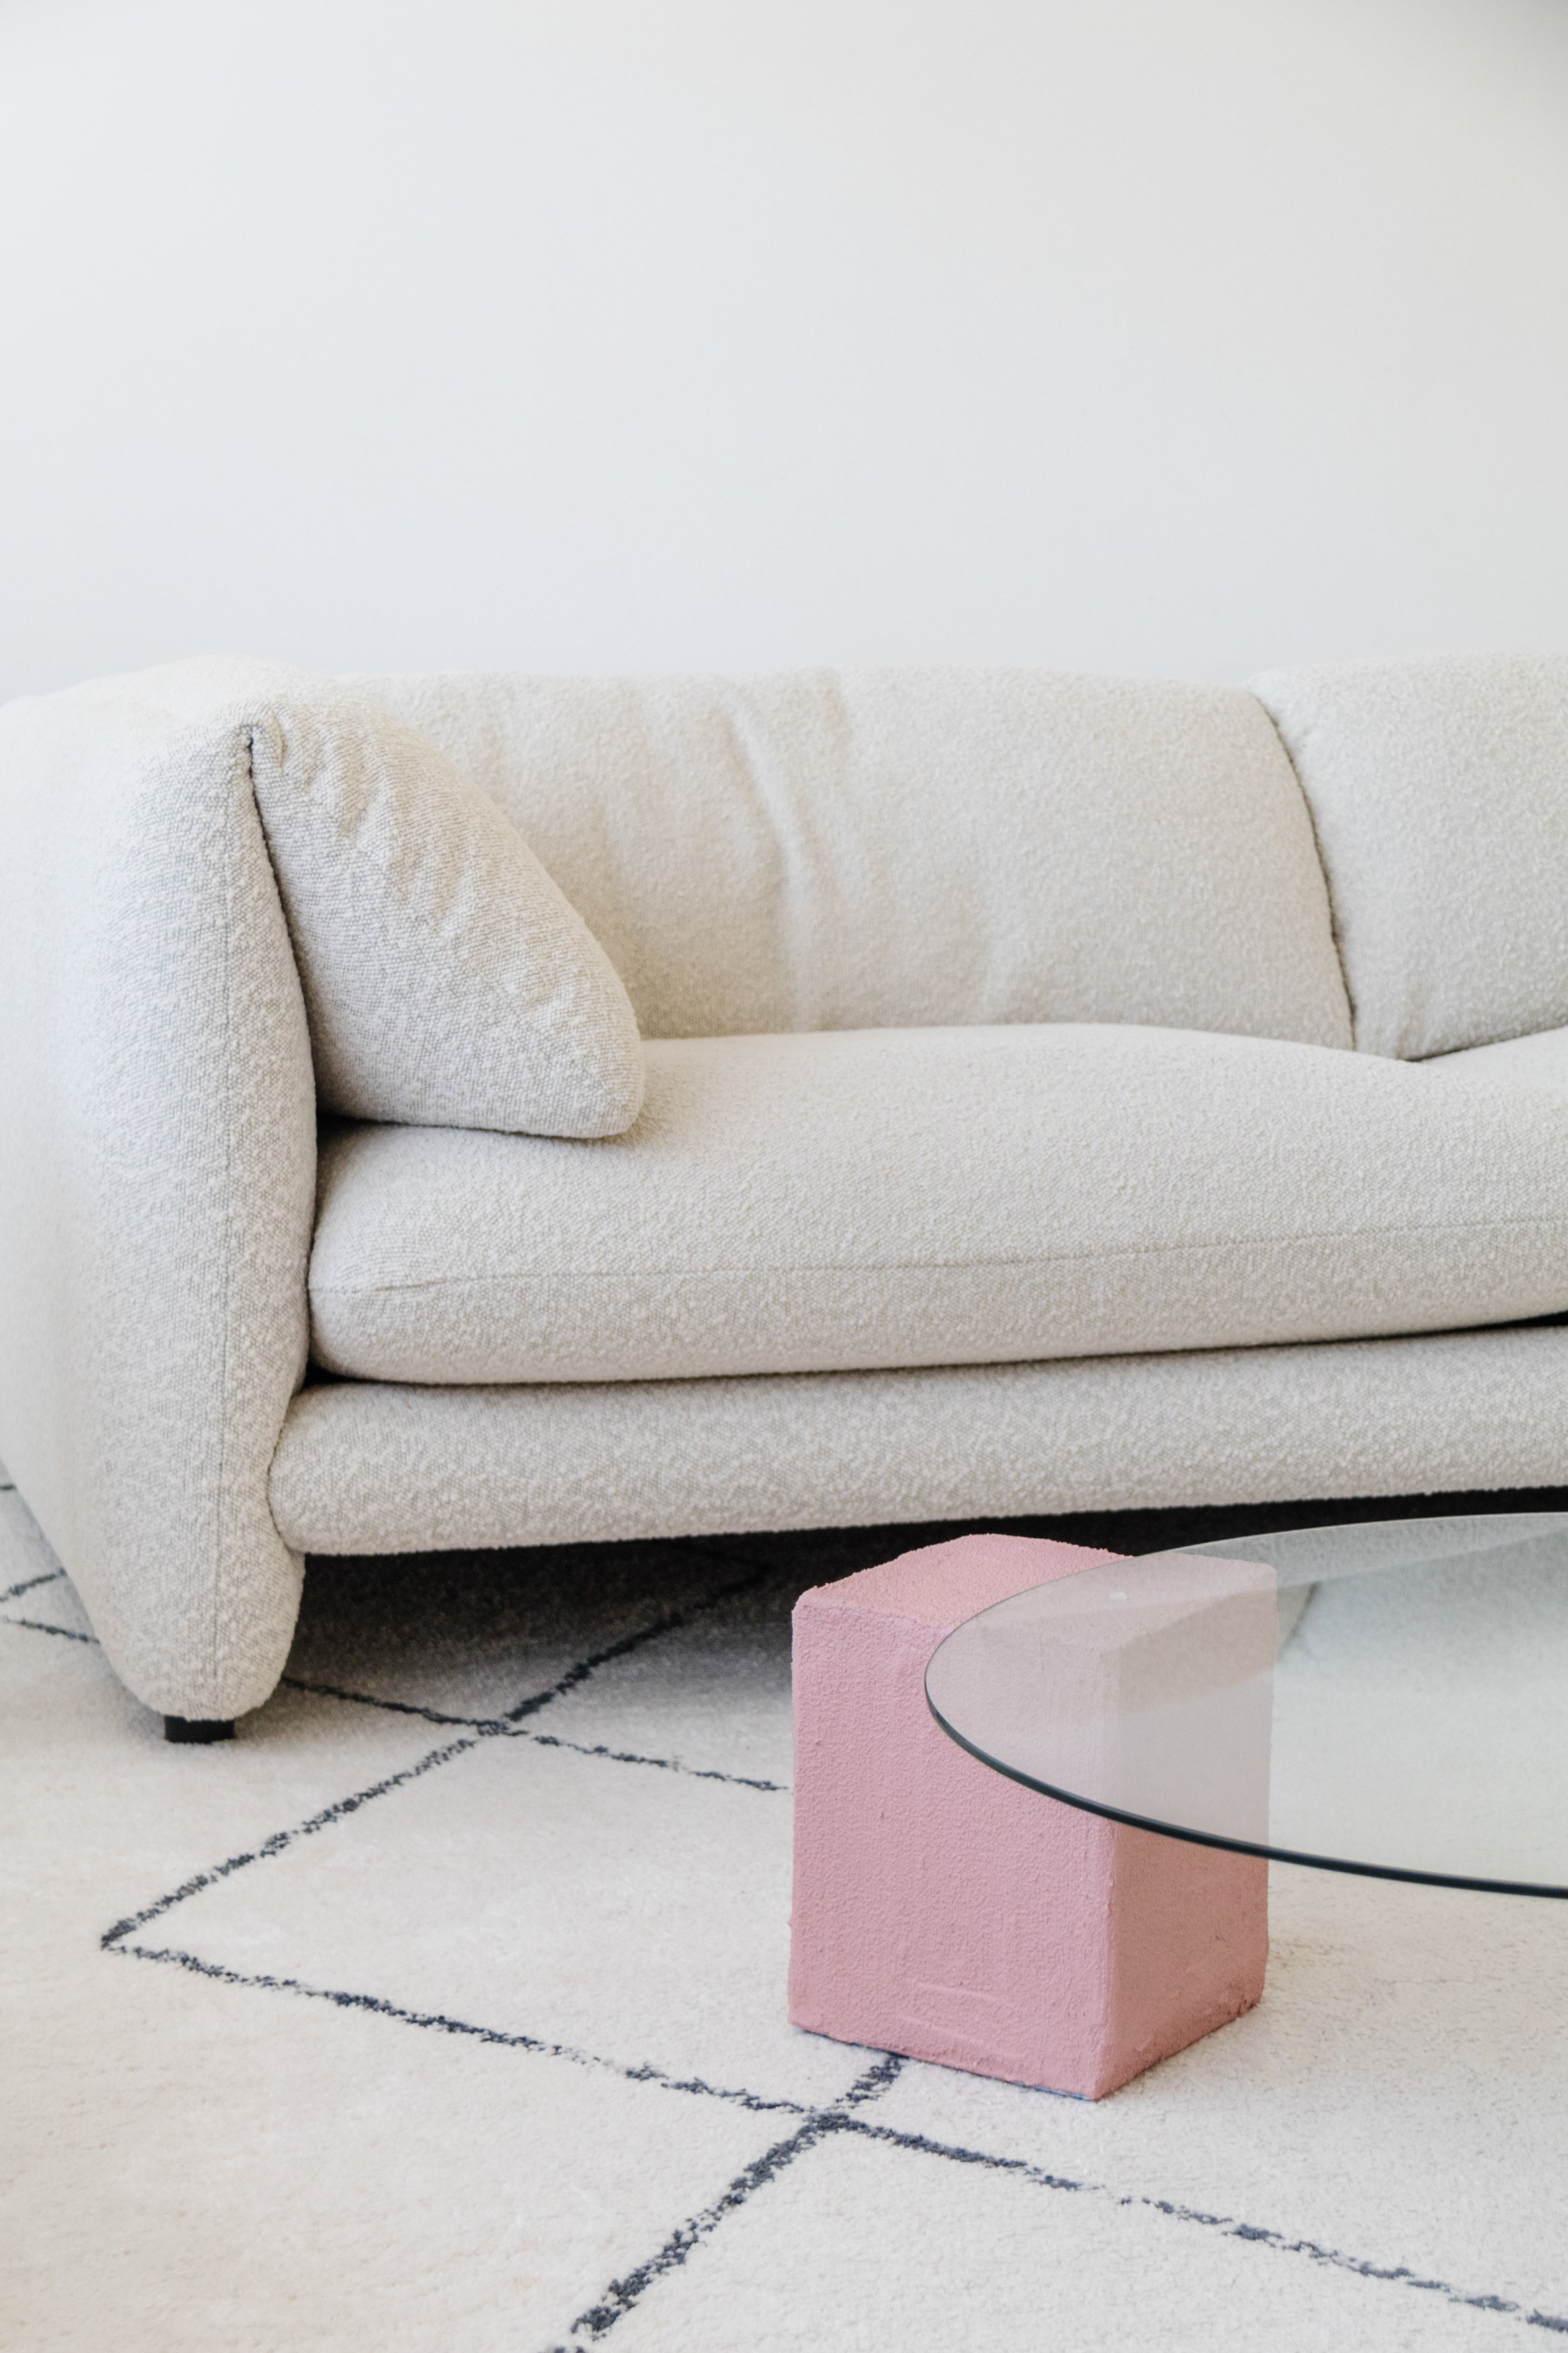
Your better believe it, your trash is my treasure and I honestly cannot believe how beautiful this coffee table is! I am so in love with the profile, the angles, the balance, and the different coloured forms. It is so gorgeous to look at and better yet, it’s practical. Dulux Texture Paint is such a great hack for making objects textured, strong and durable, and I’ve used it on lots of different projects which I’ve linked to below. Stay tuned for the next upcycled glass coffee table, yay!

