Learn how to make DIY Texture Paint
Add beautiful texture to your projects using two simple materials!
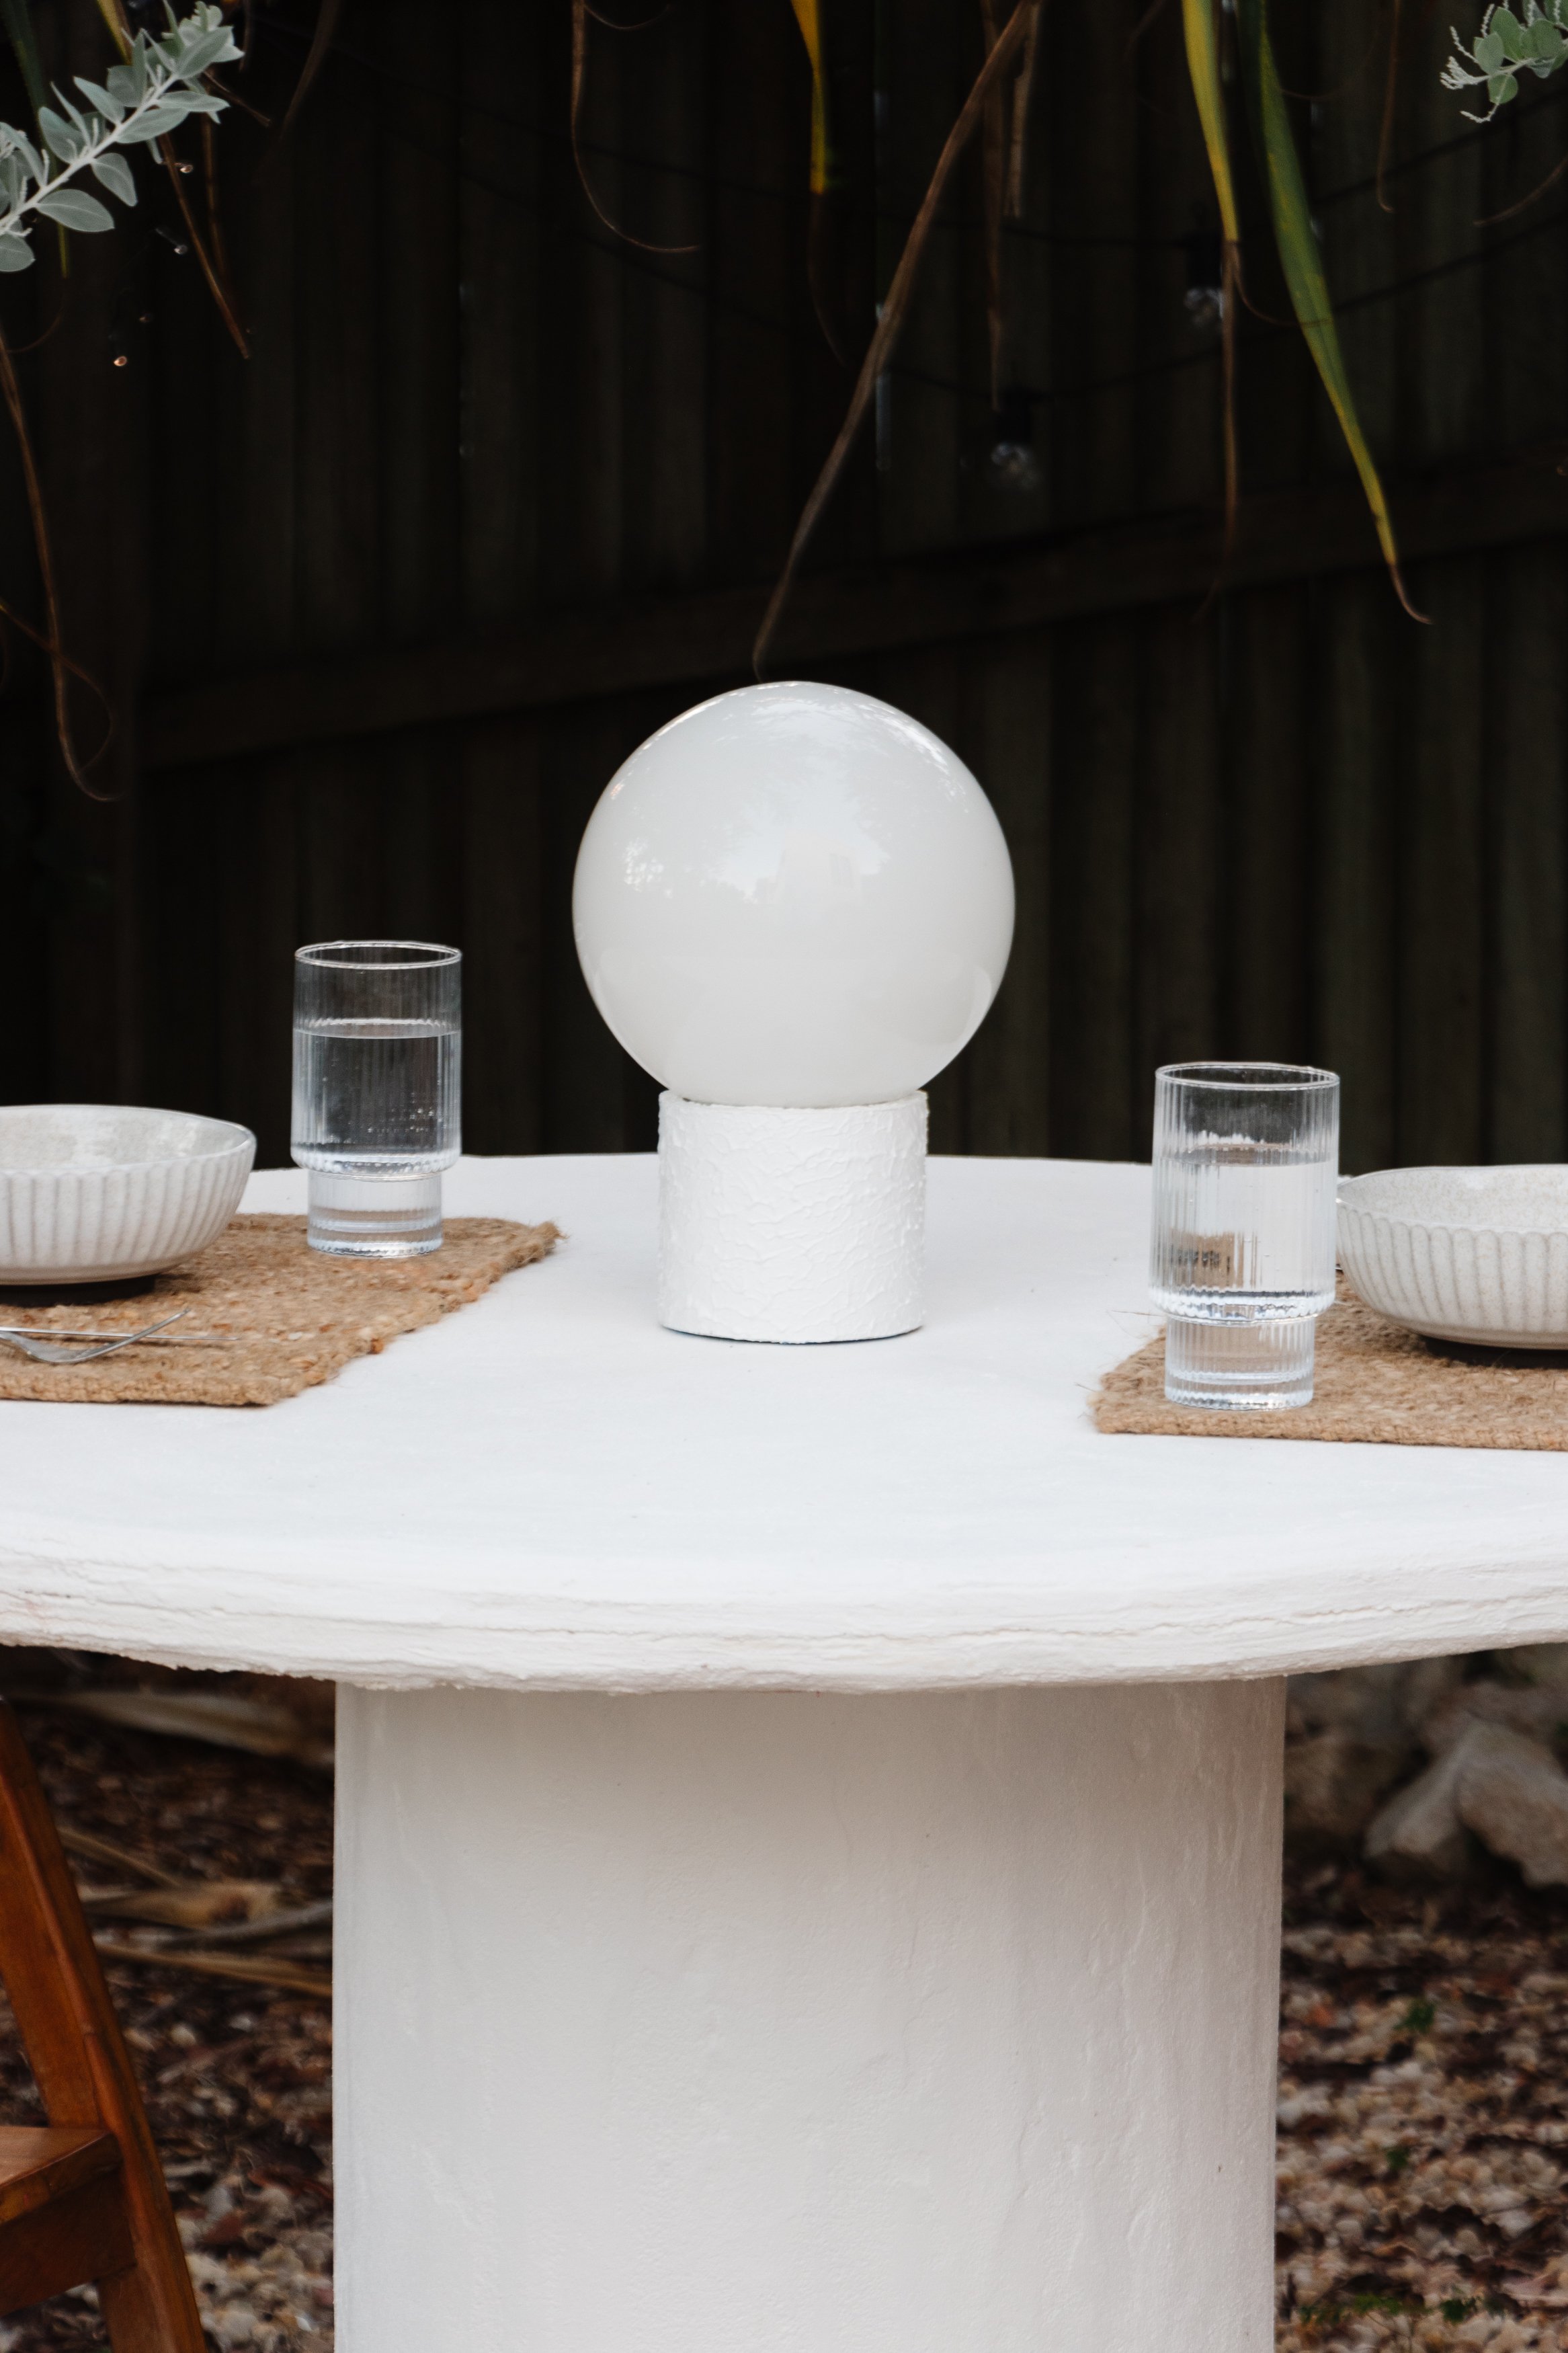
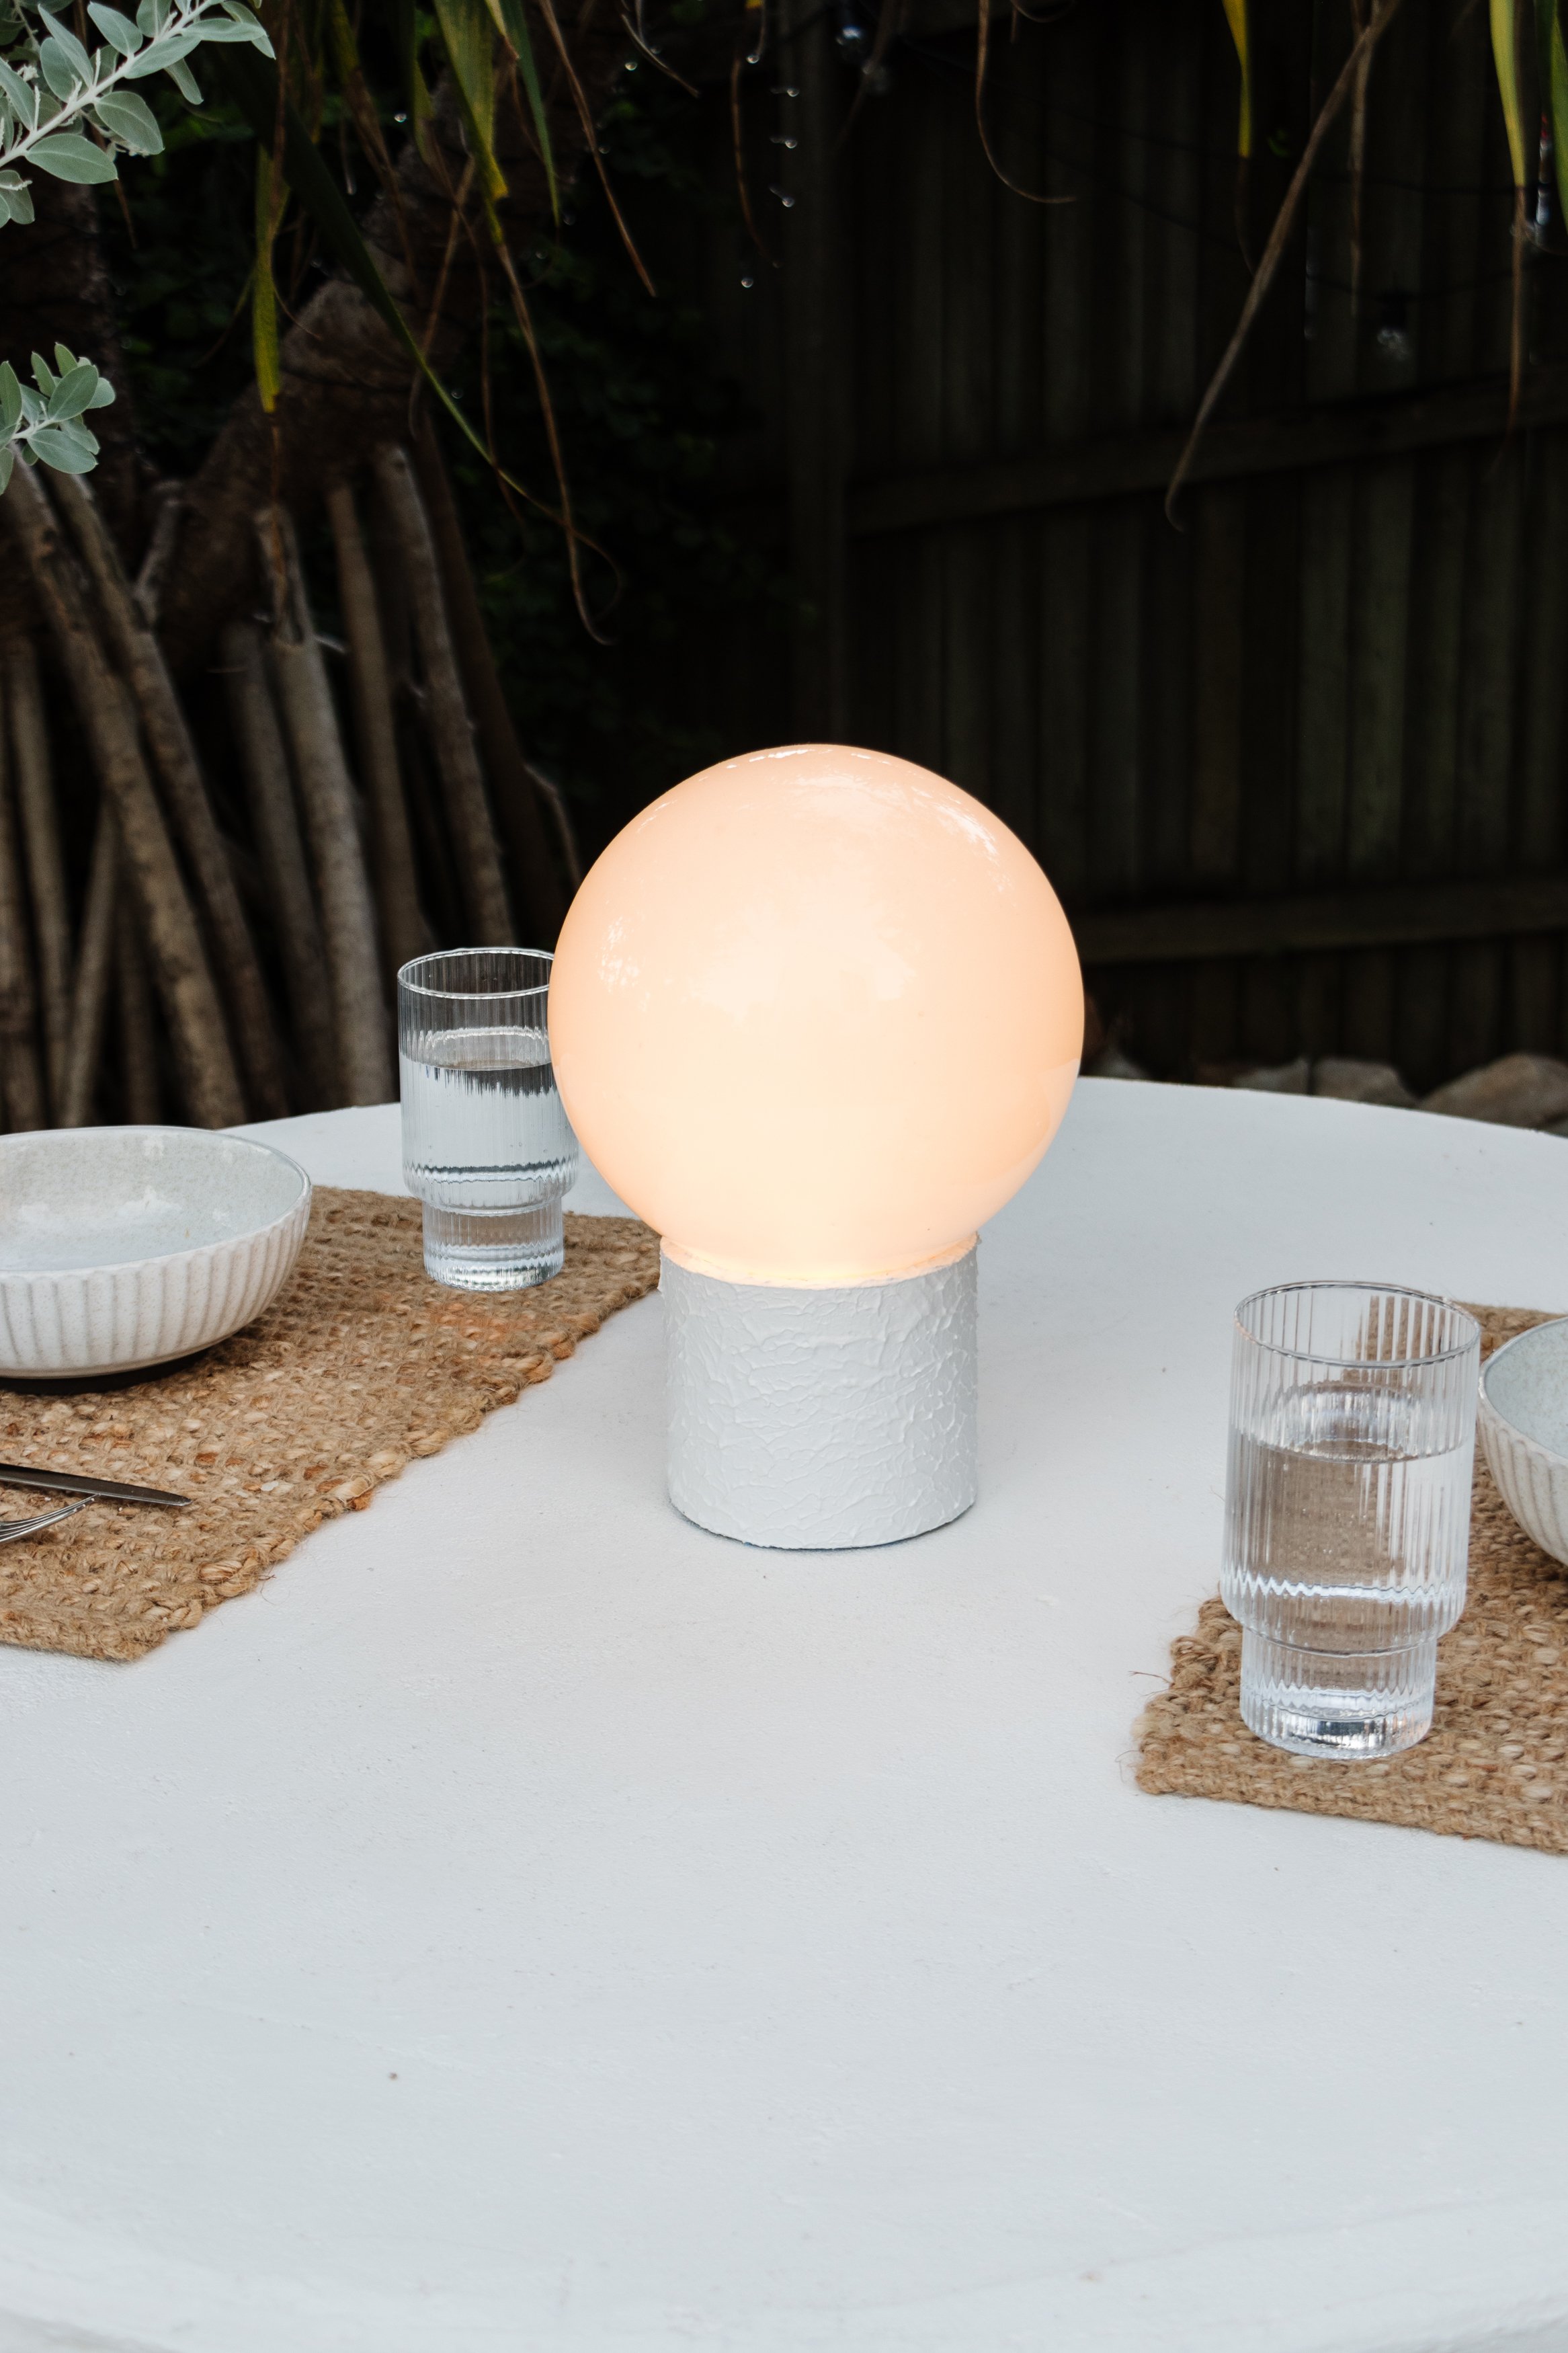
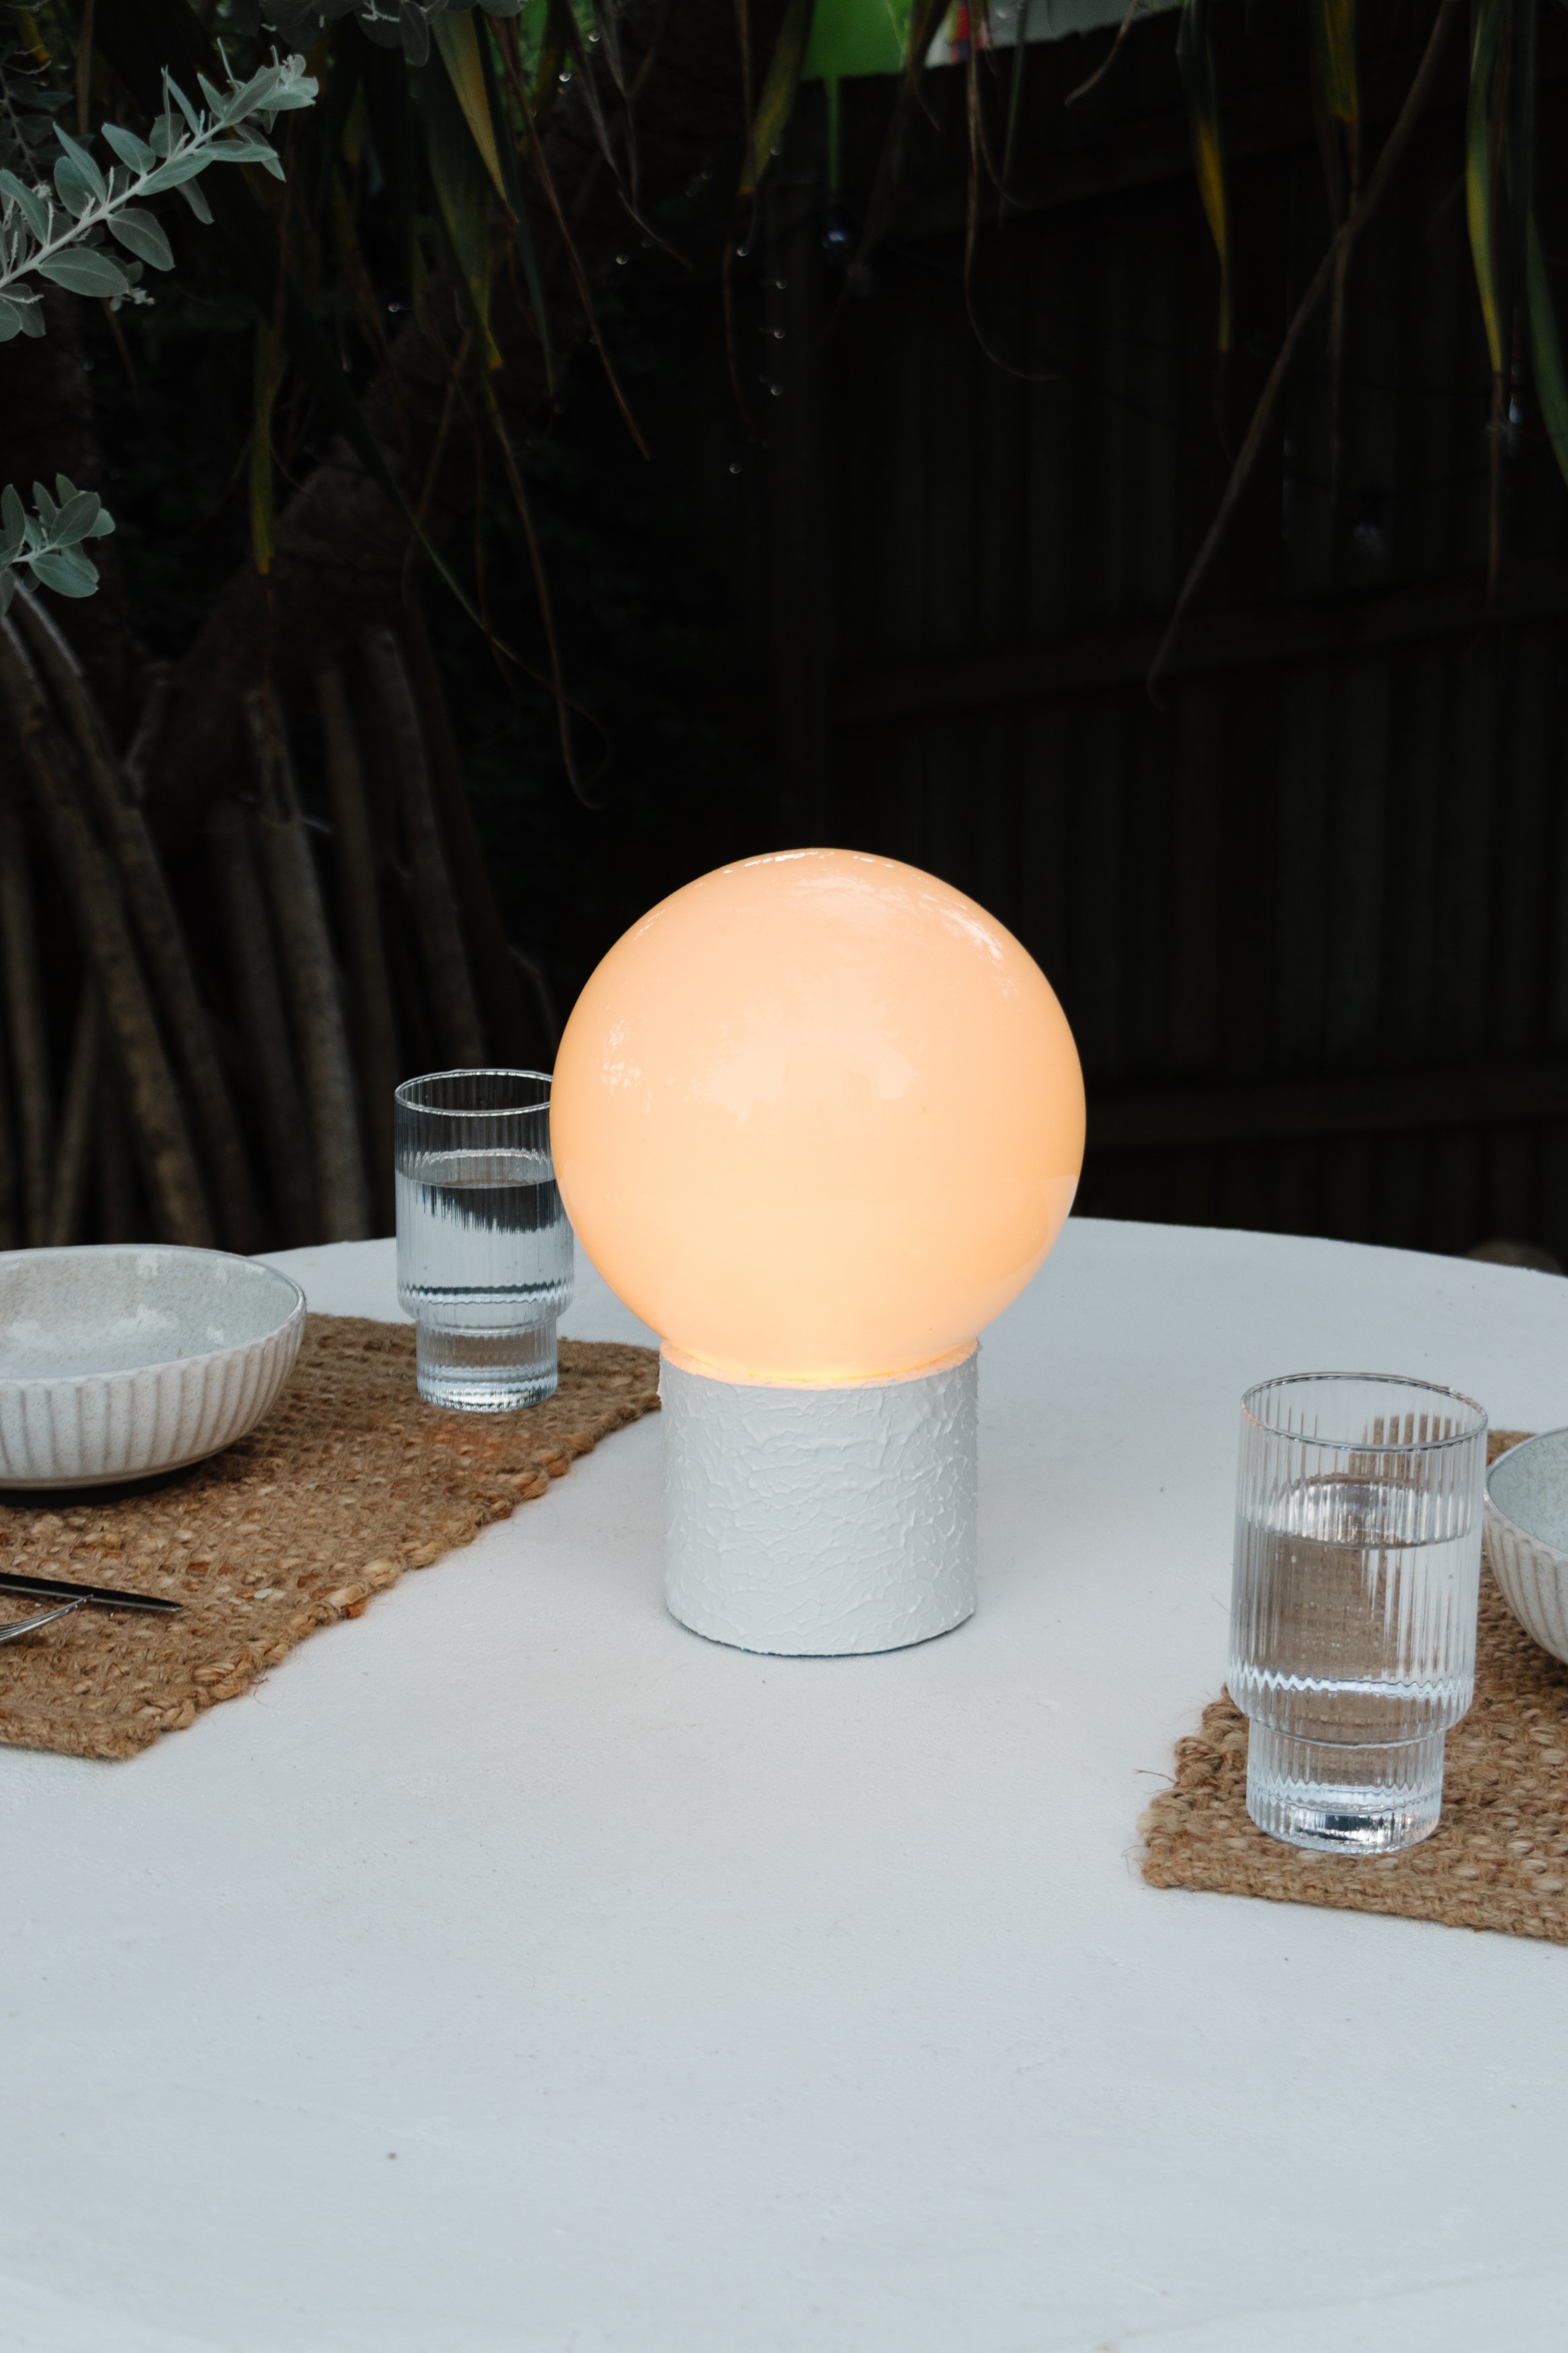
If you’ve been following along over on Instagram you’ll know I recently dropped into two of my favourite tip shops in Brisbane - Treasure Trove in Acacia Ridge and Geebung. I saw some light fixtures and got an idea to make a portable table lamp! I reused a cardboard tube for the base and needed to figure out how to hide the lines that wrapped around it. I knew I would have to paint it but got a very random idea to add flour to the paint. Flour is a great thickener, so I was curious to see if it would thicken the paint…which it did. And then I wondered if I could use this paint to make some beautiful texture…which I did. And here we are!
Watch this video to learn how to make DIY Texture Paint
Project Details
✂️ Making: DIY Texture Paint
💰 Materials Cost: $5
Materials
1 cup water-based acrylic paint
2 tablespoons flour
Tools
Bowl
Paint brush
How To
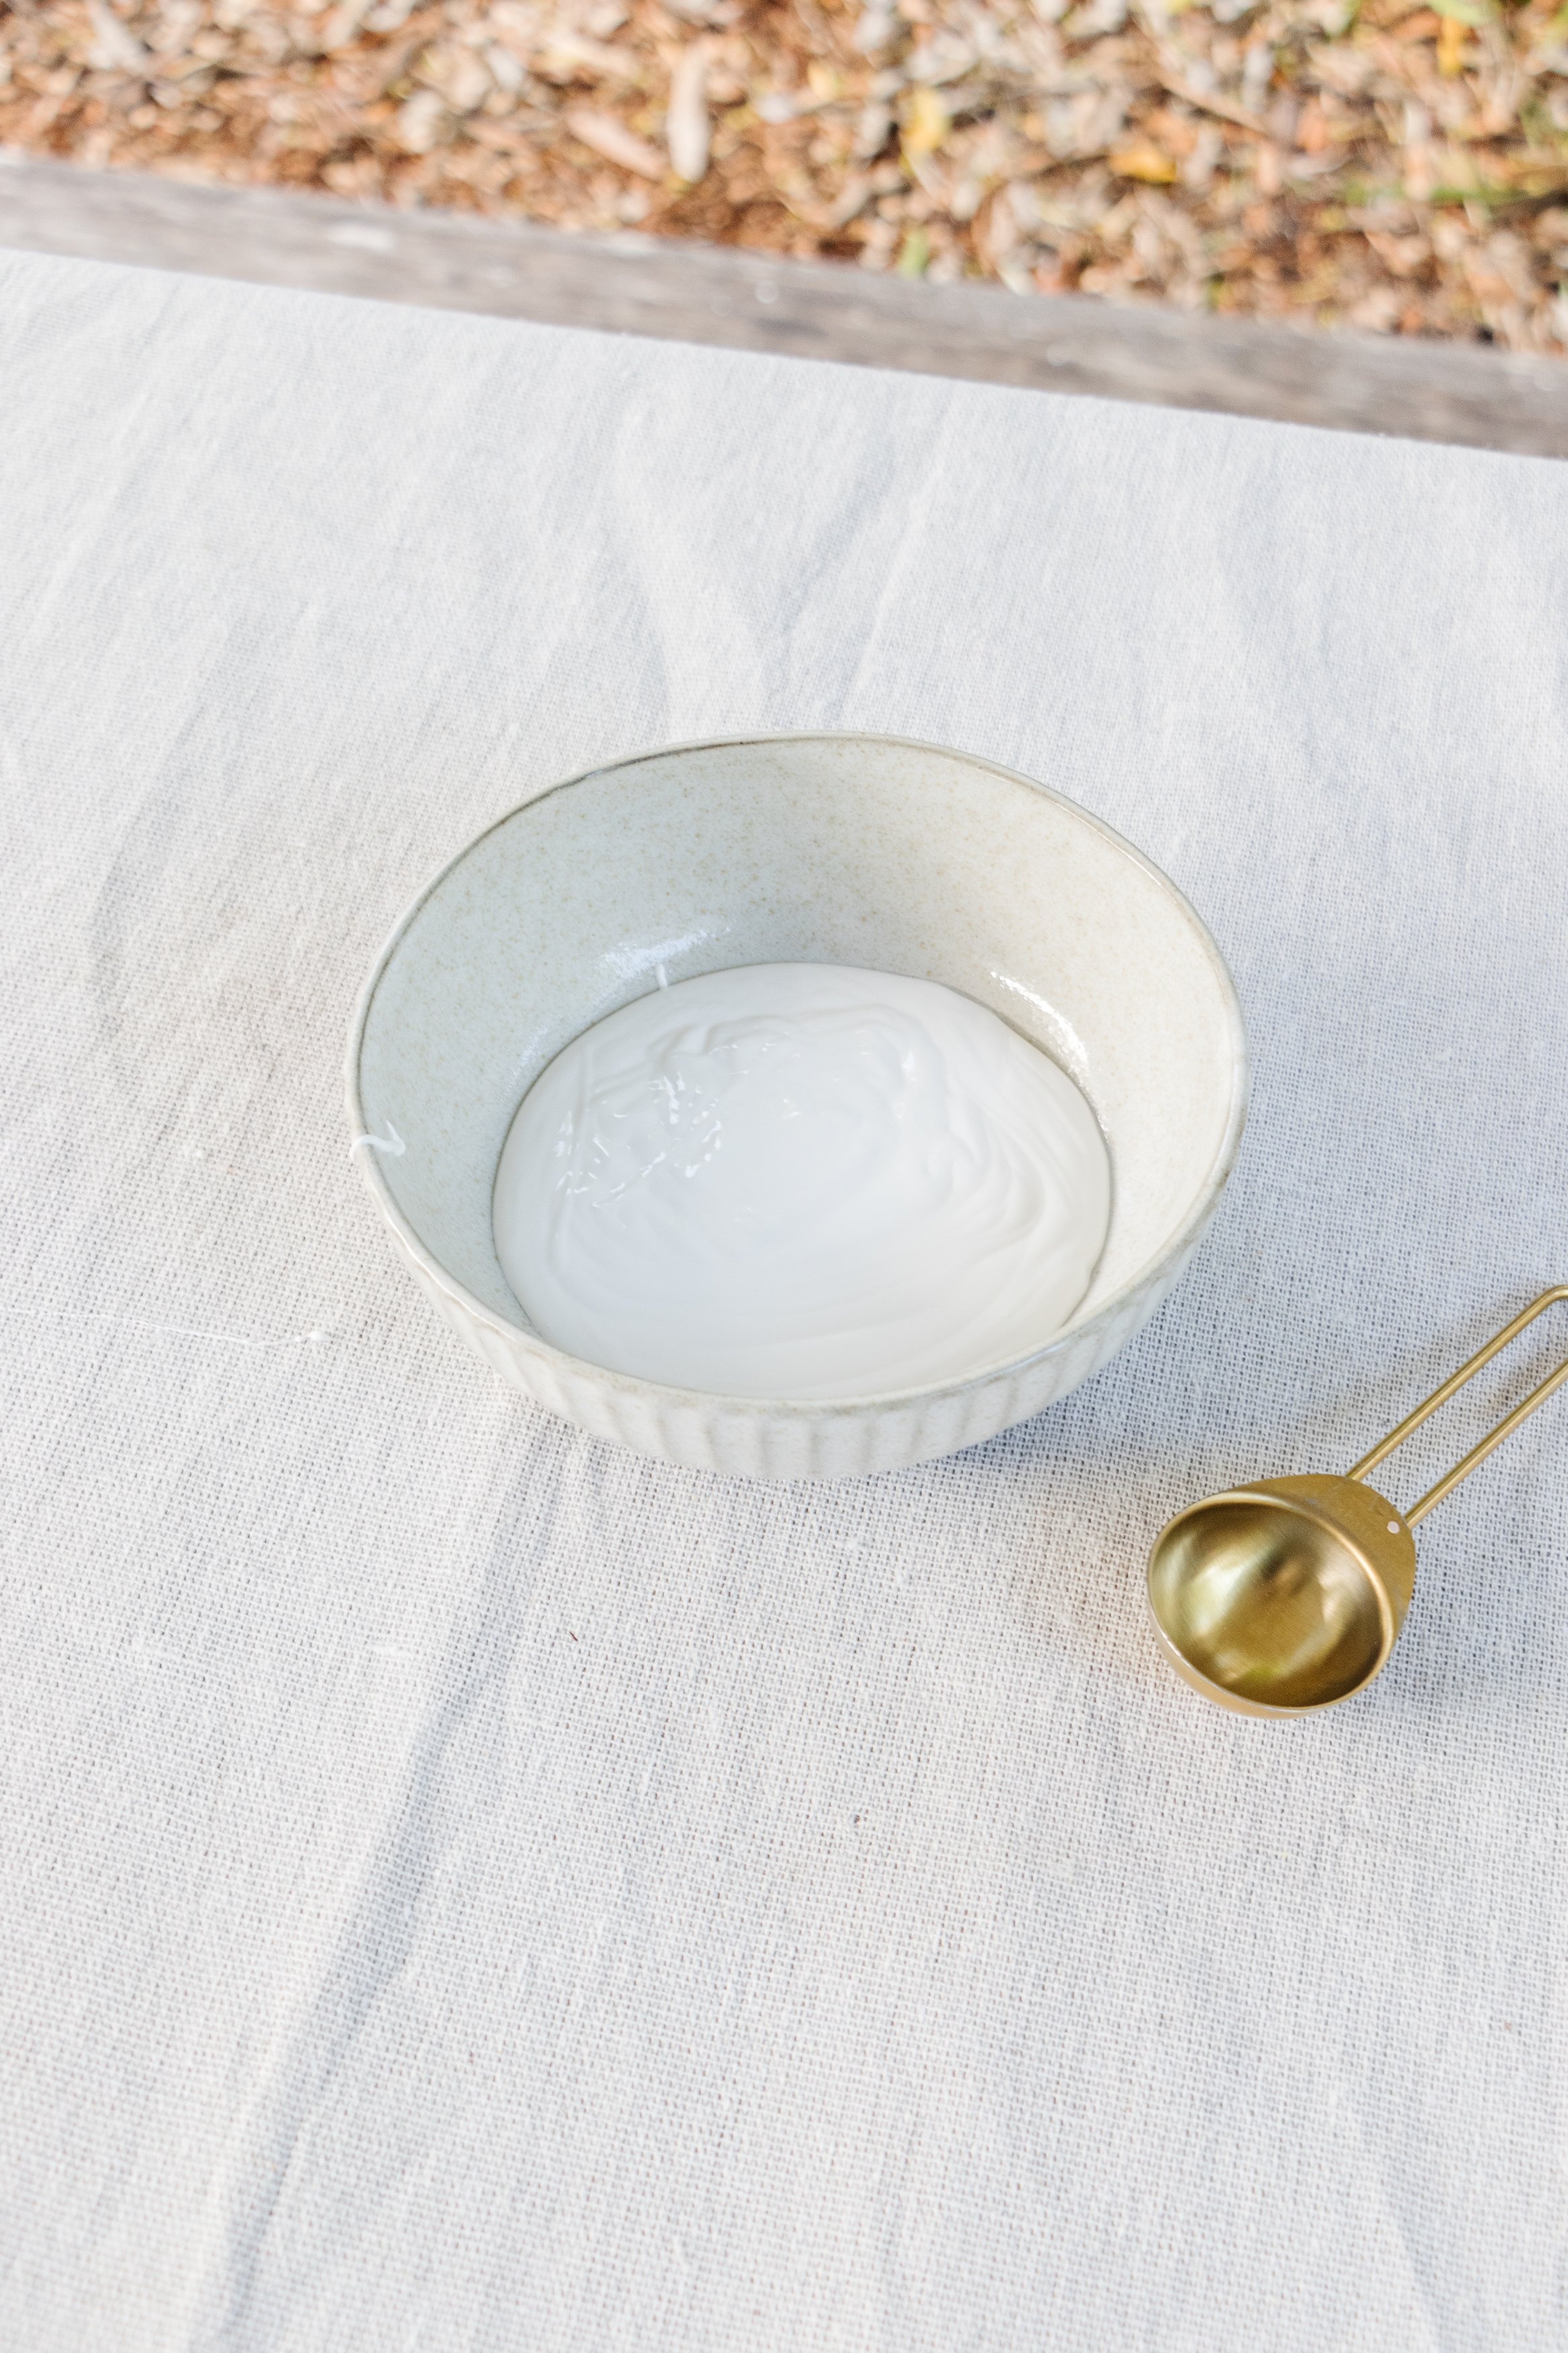
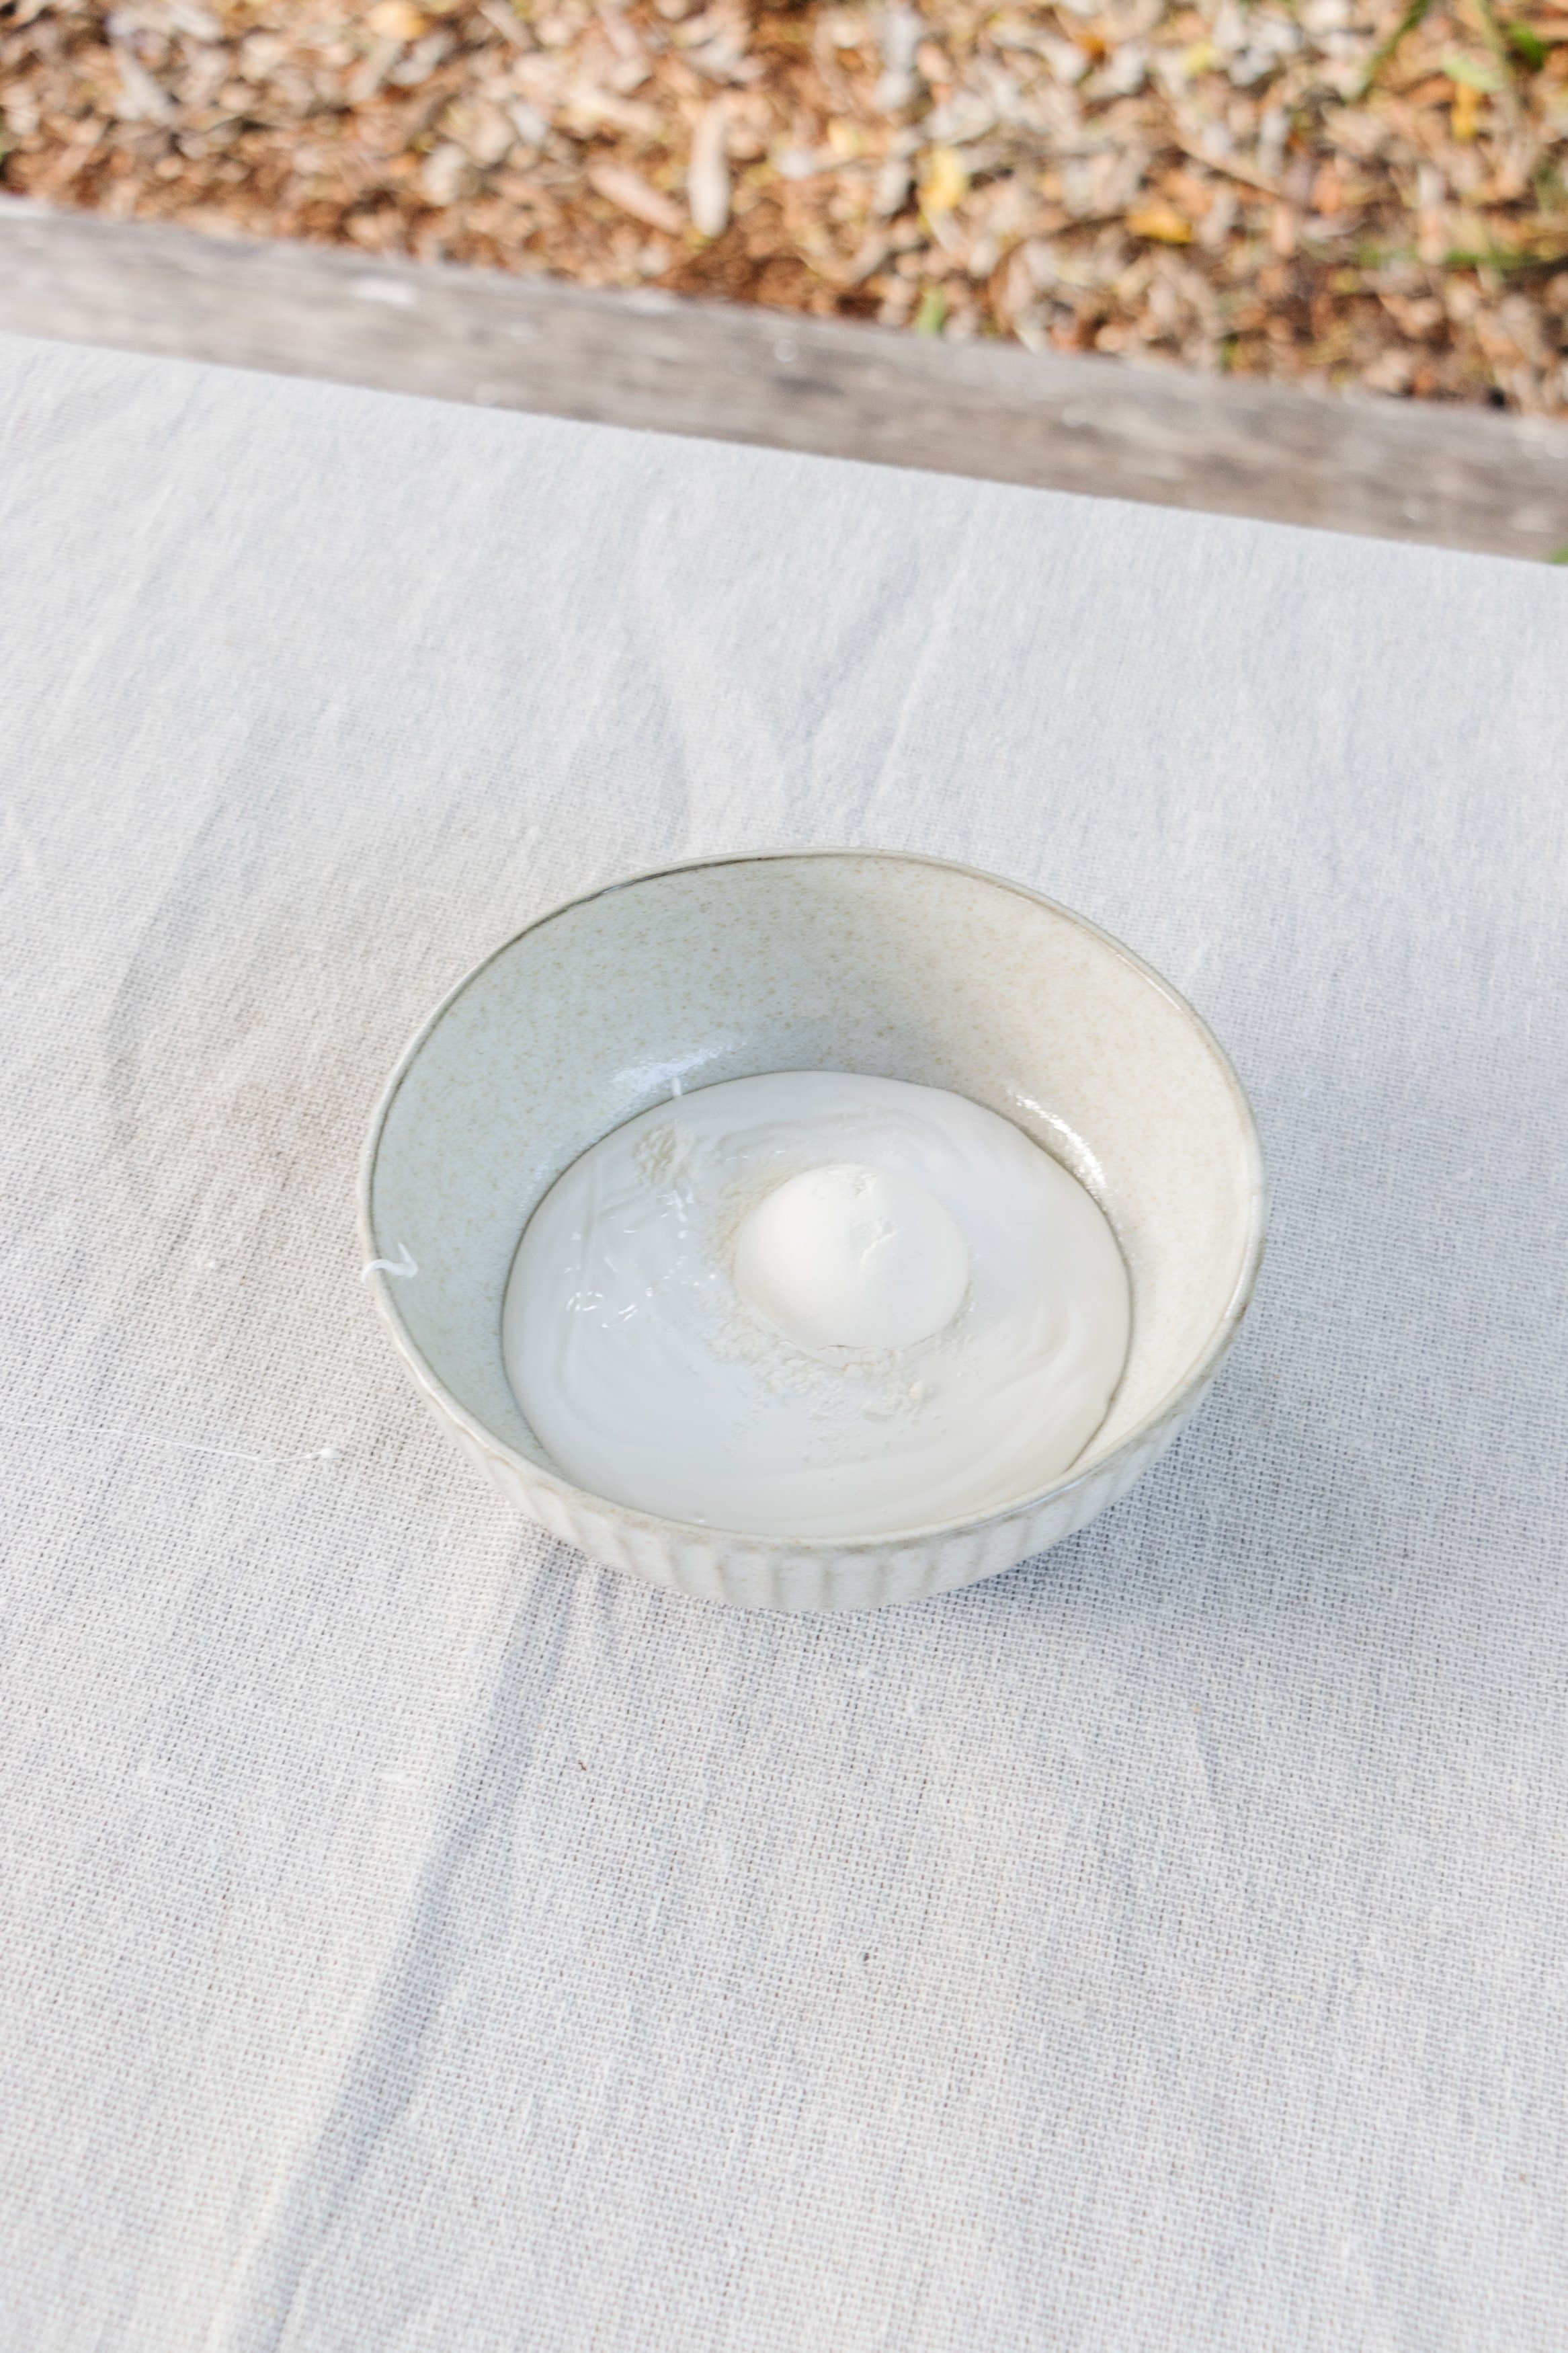
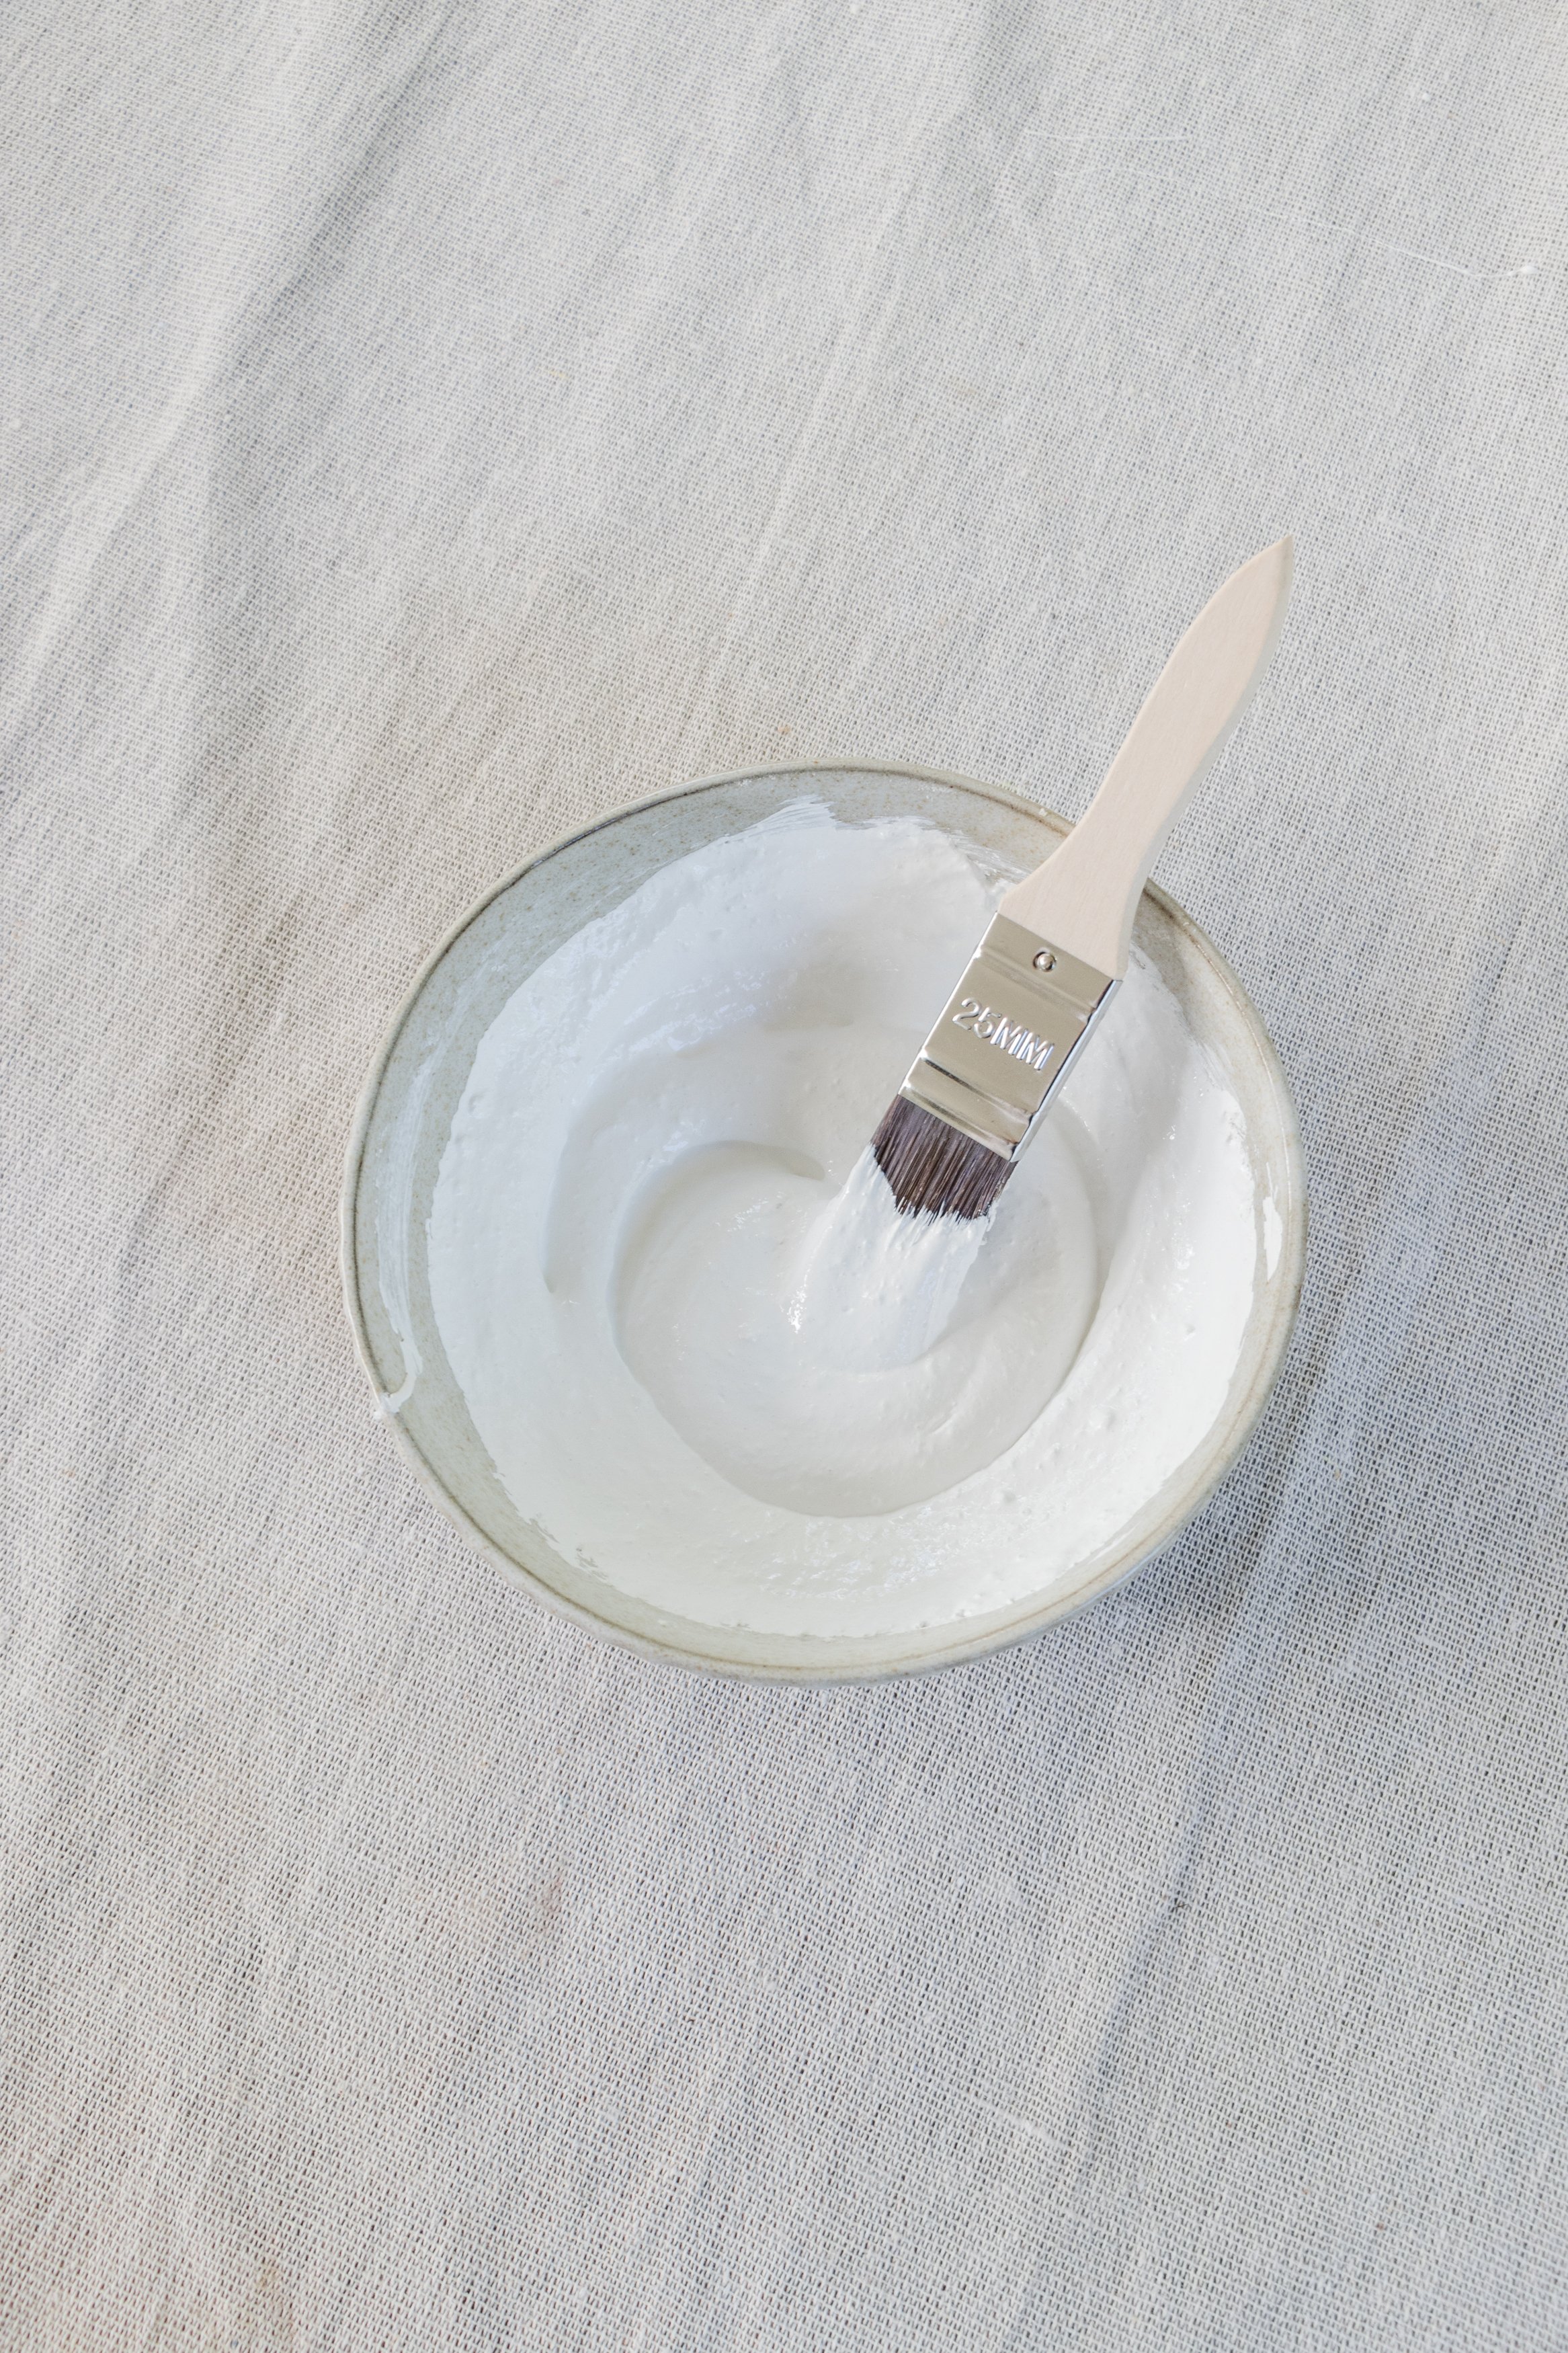
Step 1: To make my DIY Texture Paint, pour the paint into a bowl. Add the flour and mix thoroughly with a paint brush. You will notice the paint thicken up beautifully.
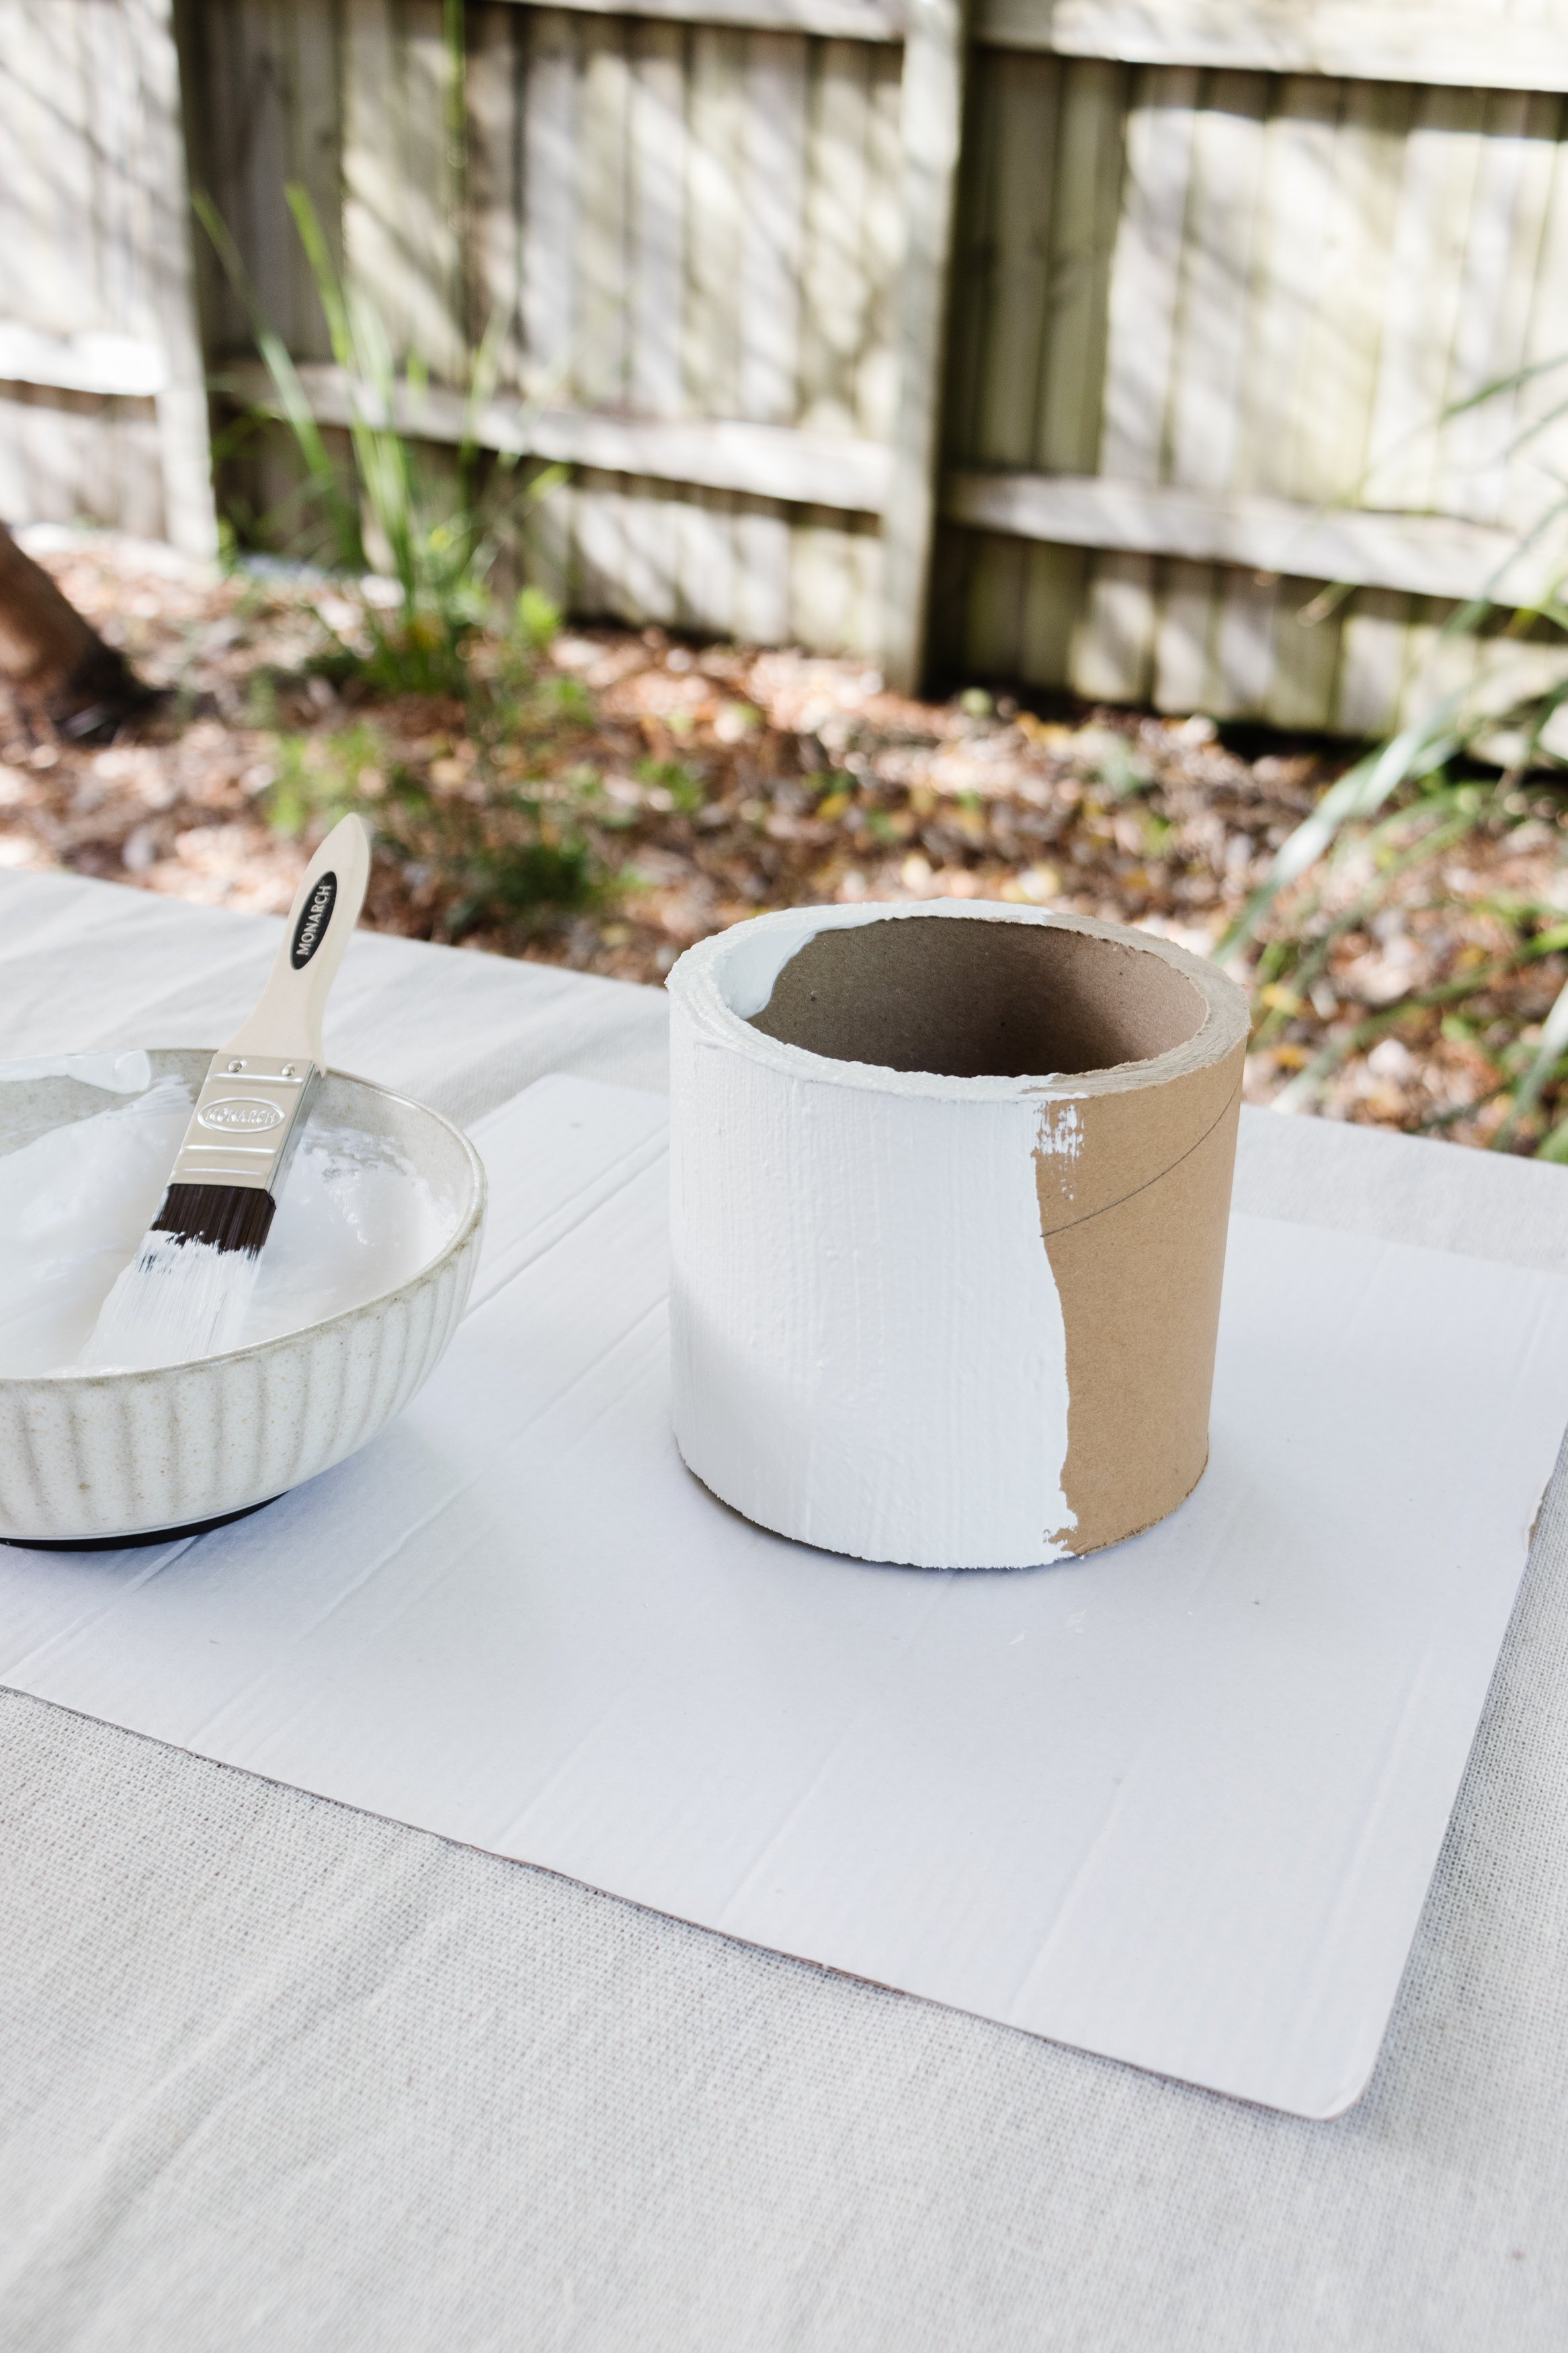
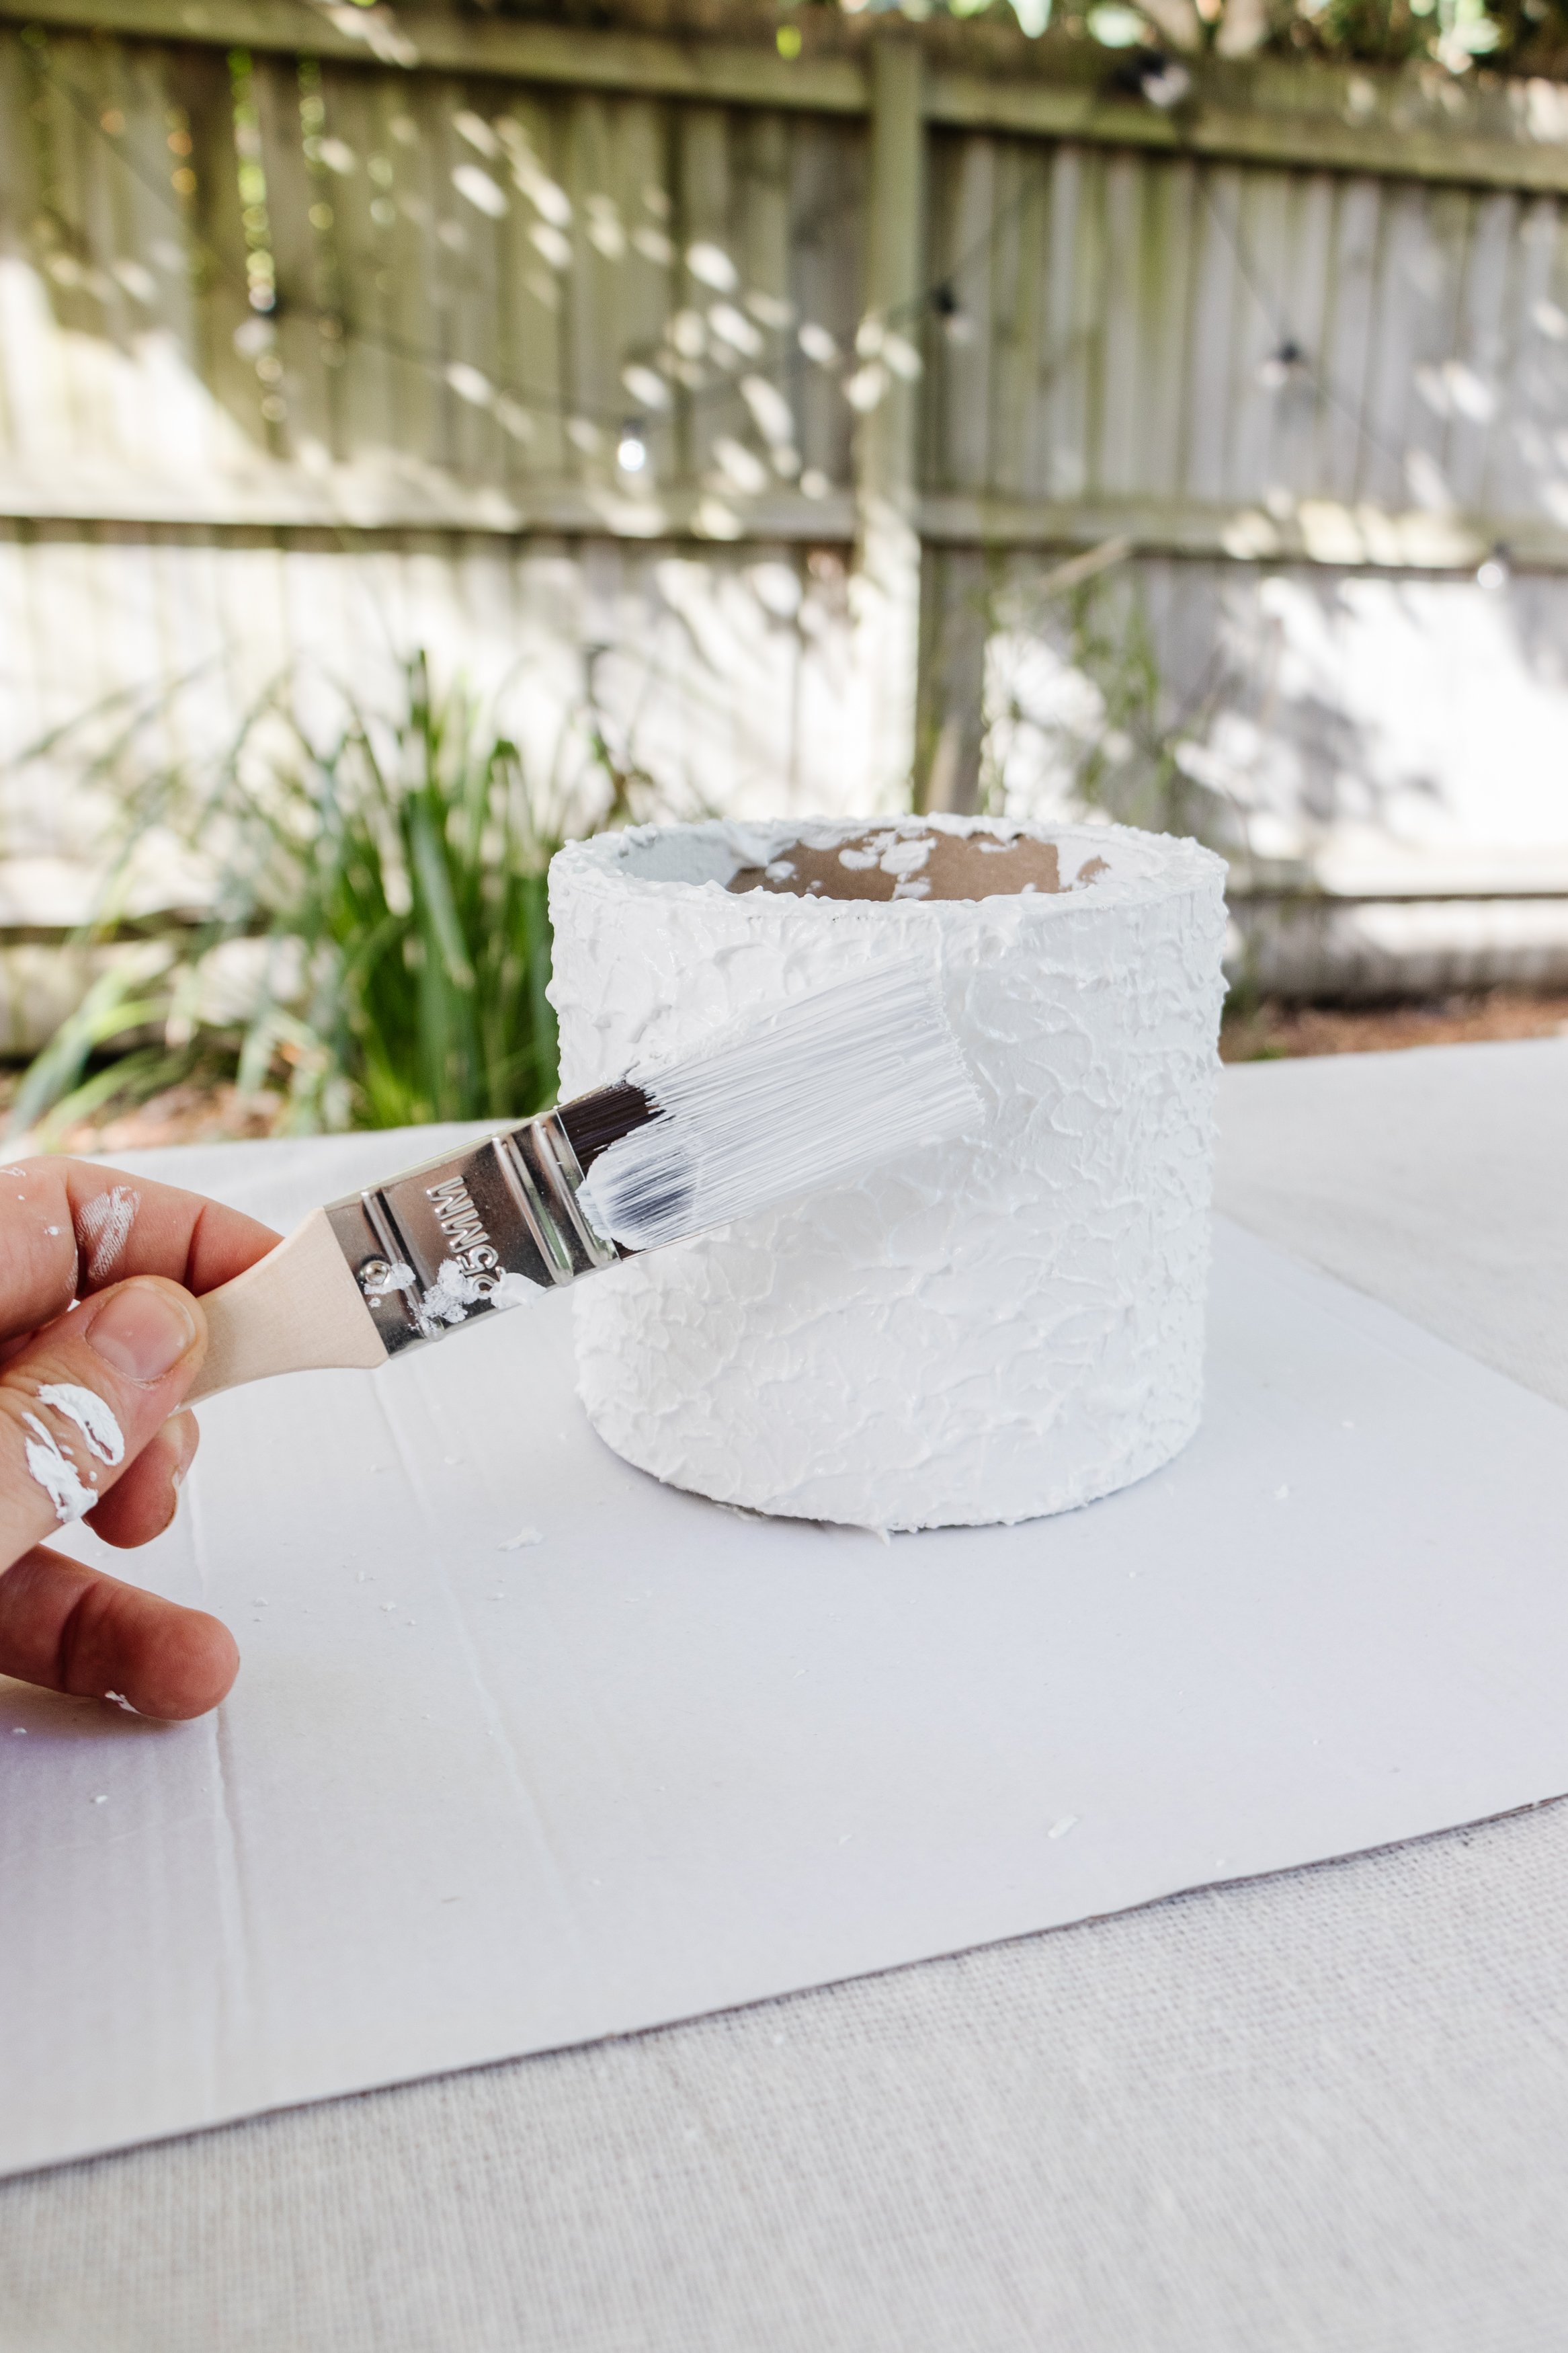
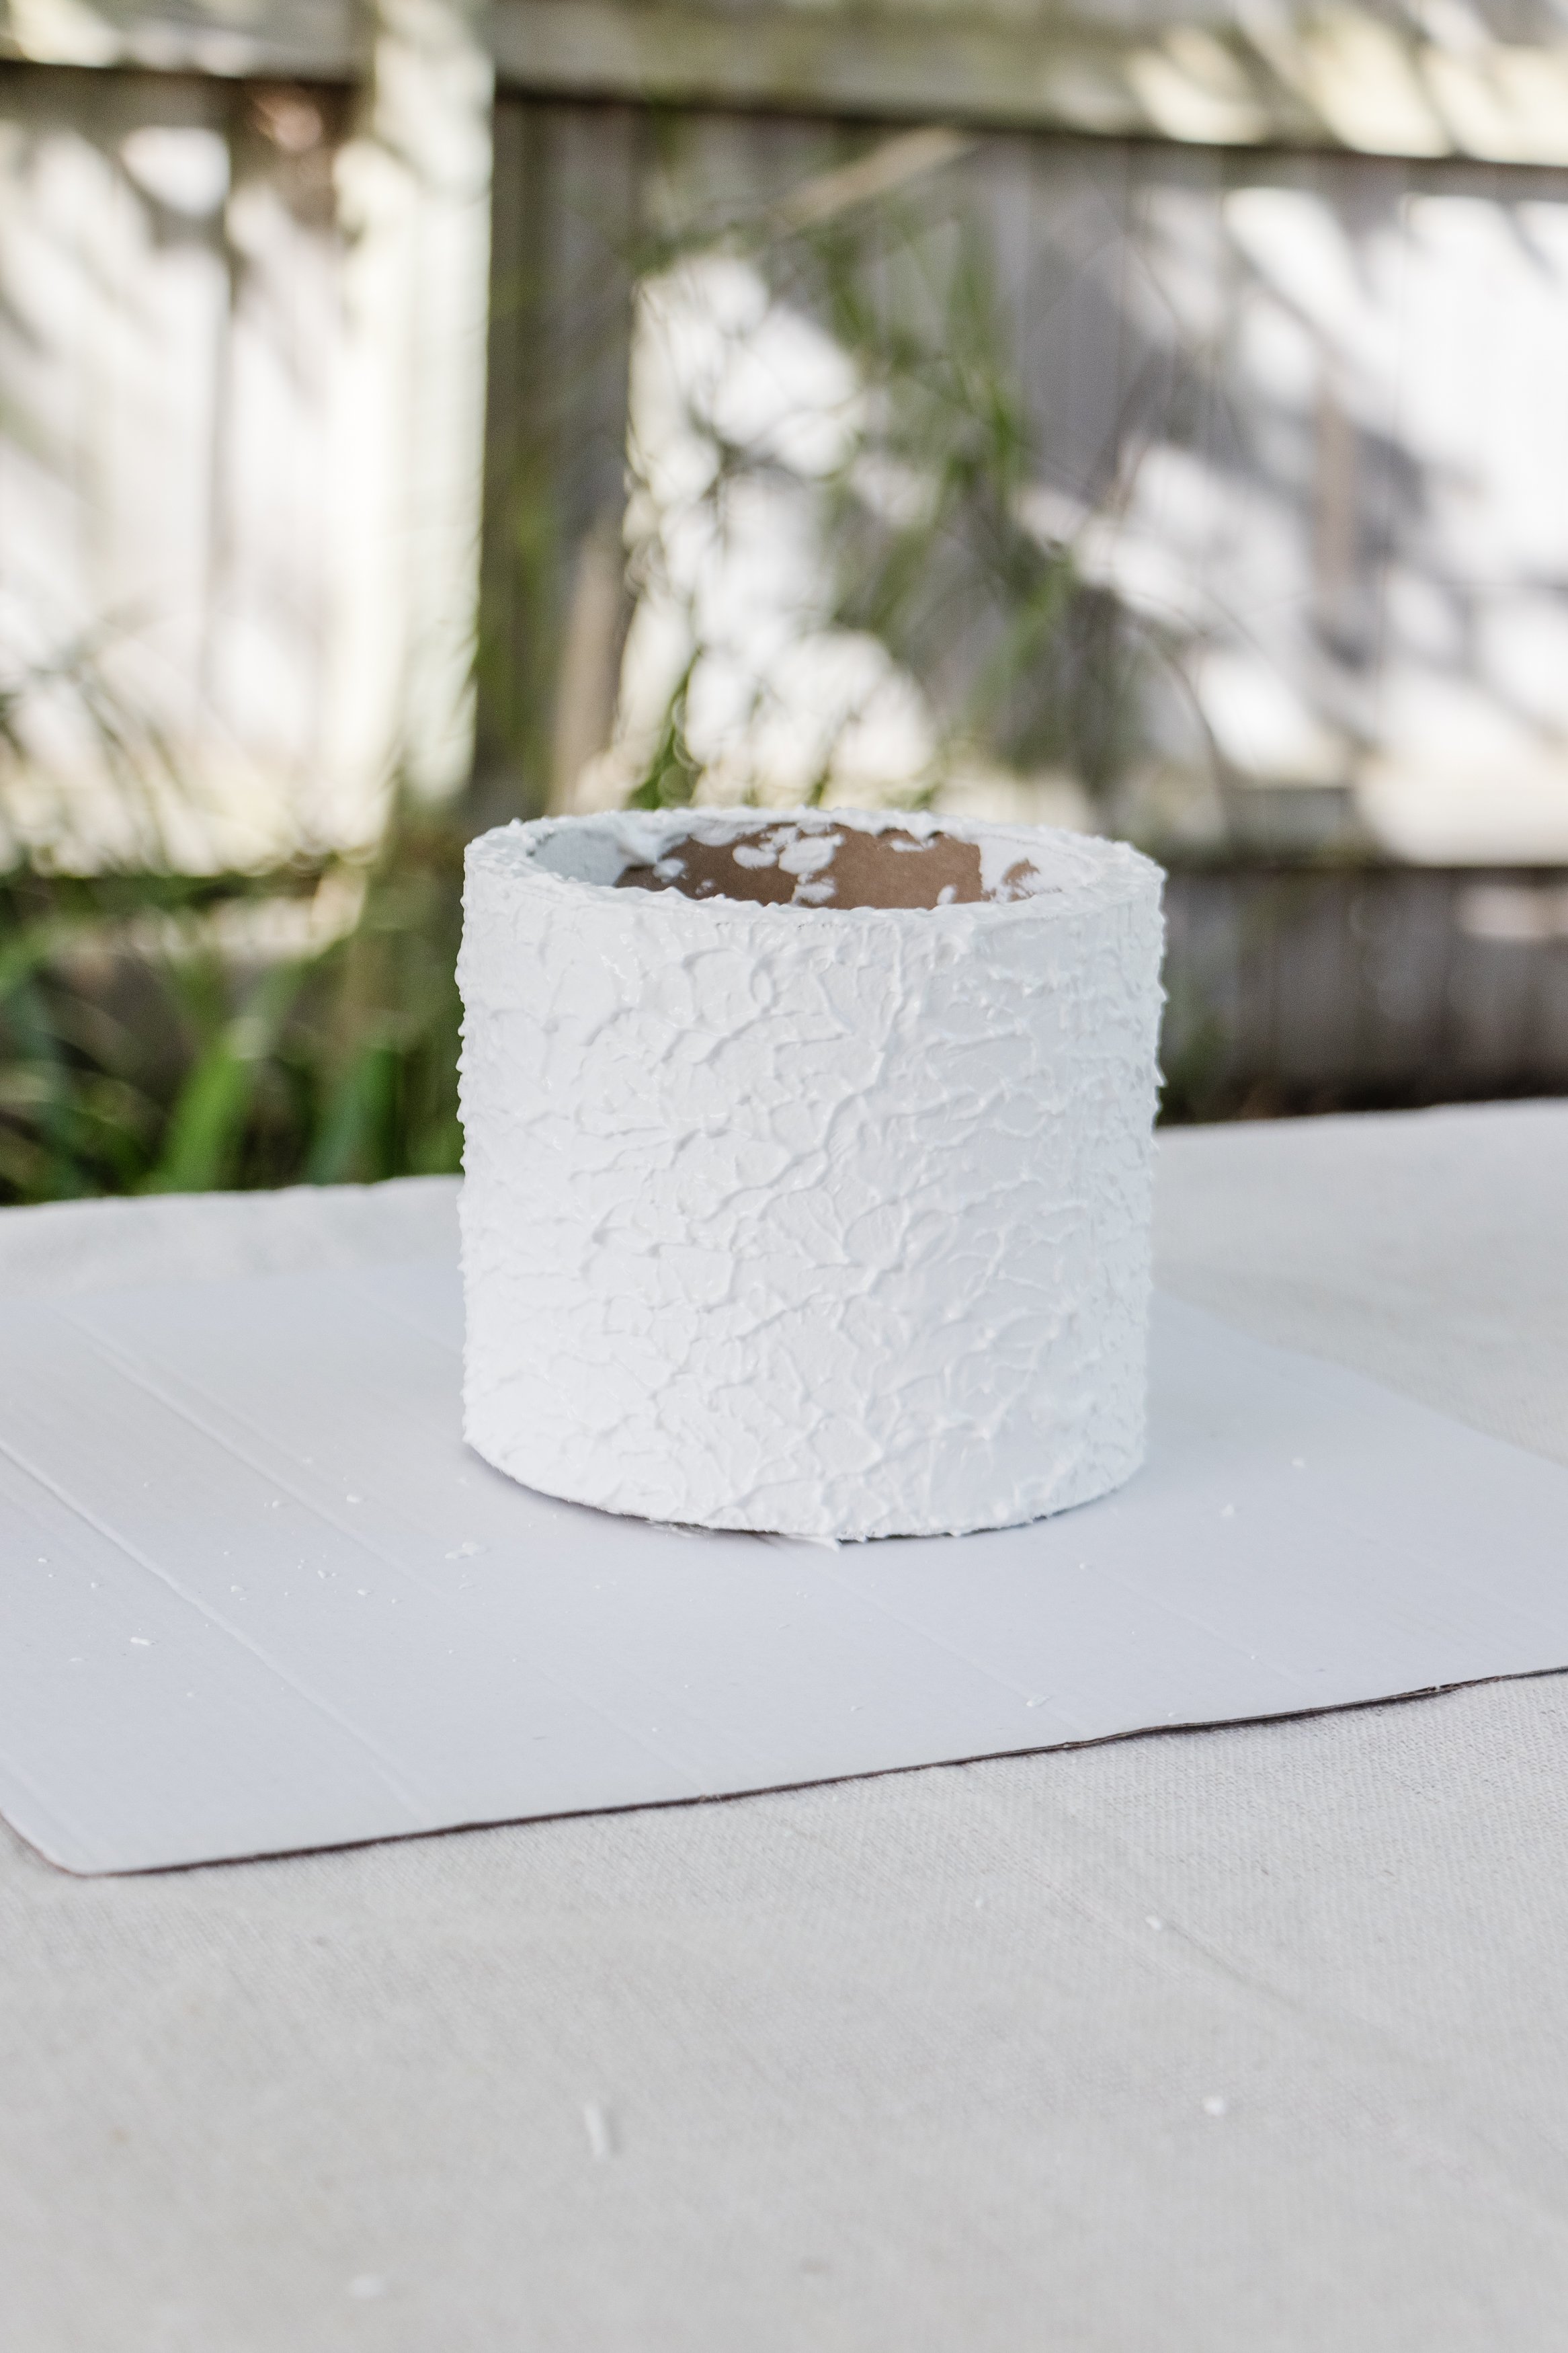
Step 2: Apply a thick coat of my DIY Texture Paint onto the surface of the item you are painting (cardboard, vase, art etc) using a paint brush. This paint is really thick so it will hide certain things like the lines around a cardboard tube. It also creates a beautiful textured finish, and you have two options for the finish. You can leave the paint is (brush strokes) as is or you can use the side of the brushes and “slap” the paint brush onto the paint to create an even more textured finish, which is my personal favourite. Set aside to dry. And that’s it!
Ta daaaa!
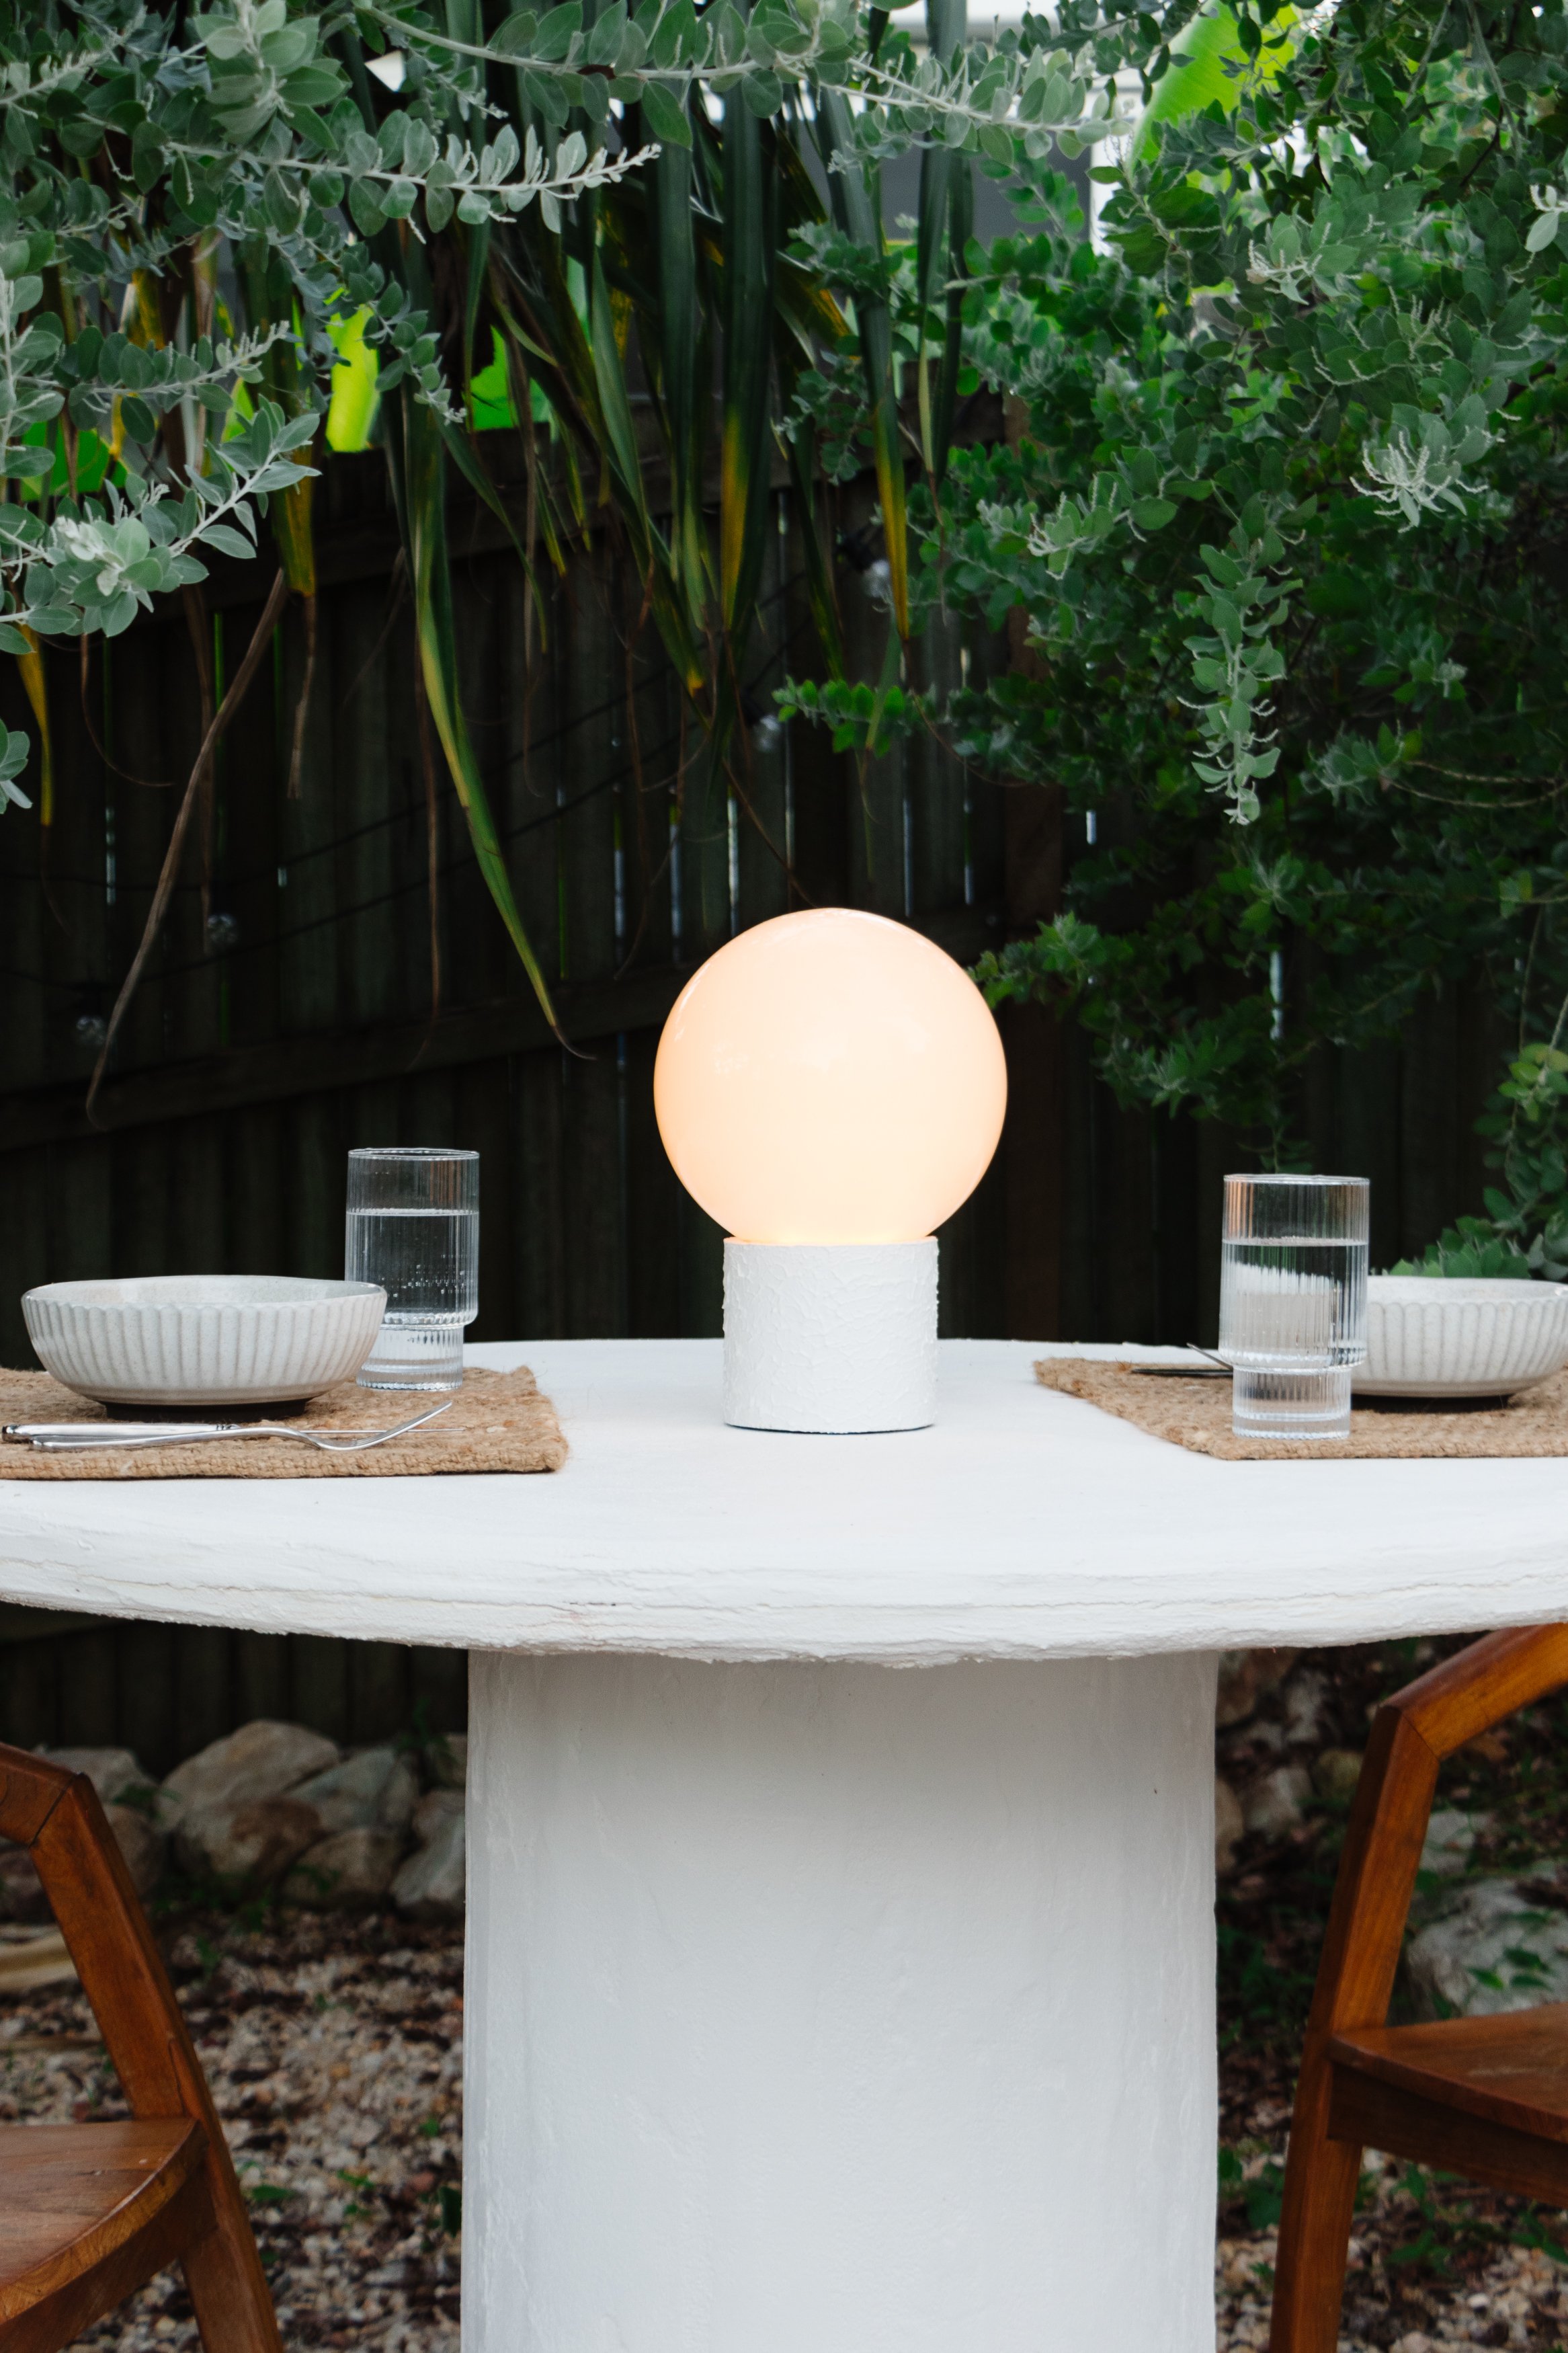
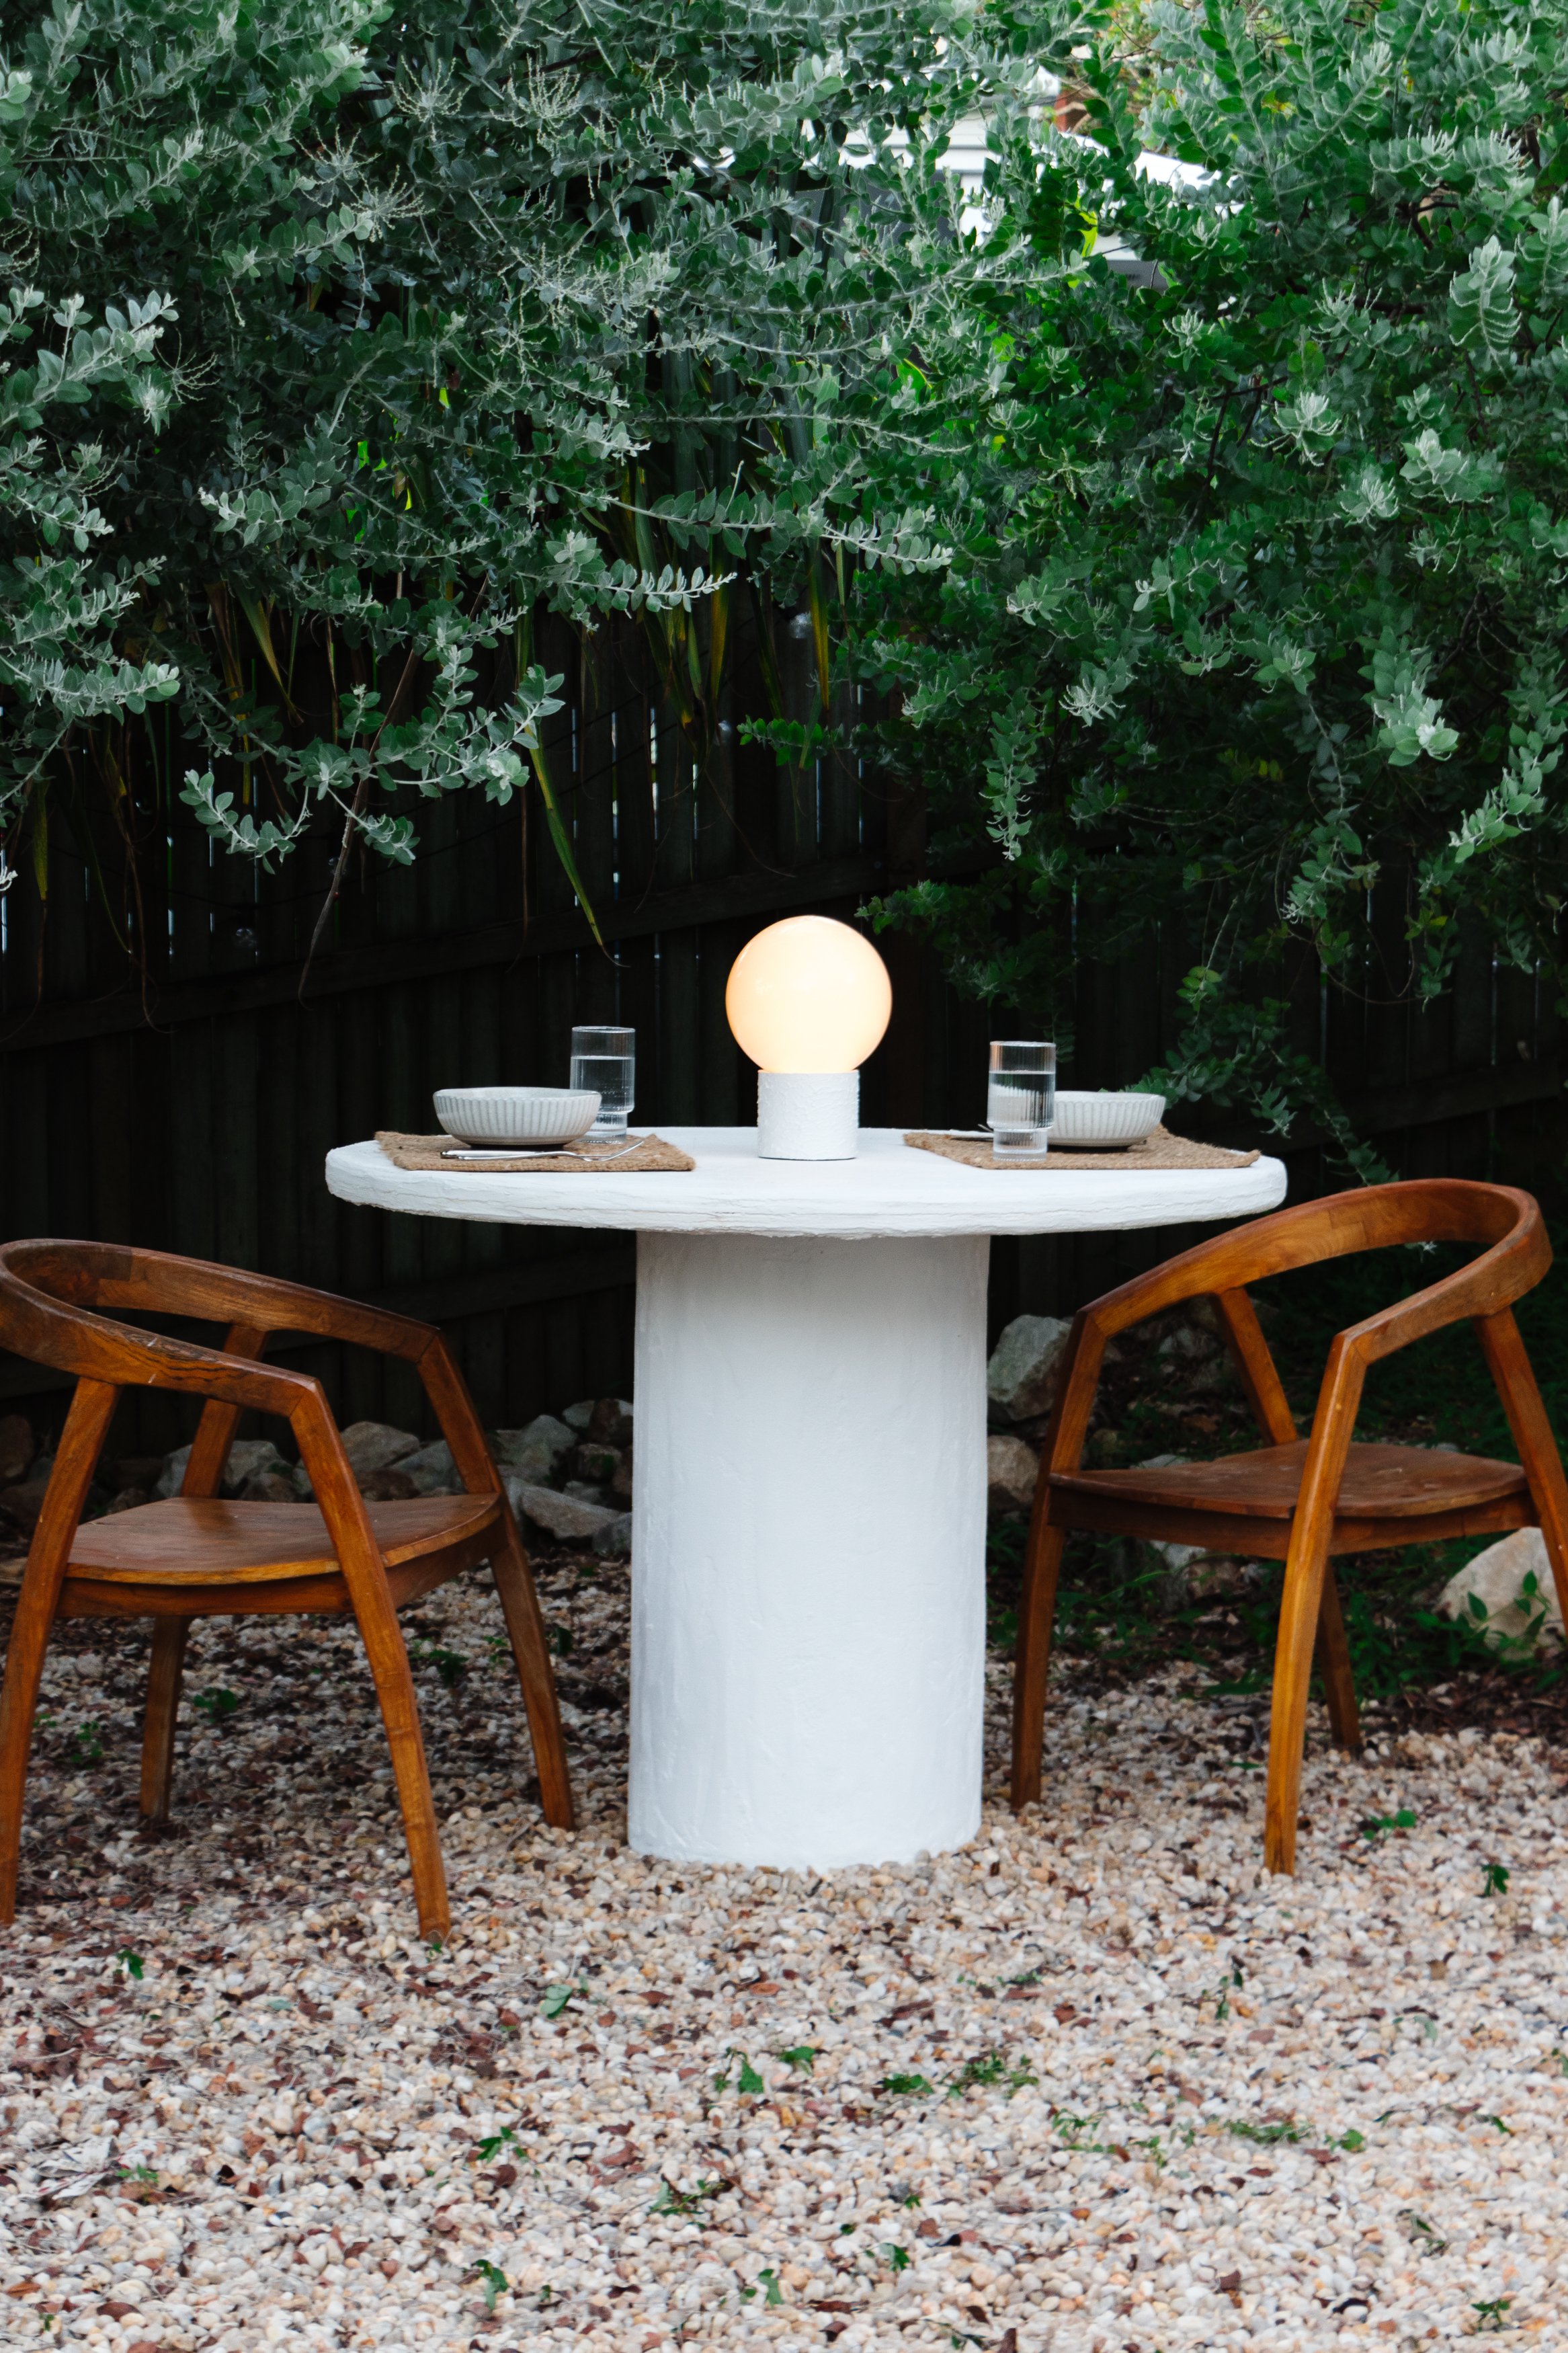
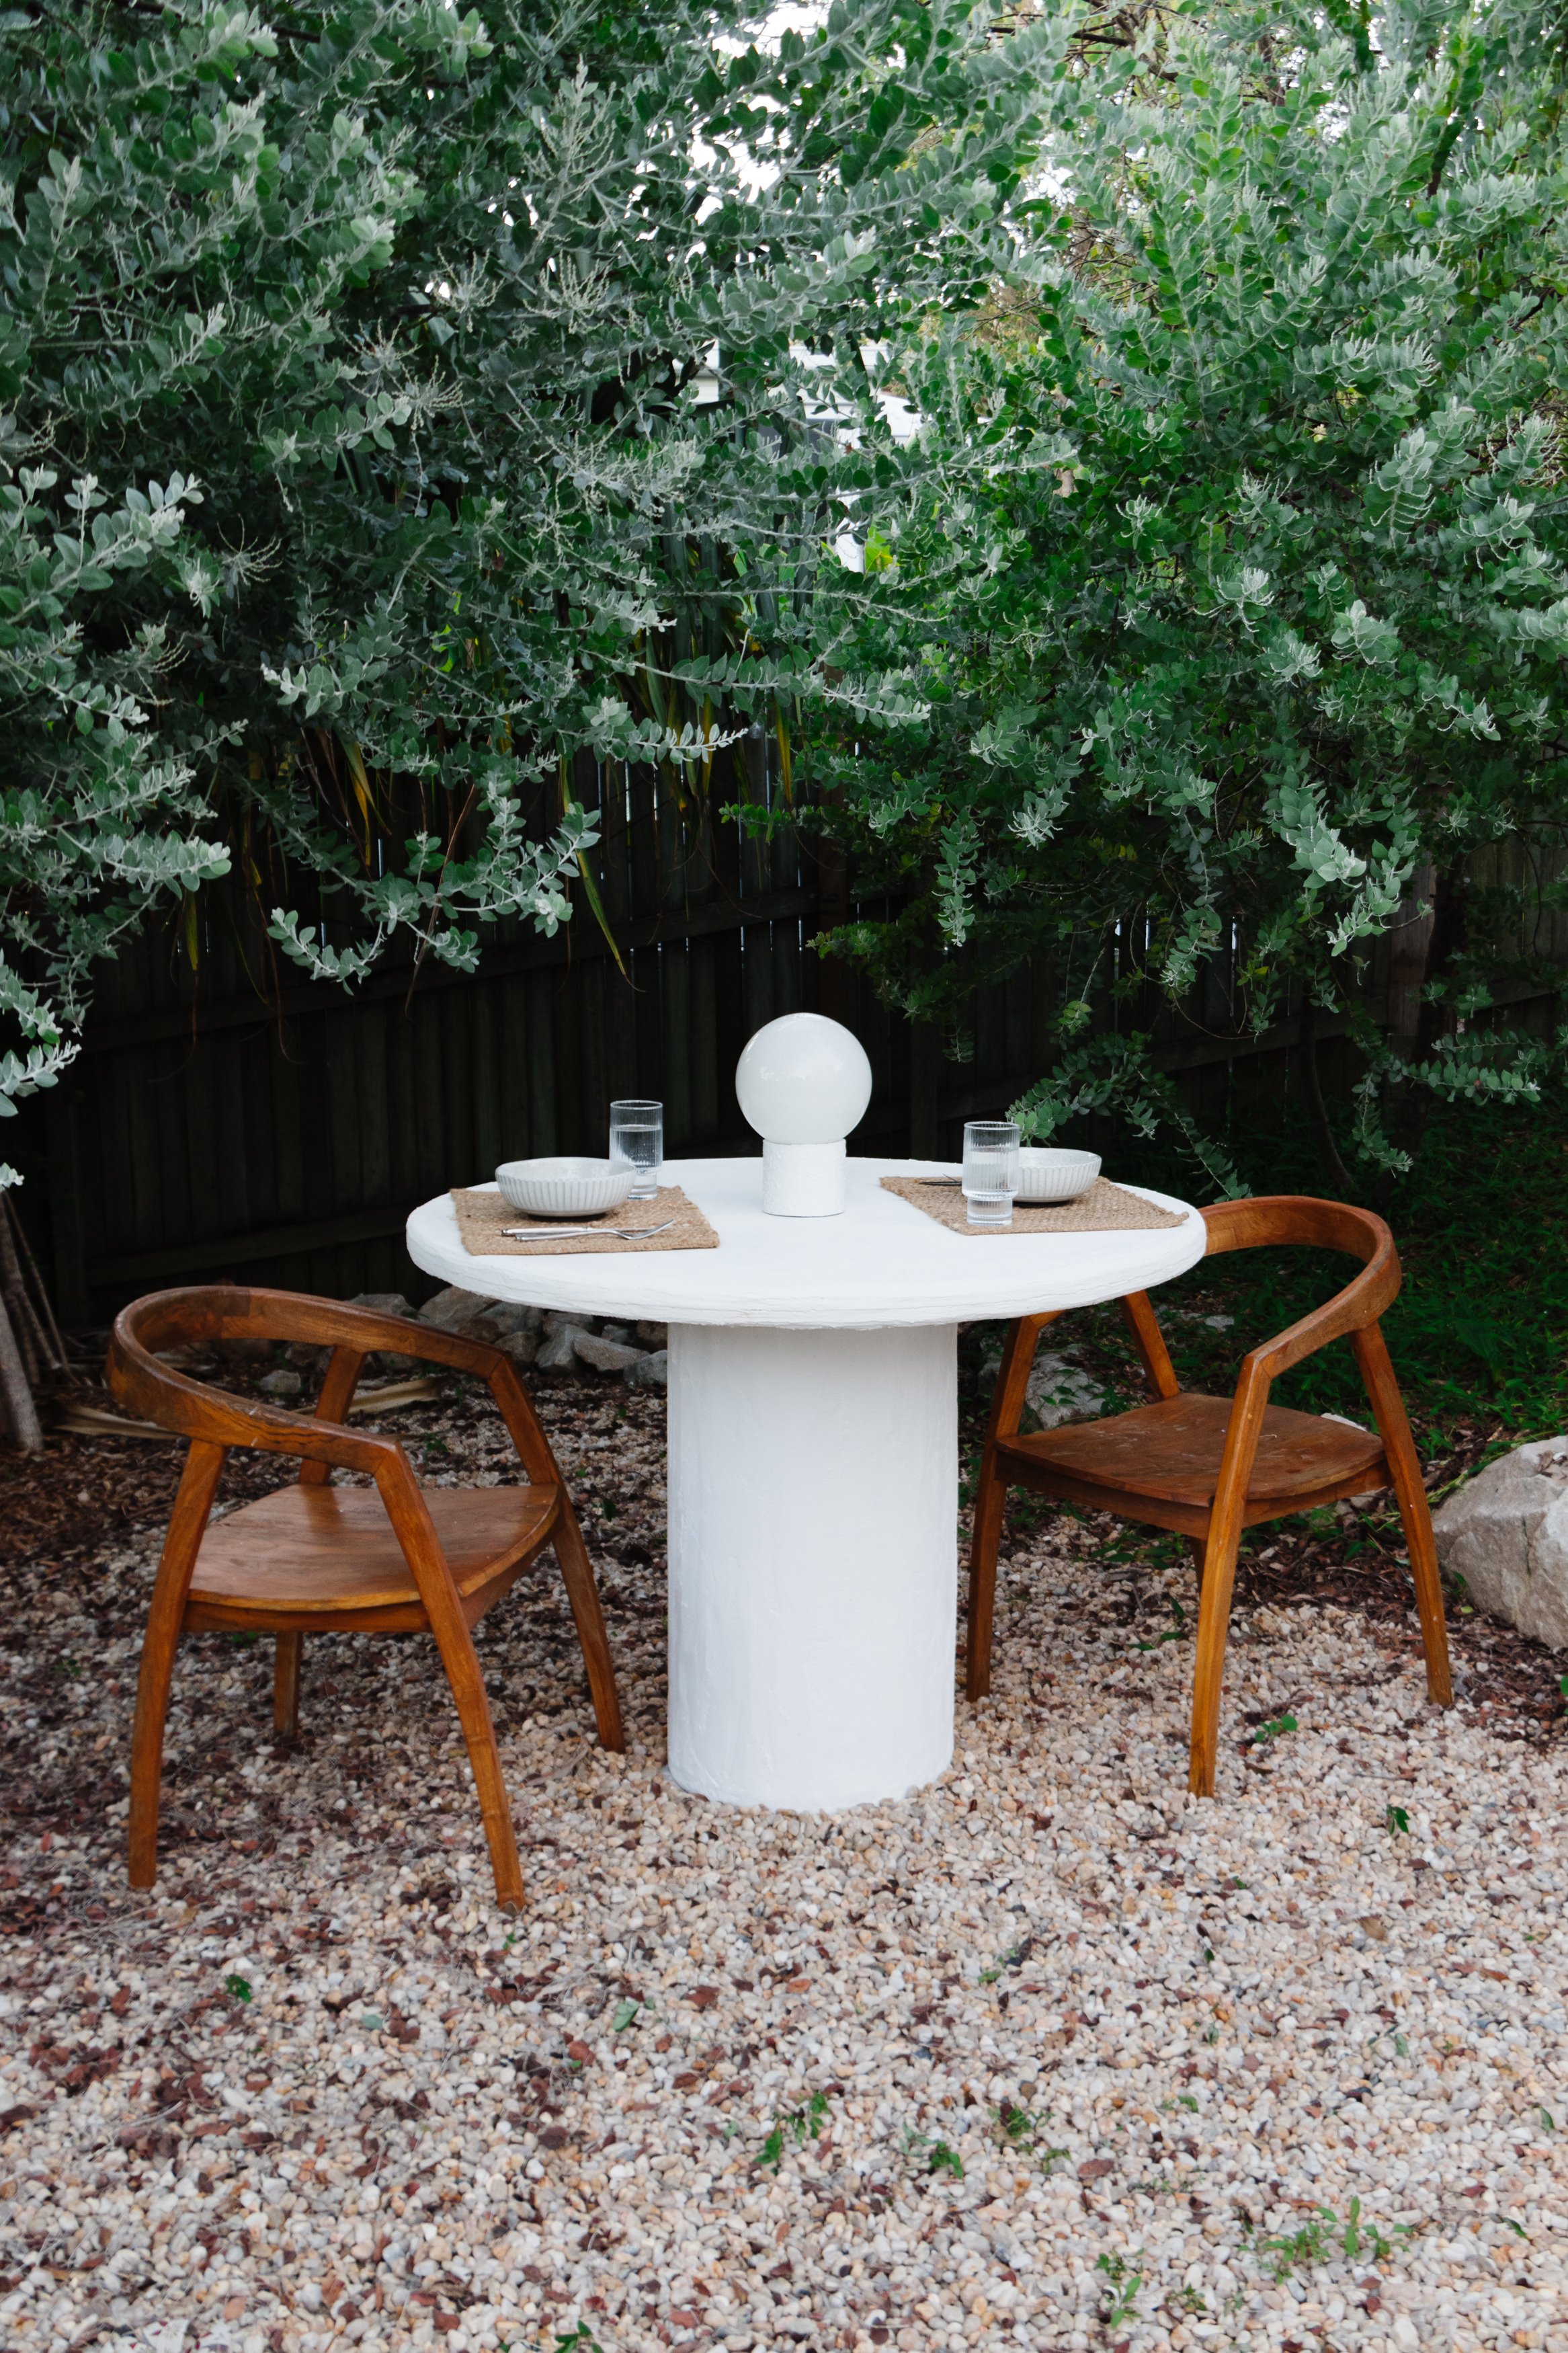
Isn’t this DIY Texture Paint gorgeous! And if you want to learn how to make this Upcycled Portable Table lamp, head over to my tutorial here. I can’t wait to experiment with this paint more and have a feeling it’s going to feature in lots of my upcoming projects, so stay tuned!

