
Upcycled Scalloped Cabinet
Transforming a giant double microwave-looking cabinet into…
The scalloped cabinet of my dreams! When I first saw it at a recycling centre, I thought there was no way I could do anything with it. But I kept returning to it, time and time again, and in the end, I knew I had to bring it home. It was ugly, sure. Dirty and gross, yes. But it had tonnes of potential for something special. Enter Porta’s sustainably sourced Portaline timber range! While the Portaline timber range is typically used on walls, as you know, I love using materials in unexpected ways, and it was a match made in upcycling heaven!
To see how my Upcycled Scalloped Cabinet came together, watch this video
Before & After


Project Details
♻️ Upcycling: A thrifted cabinet
🕒 Project Time Estimate: 5 hours (not including glue or paint drying time)
🪑 Skill Level: Advanced
💰 Materials Cost: Under $100
👷🏼♀️ Safety Gear: Protective eyewear, ear plugs, face mask
Materials
Drop sheet
4 x Cardboard tubes
4 x Pieces of wood
Timber screws
Bowl or something else that is round
Fast grab construction adhesive
Zinsser BIN Primer
Water-based acrylic paint (250ml to 500ml is plenty)
Tools
Antibacterial wipes
Measuring tape
Pencil
Handsaw
Drill
Jigsaw
Paint brush
Paint roller

How To
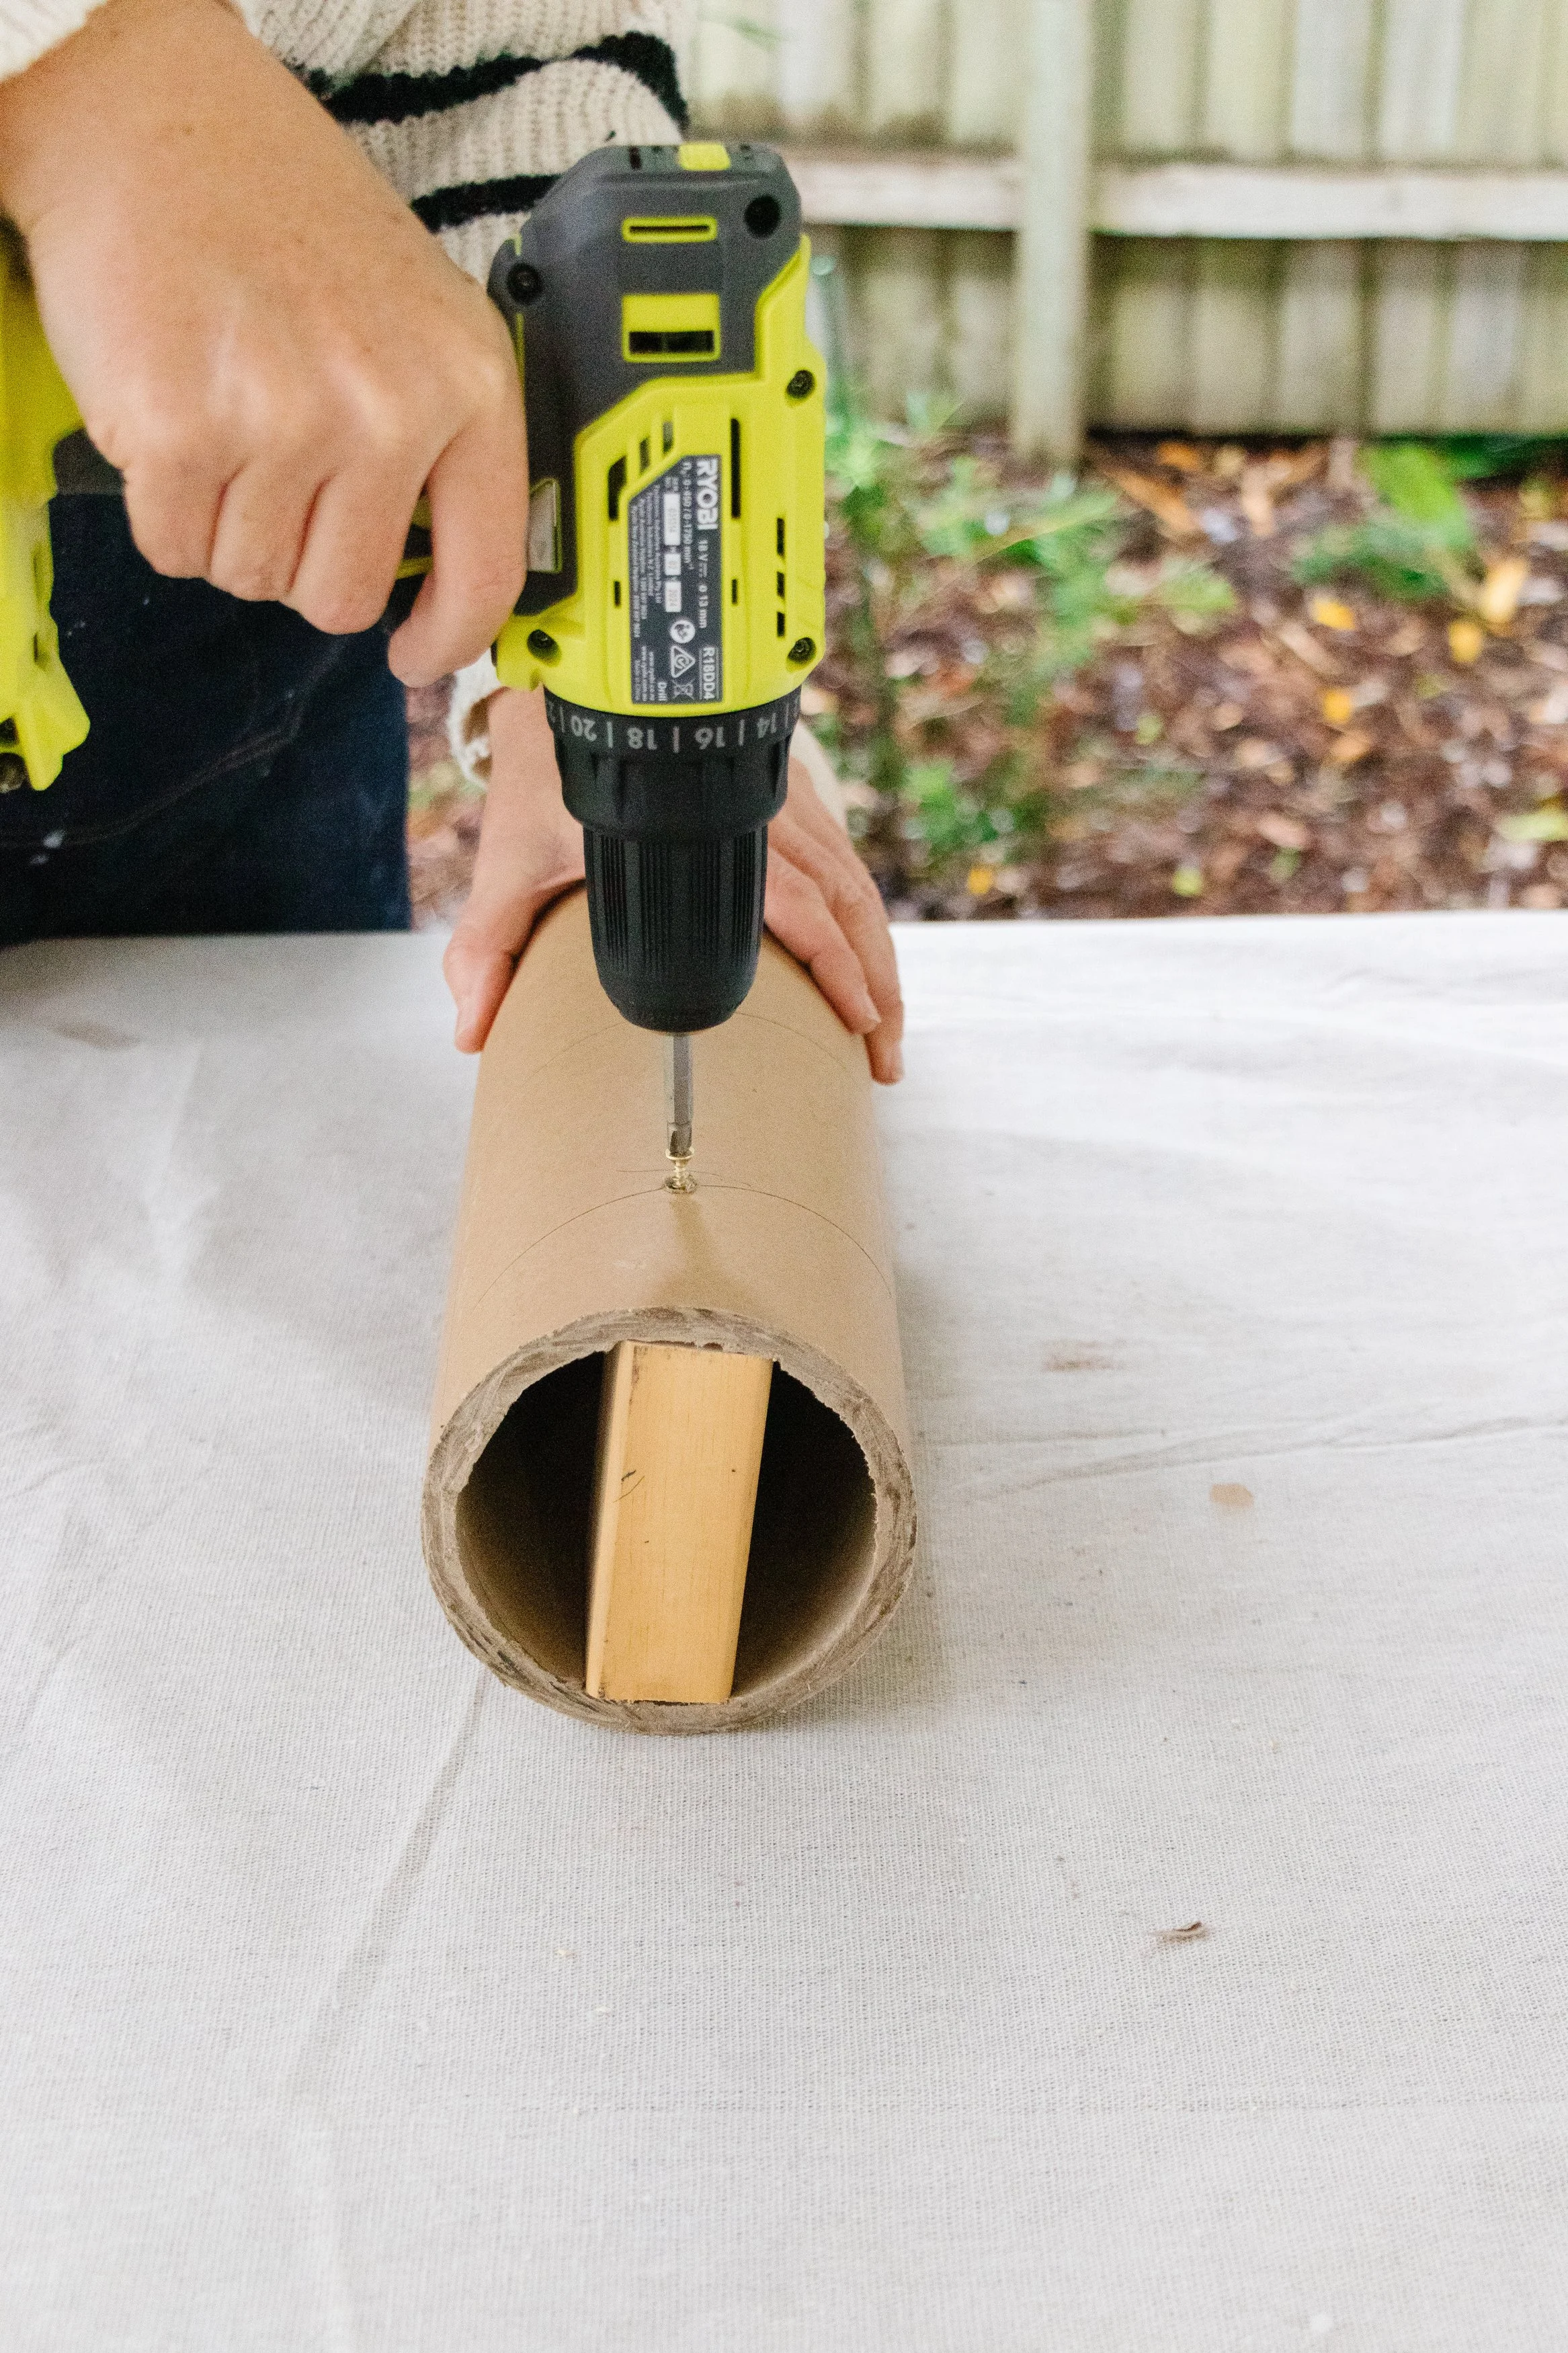
Step 1: Place a drop sheet onto your workbench. Clean the cabinet using antibacterial wipes. Place a piece of timber inside the top of a cardboard tube. Using a drill and timber screws, secure the timber to the cardboard tube. Repeat for the remaining pieces of cardboard tubes and timber. Attach the legs to the bottom of the cabinet using timber screws (drive the screws through the timber inside the cardboard tubes). Use a handsaw and a hammer to create two notches on the top of the cabinet, allowing the Portaline-covered doors to open properly.


Step 2: Line the Portaline pieces along the front of the drawers to determine the quantity needed. Then, use measuring tape and a pencil to determine how long you want the pieces to be, taking into account an extra 100mm for cutting the scallops (mine were cut at 950mm, and then I cut the scallops at 850mm). Take the Portaline pieces off the cabinet and cut each piece using a jigsaw and table clamps.
Step 3: Line the Portaline pieces on a flat surface, with the flat side facing up. Using a bowl and a pen, decide how big you want the scallops to be then draw an odd number of scallops along the bottom. It’s important to draw an odd amount so the scallops are even and not cut off on the ends. Using a jigsaw and table clamps, cut each piece of Portaline. I found it easiest to cut a few pieces together to ensure each scallops are cut in one go and without interruptions. Because of the doors, I also accounted for one thin piece of Portaline on either end - these were not glued to the doors, but to the profile of the cabinet.
Step 4: Using fast grab construction adhesive, glue the Portaline onto the front of the cabinet doors. Stand the cabinet up - you may need someone to help you with this. Apply one coat of Primer onto the laminate cabinet using a paint roller. Following this, paint the cabinet using a paint brush in your favourite colour.


Ta daaa!
What an extreme glow up! I loved using Porta’s sustainably sourced Portaline timber range for this upcycling project. It also comes primed with a matte white finish, making it effortless to paint. In fact, I only used 250ml of paint on this entire cabinet - so good! Porta’s sustainably sourced Portaline range makes it simple to transform any space, and now any piece of furniture. Explore the new Portaline profile range for your next upcycling project here.
This project was in collaboration with Porta


