
How To Build A Dollhouse Part 1
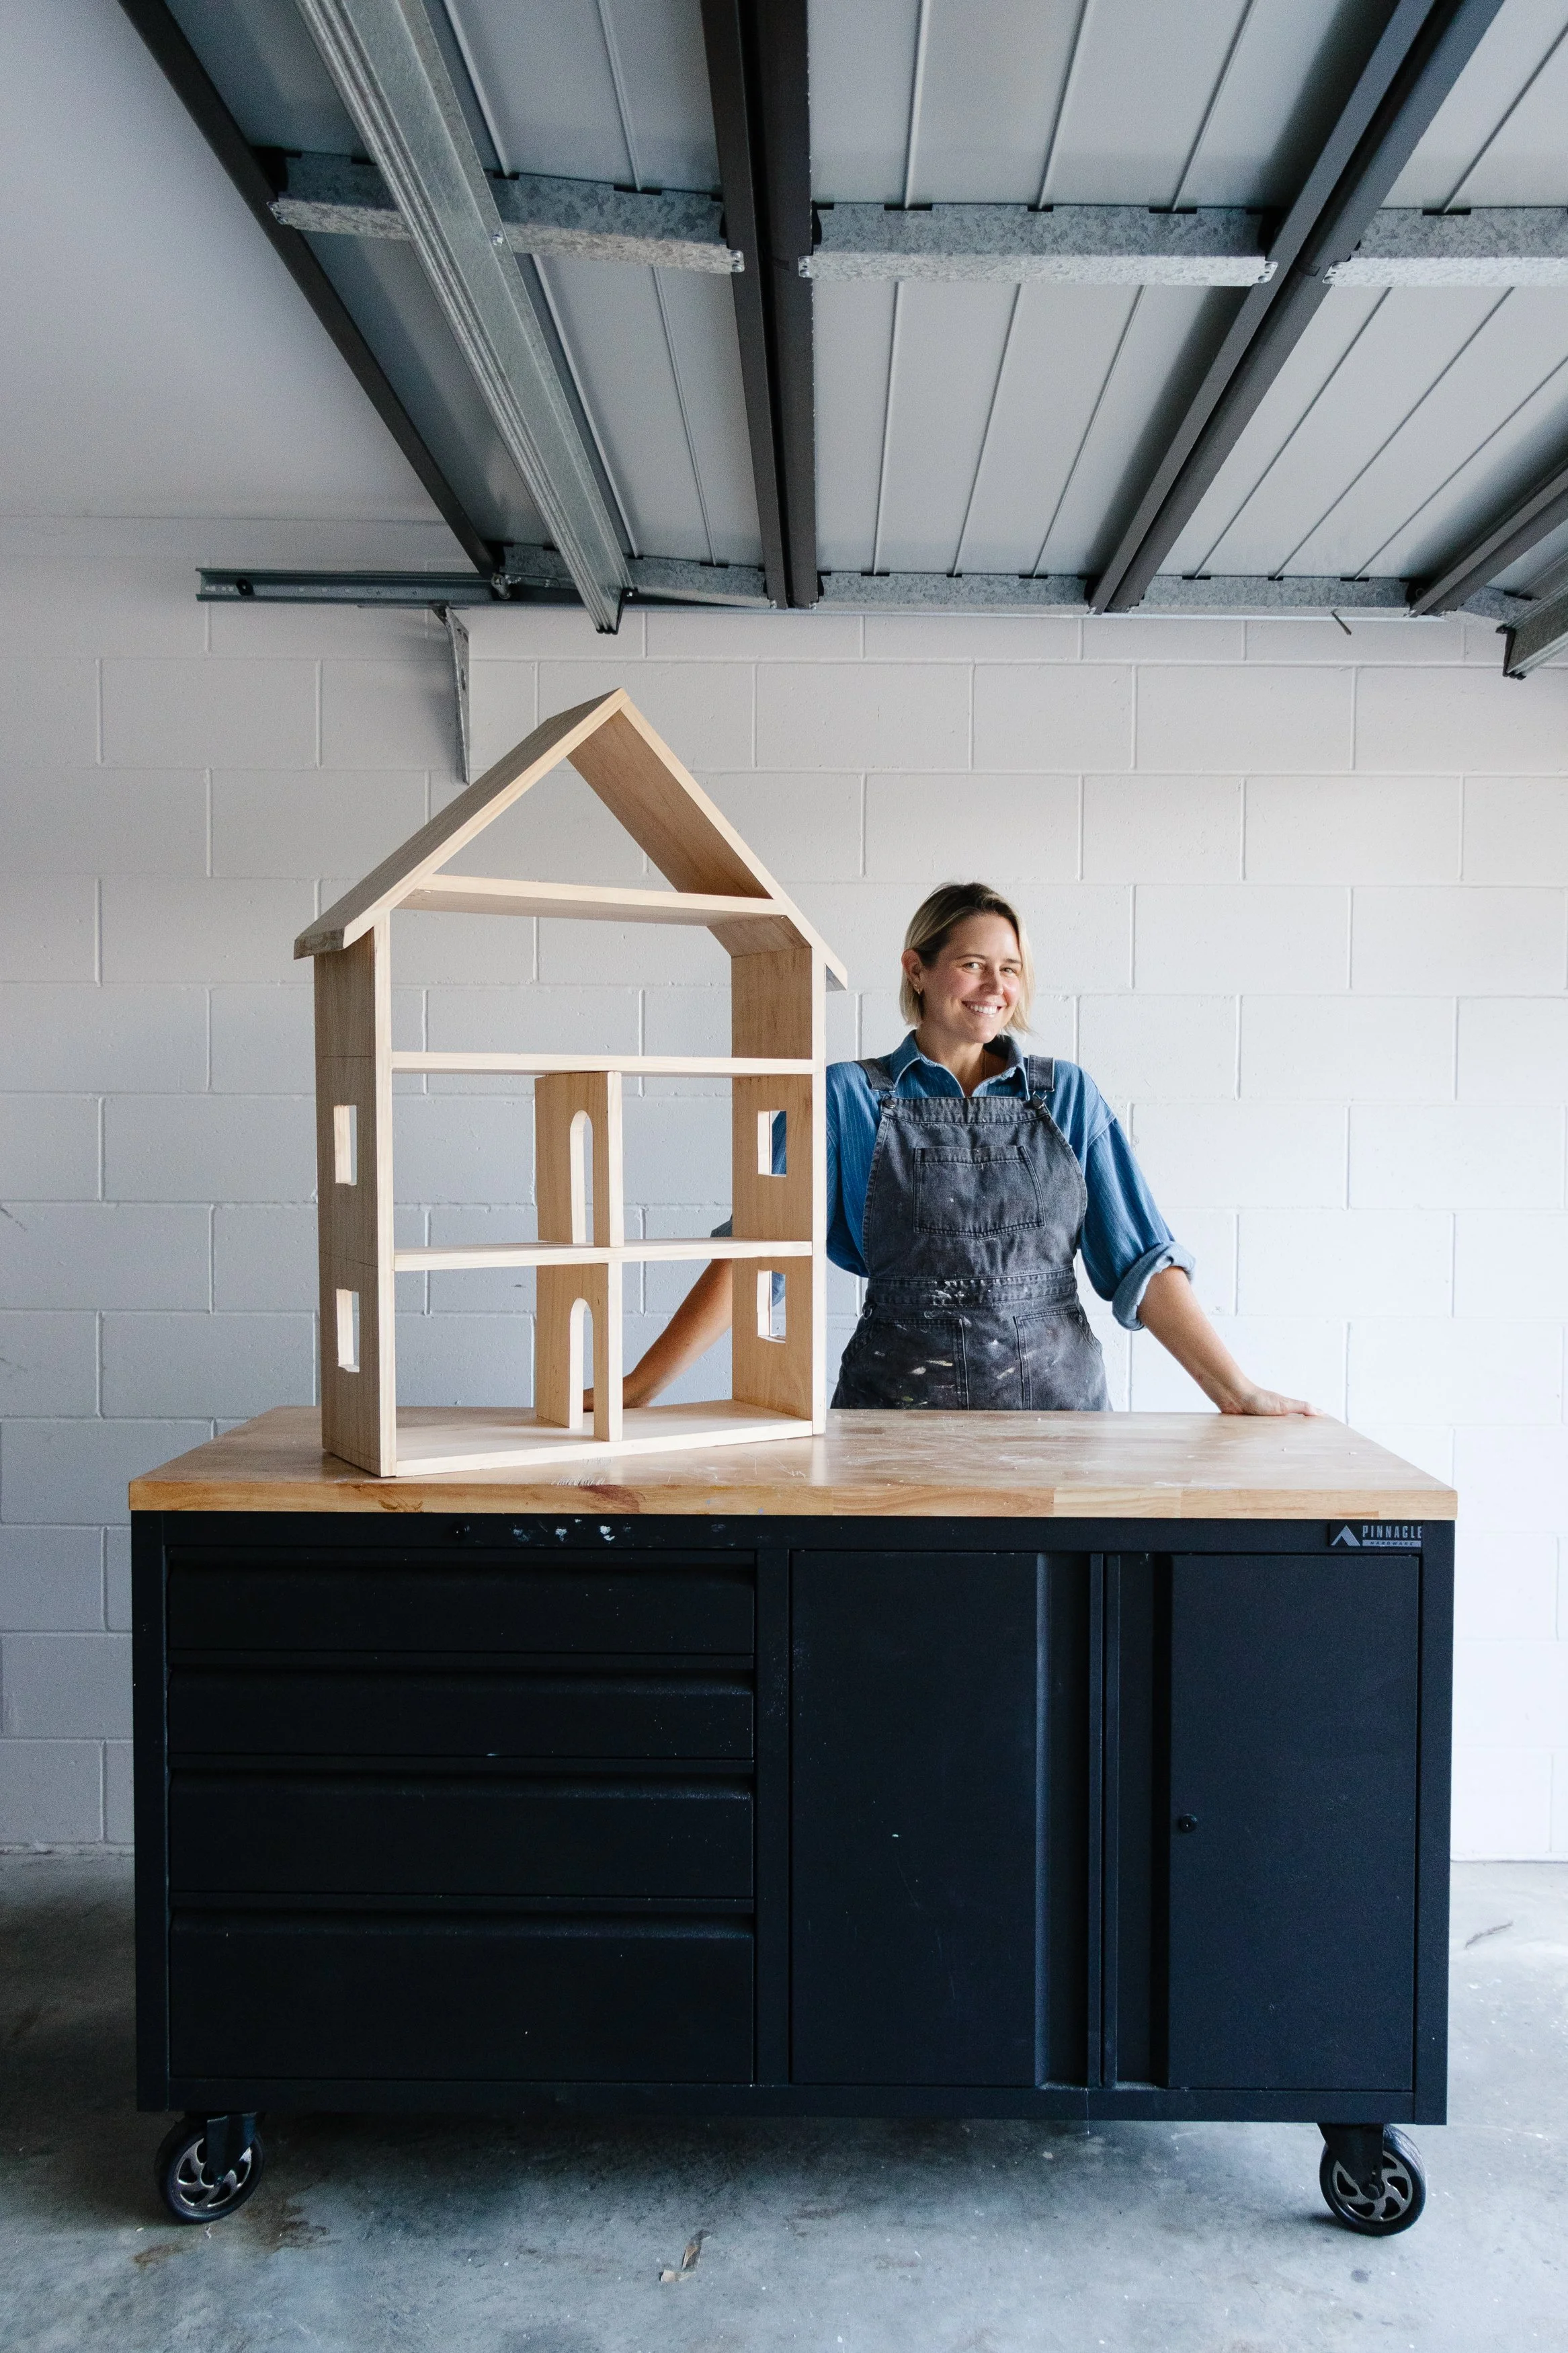
I can’t believe I’m saying this but I’m making another dollhouse!
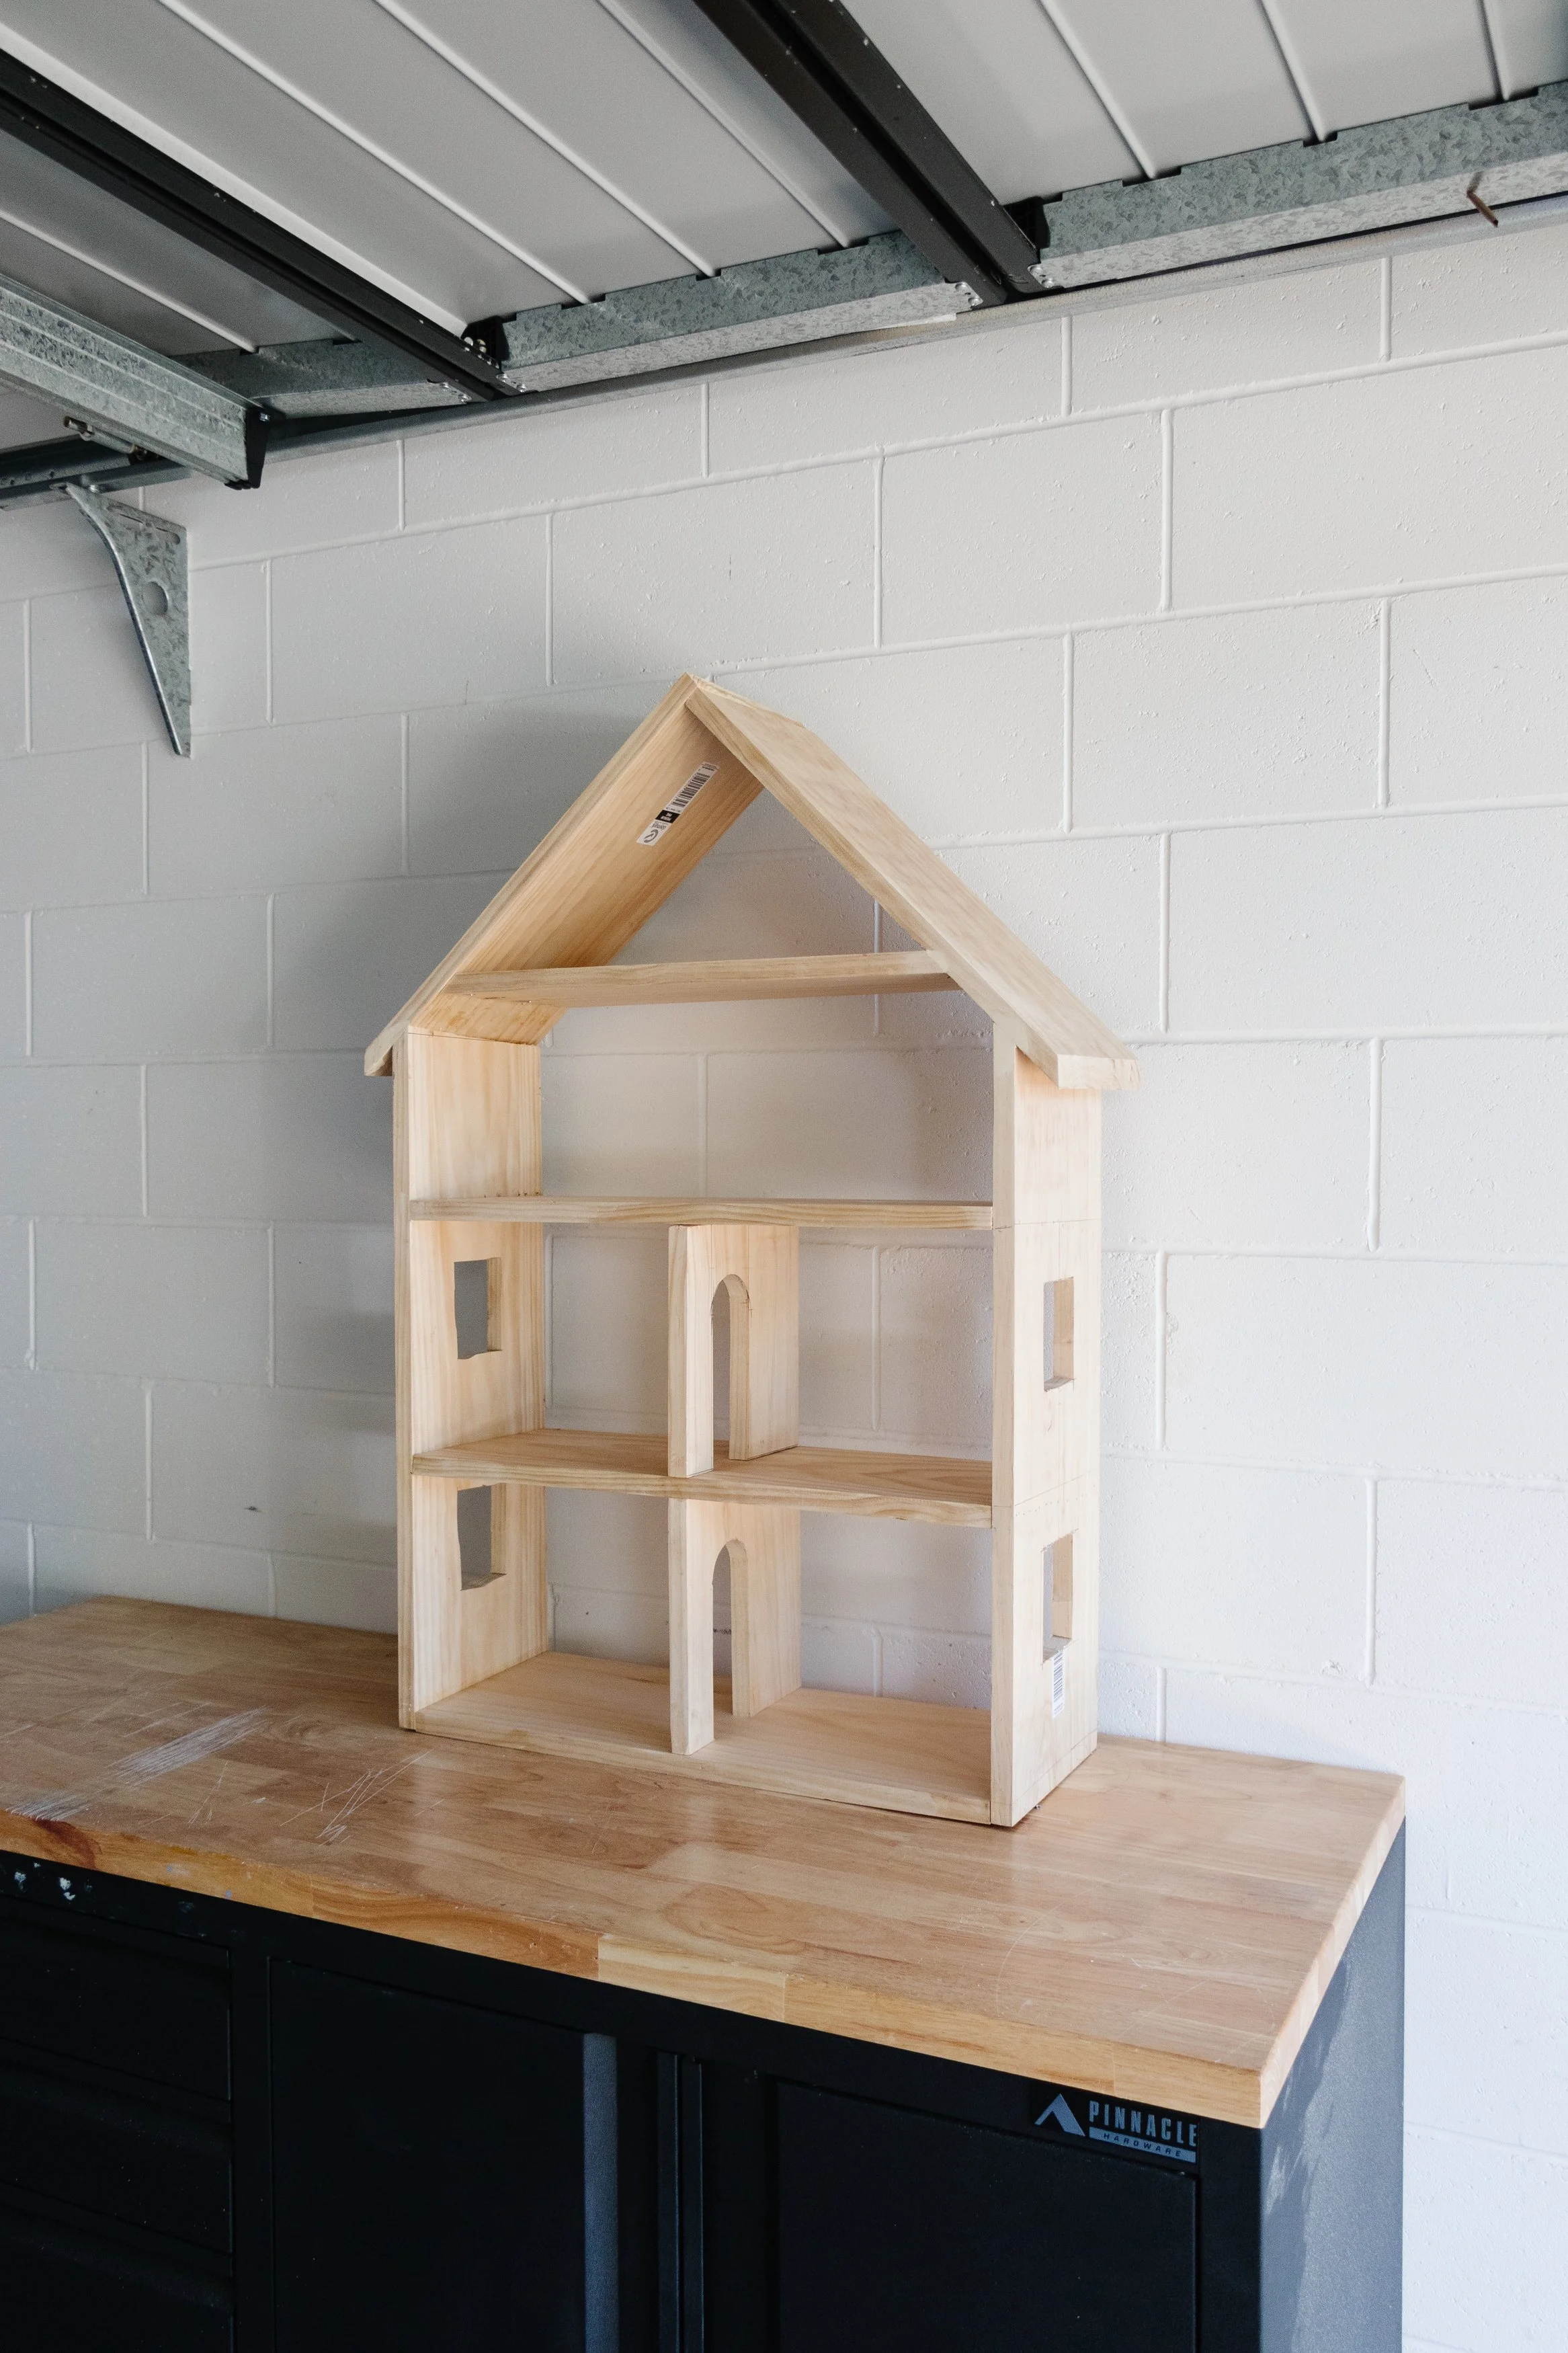
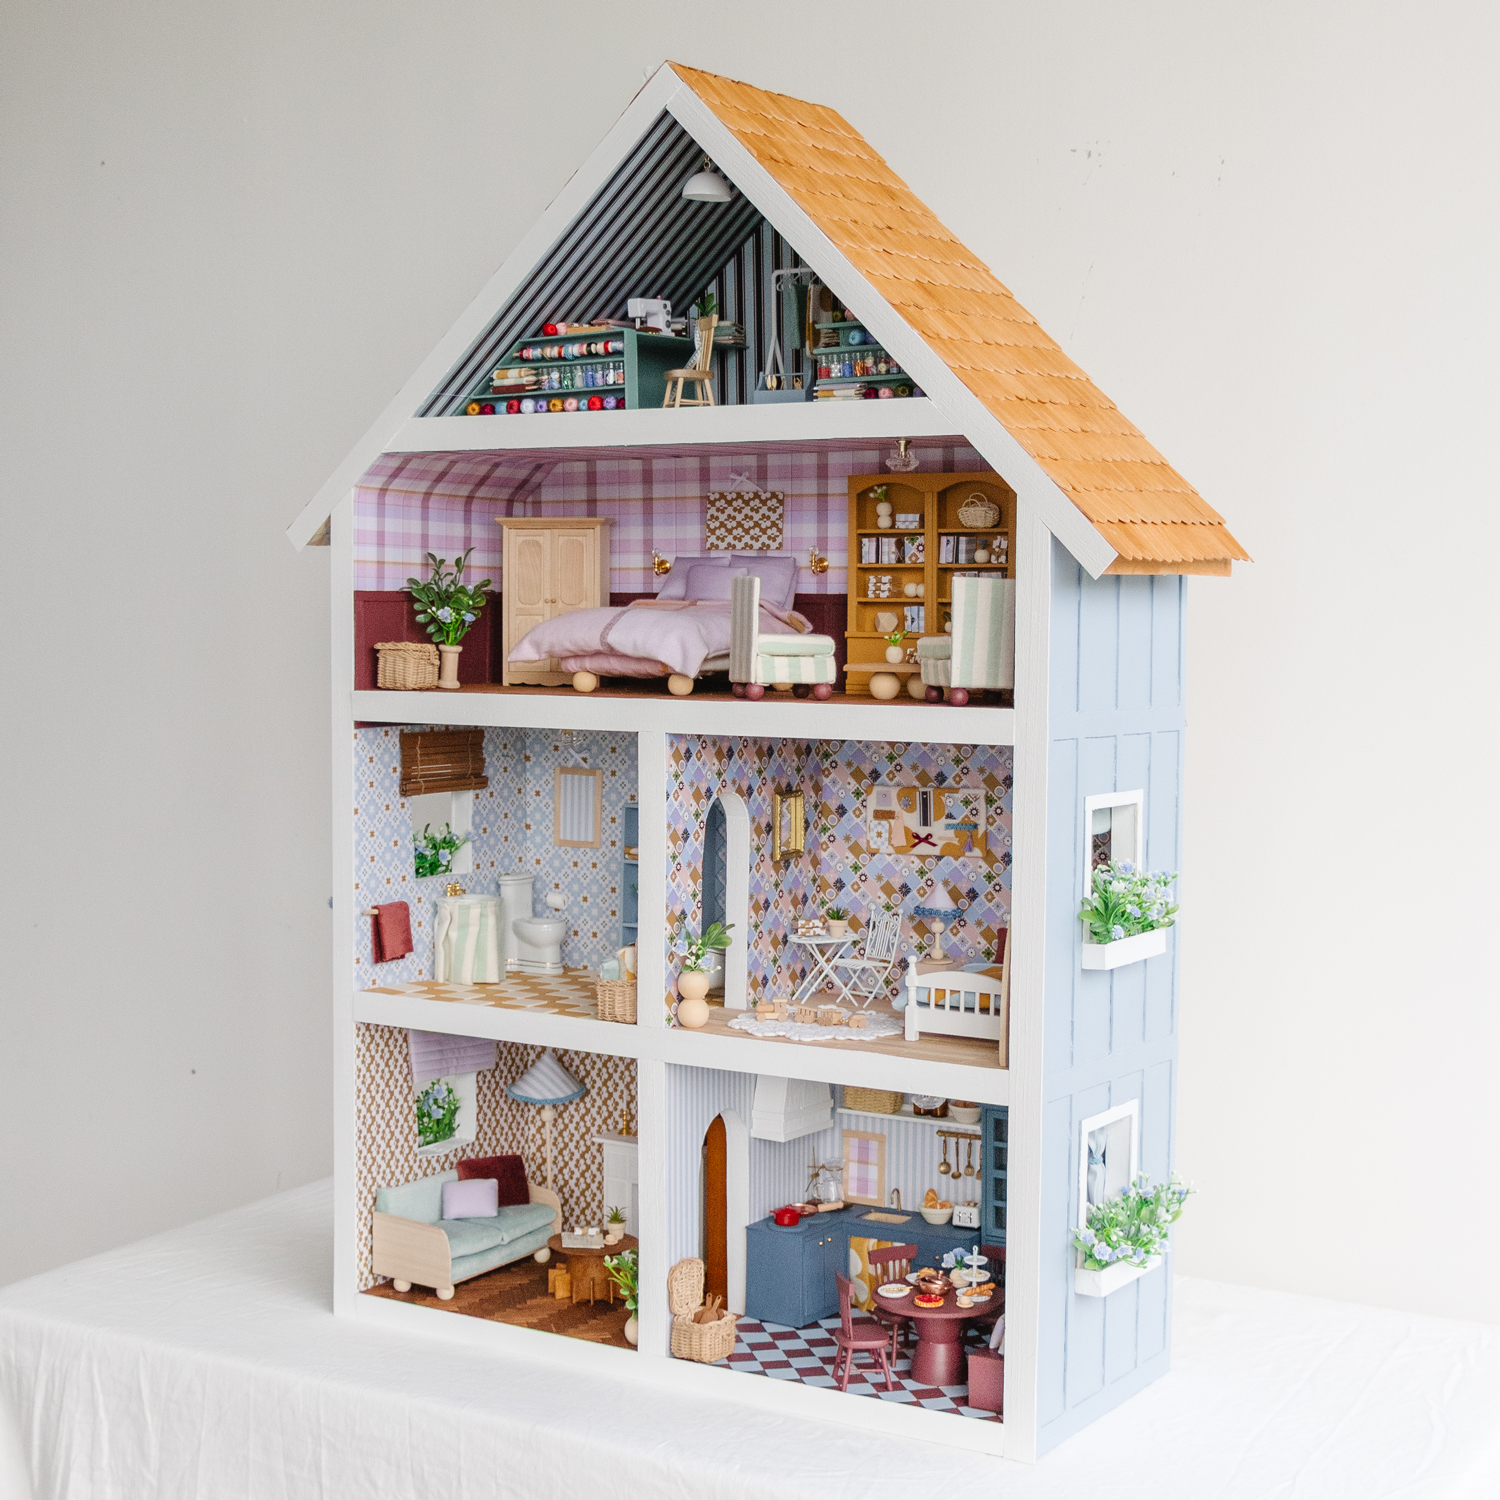
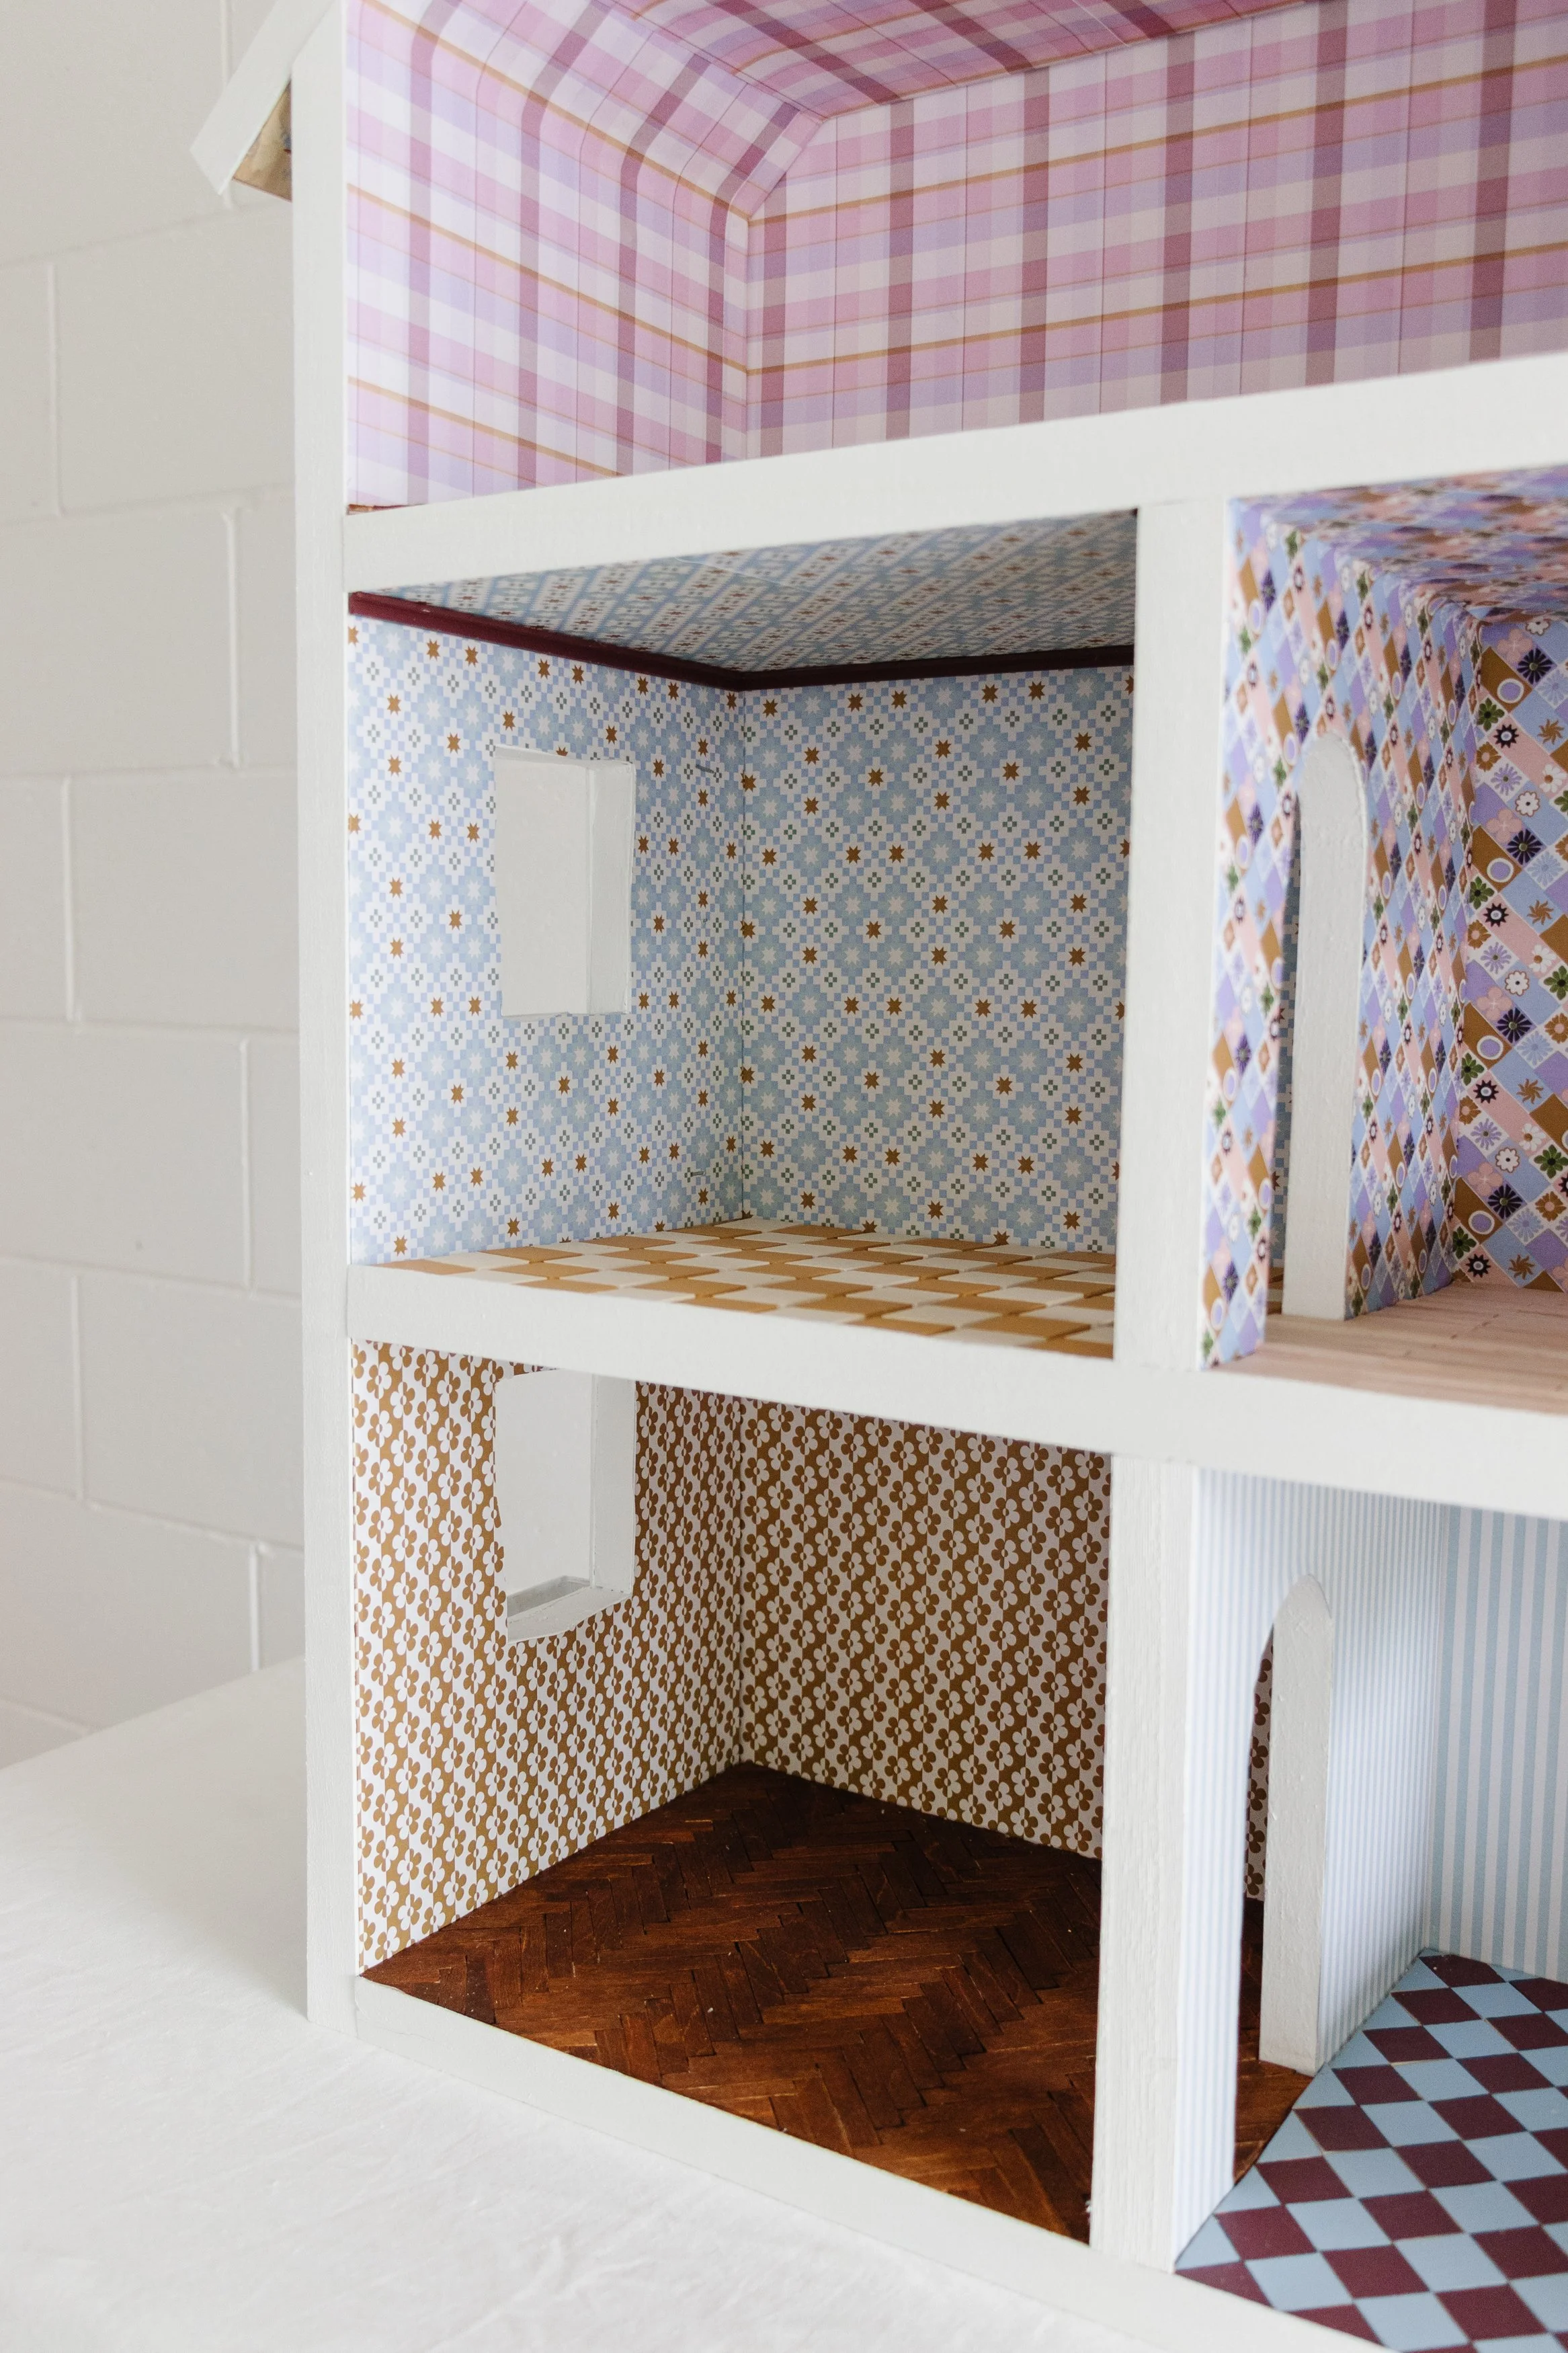
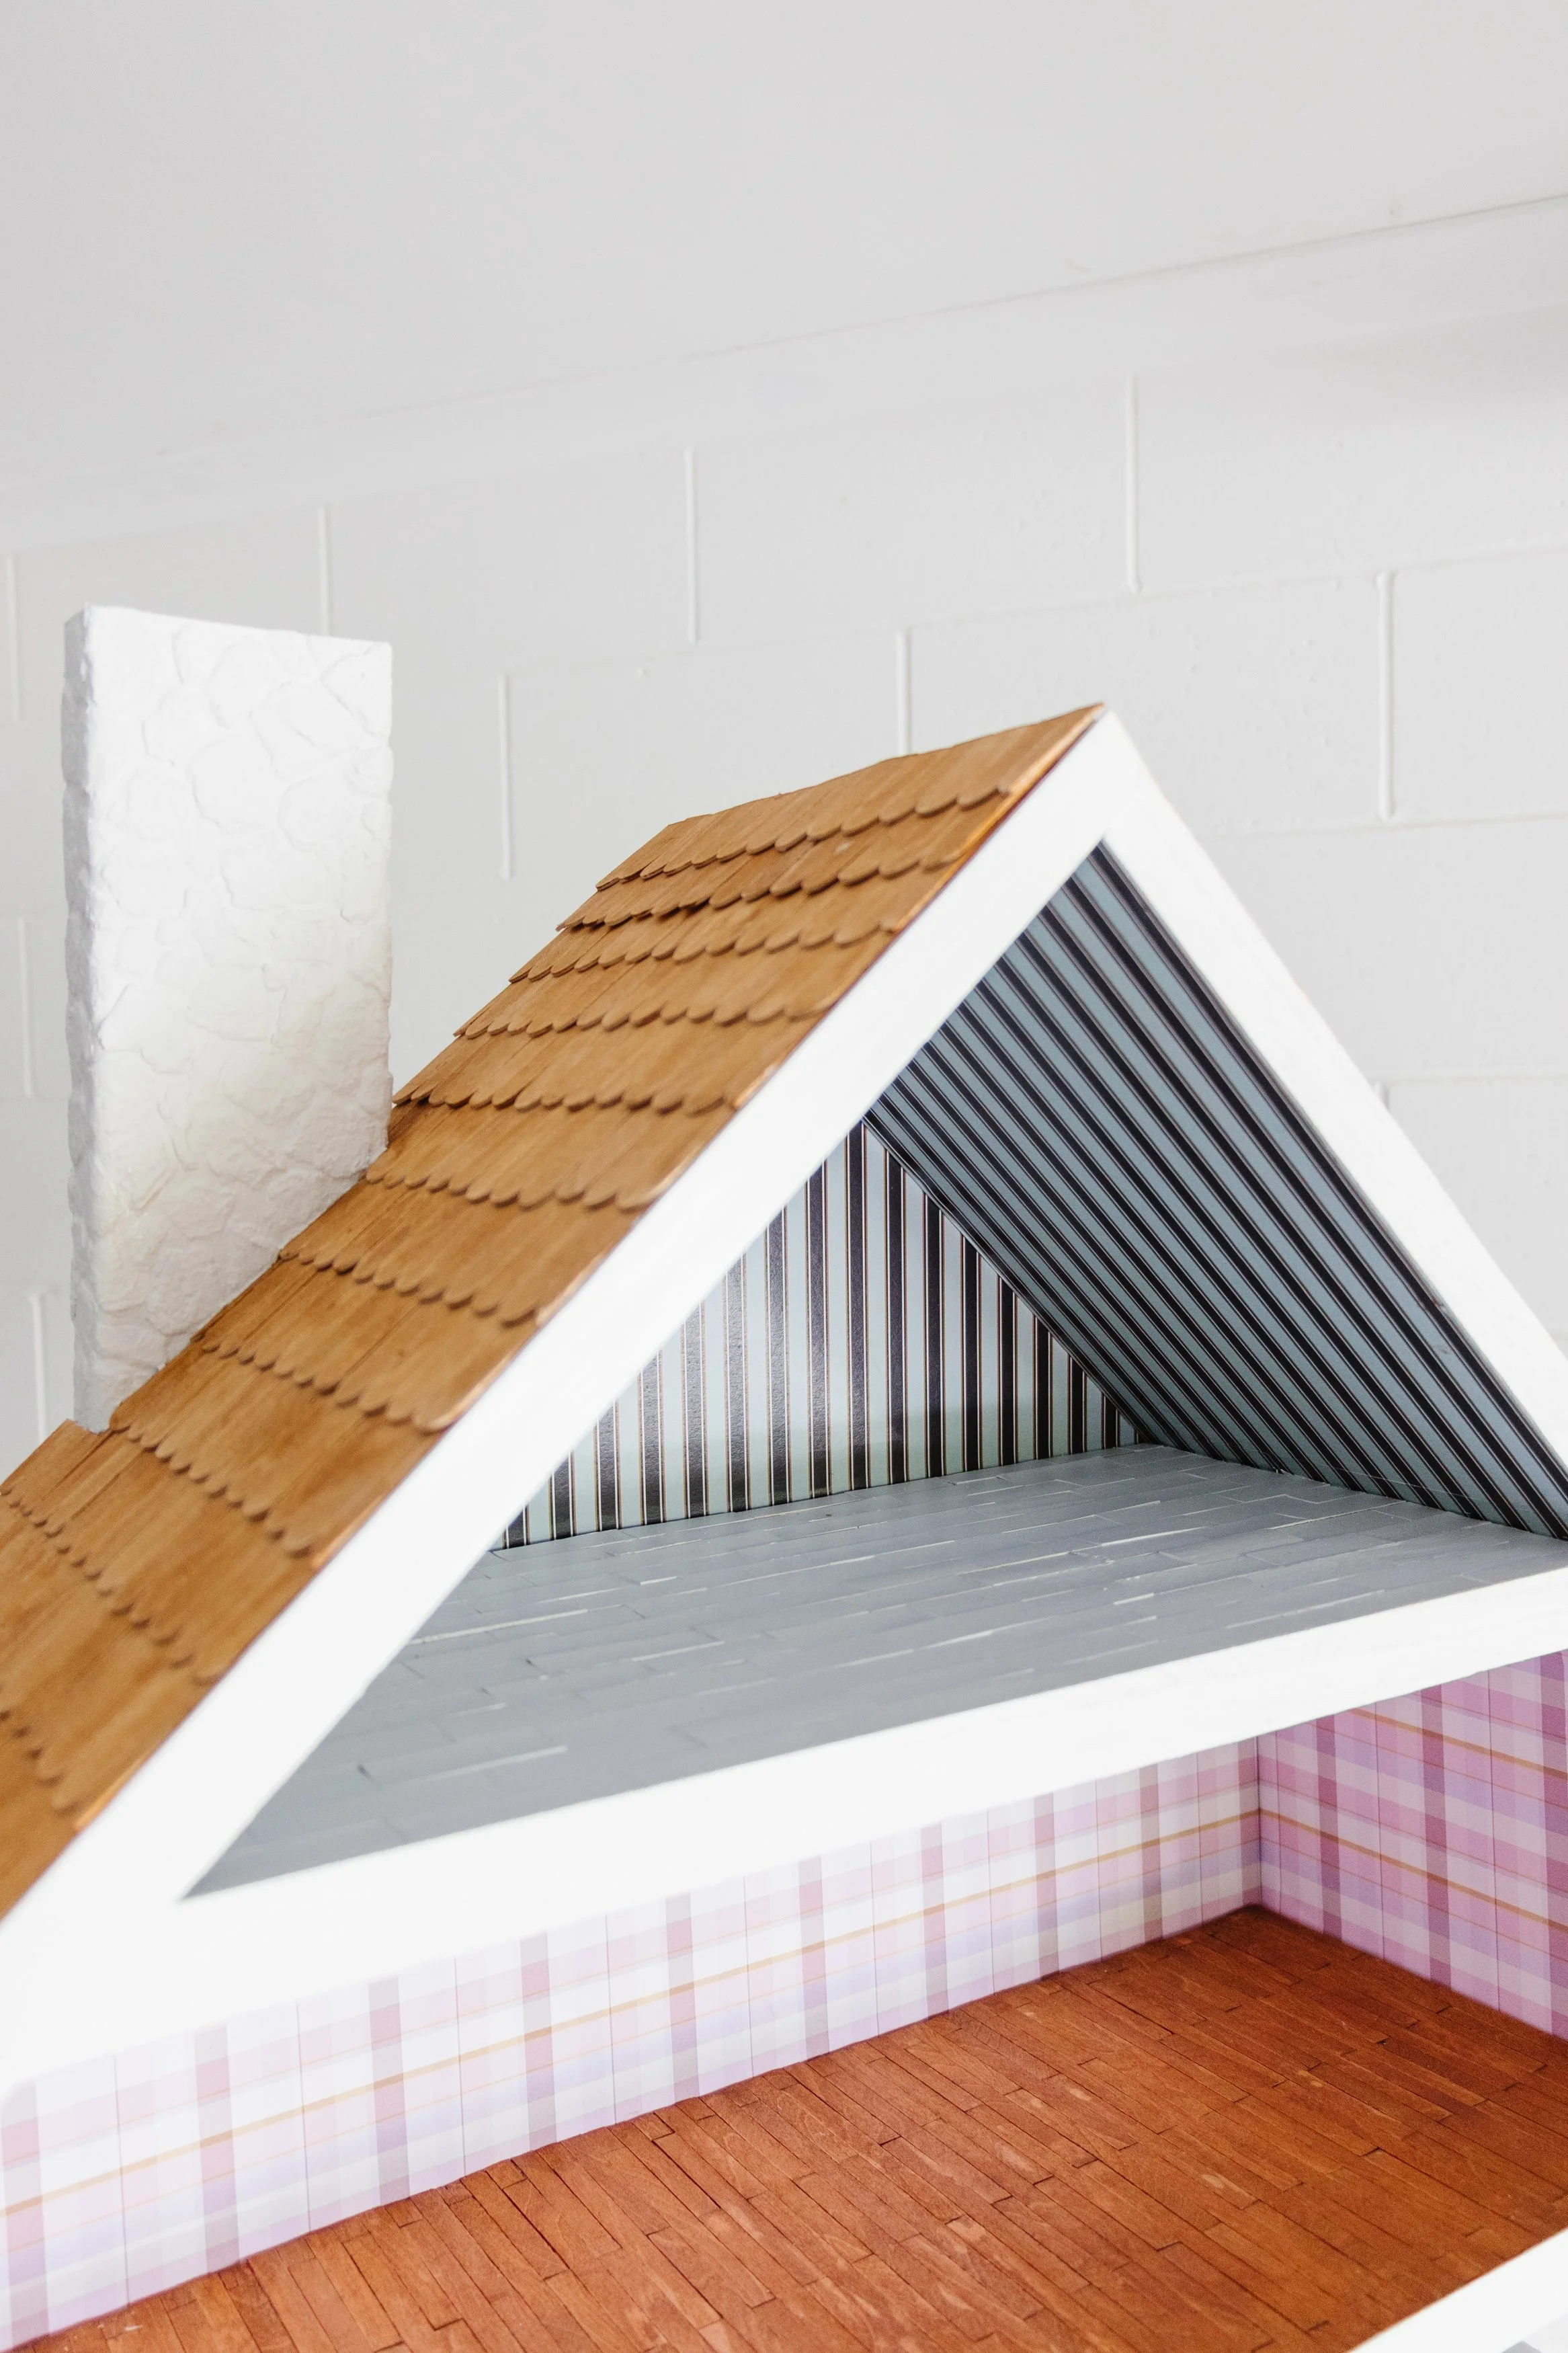
Sheet Society asked me to make one to celebrate their autumn collection, and I said yes! They also sent me fabric offcuts to repurpose and use it in unexpected ways, so strap yourselves in. I got to work measuring, cutting and building a dollhouse from scratch. And I only needed a few tools. I worked on the exterior walls next and created a modern farmhouse look. Then I went to my local printer and we made miniature-scaled wallpaper using Sheet Society’s autumn collection patterns, which I applied to the walls first and then the back. No tears or awkward seams in sight and then I made a stone chimney using egg cartons and a shingled roof.
For the floors, I decided to give each room a different treatment. There are four paddle pop stick floors in different patterns and finishes, including herringbone. I created checker floors for the bathroom and kitchen and chose colours to match Sheet Society’s autumn colour palette. I’m so happy with my dollhouse I could cry! The love and attention to detail I’ve poured into this is next level. And now I need to start making the teeny tiny furniture. So, stay tuned for Part 2!
To see how it all came together, watch these videos below!
📹 Part 1: Making the Dollhouse
📹 Part 2: Making the Miniature Furniture
📹 Part 3: The Reveal & Tour!
Want the exact plans, measurements, tools and materials I used to make my dollhouse from scratch? Here you go!
Renovating a dollhouse is so exciting! It’s such an amazing experience of learning and doing. But building a dollhouse from scratch is a whole different kind of satisfying. There’s something very special about it!
My “Build Your Own Dollhouse Plans” with materials and step-by-step instructions will give you the guidance to build a beautiful multi-level dollhouse frame from the ground up. Because once you realise you can build it yourself, there’s no going back.

Before & After


This dollhouse series is in collaboration with Sheet Society. To see all the teeny tiny miniature furniture in Part Two, click here.


