Upcycling Mid Century Drawers With Cricut!
Transform secondhand furniture with custom vinyl!
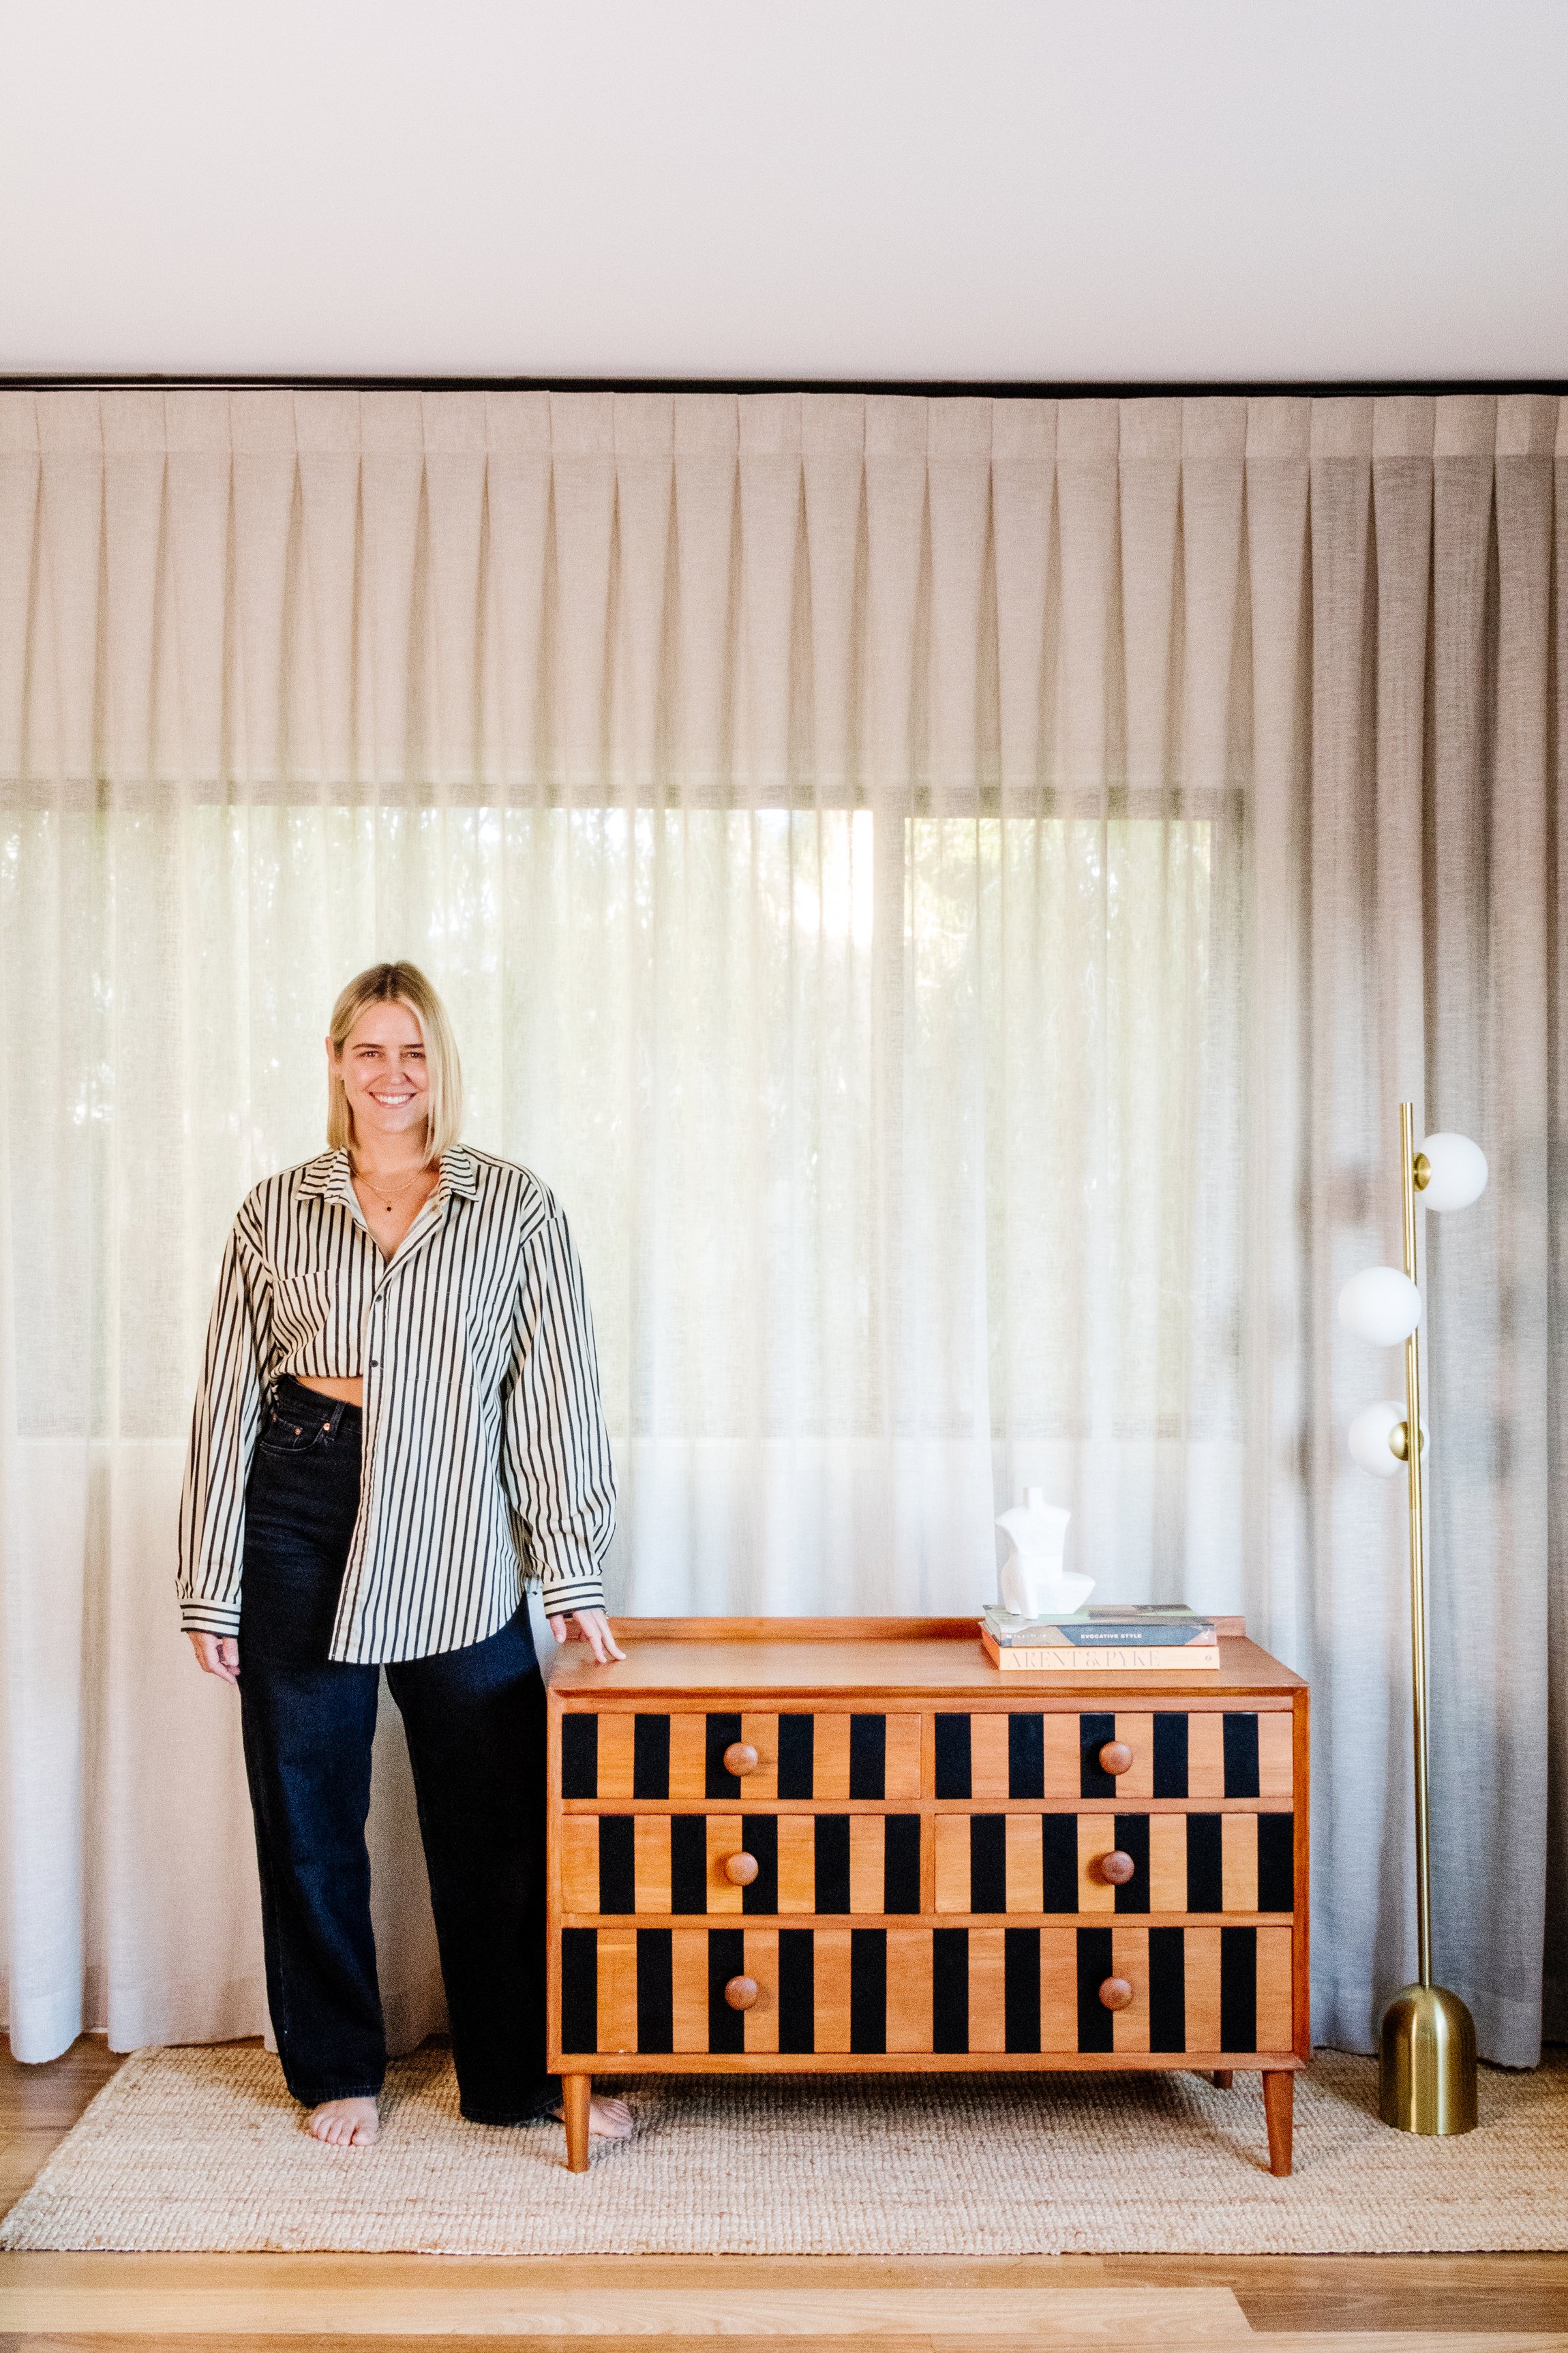
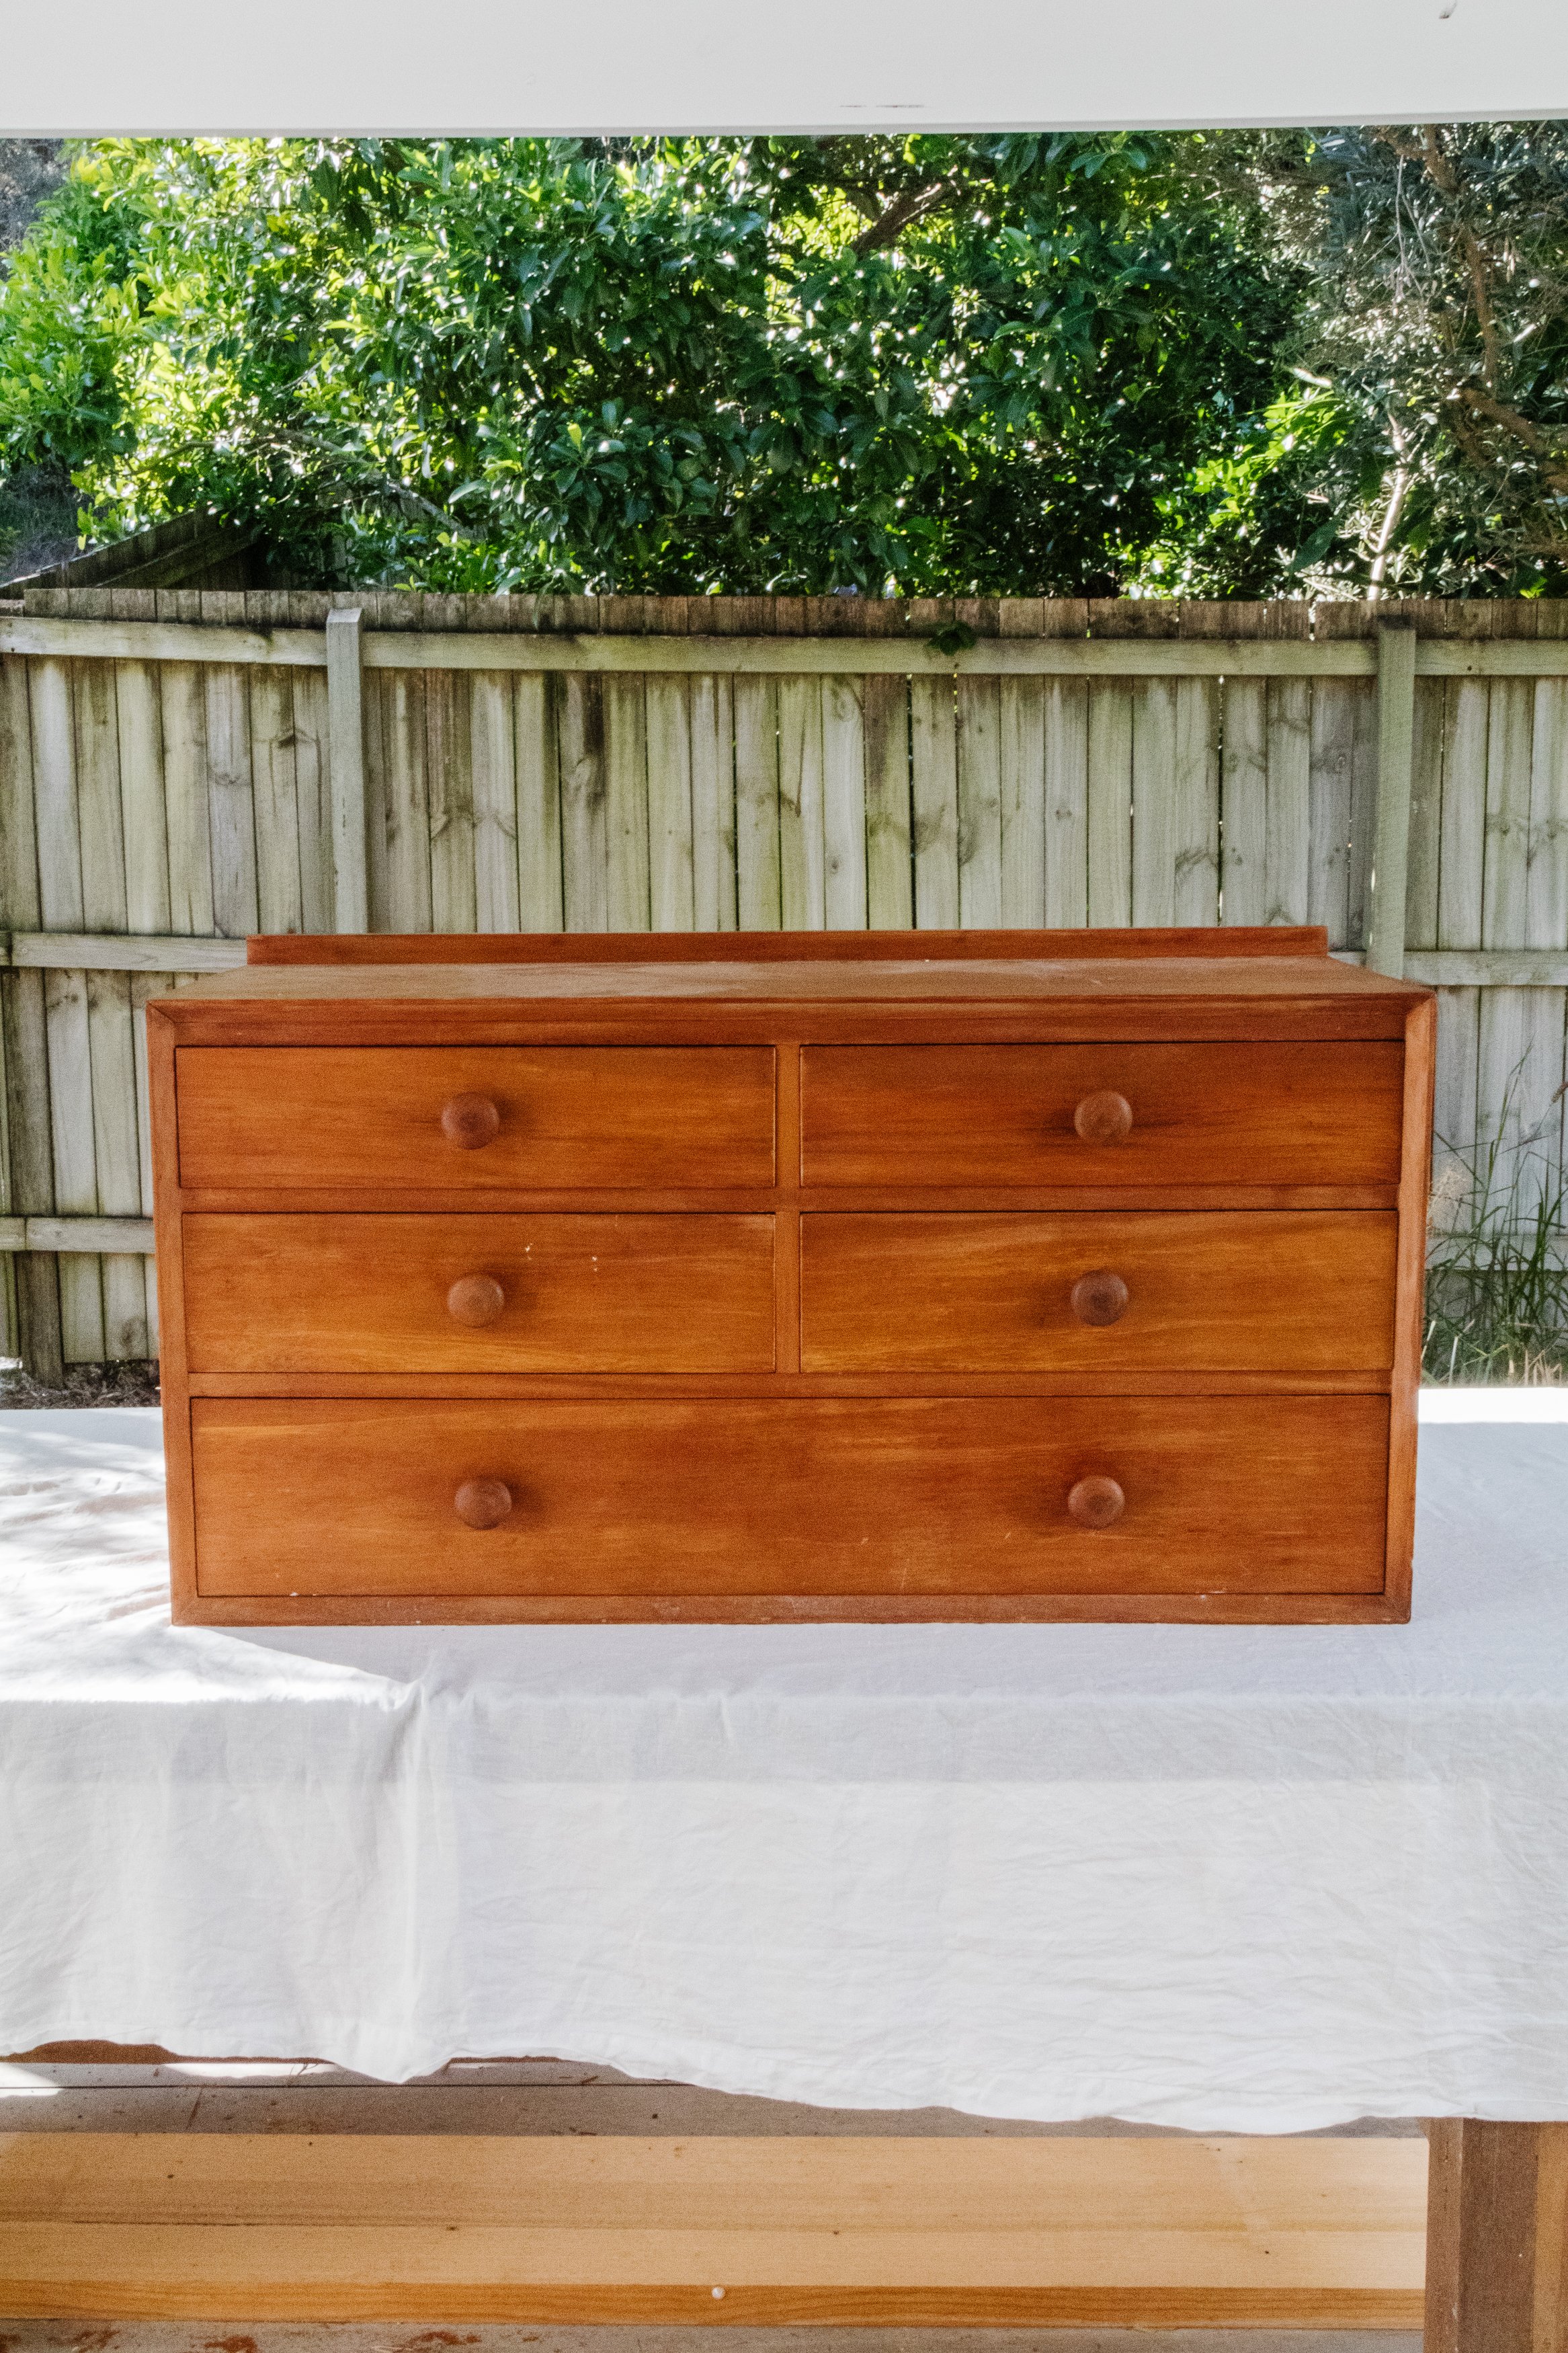
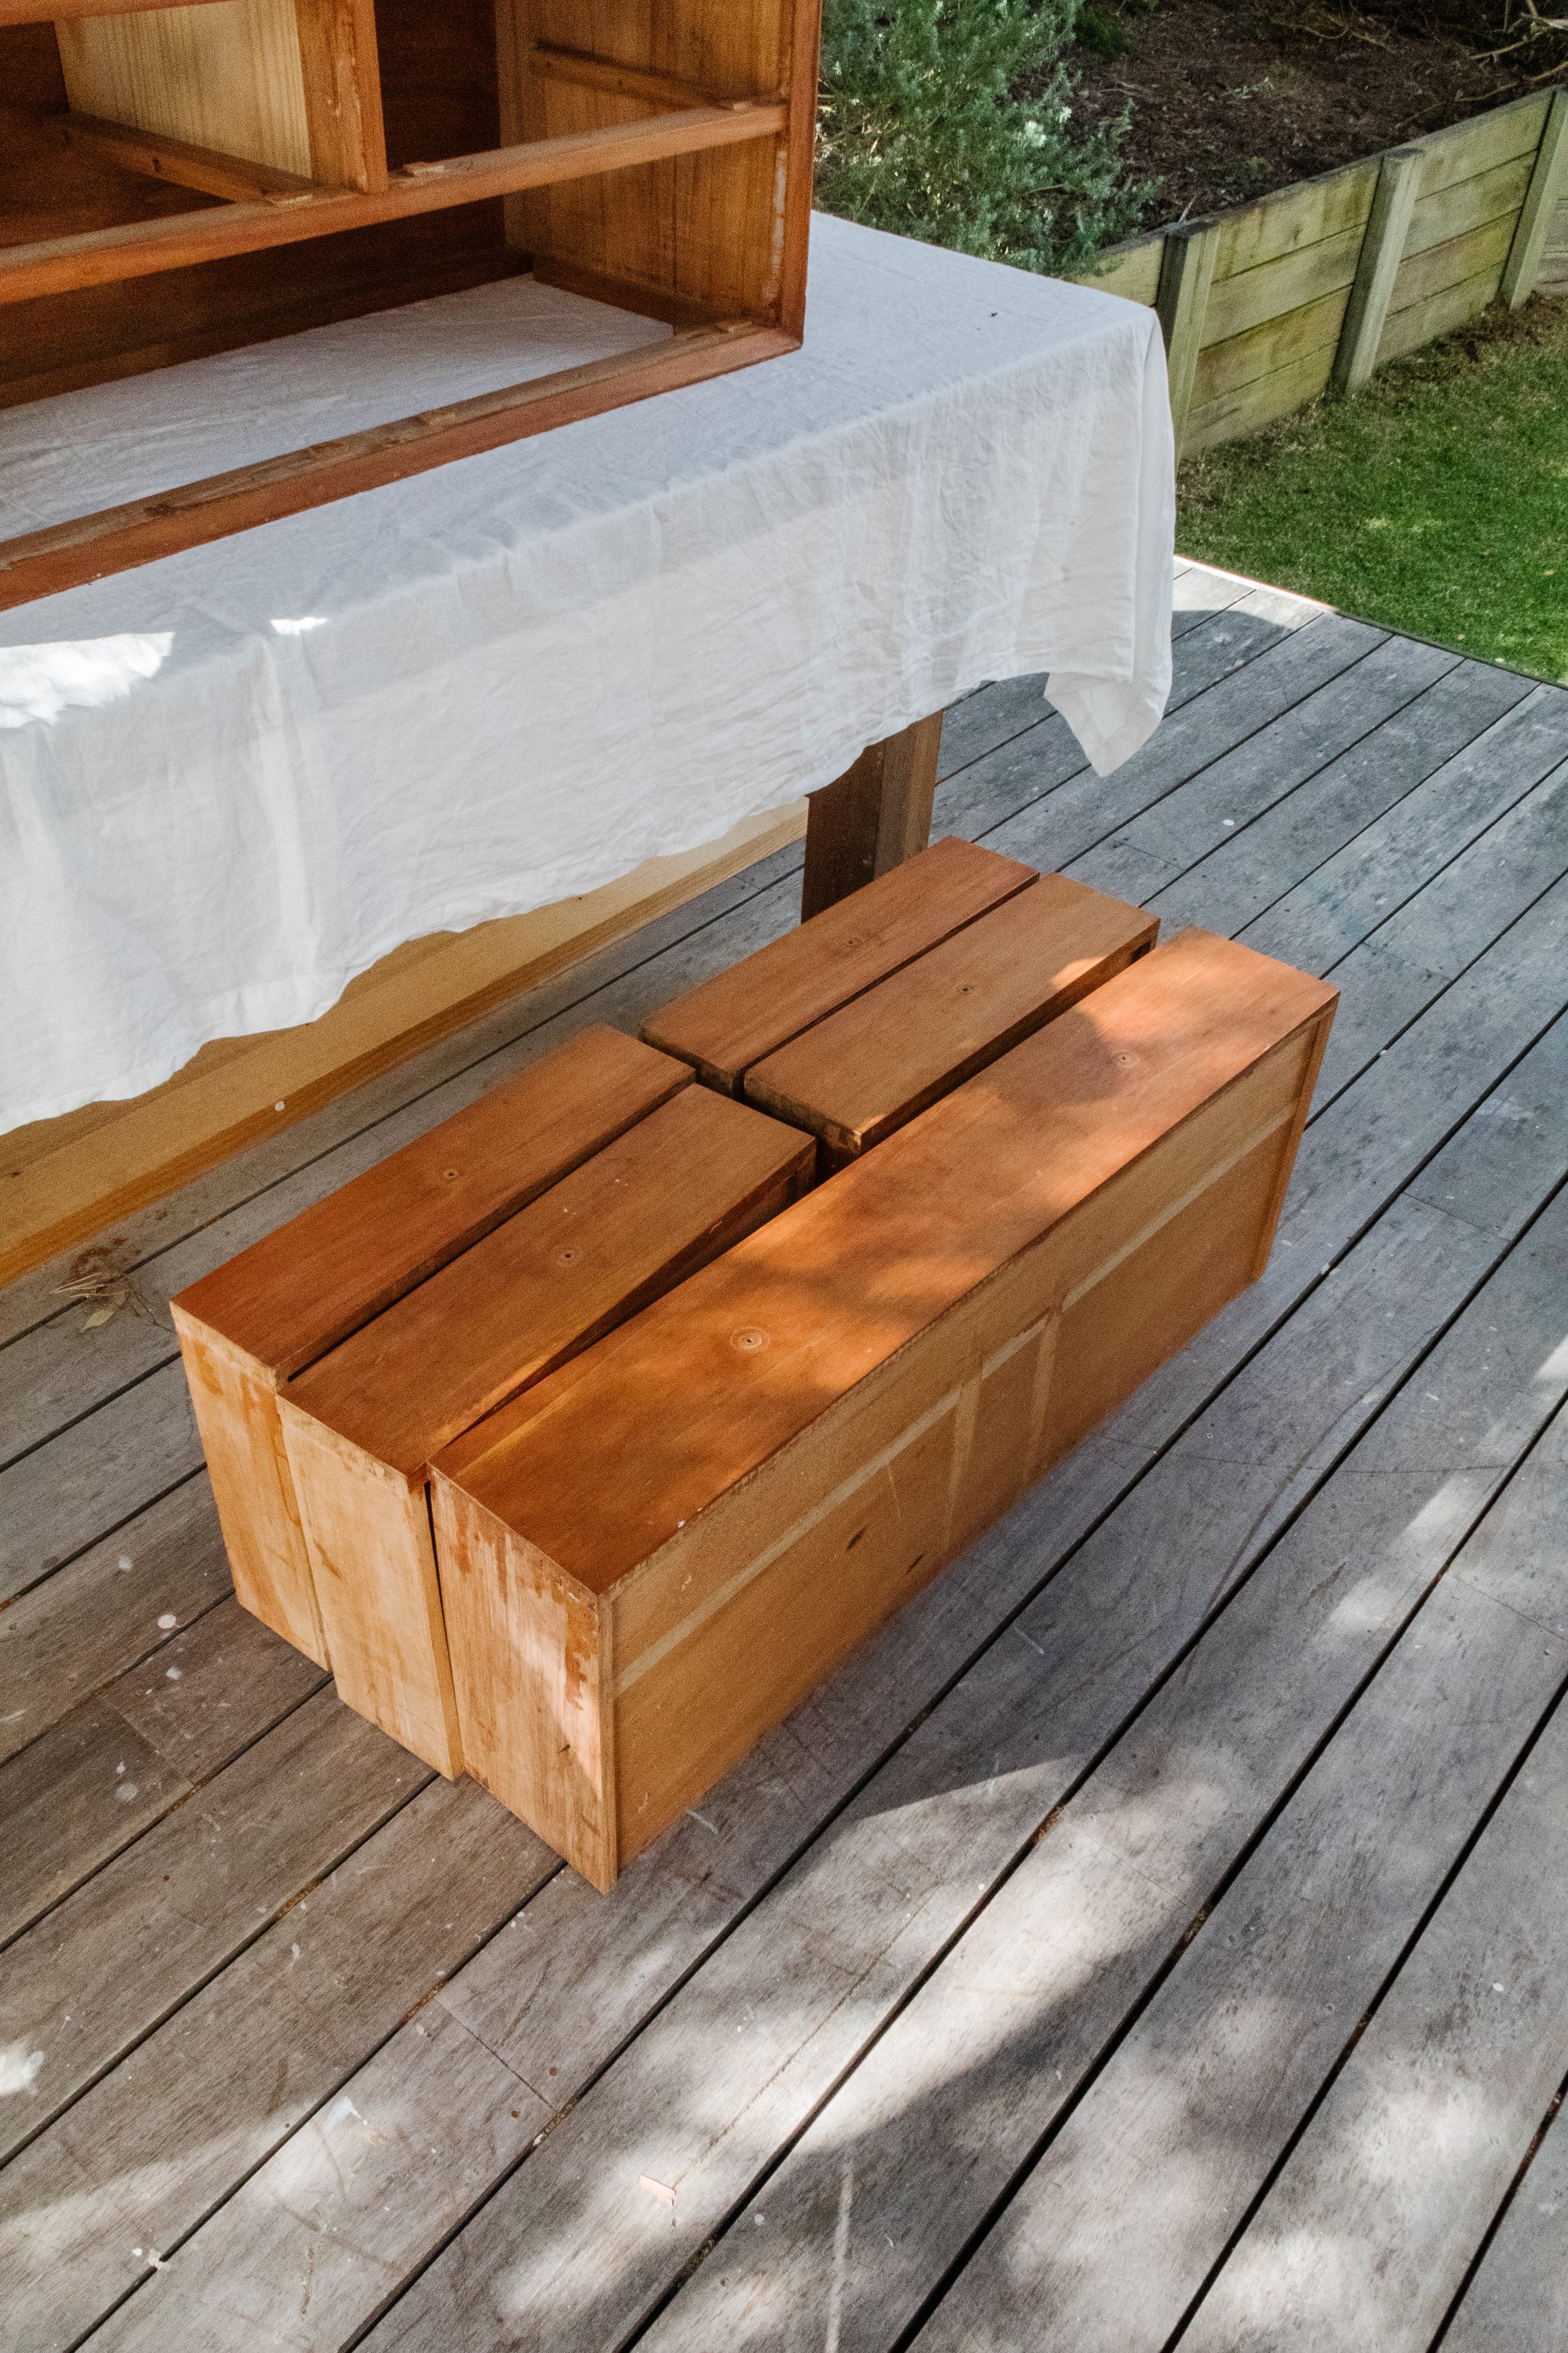
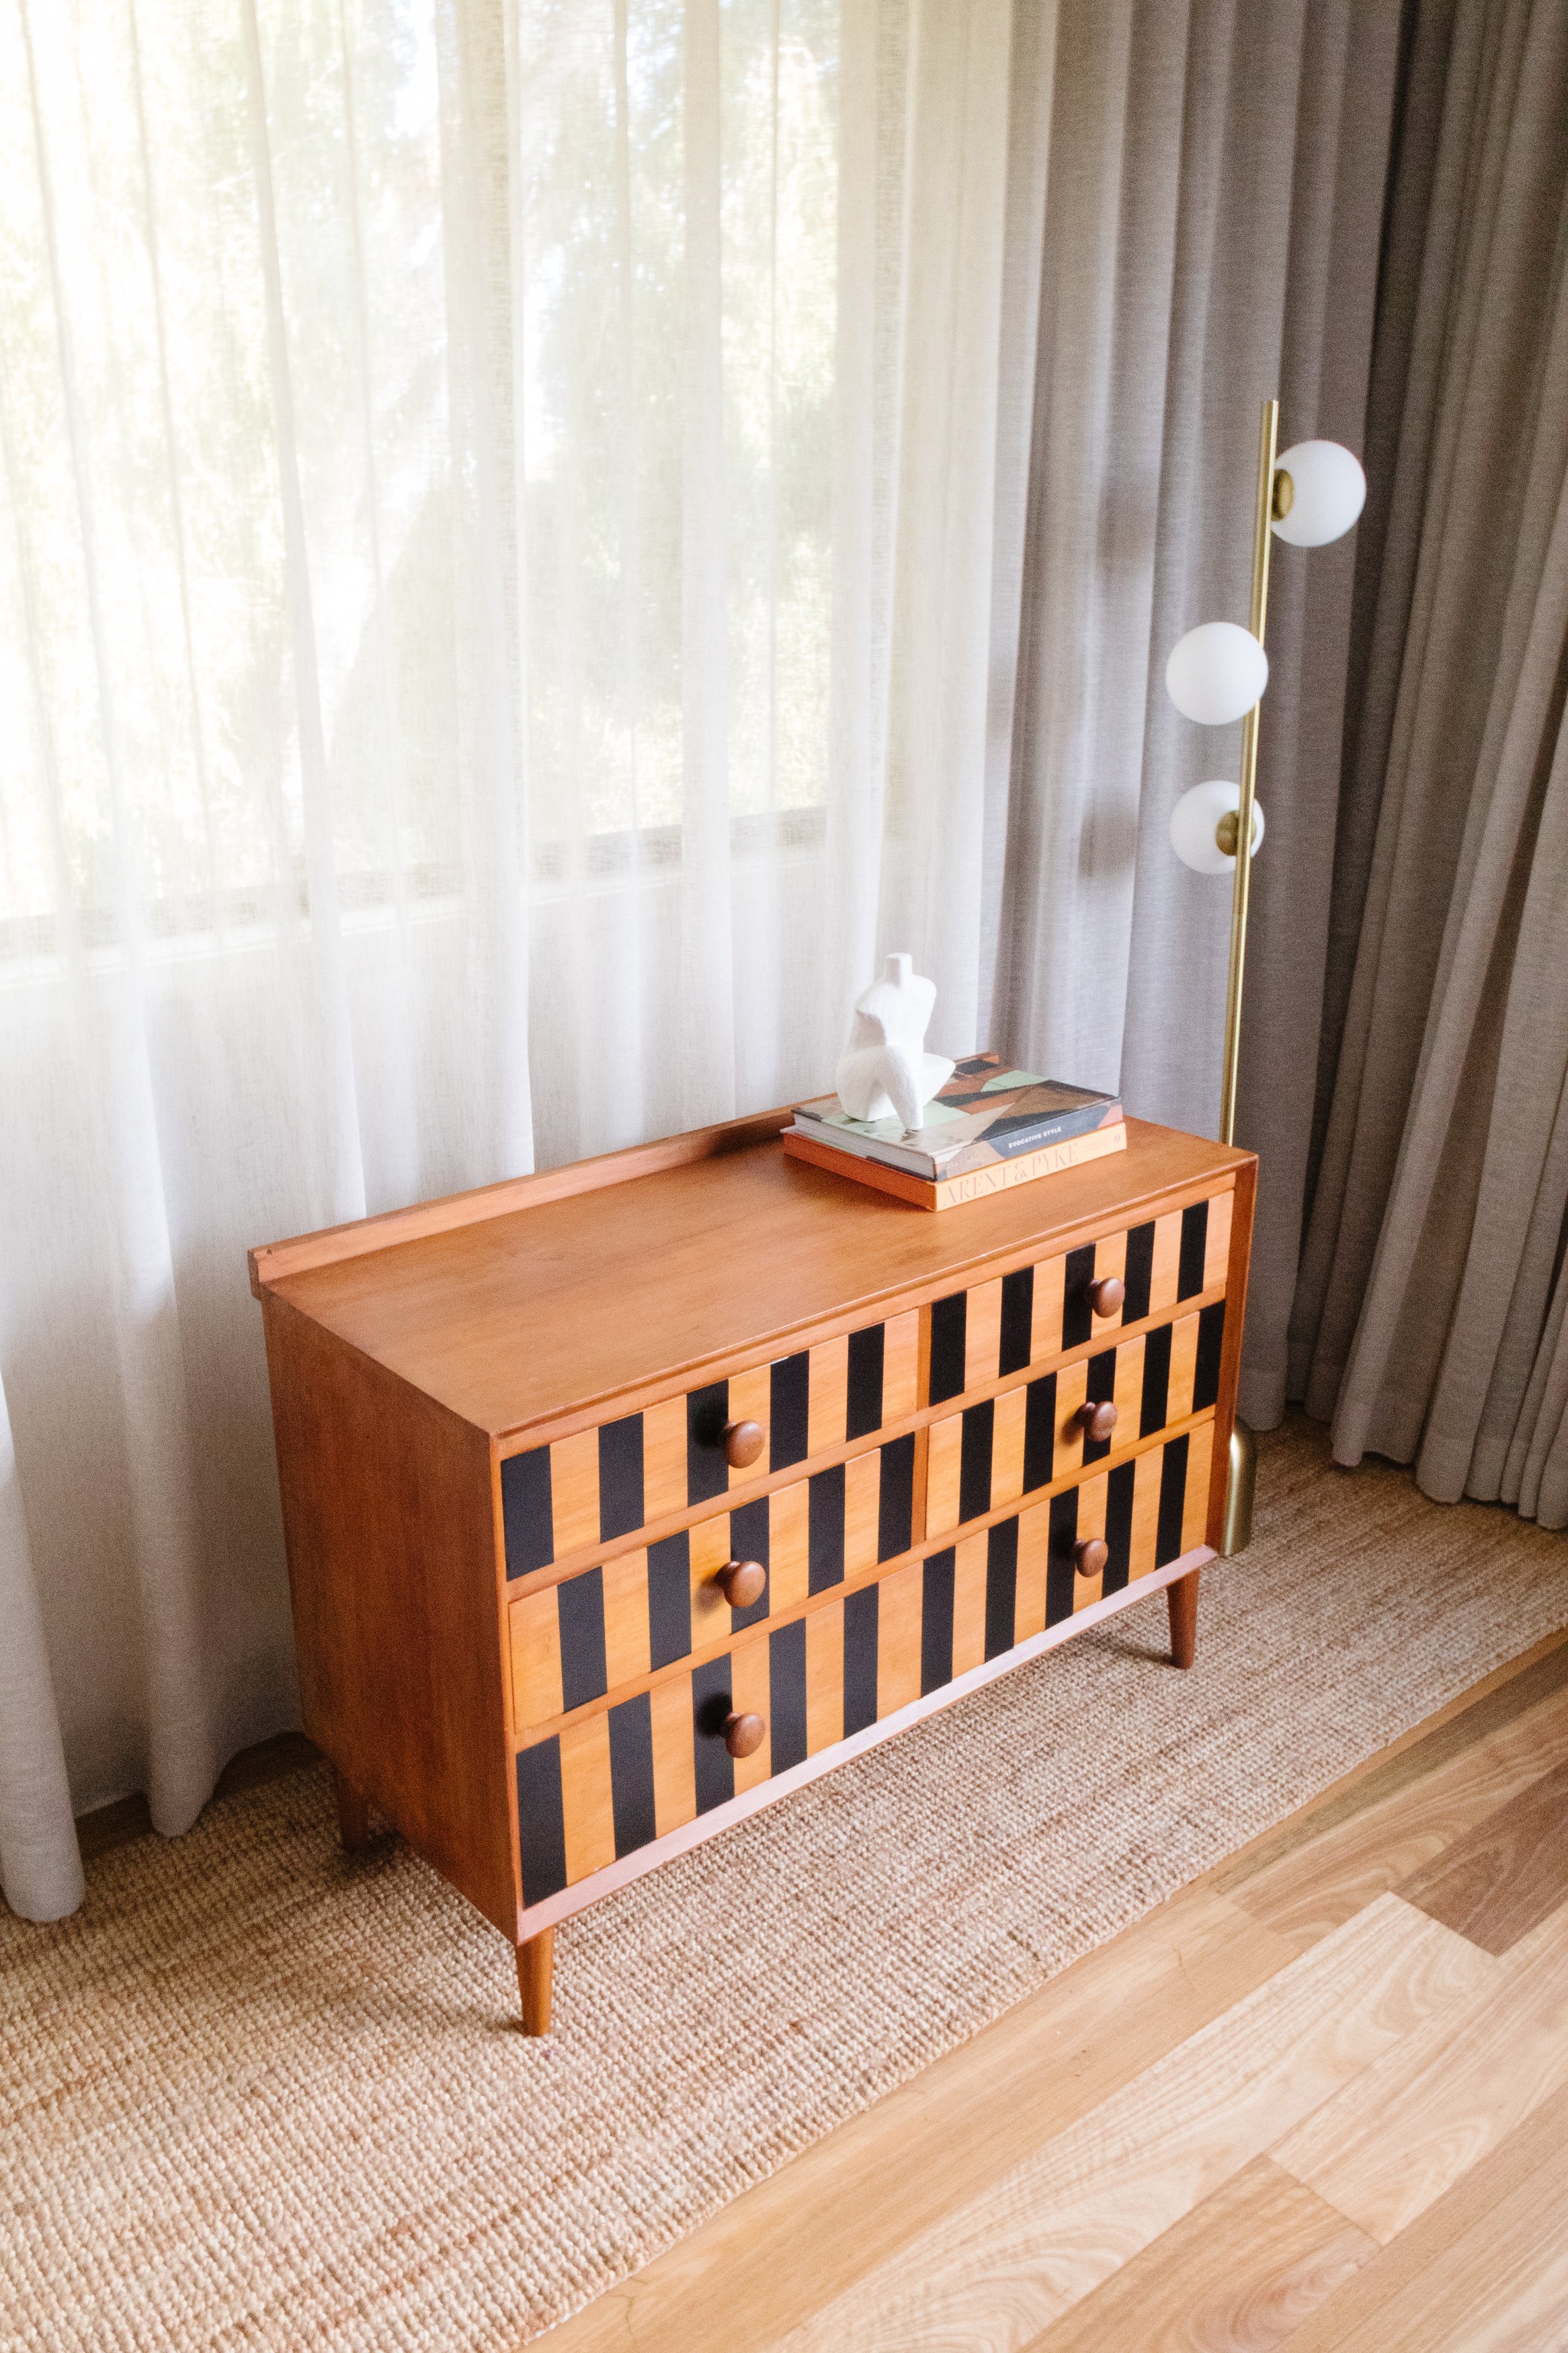
When I came across a set of mid century modern drawers at a recycle centre for only $35, I knew it would be the perfect housewarming gift for my friends who recently moved into their dream home. But if you know me, then you’ll know I decided to give the drawers a little glow up.
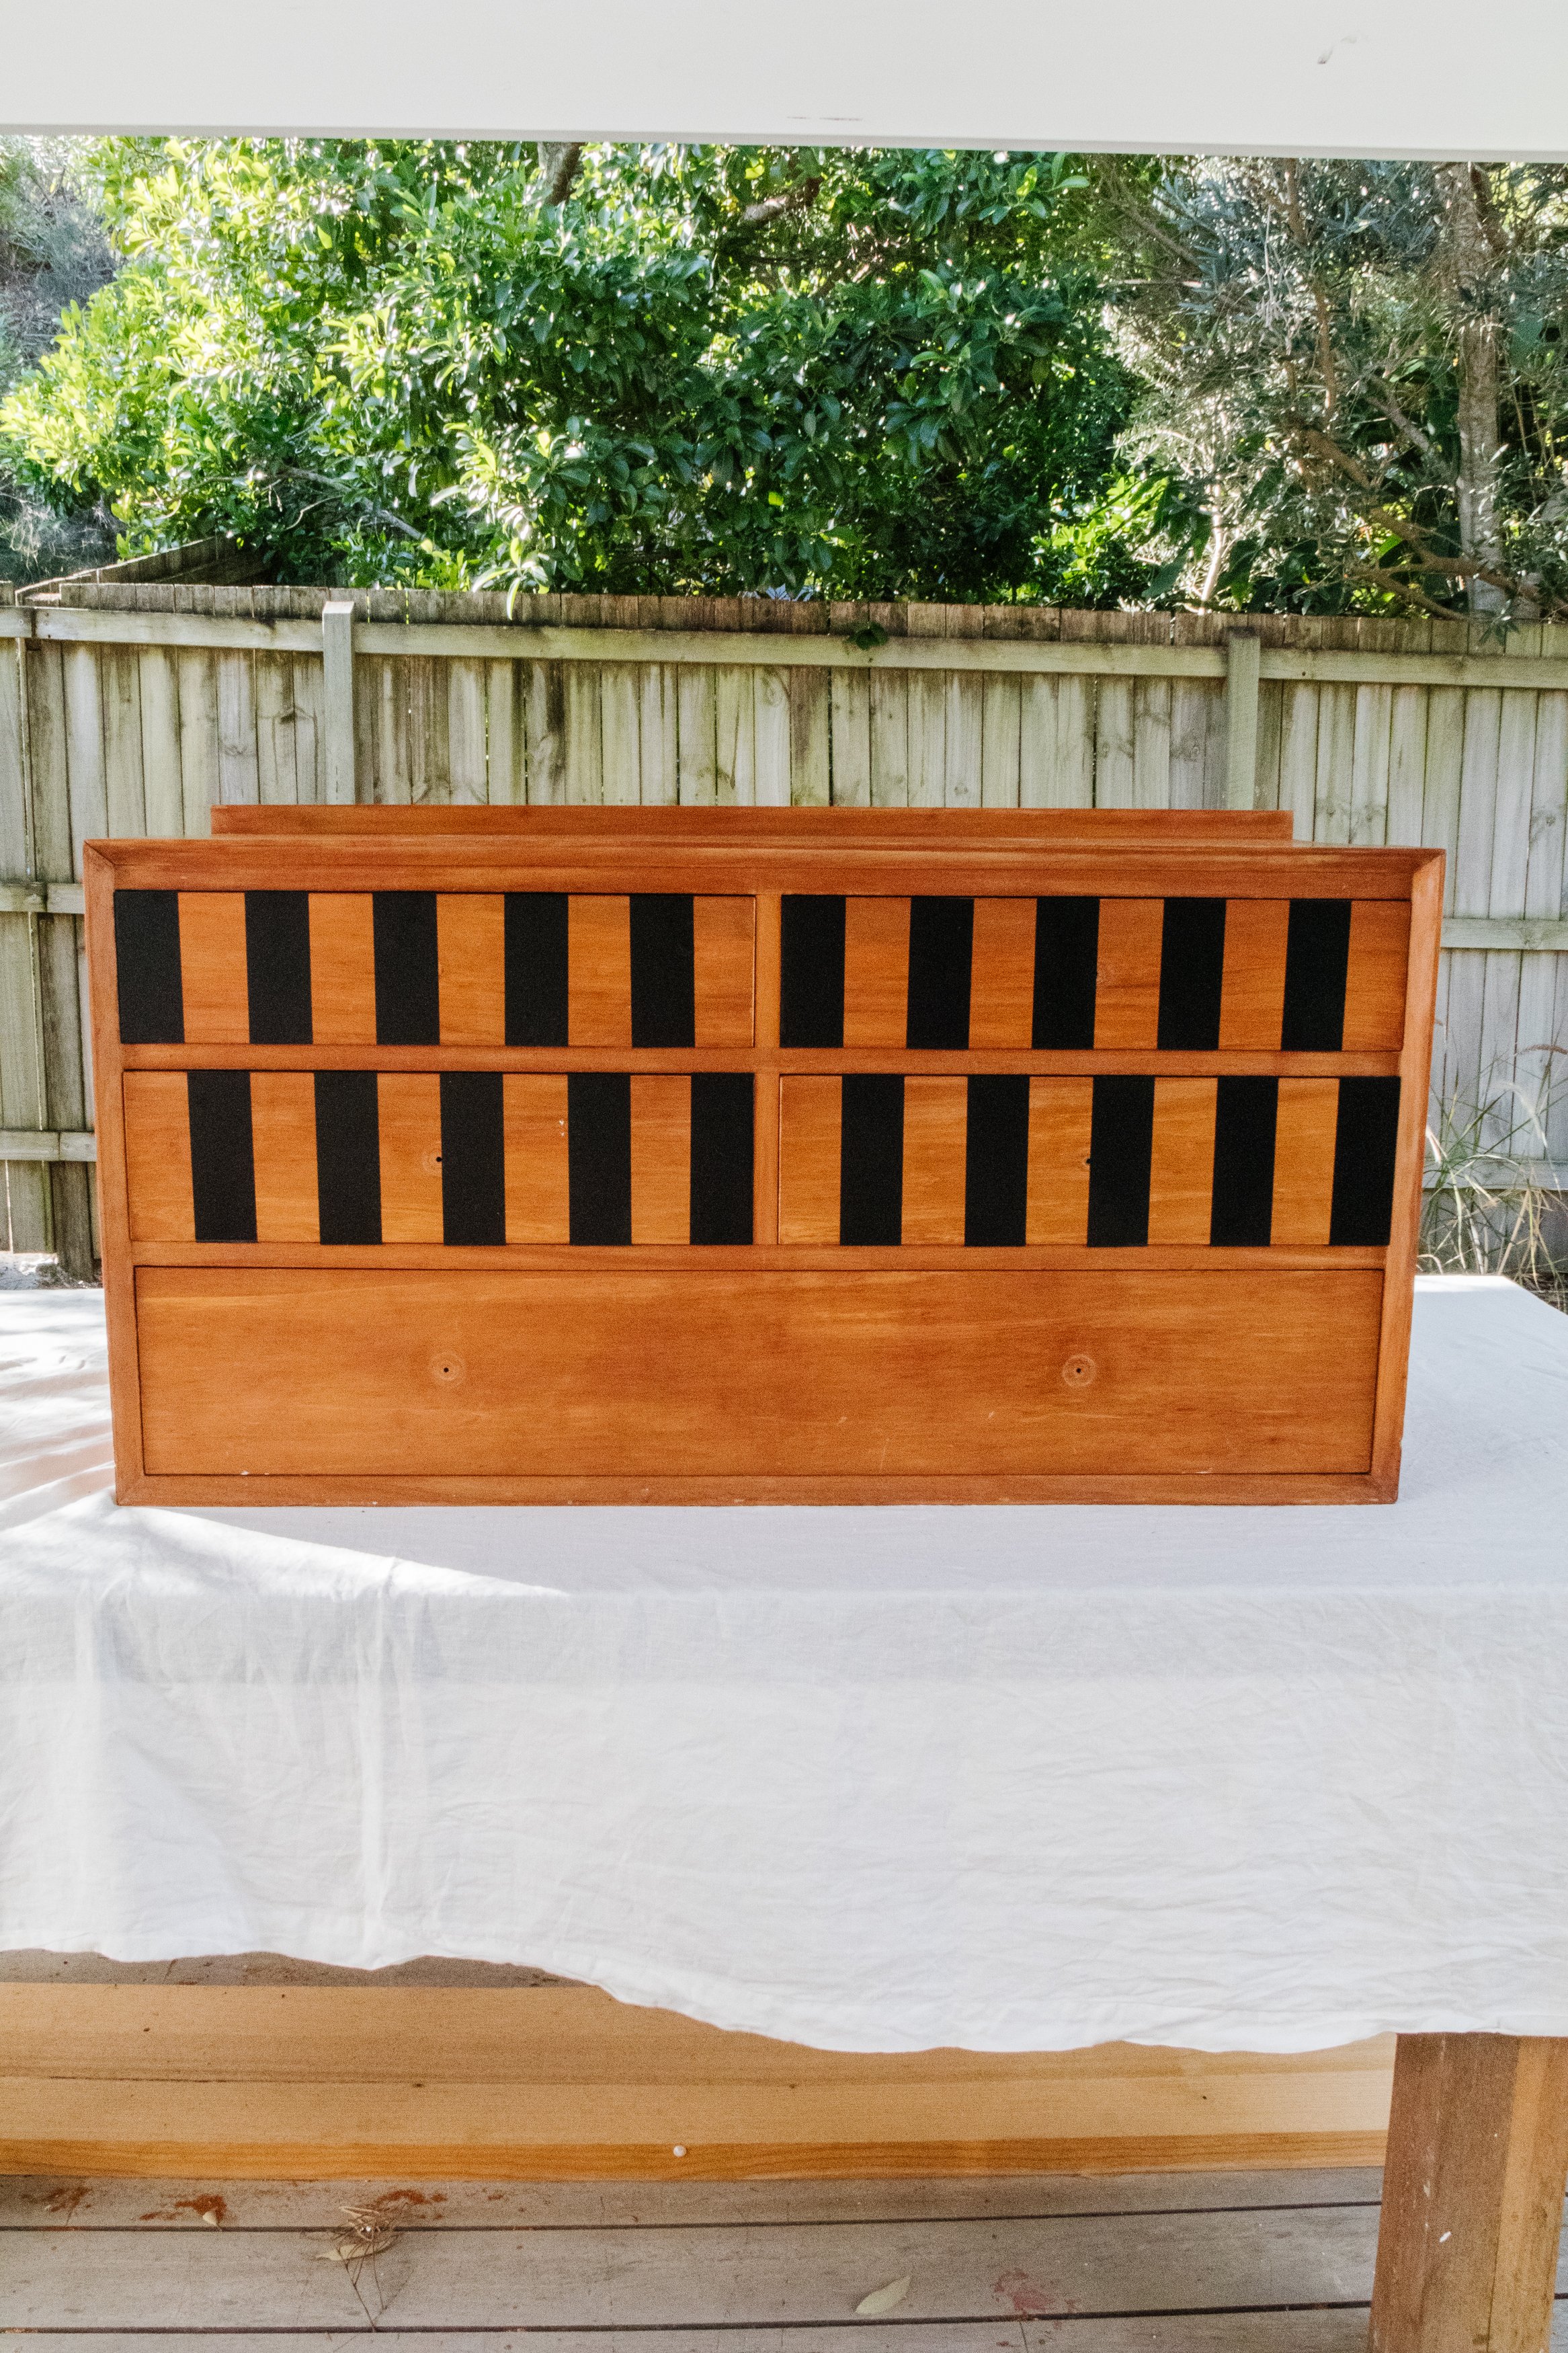
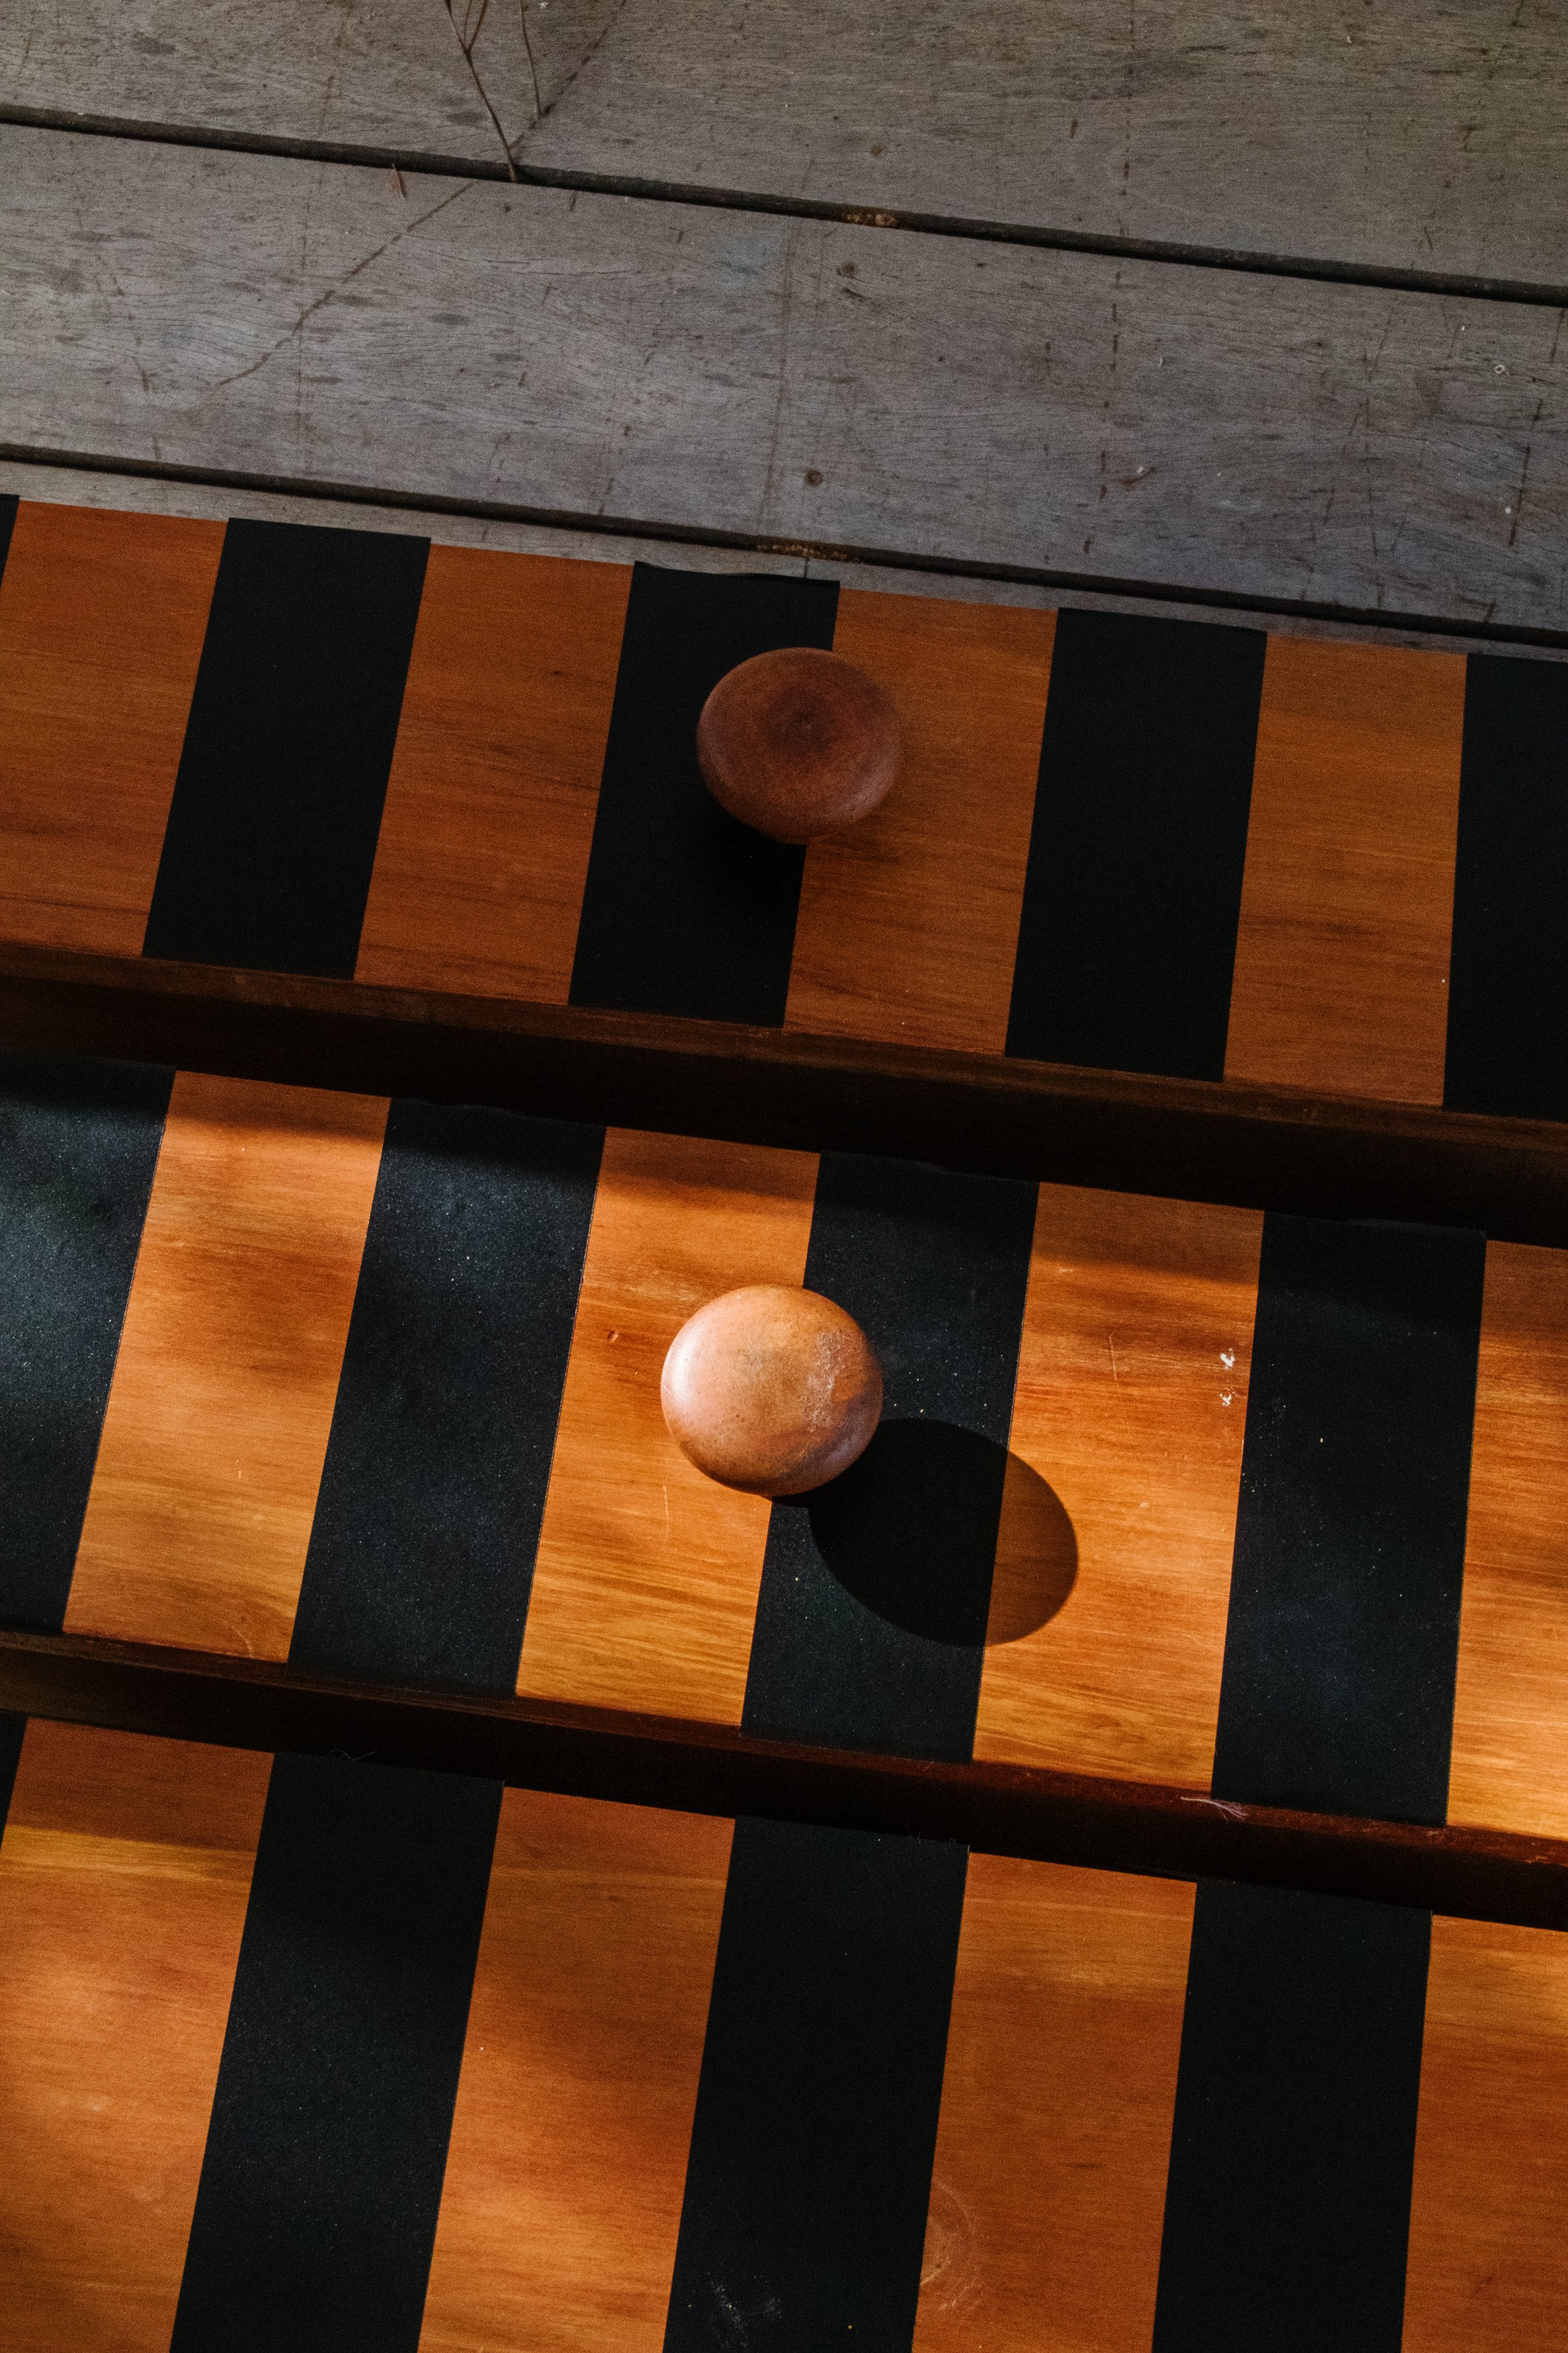
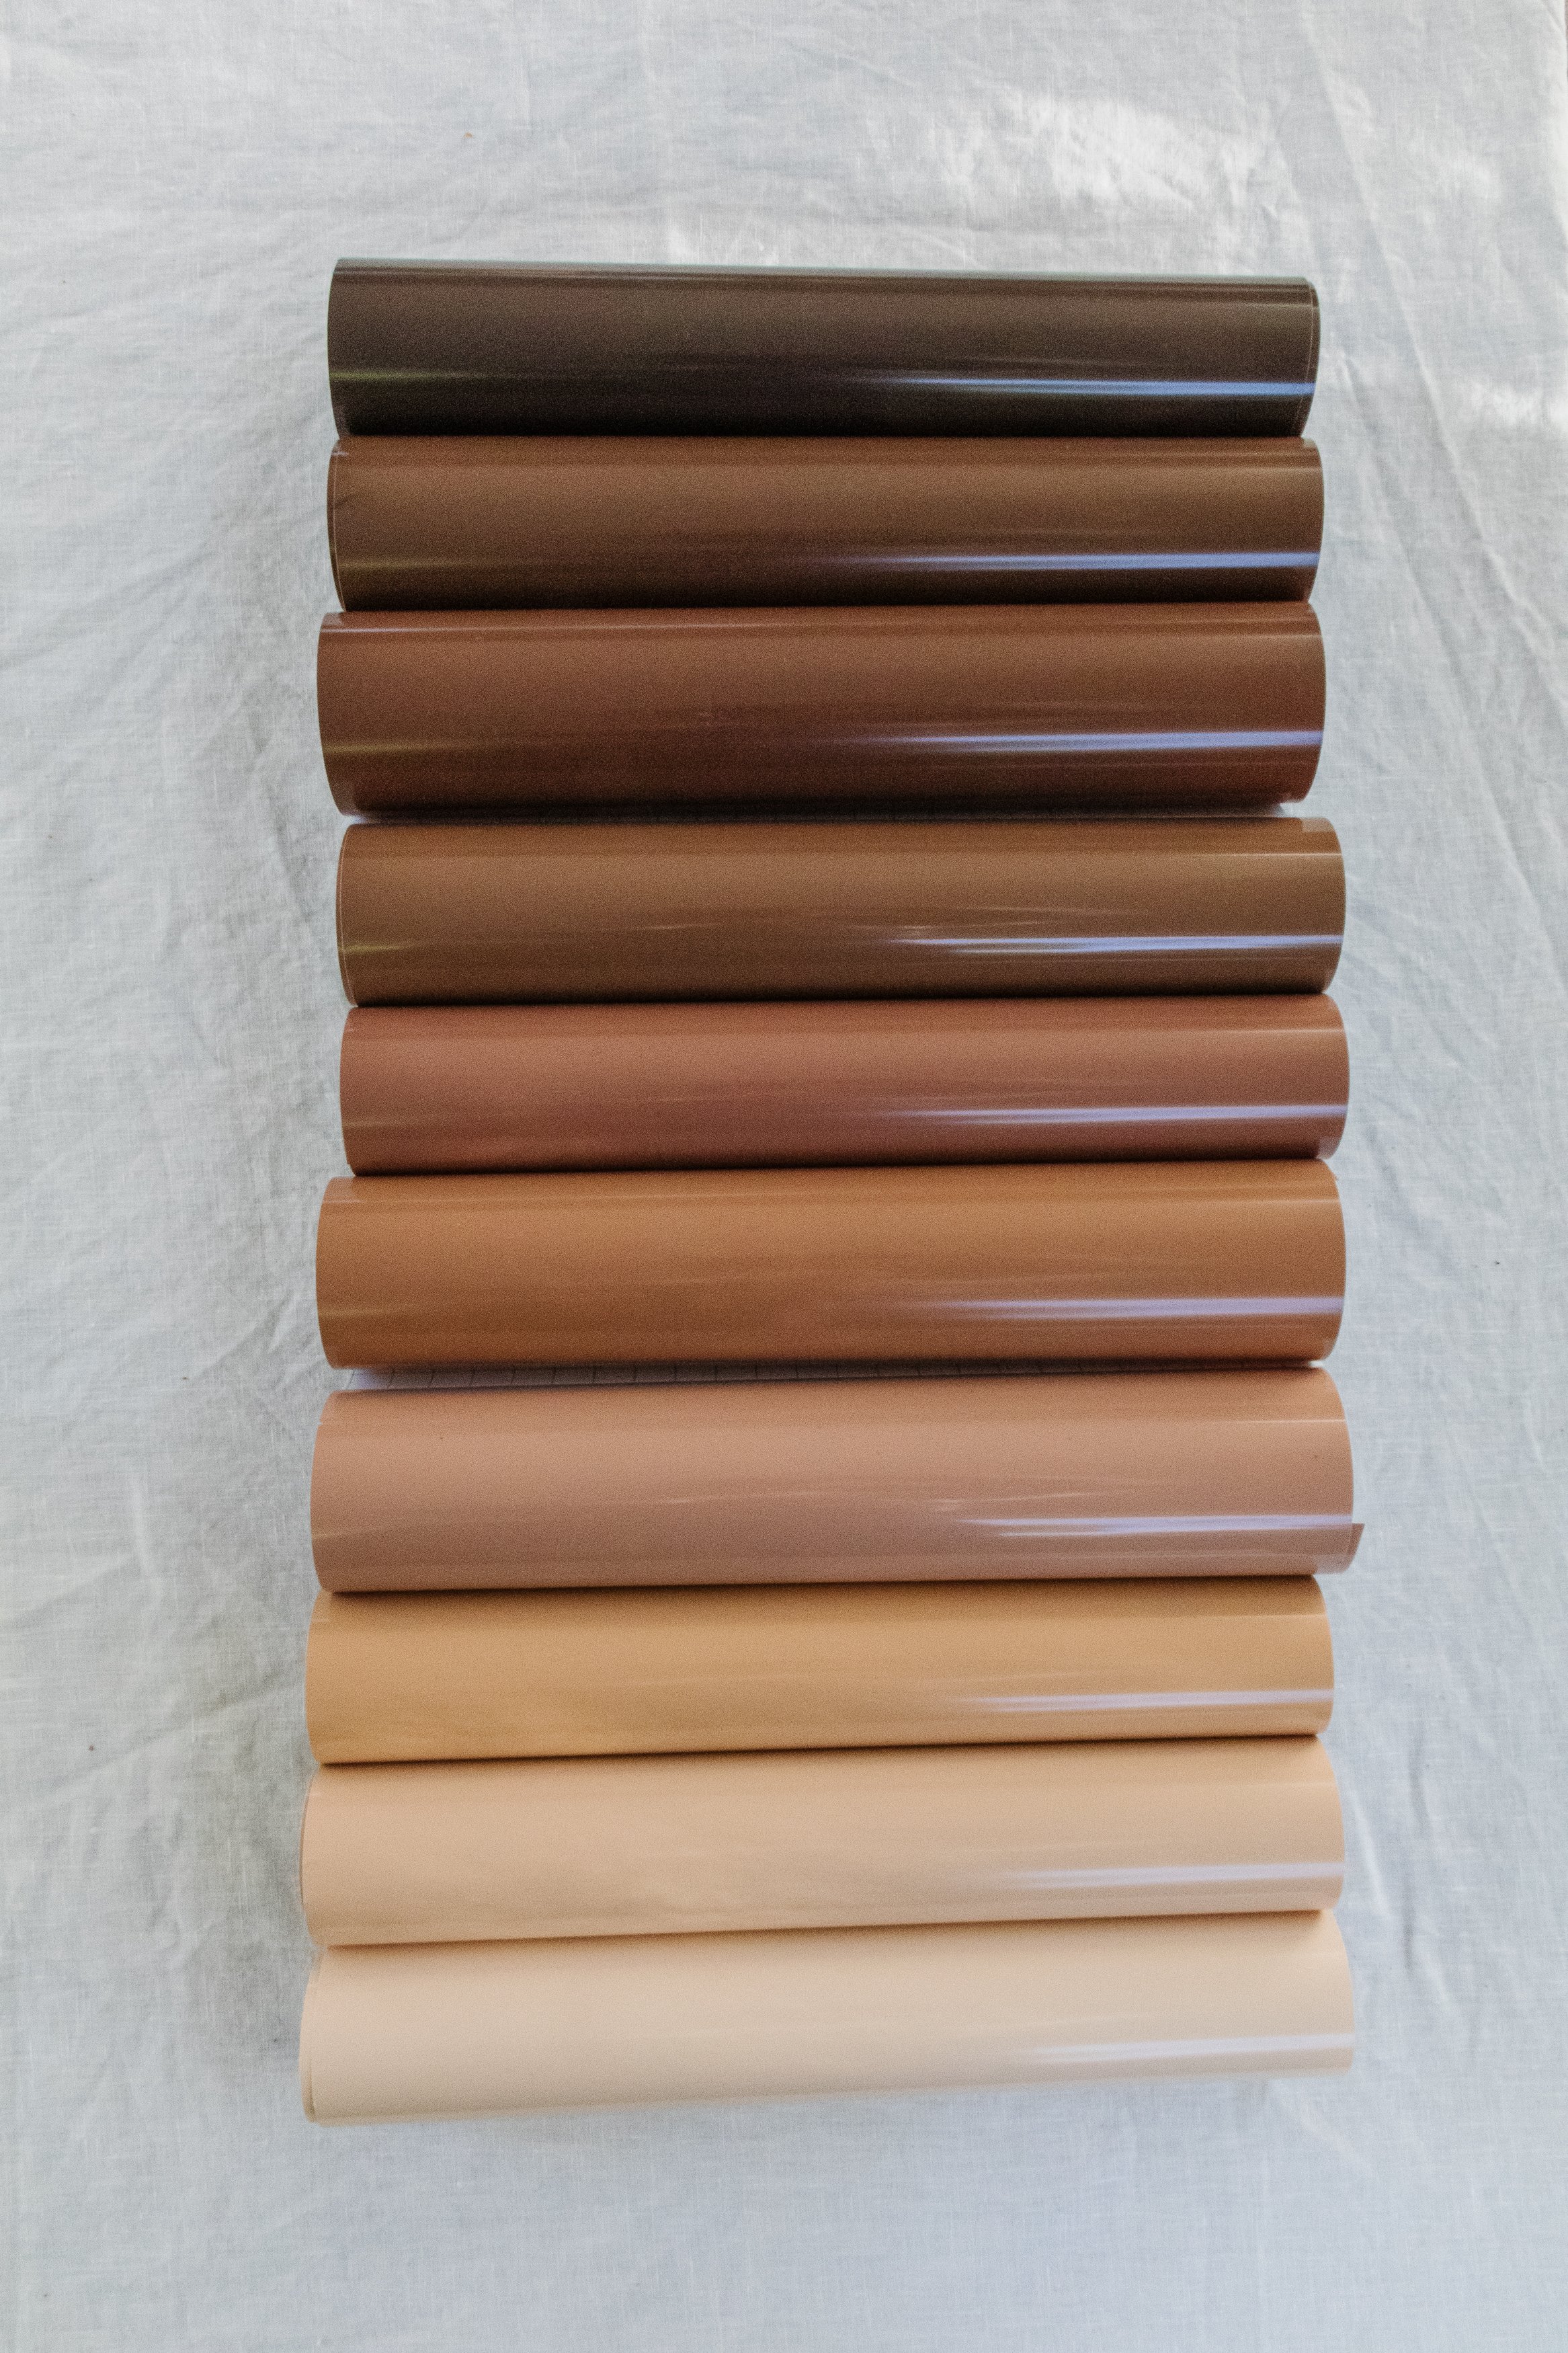
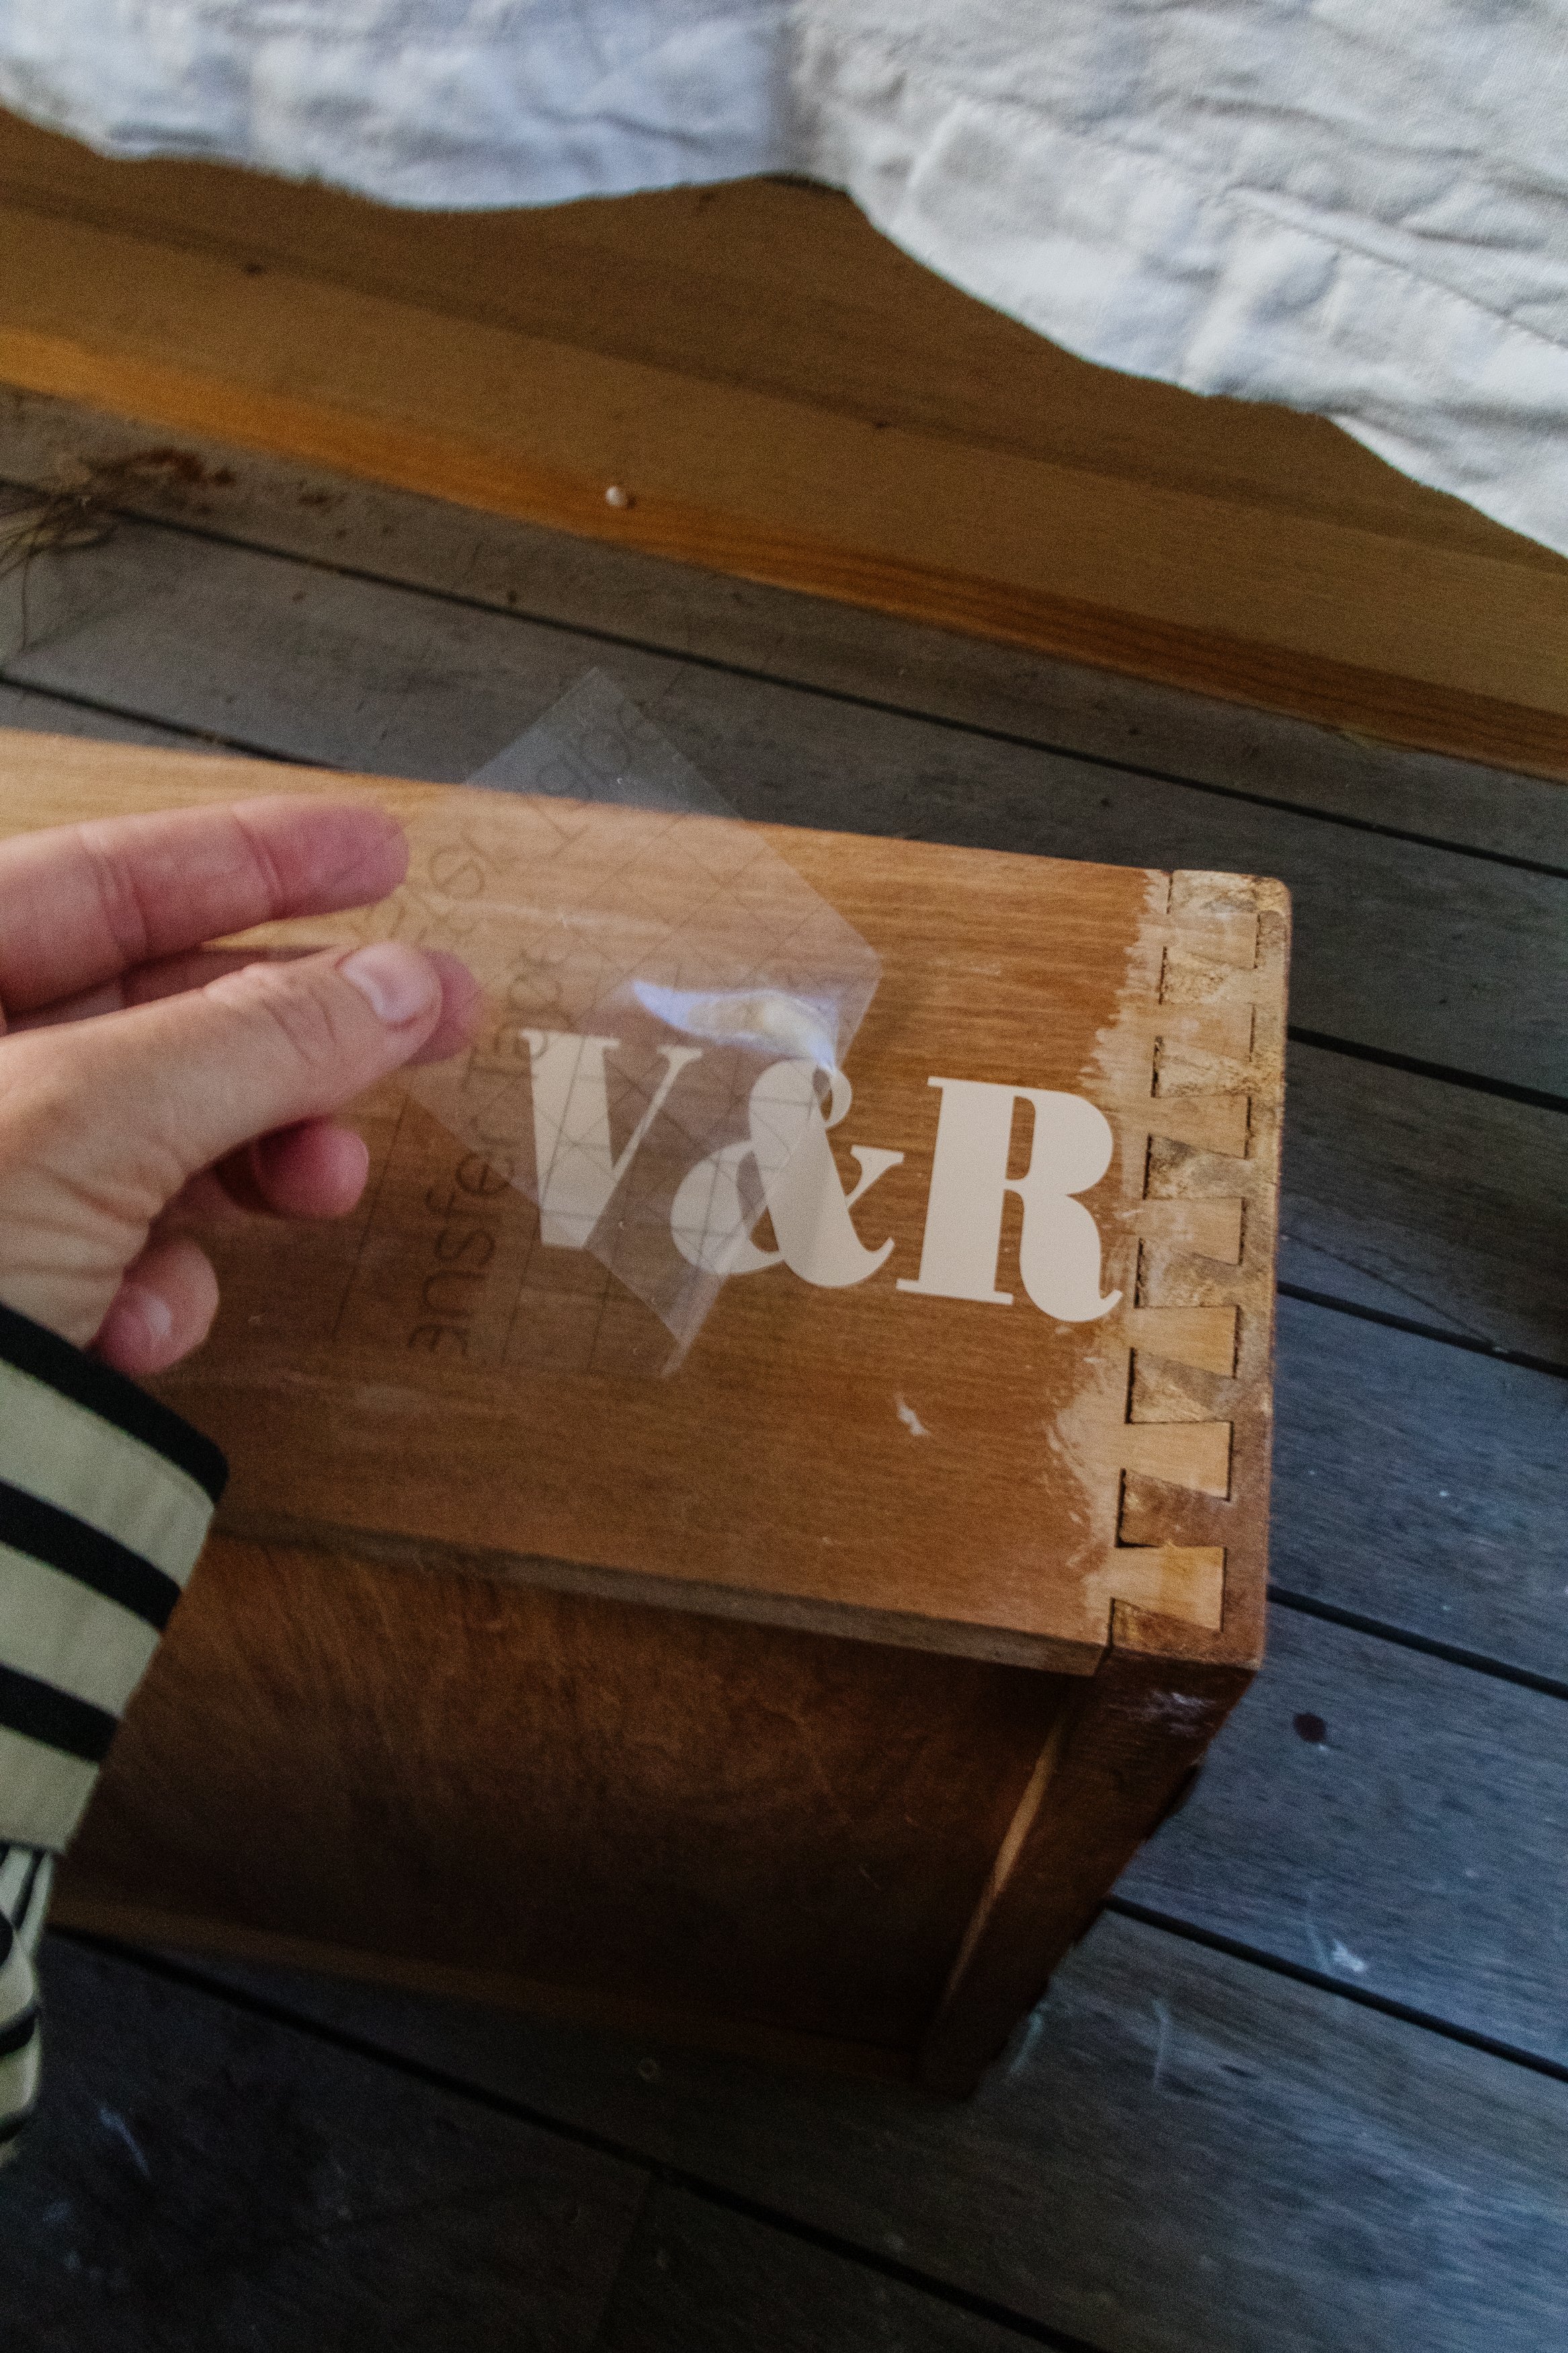
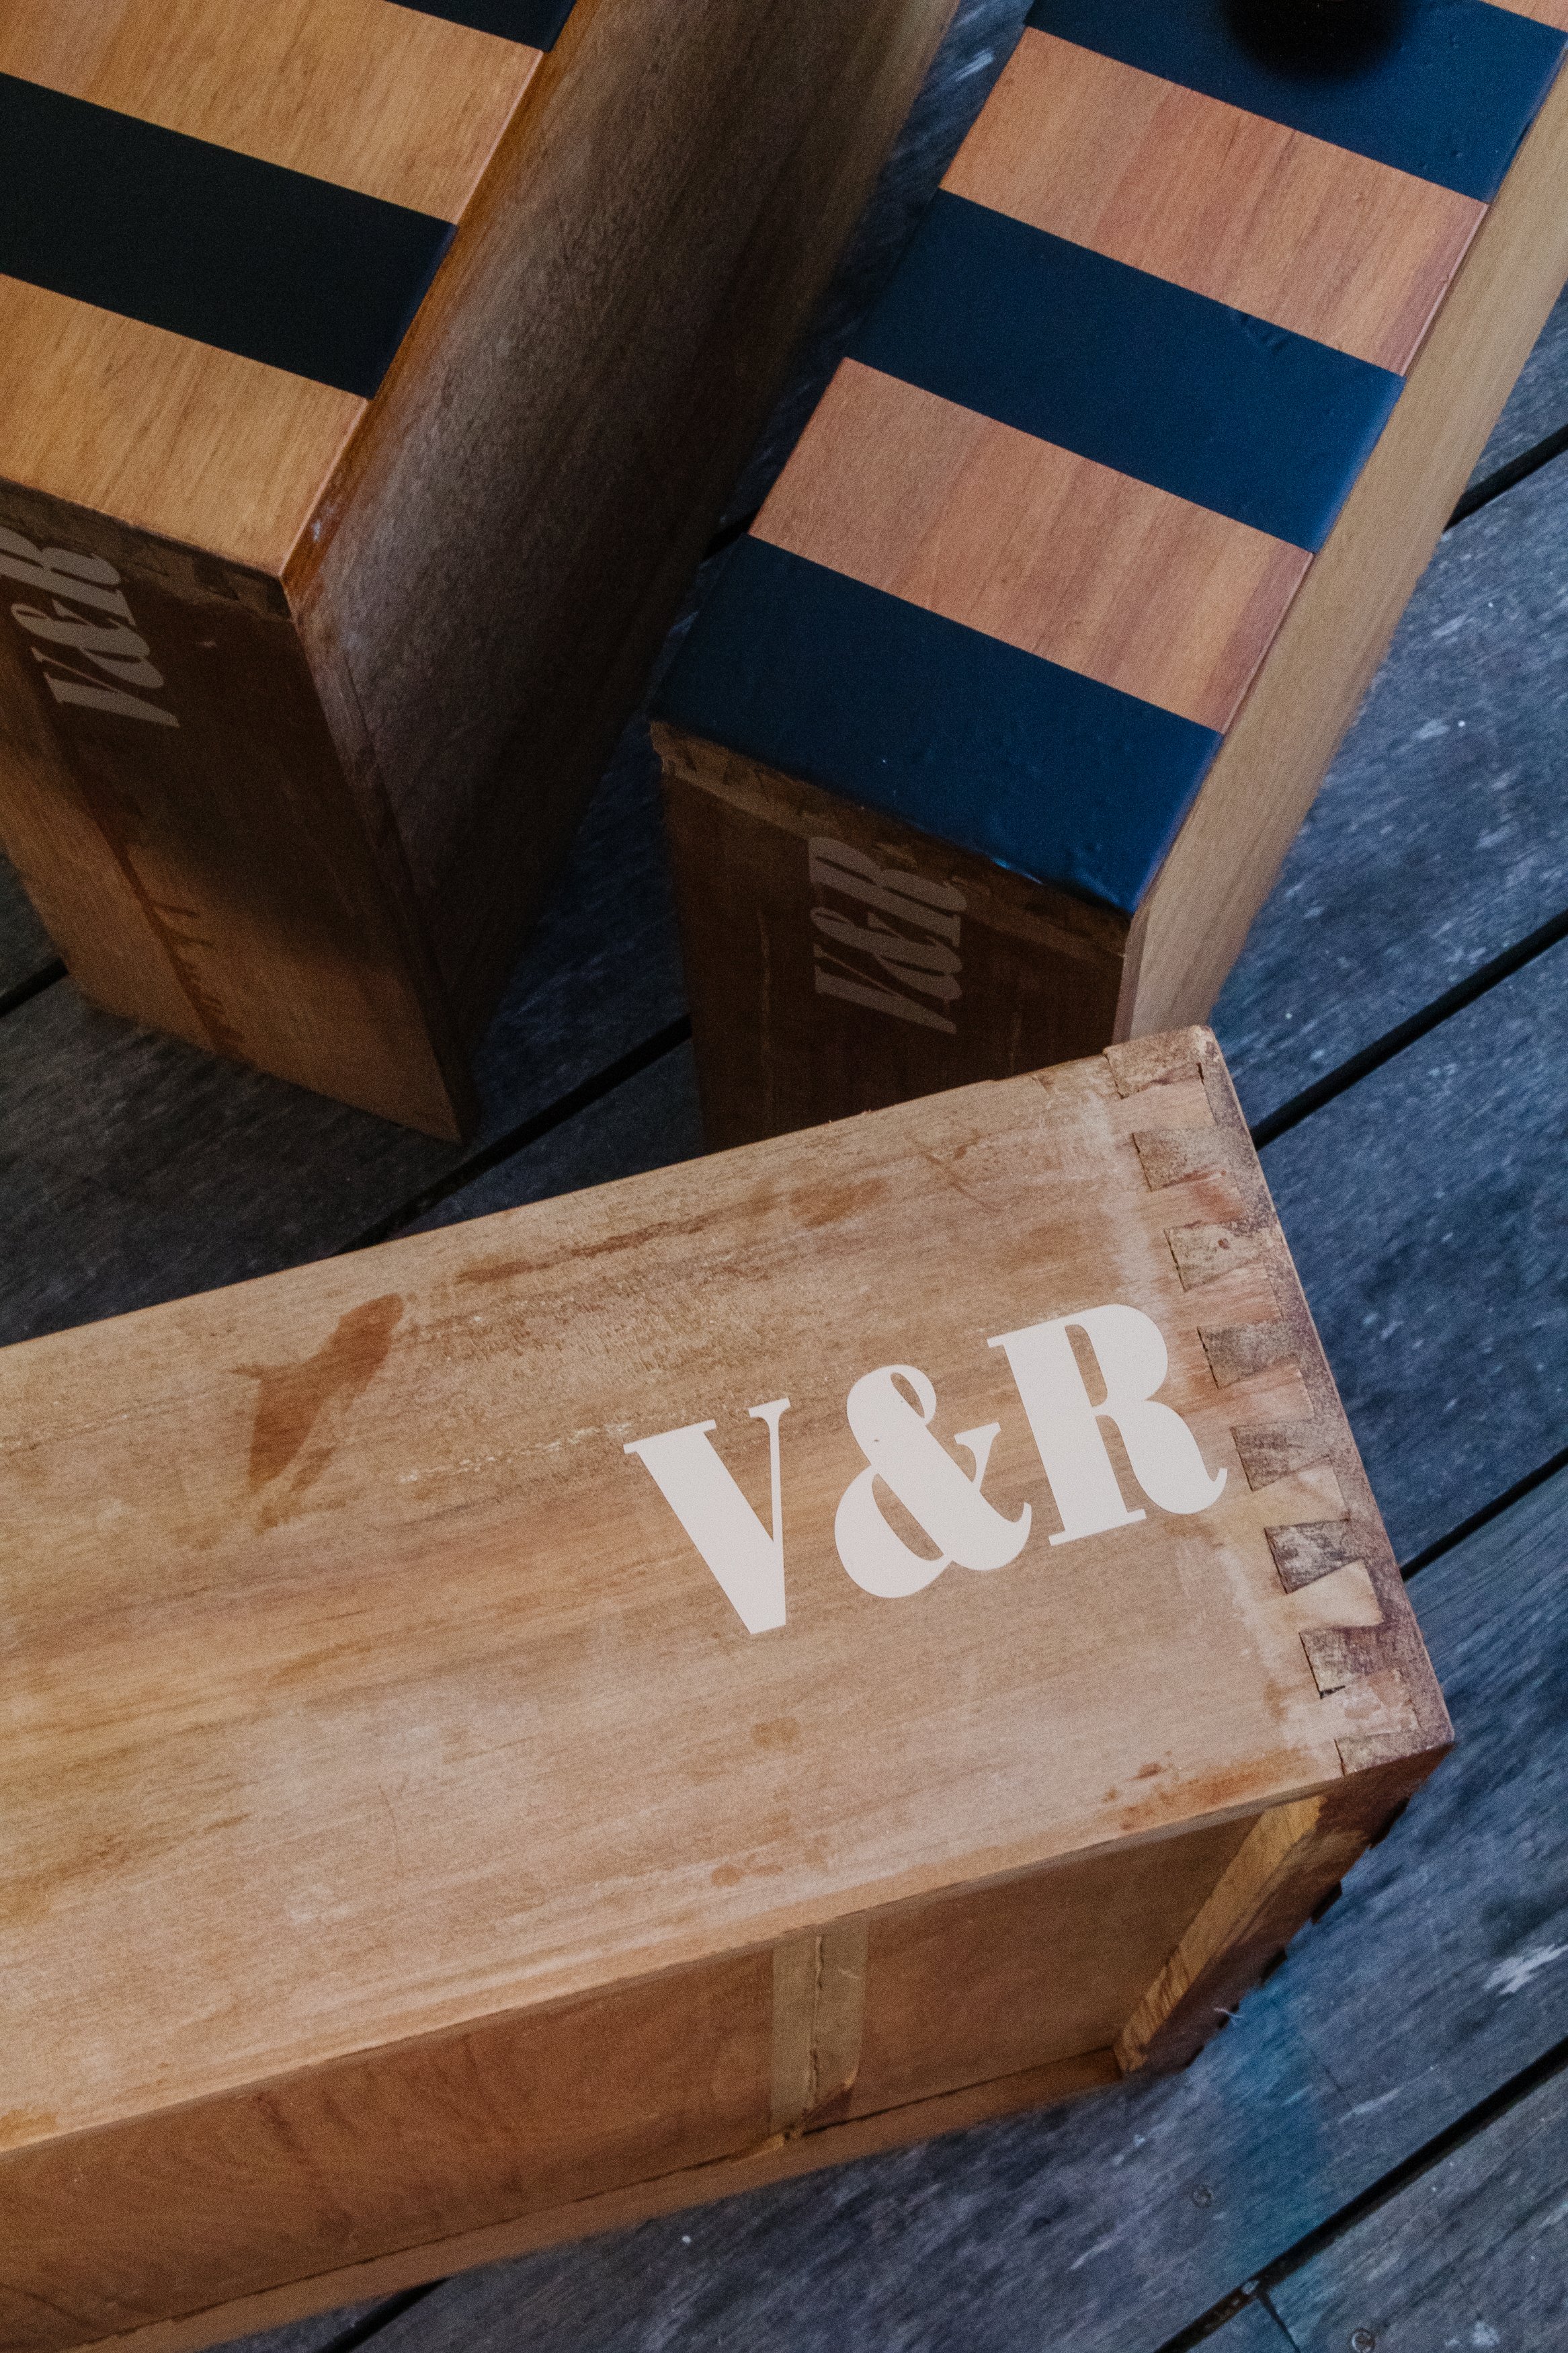
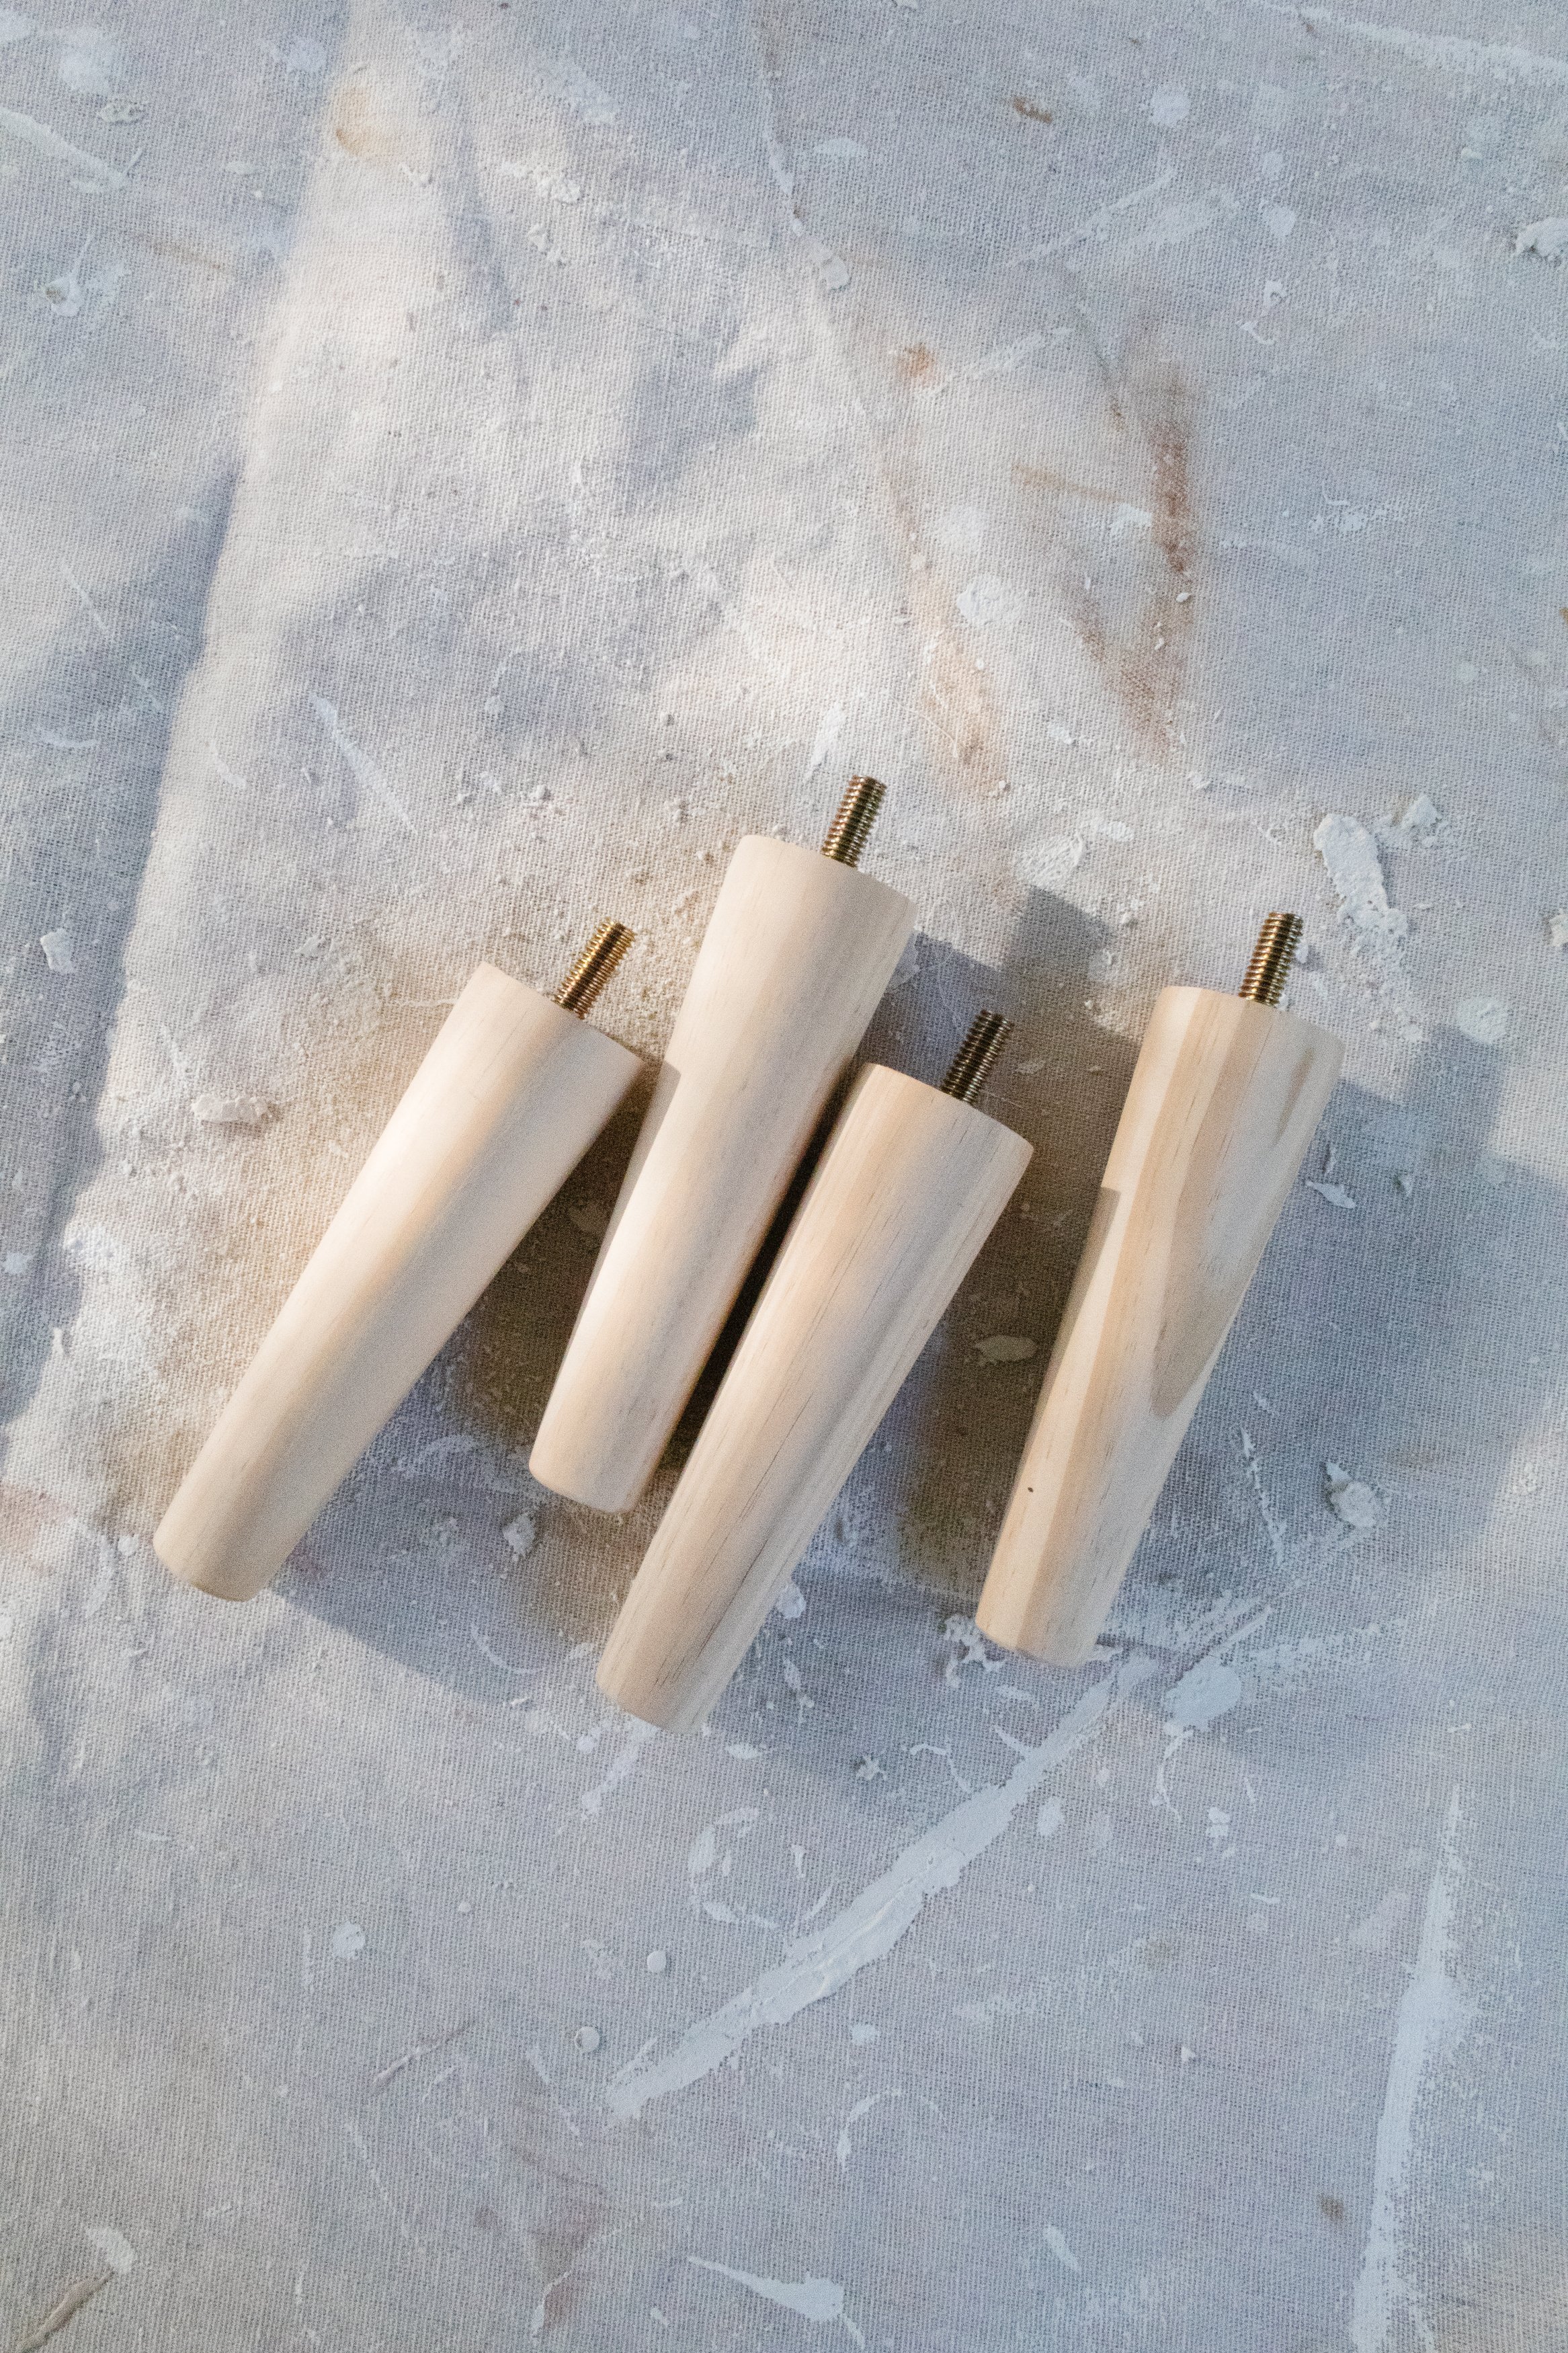
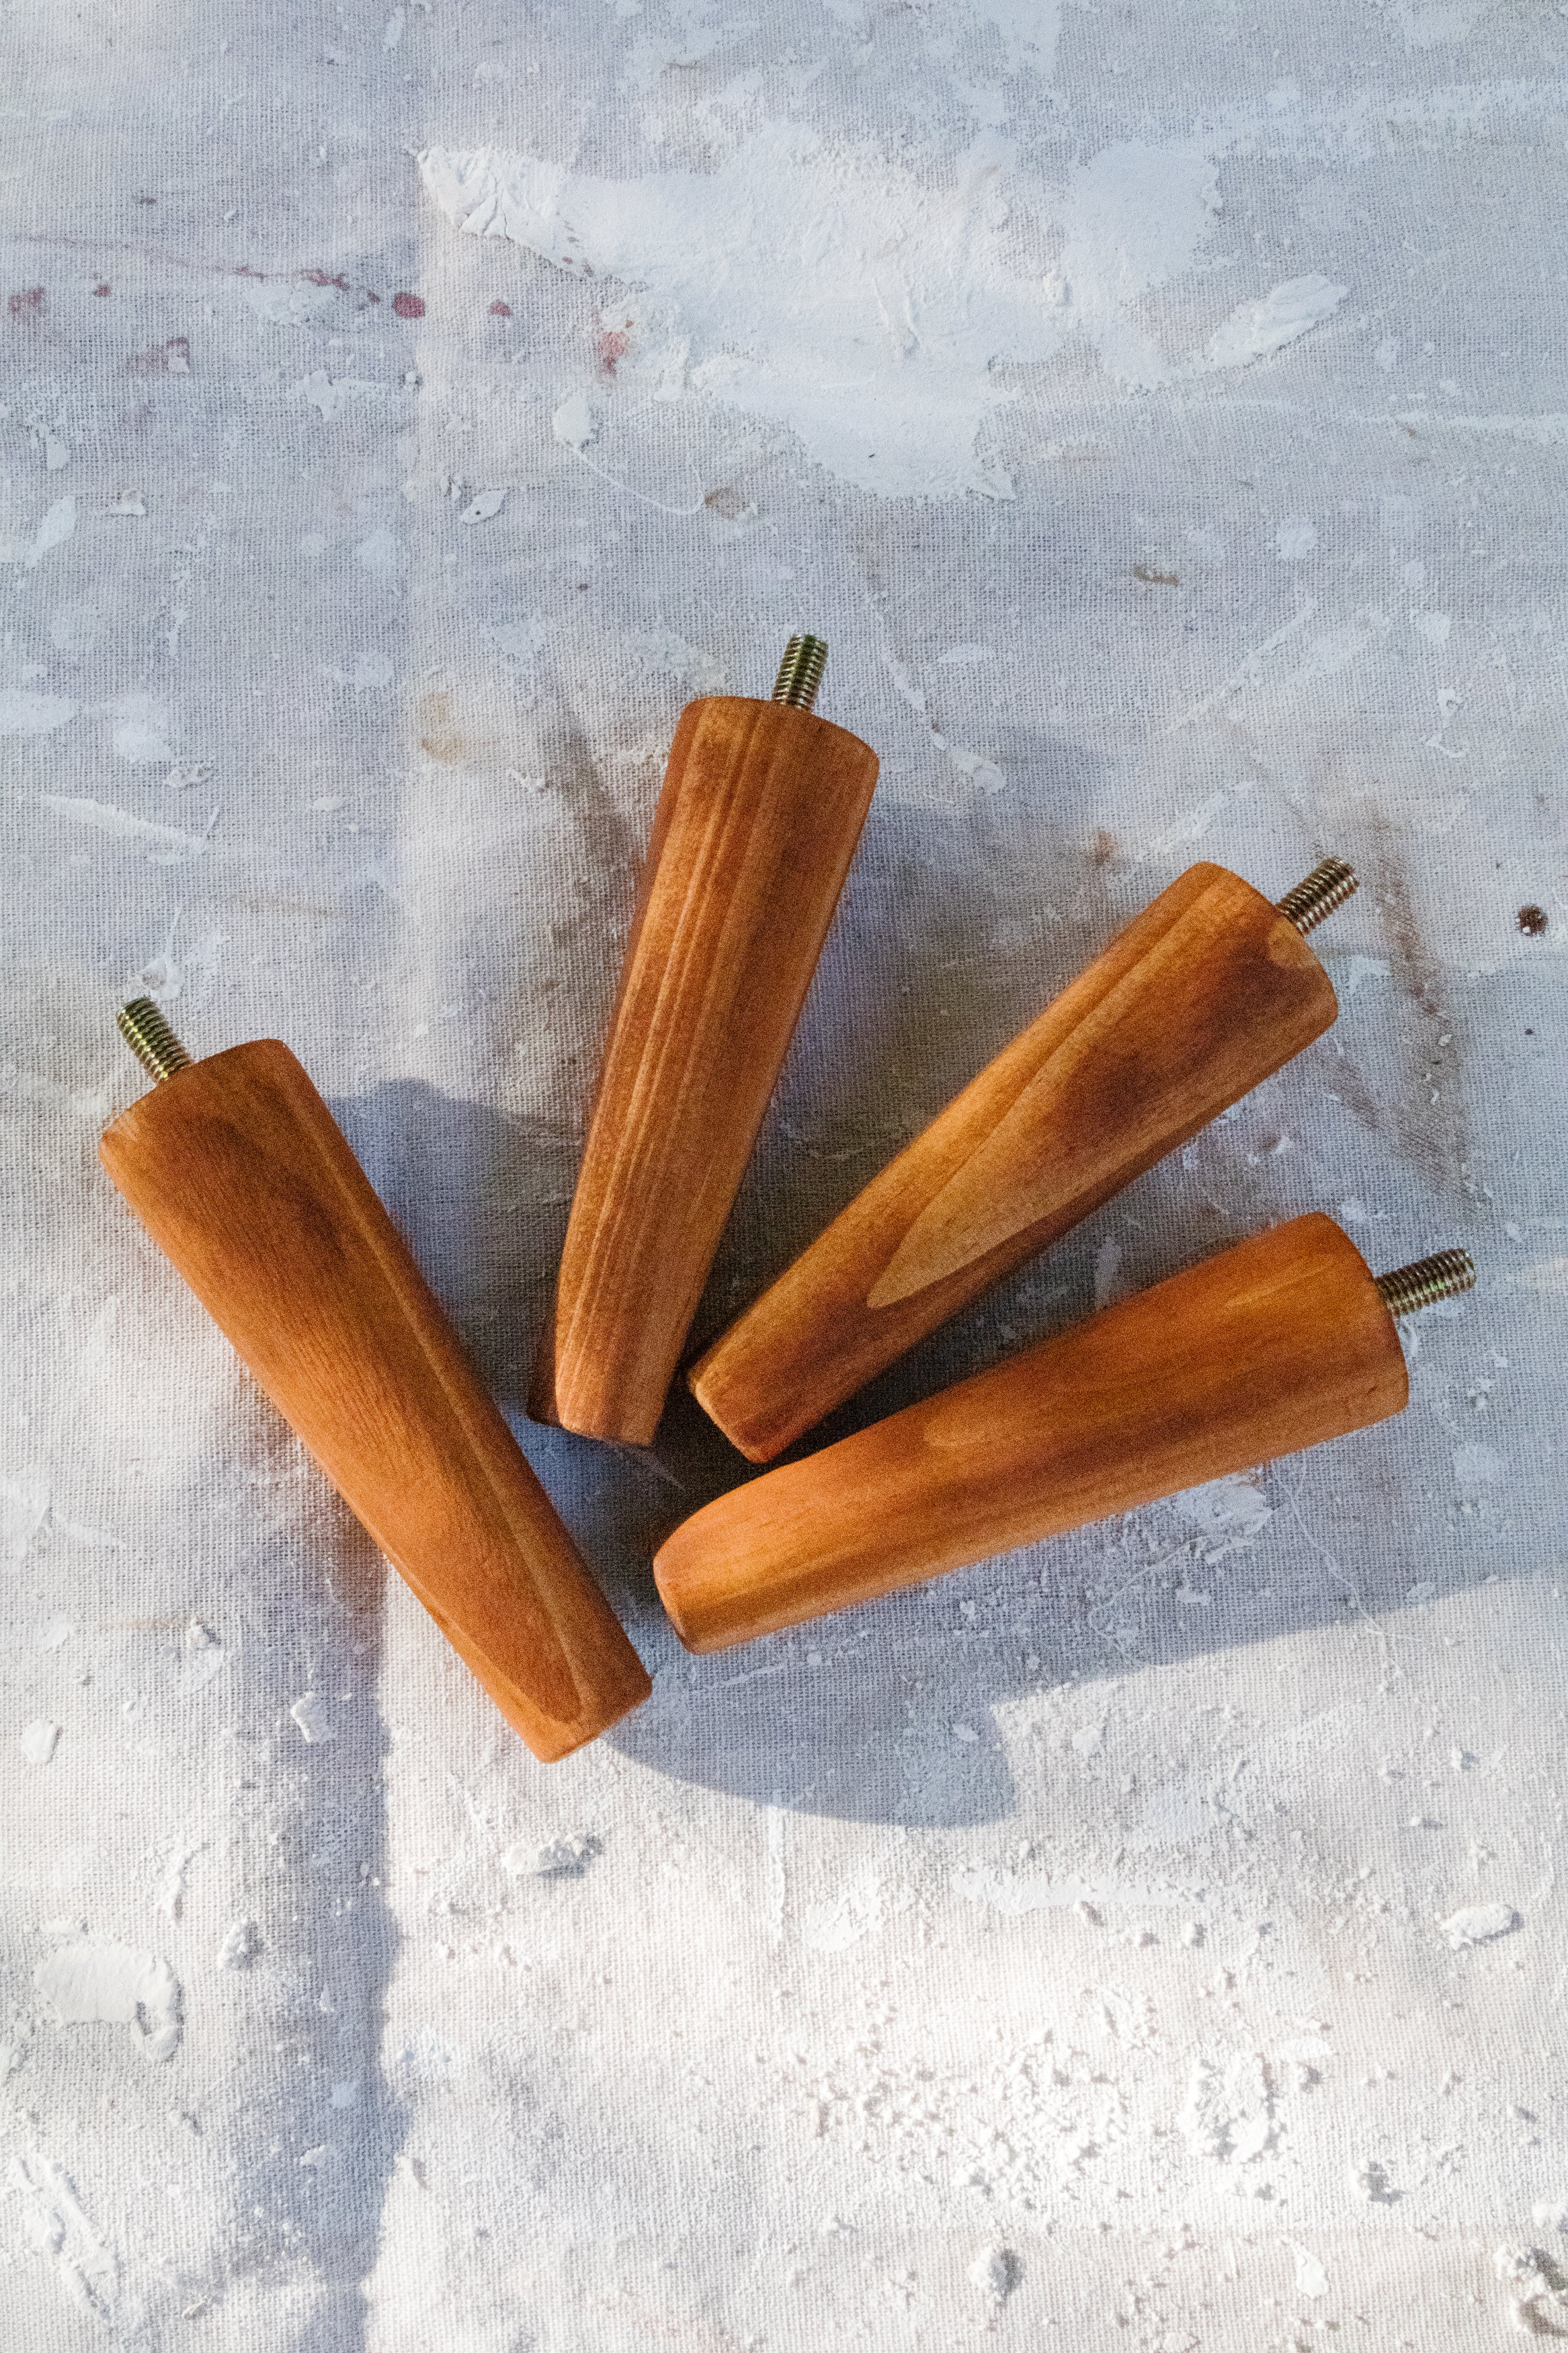
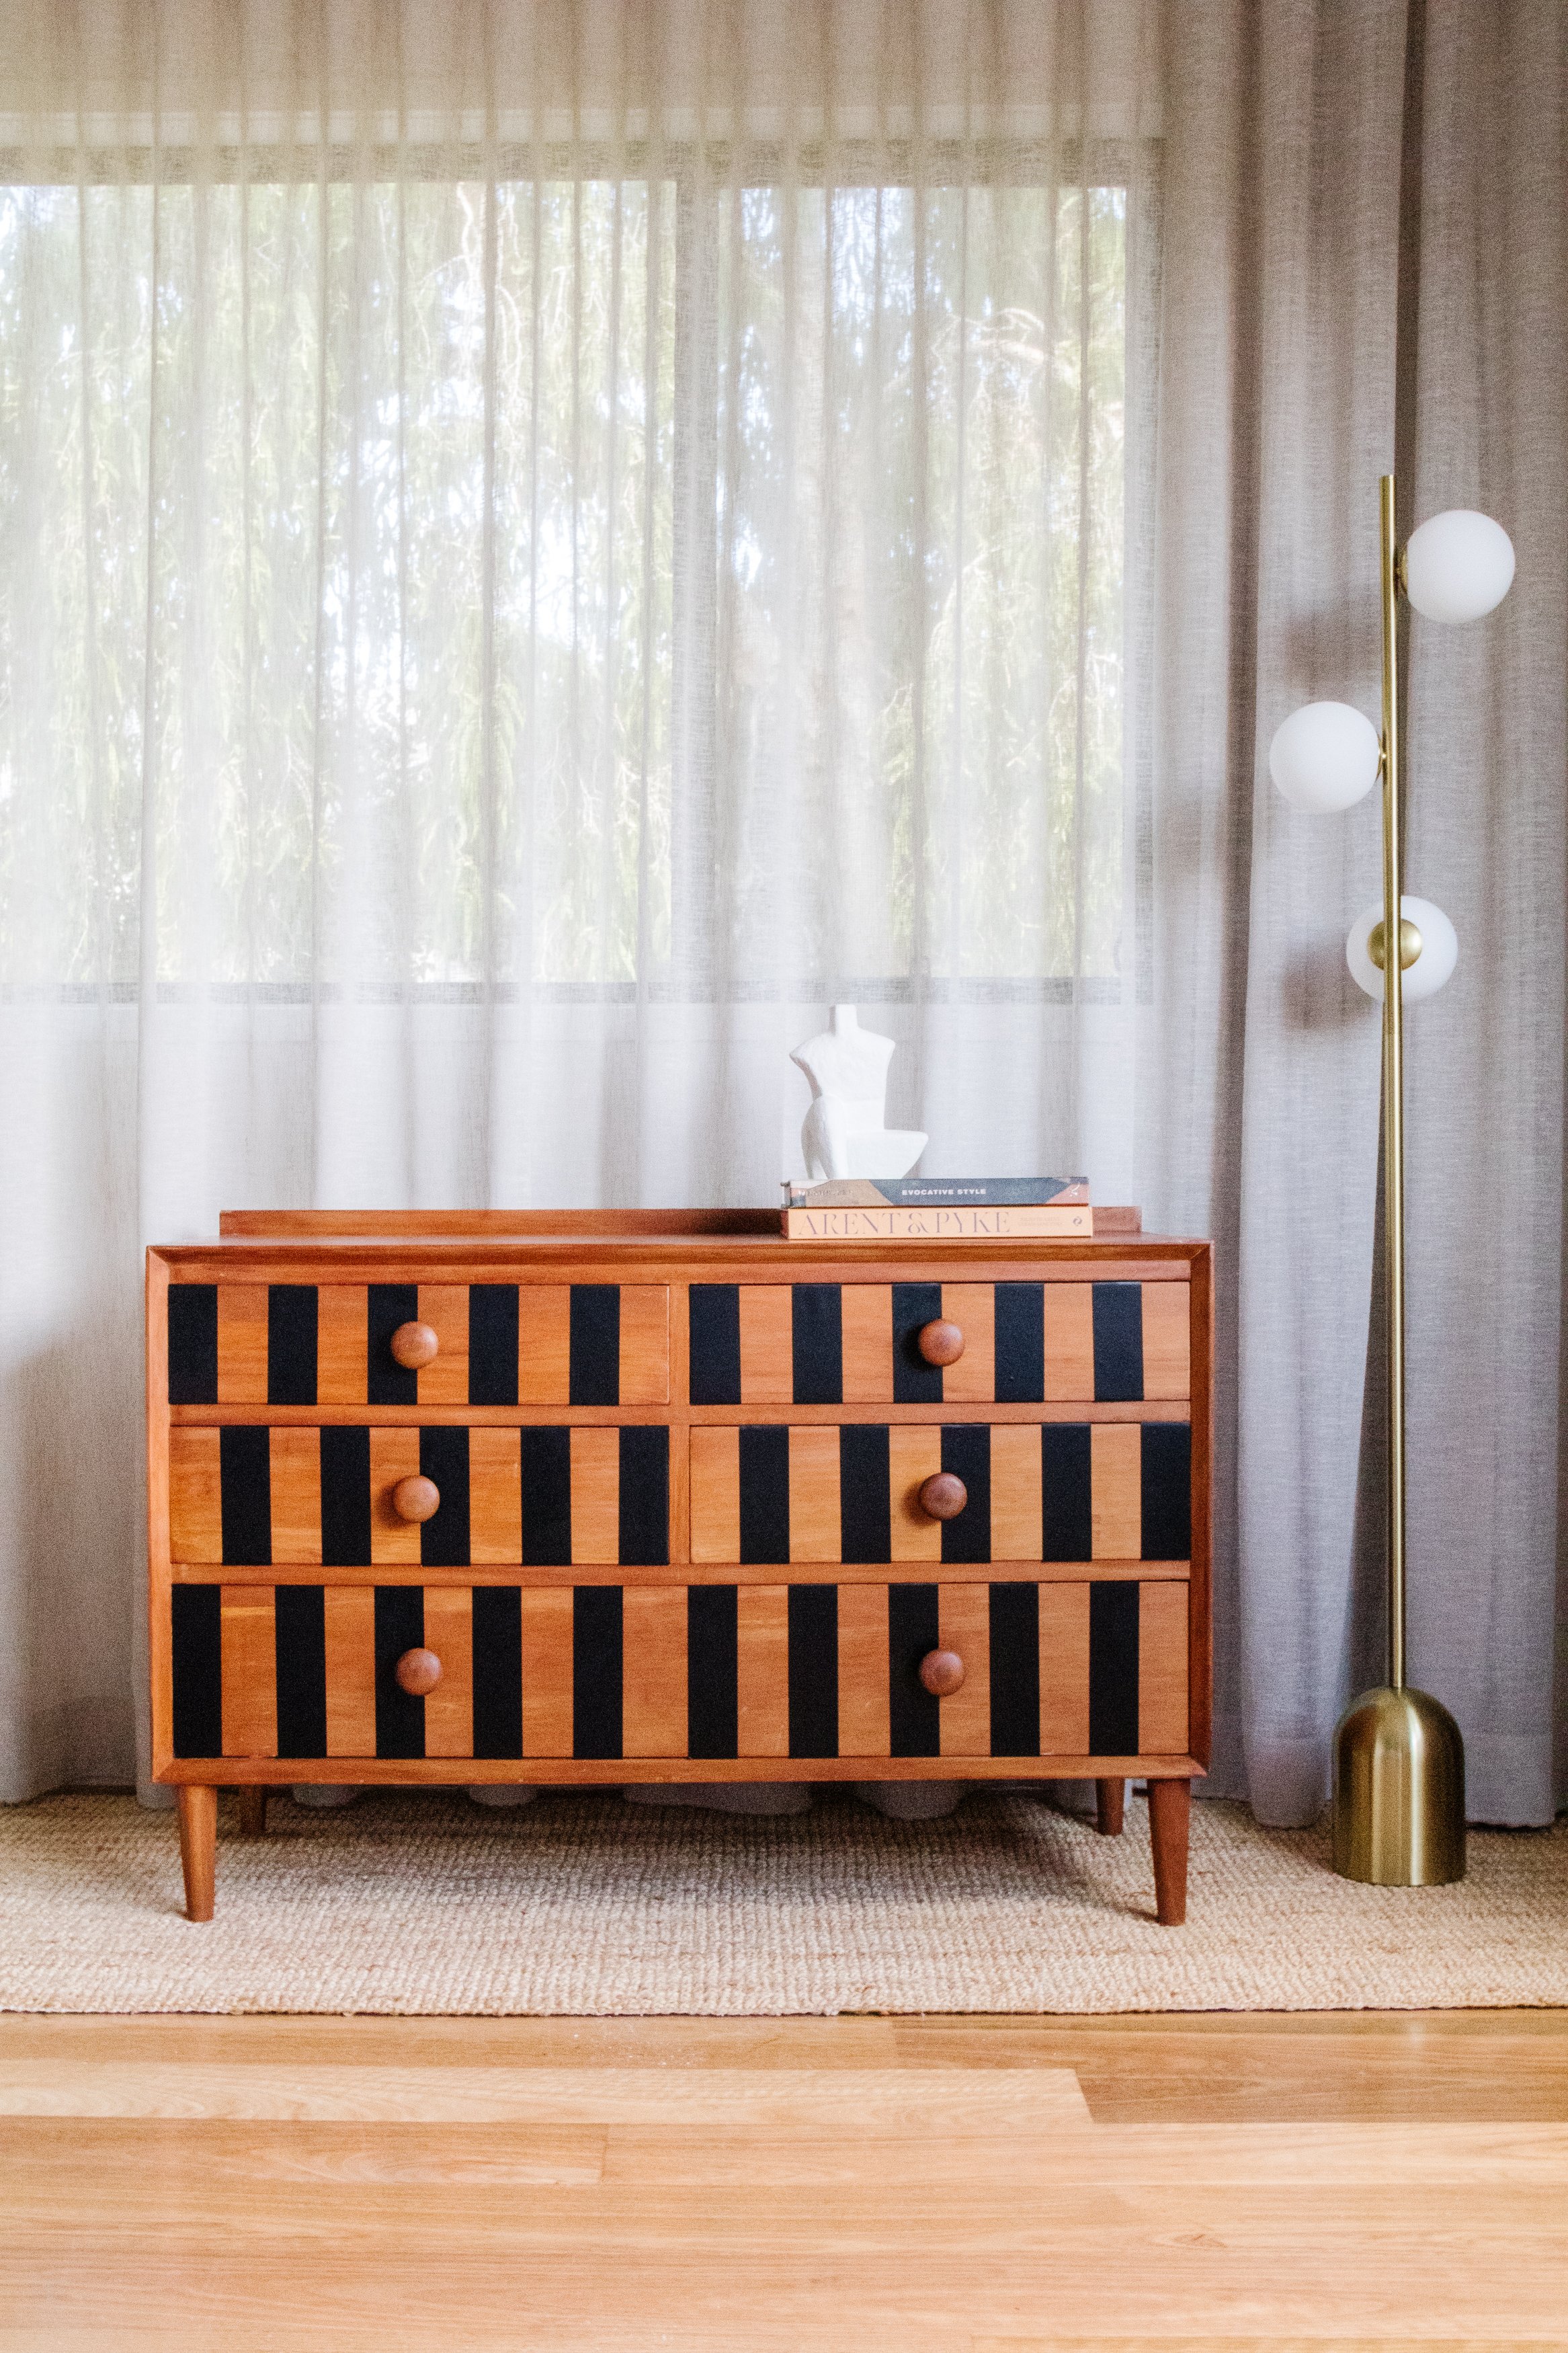
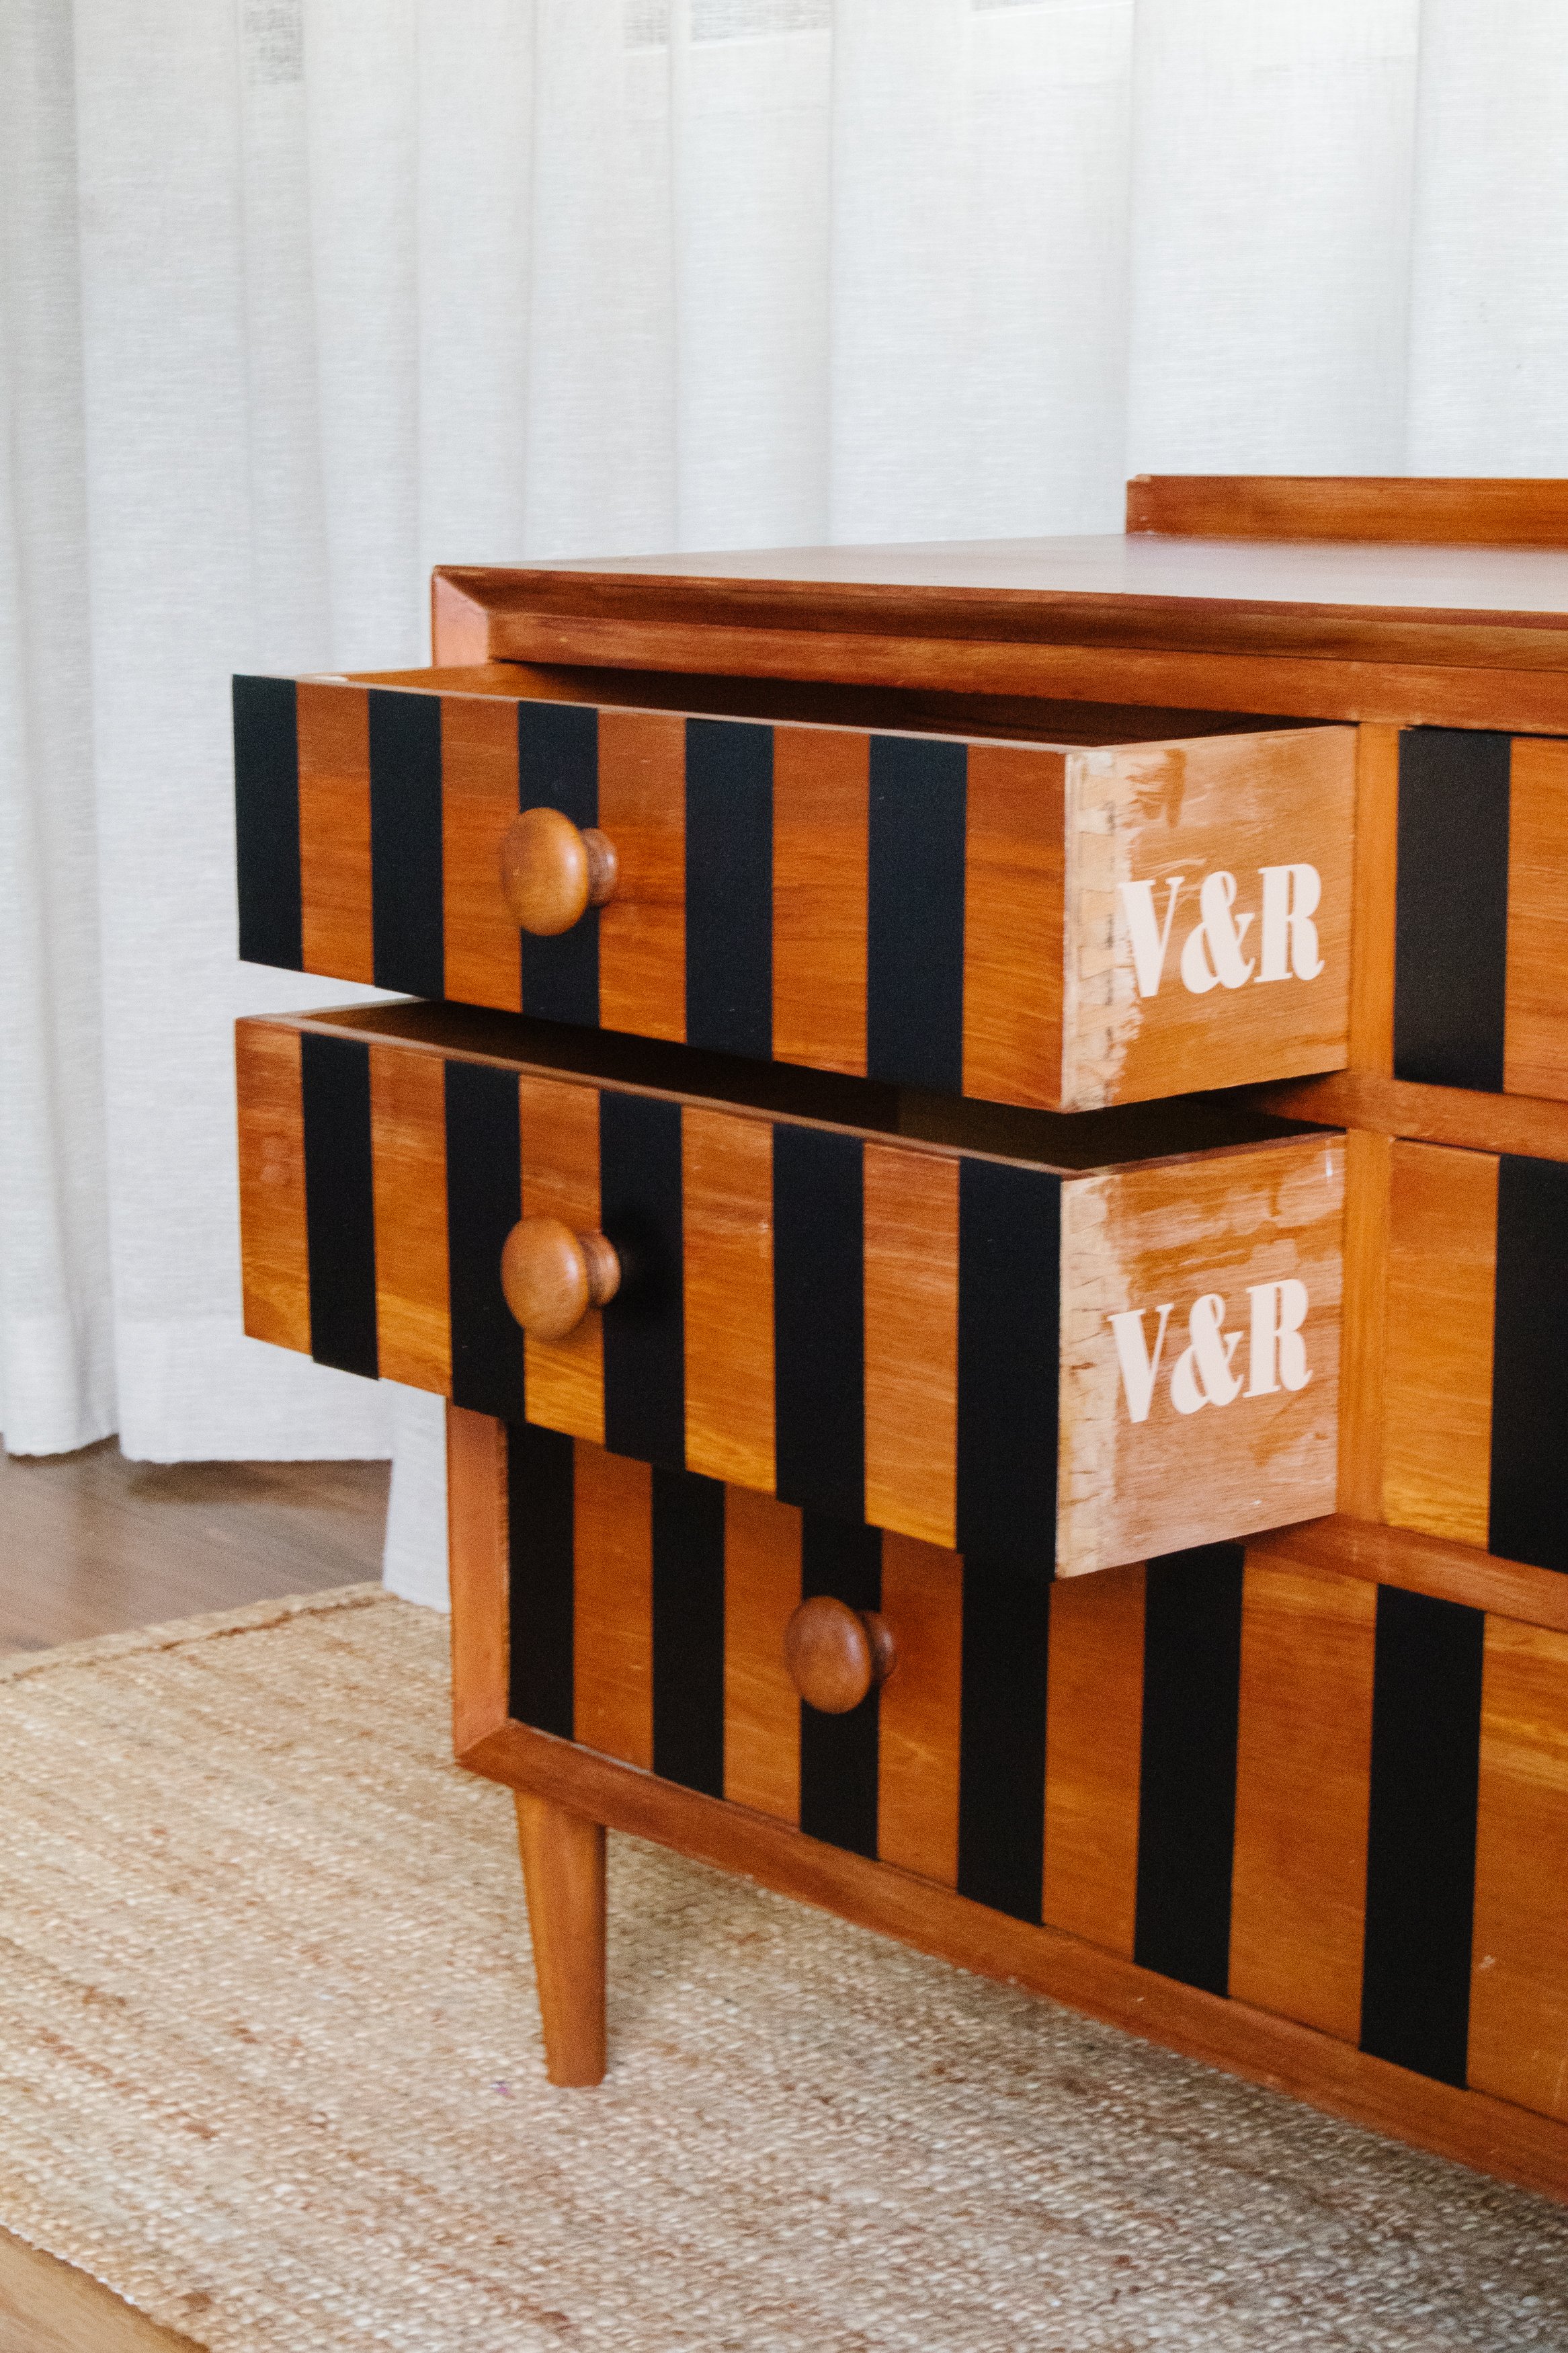
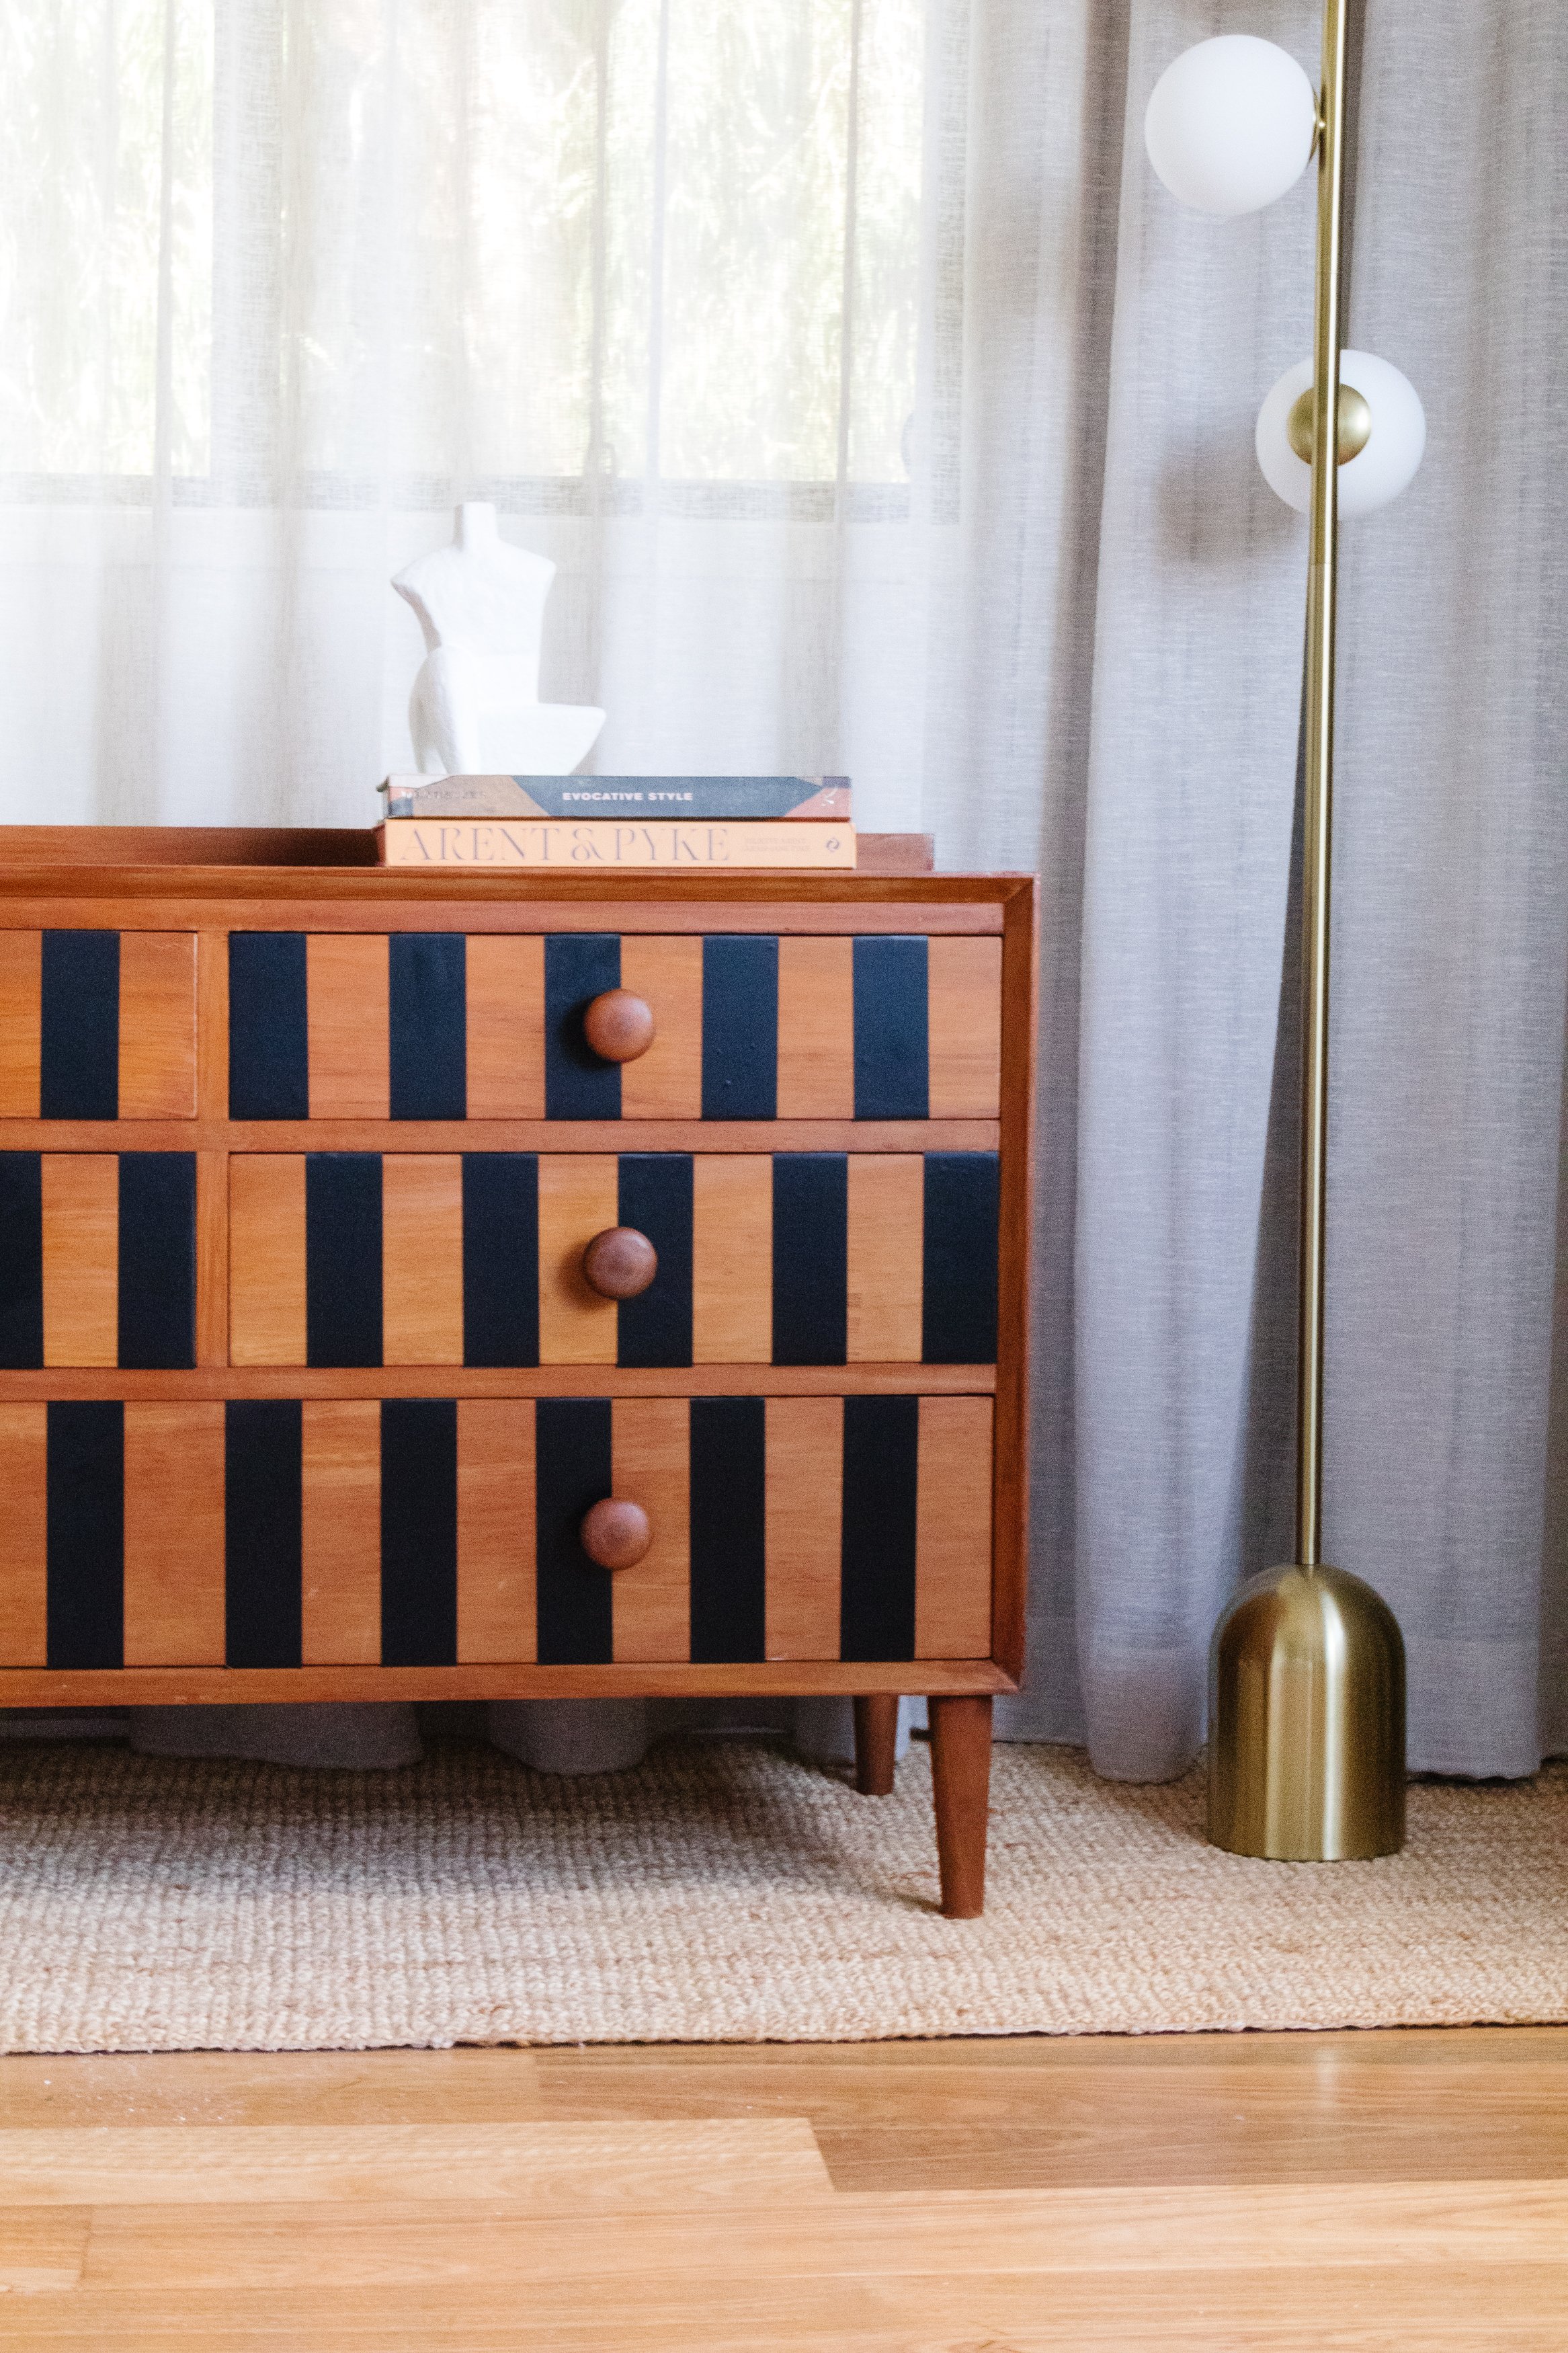
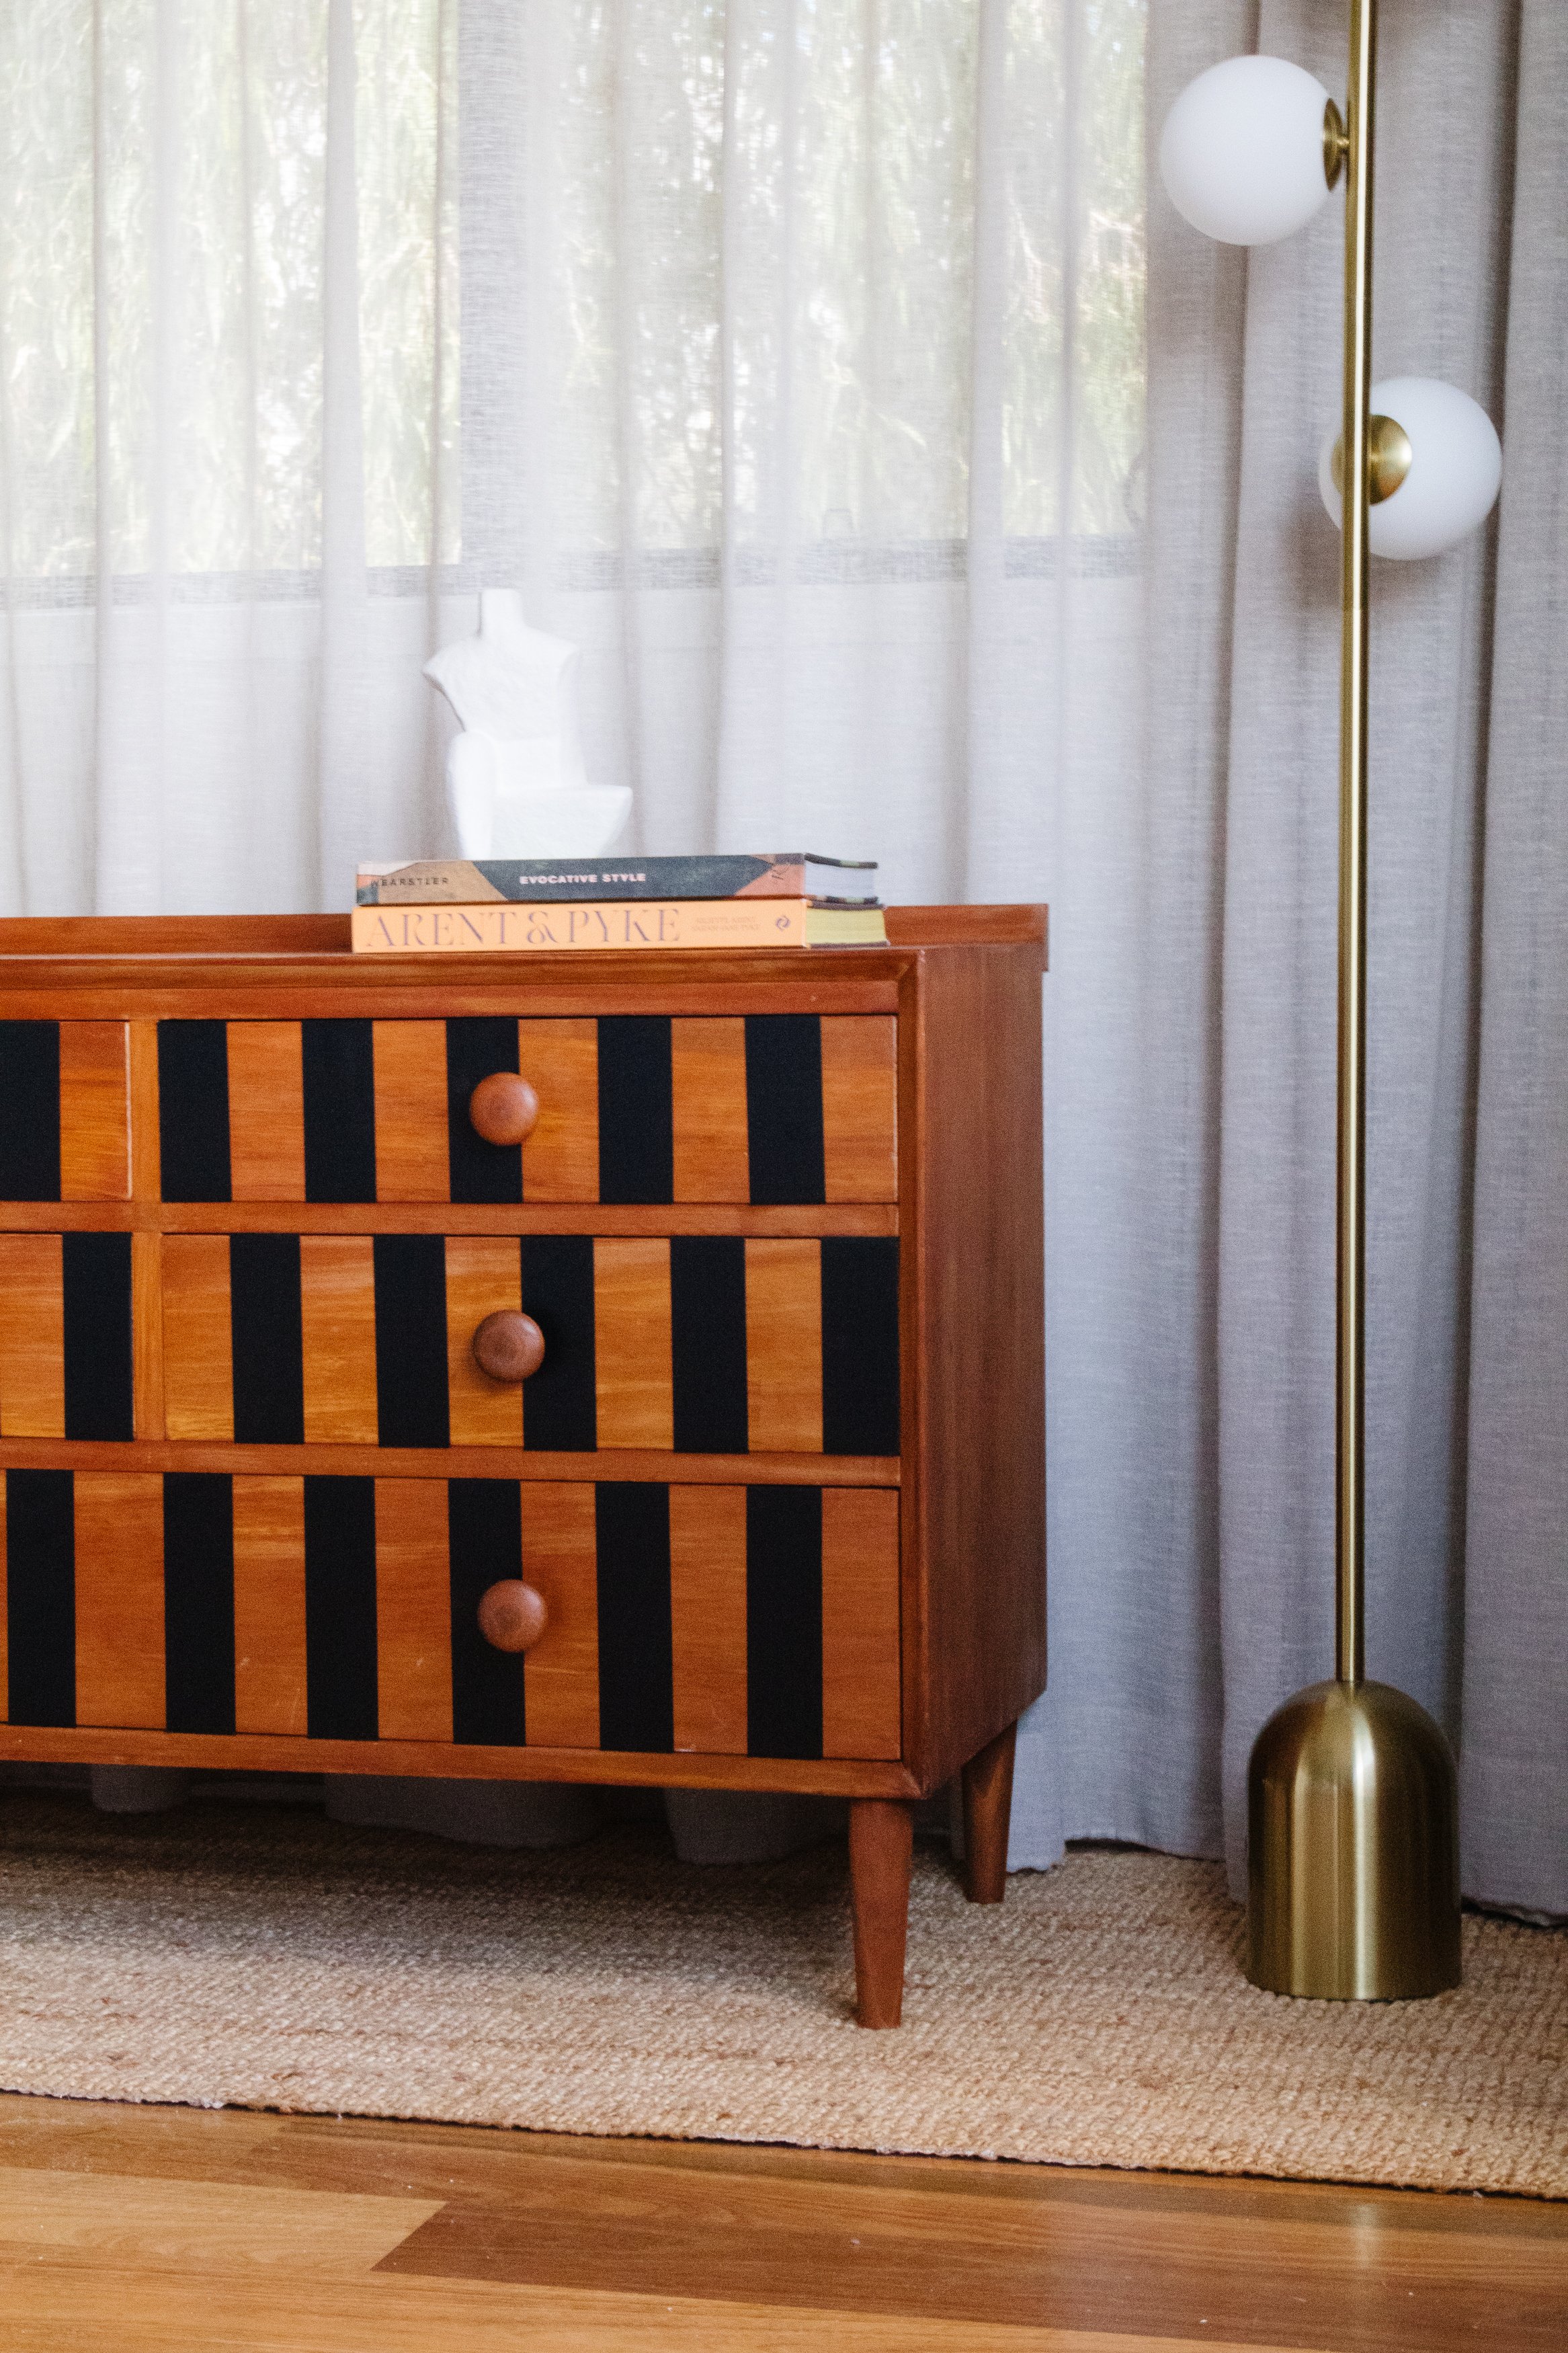
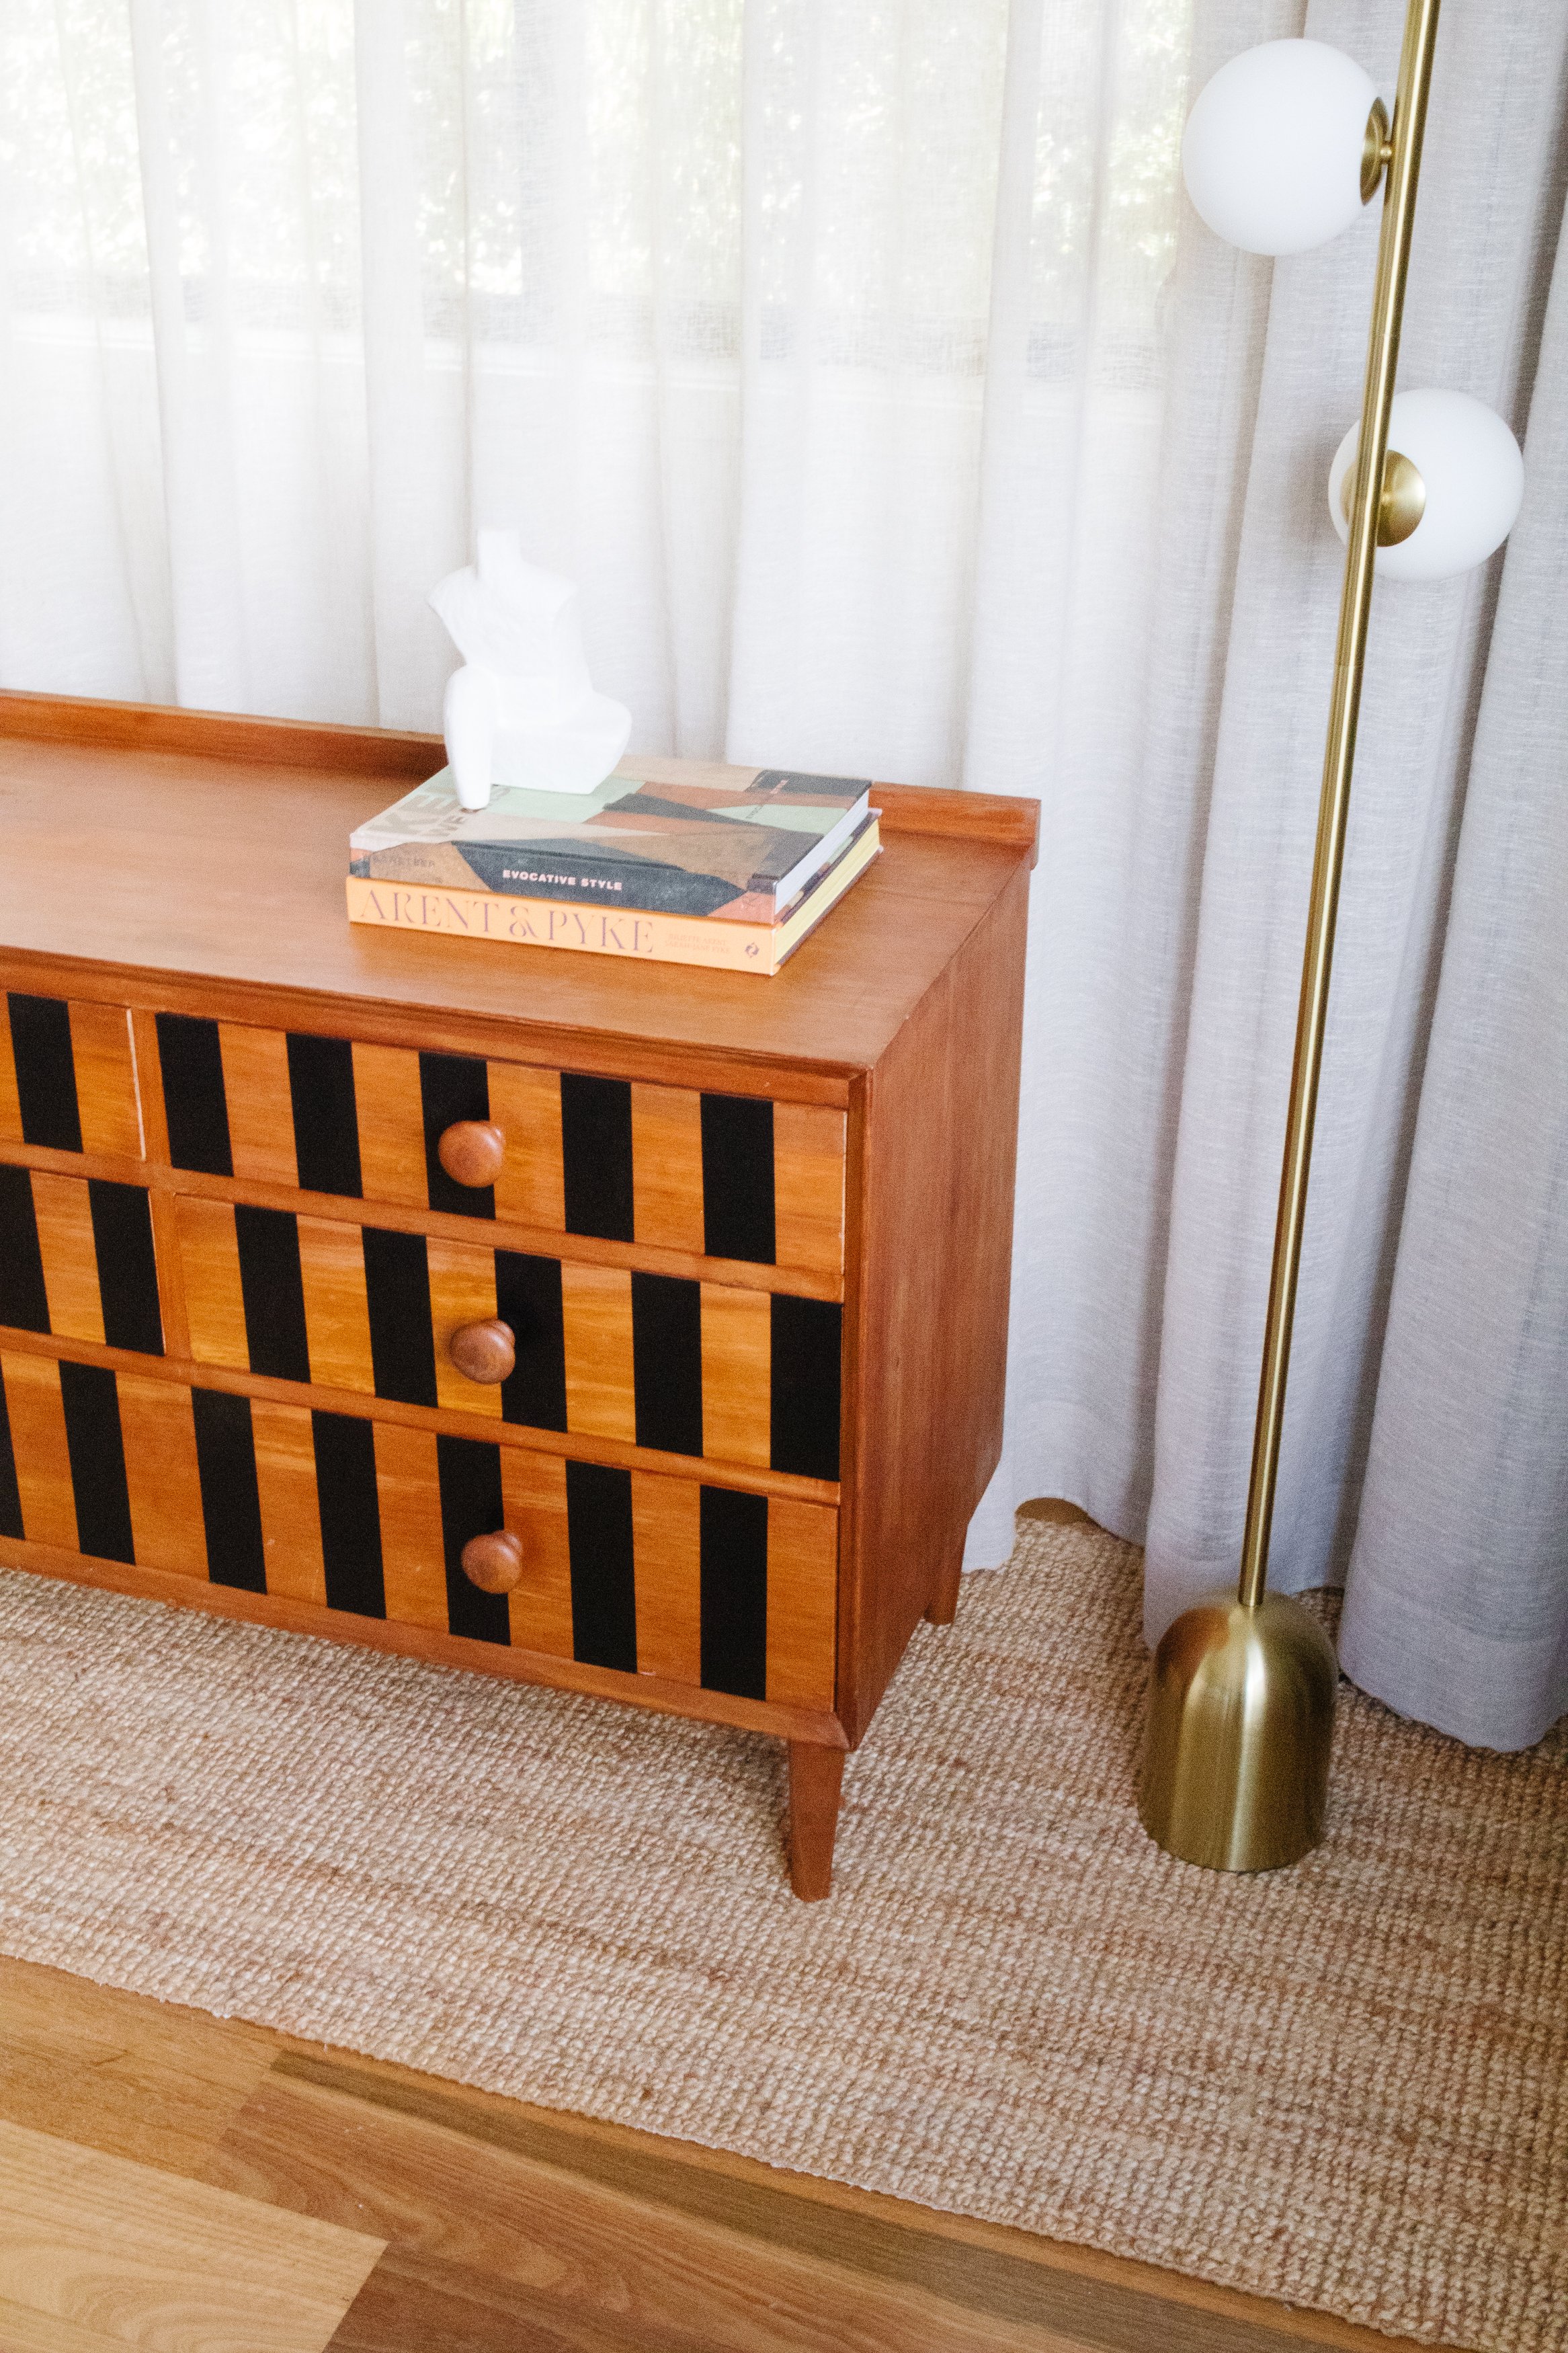
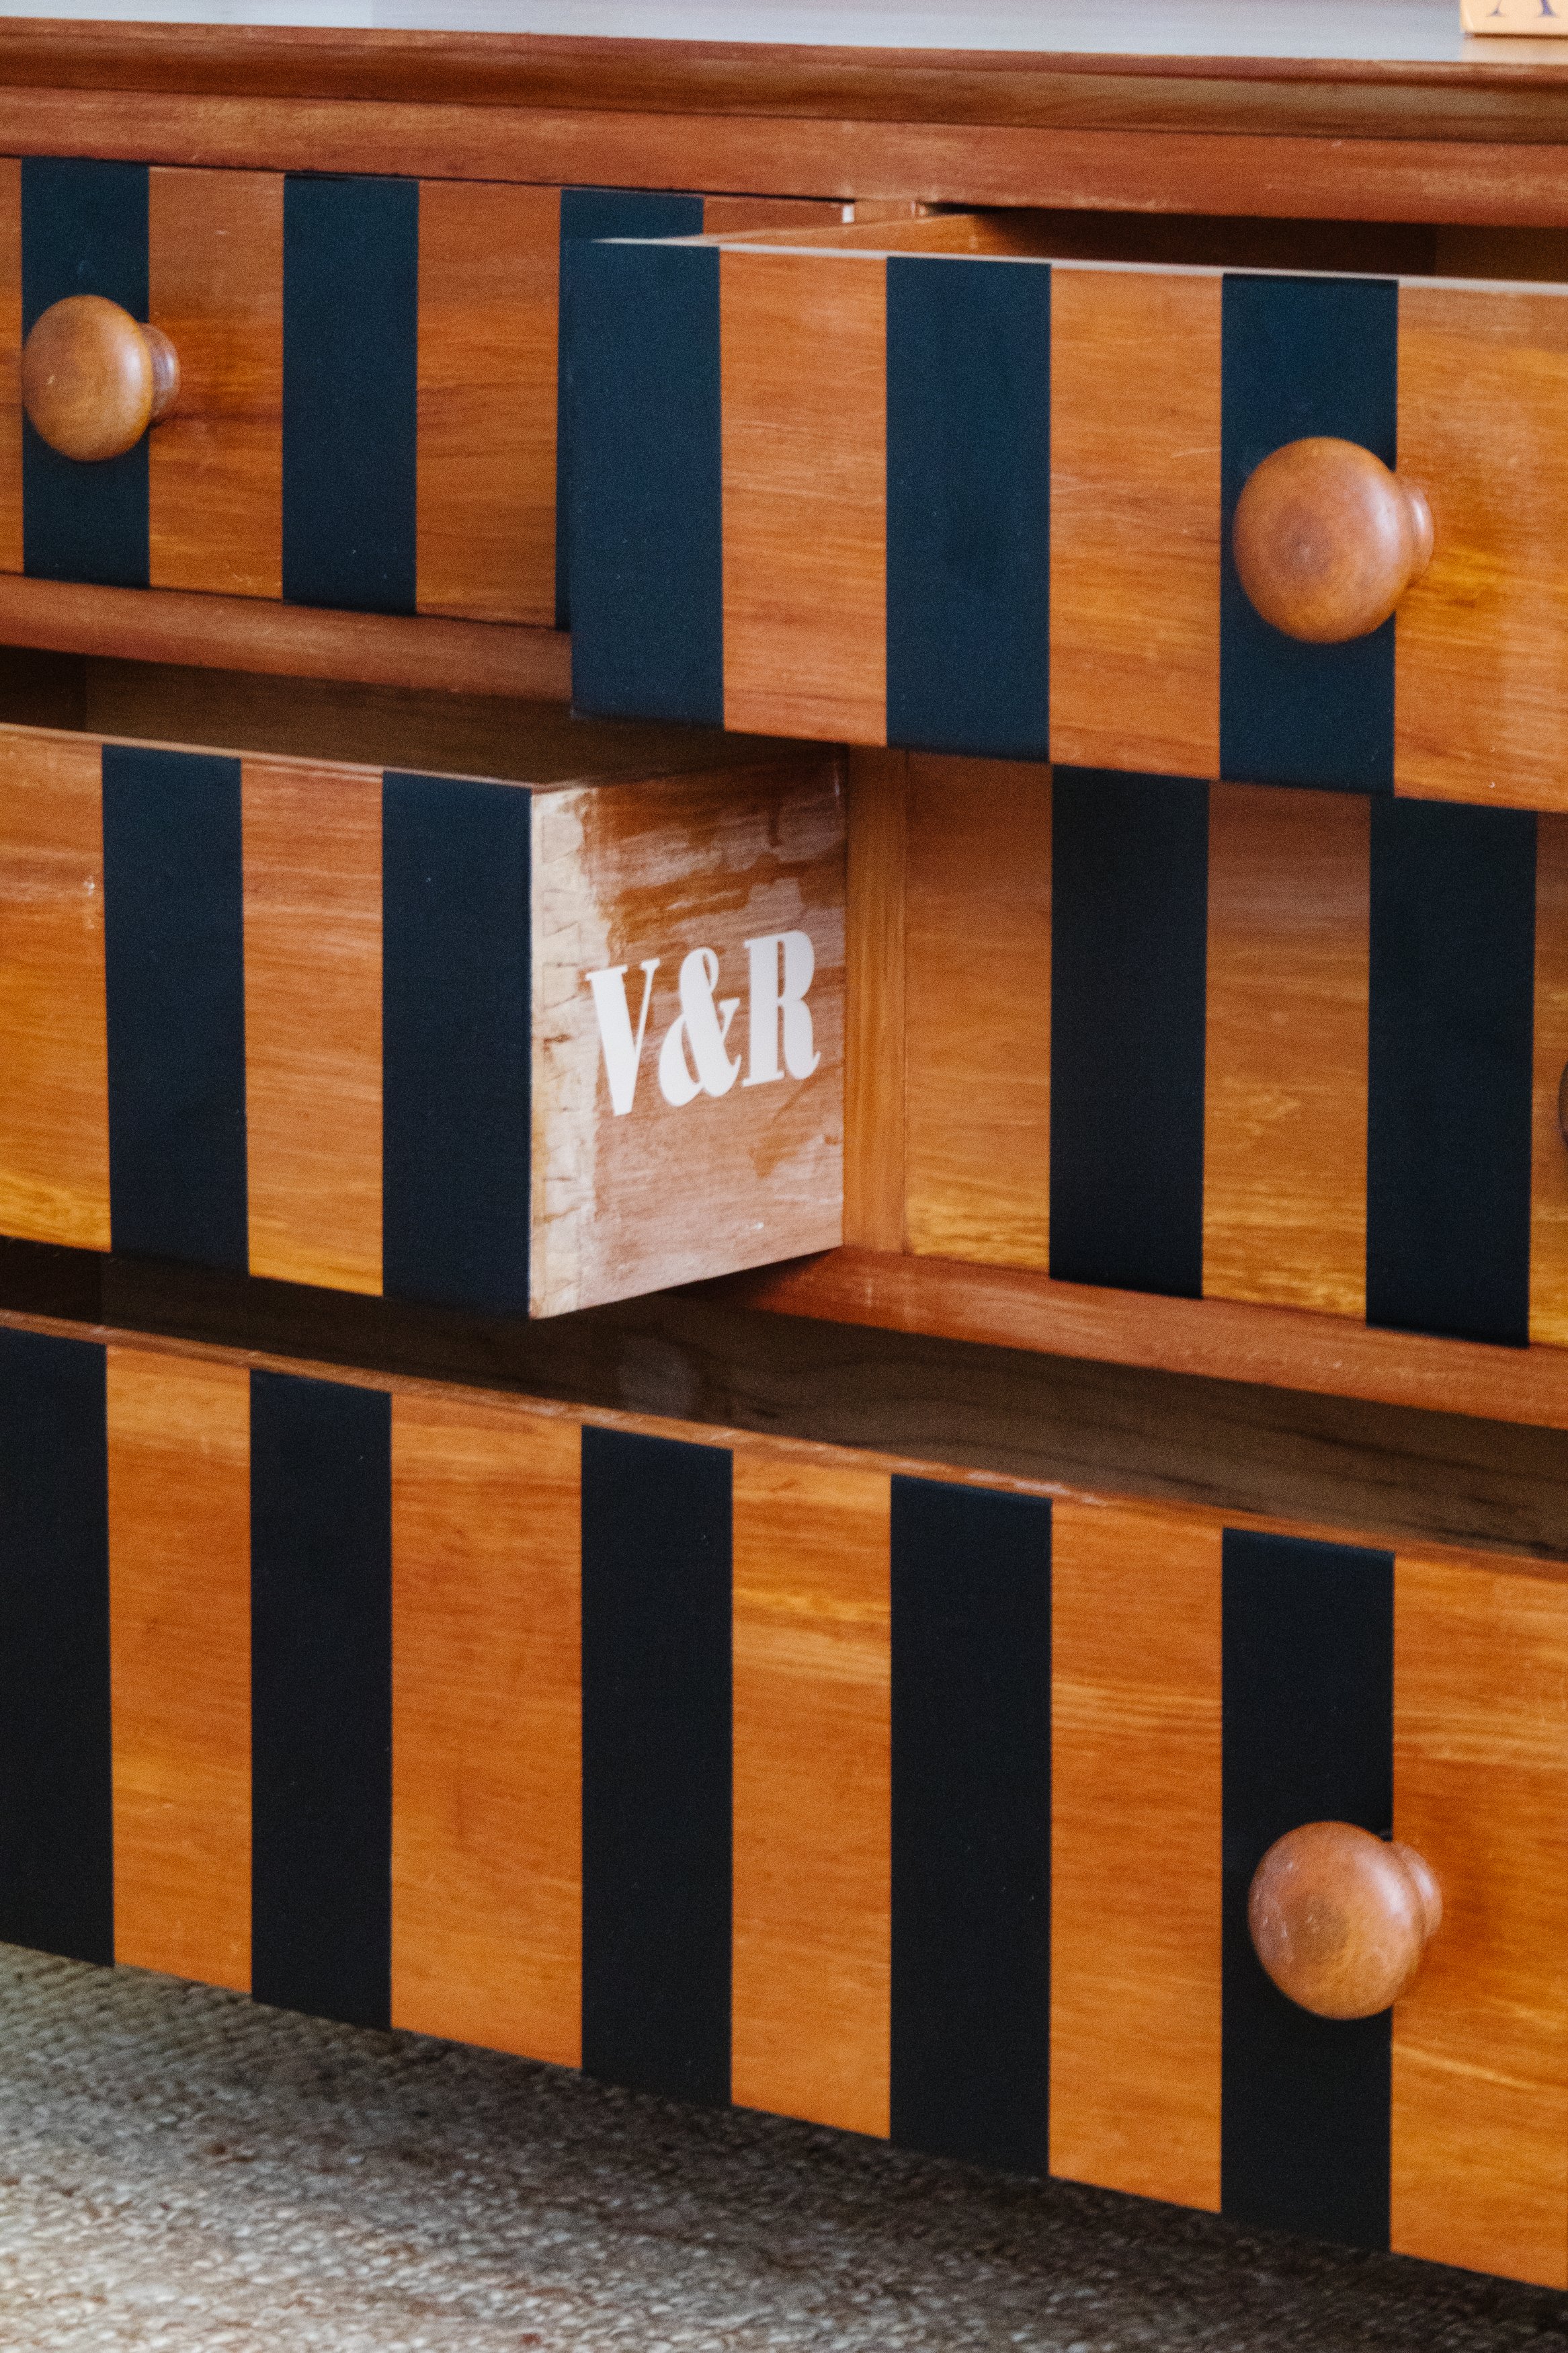
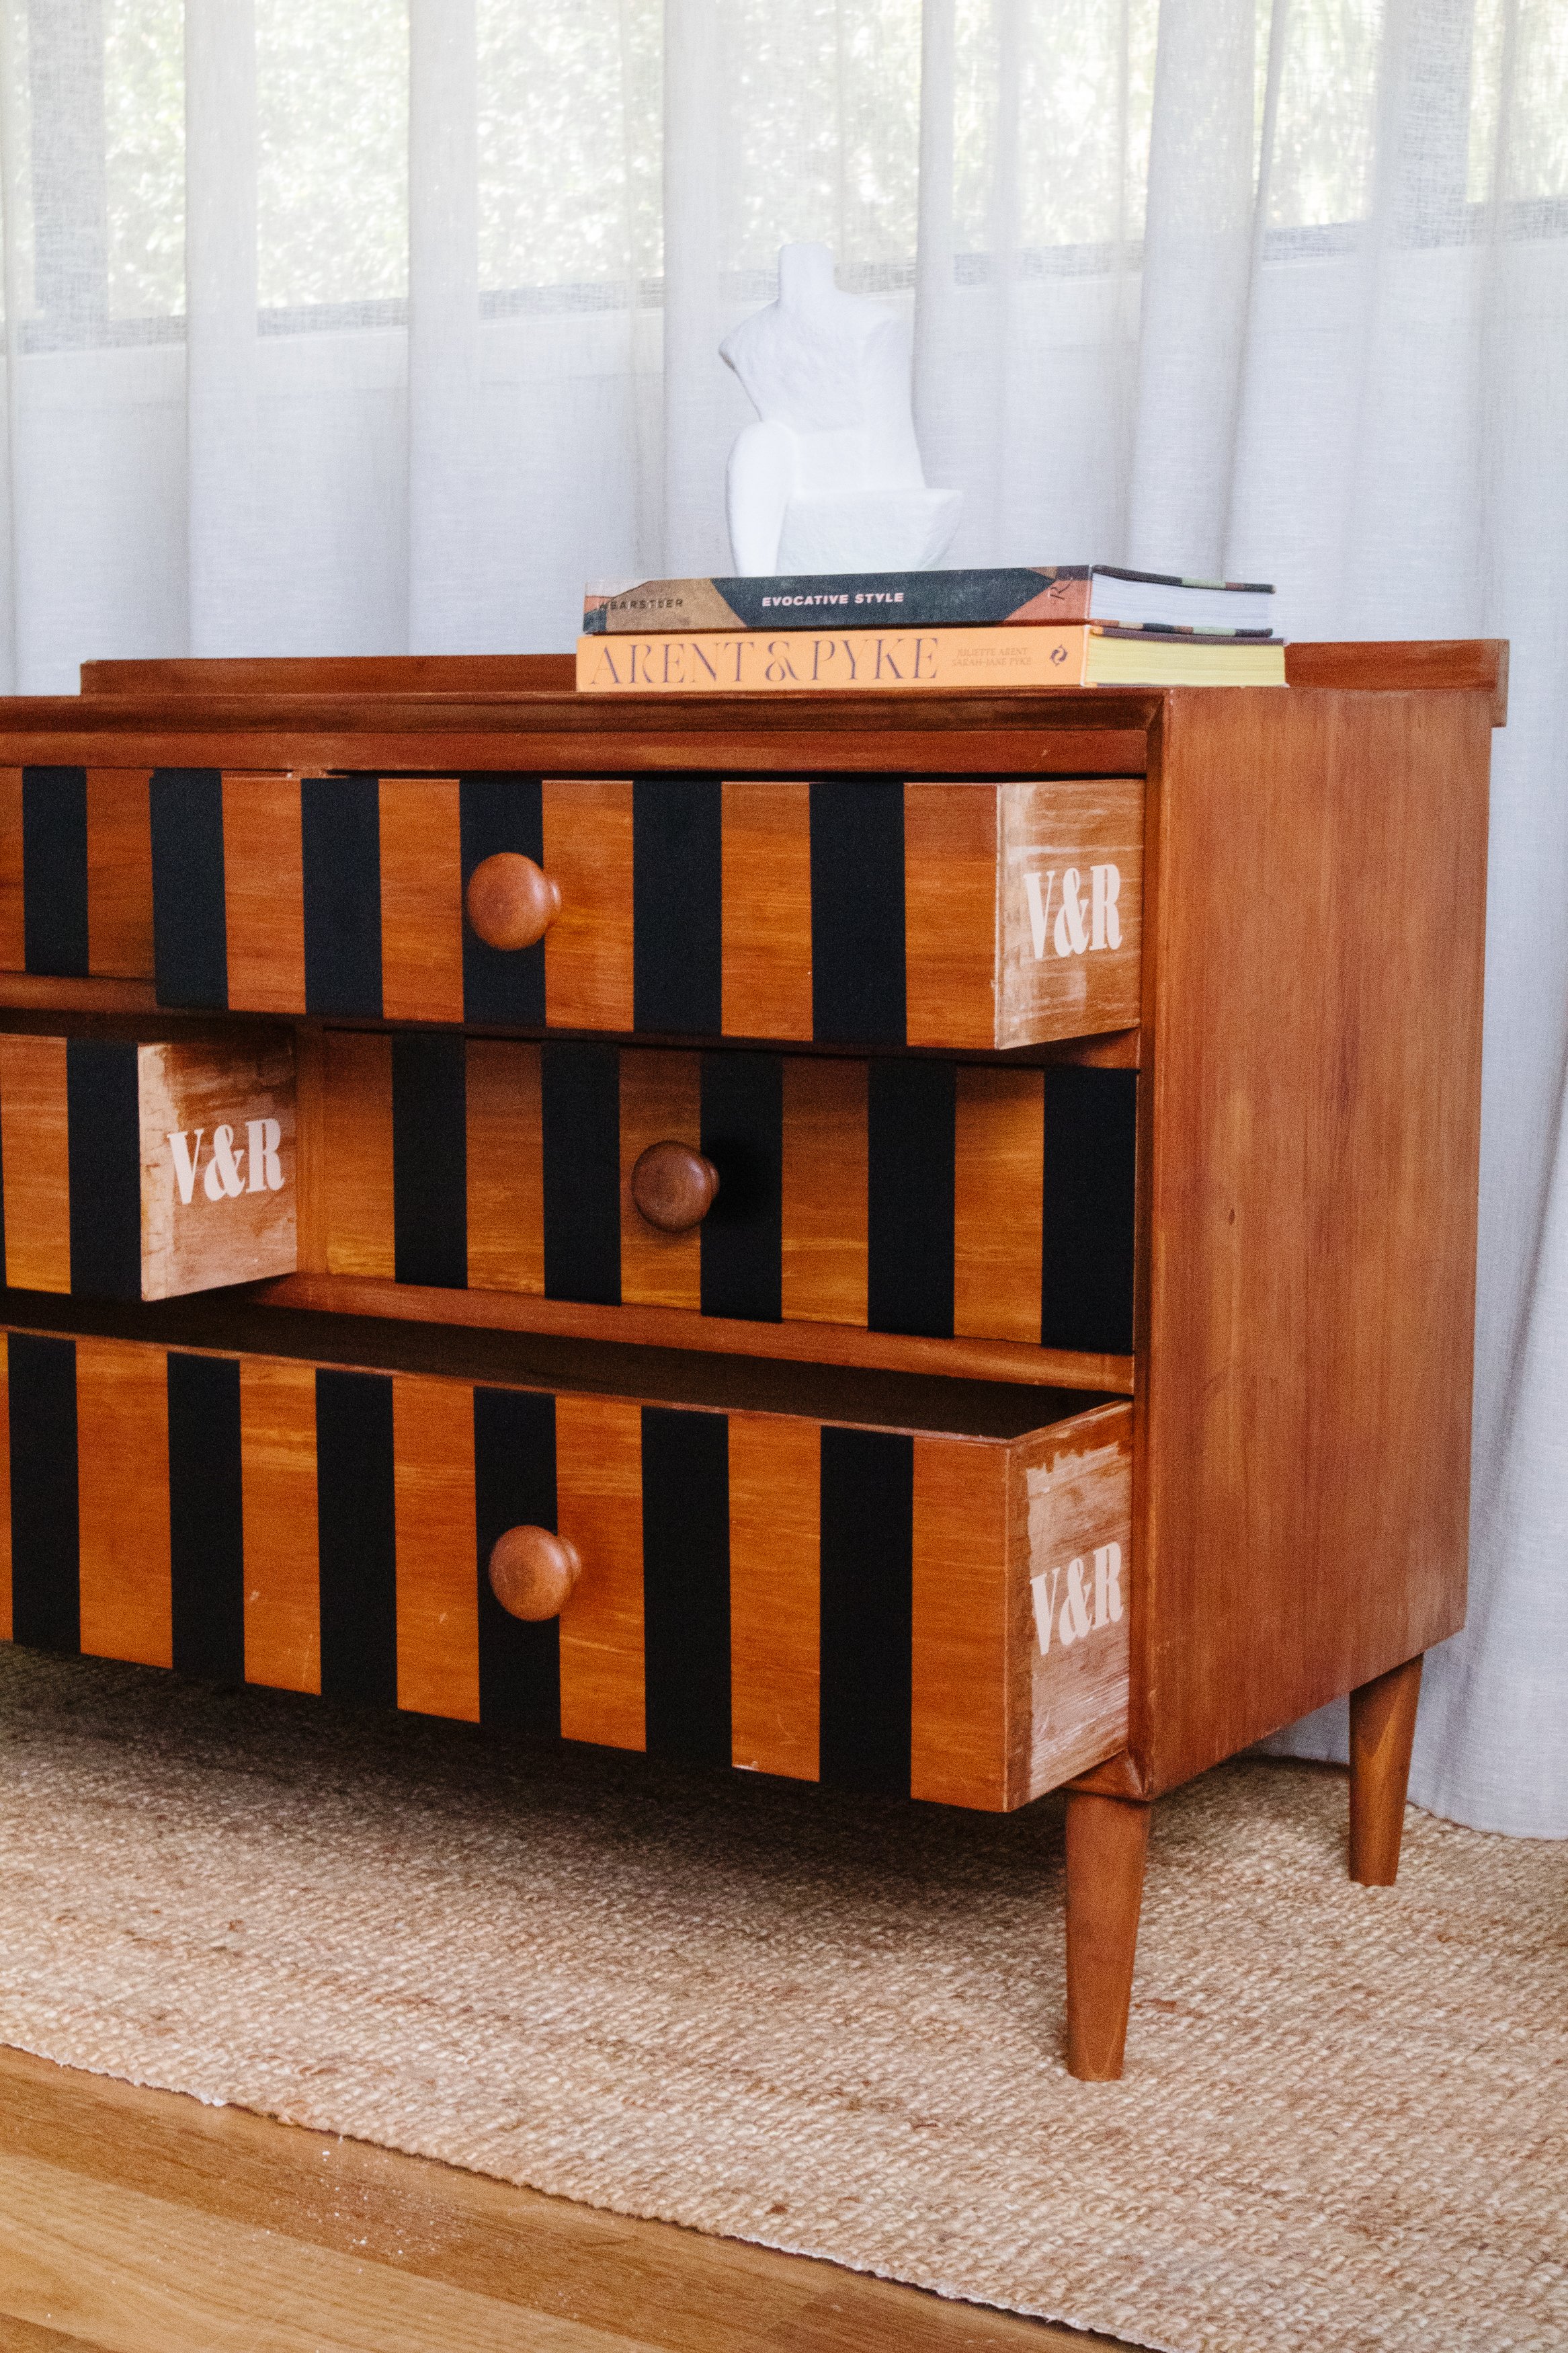
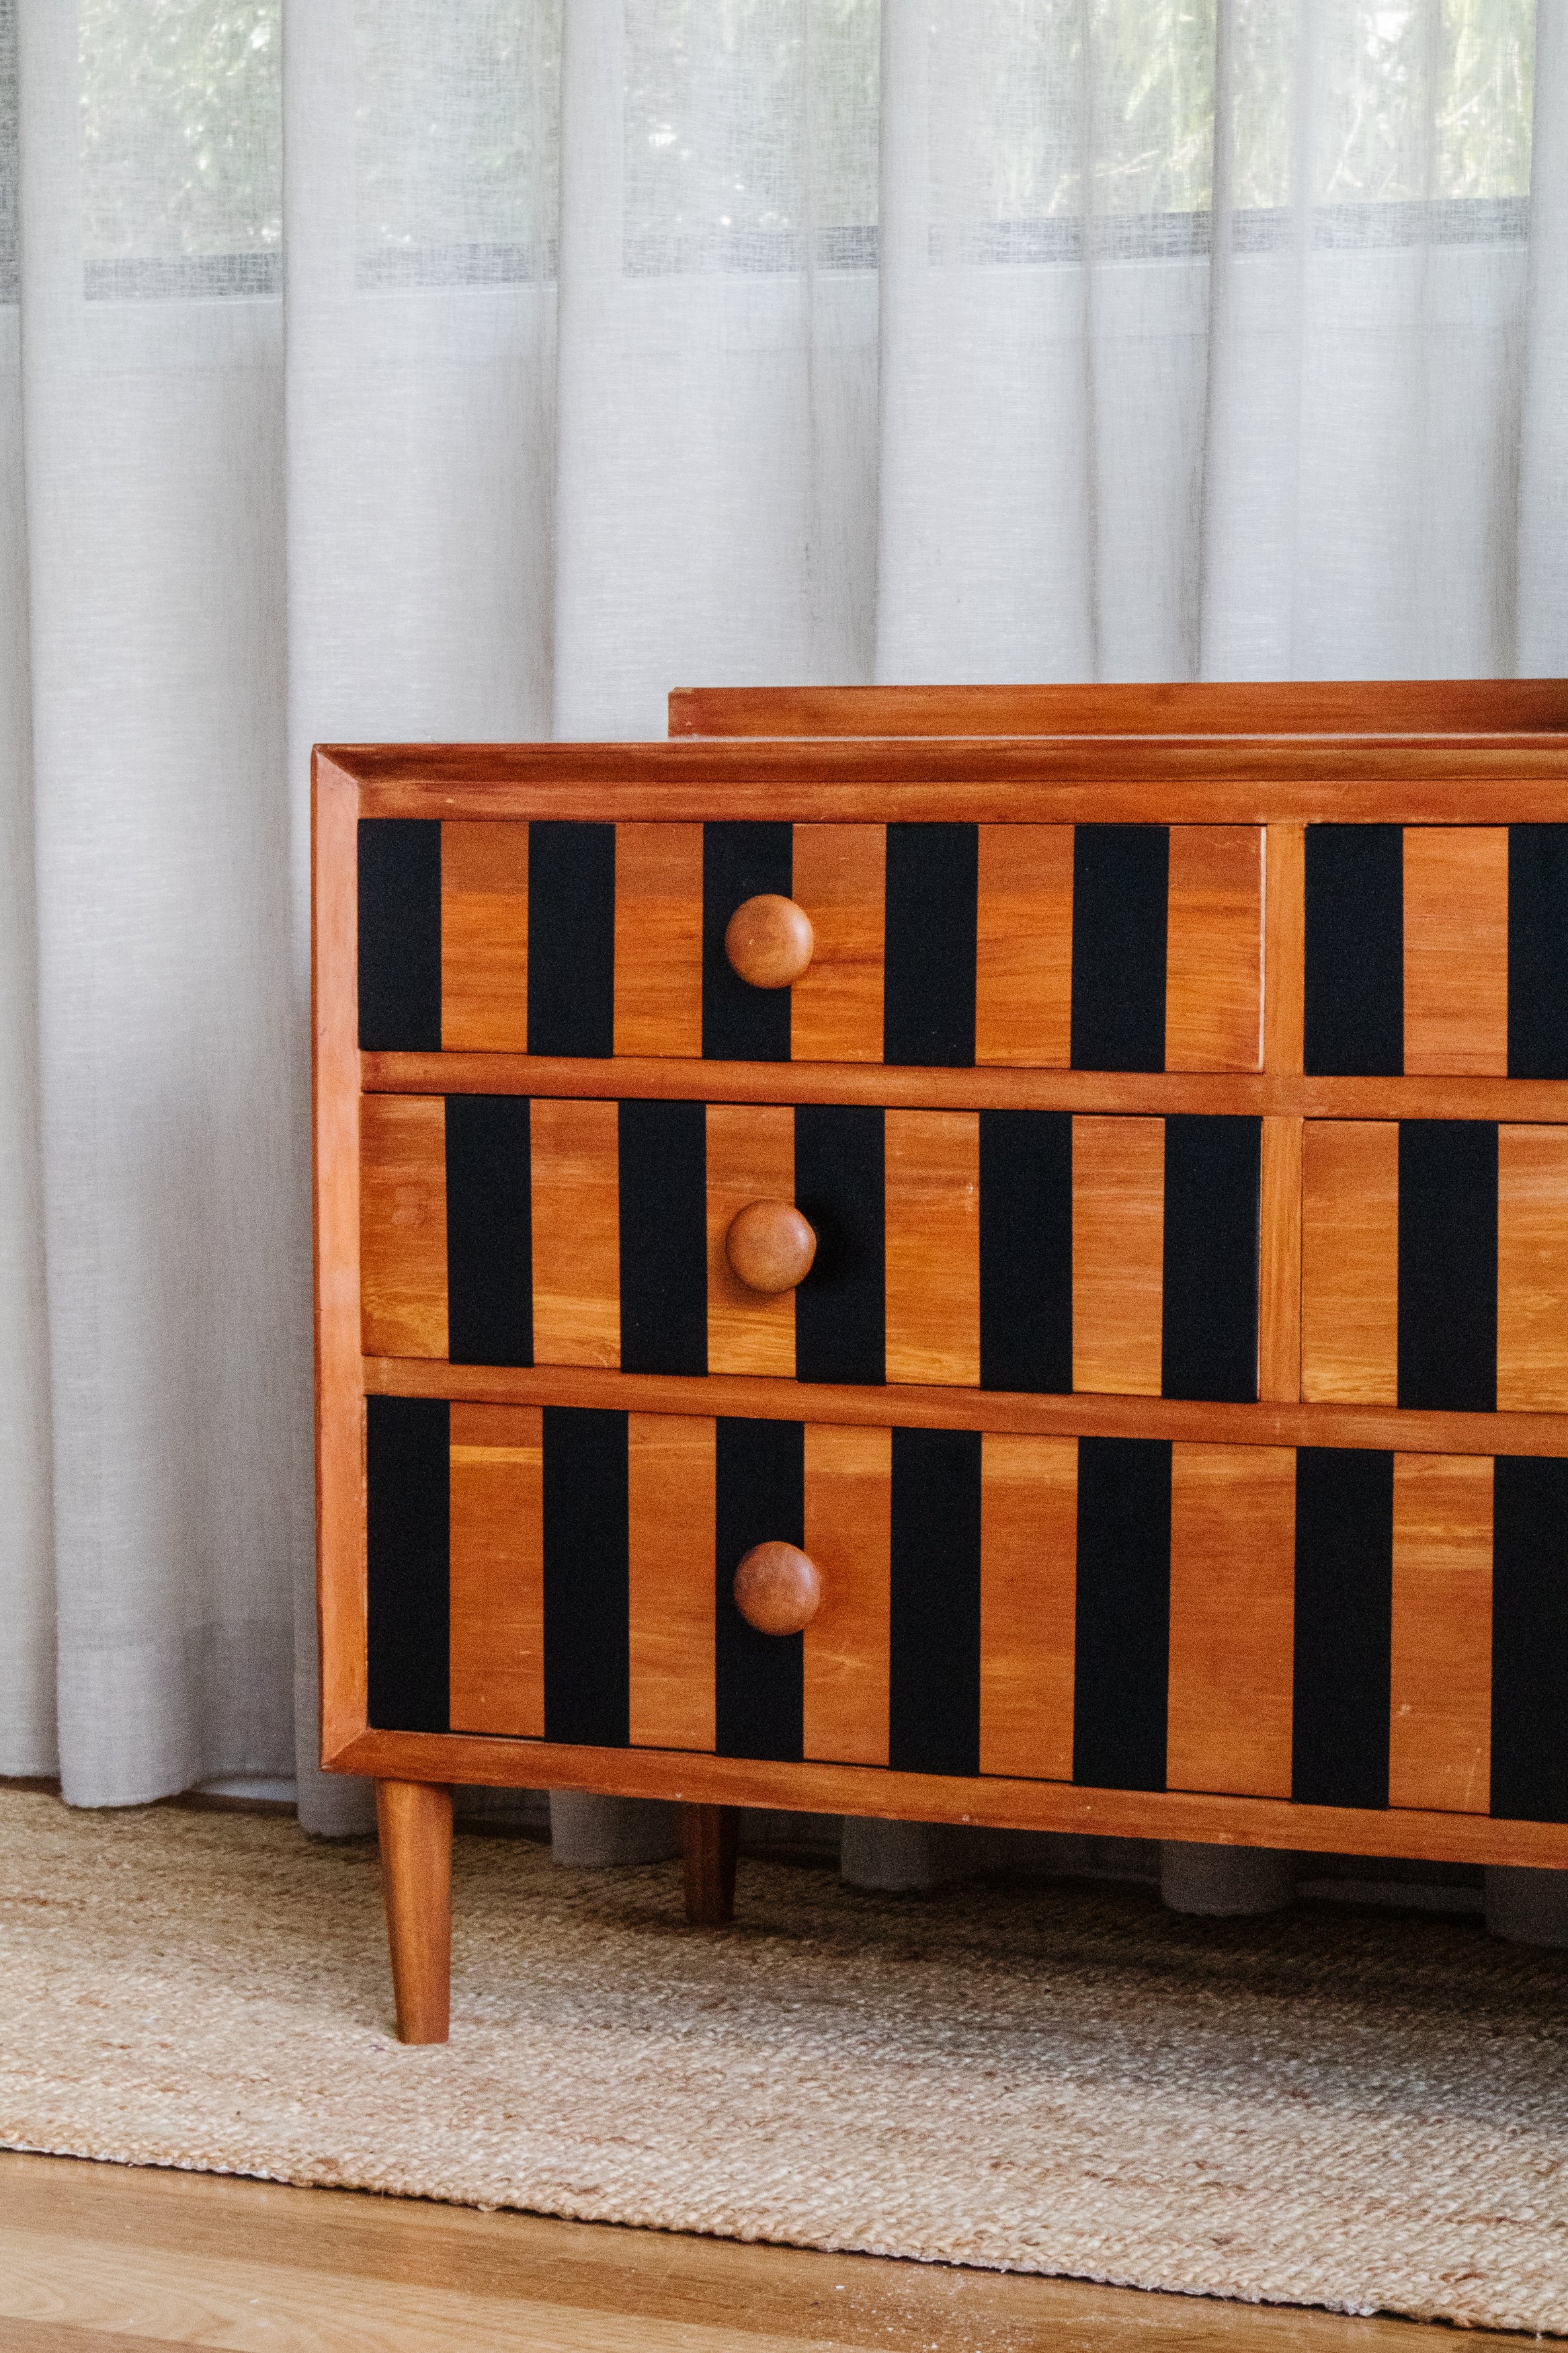
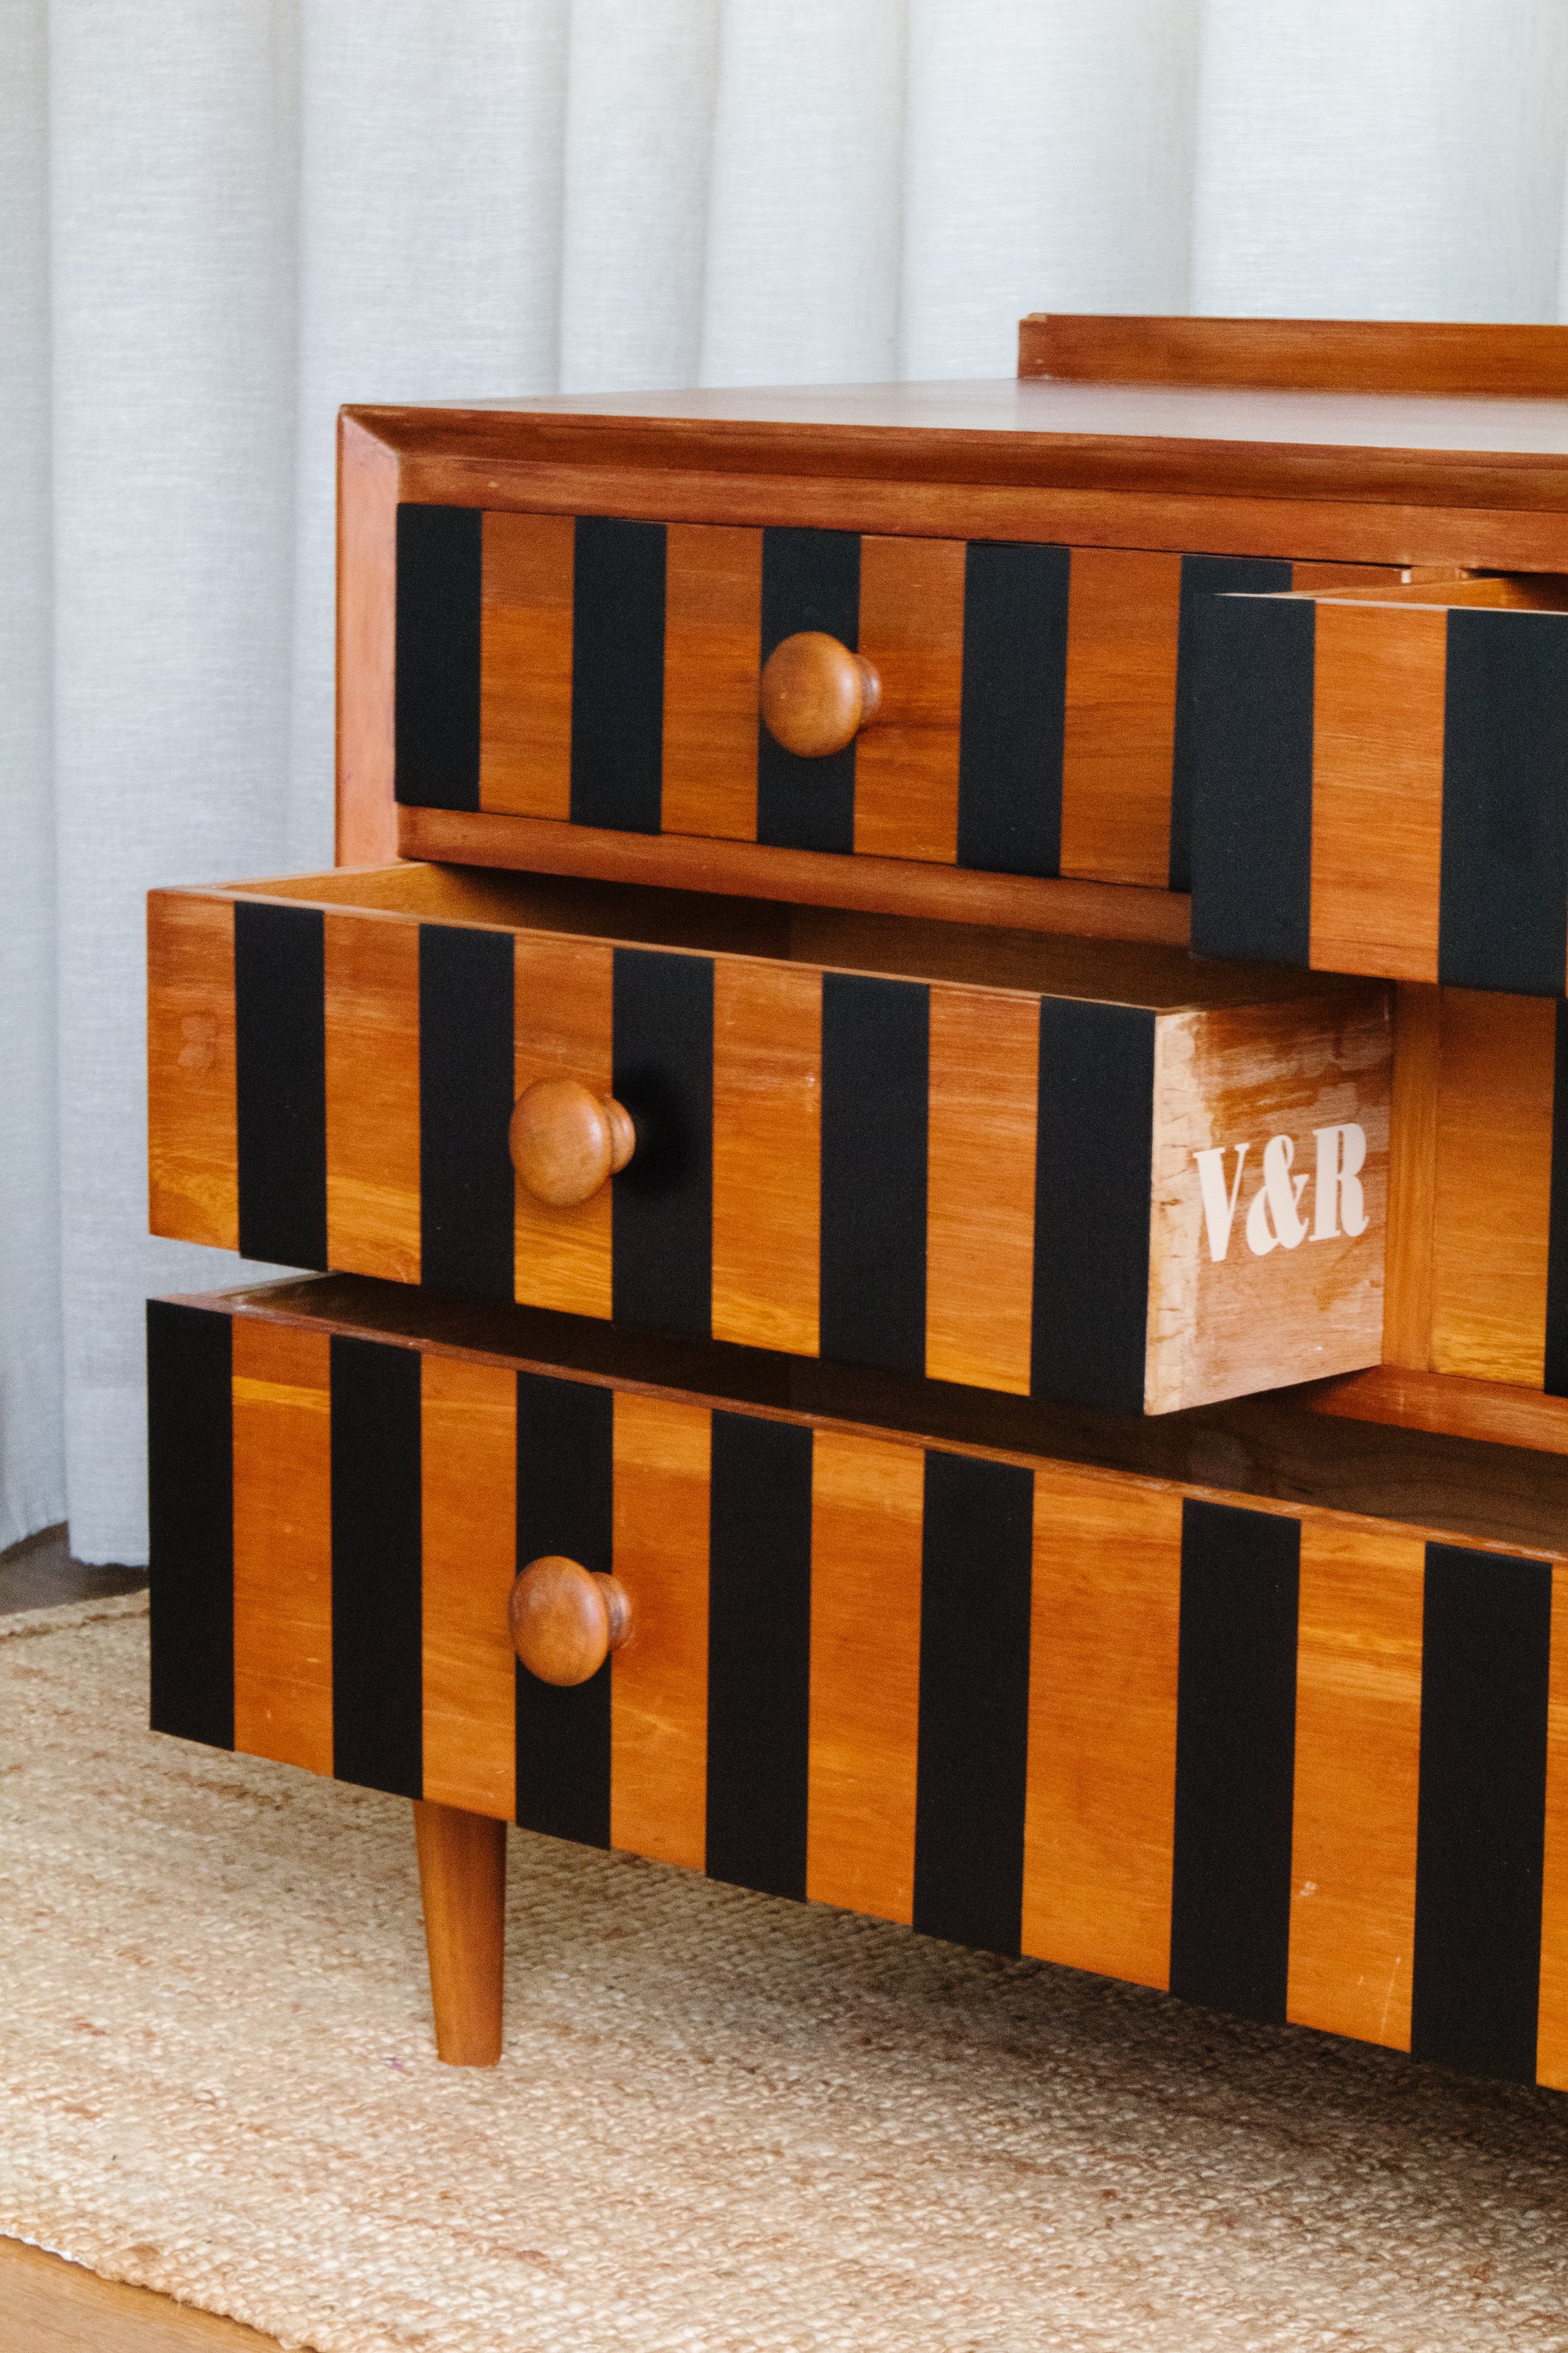
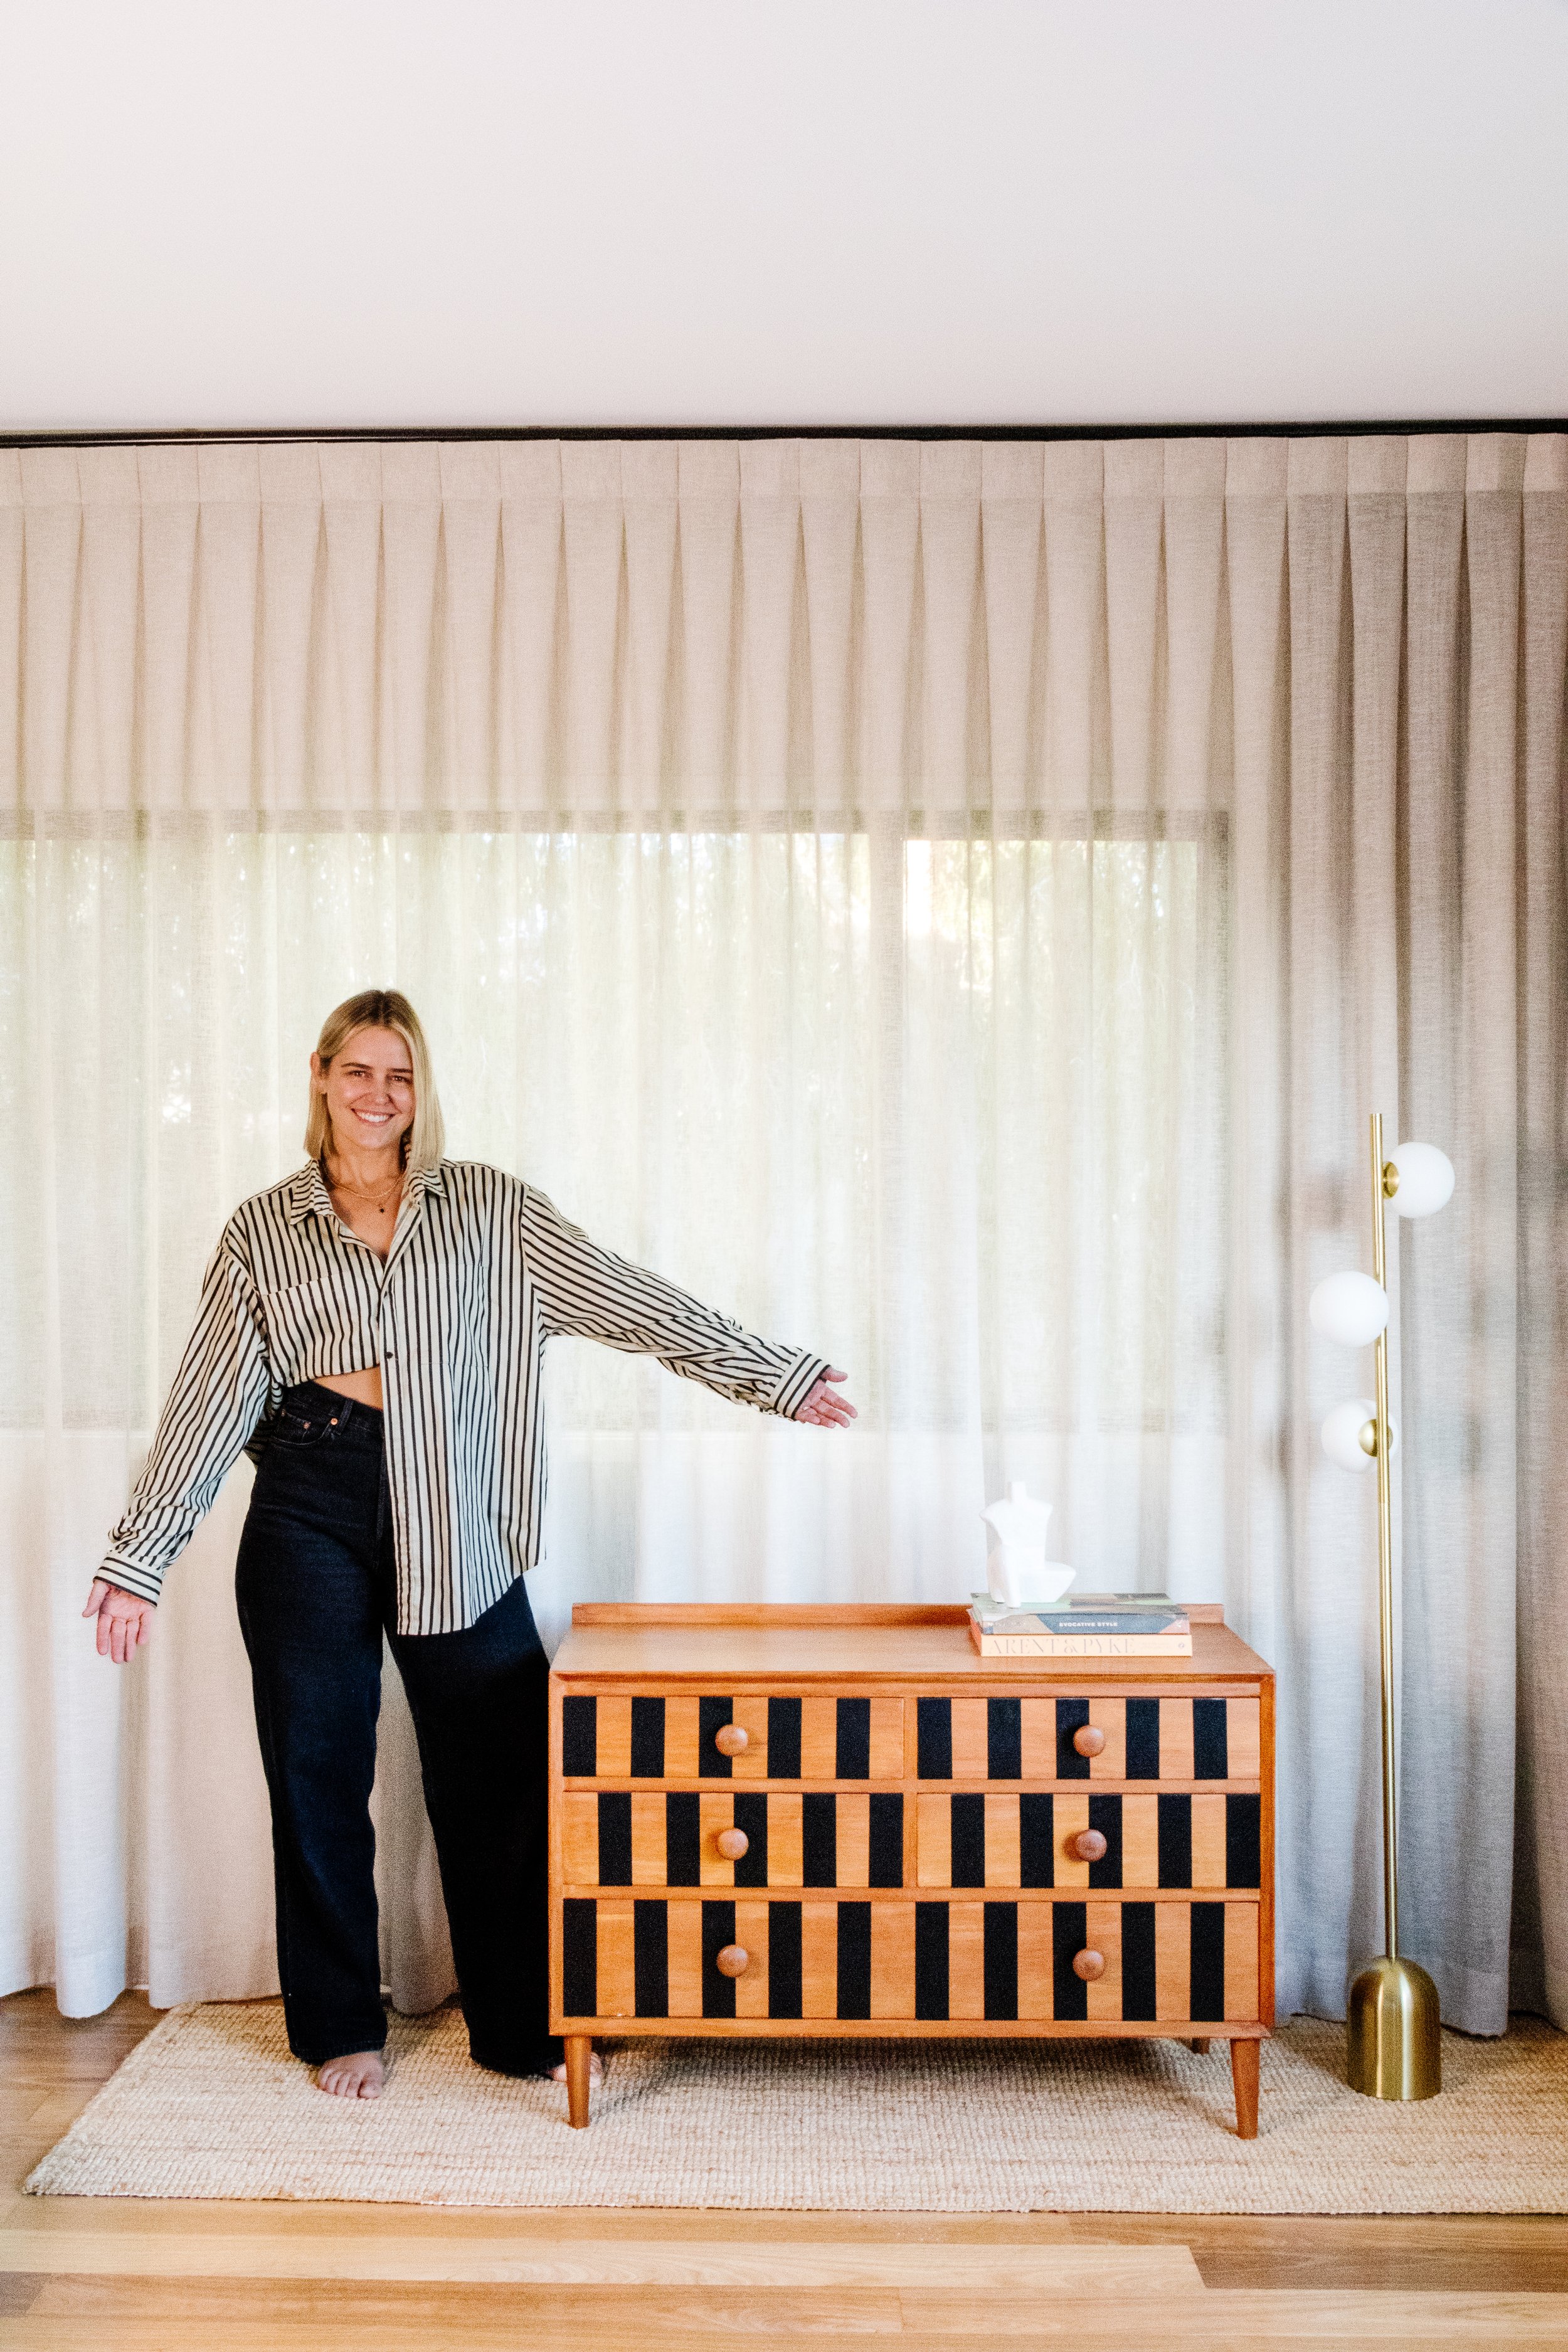
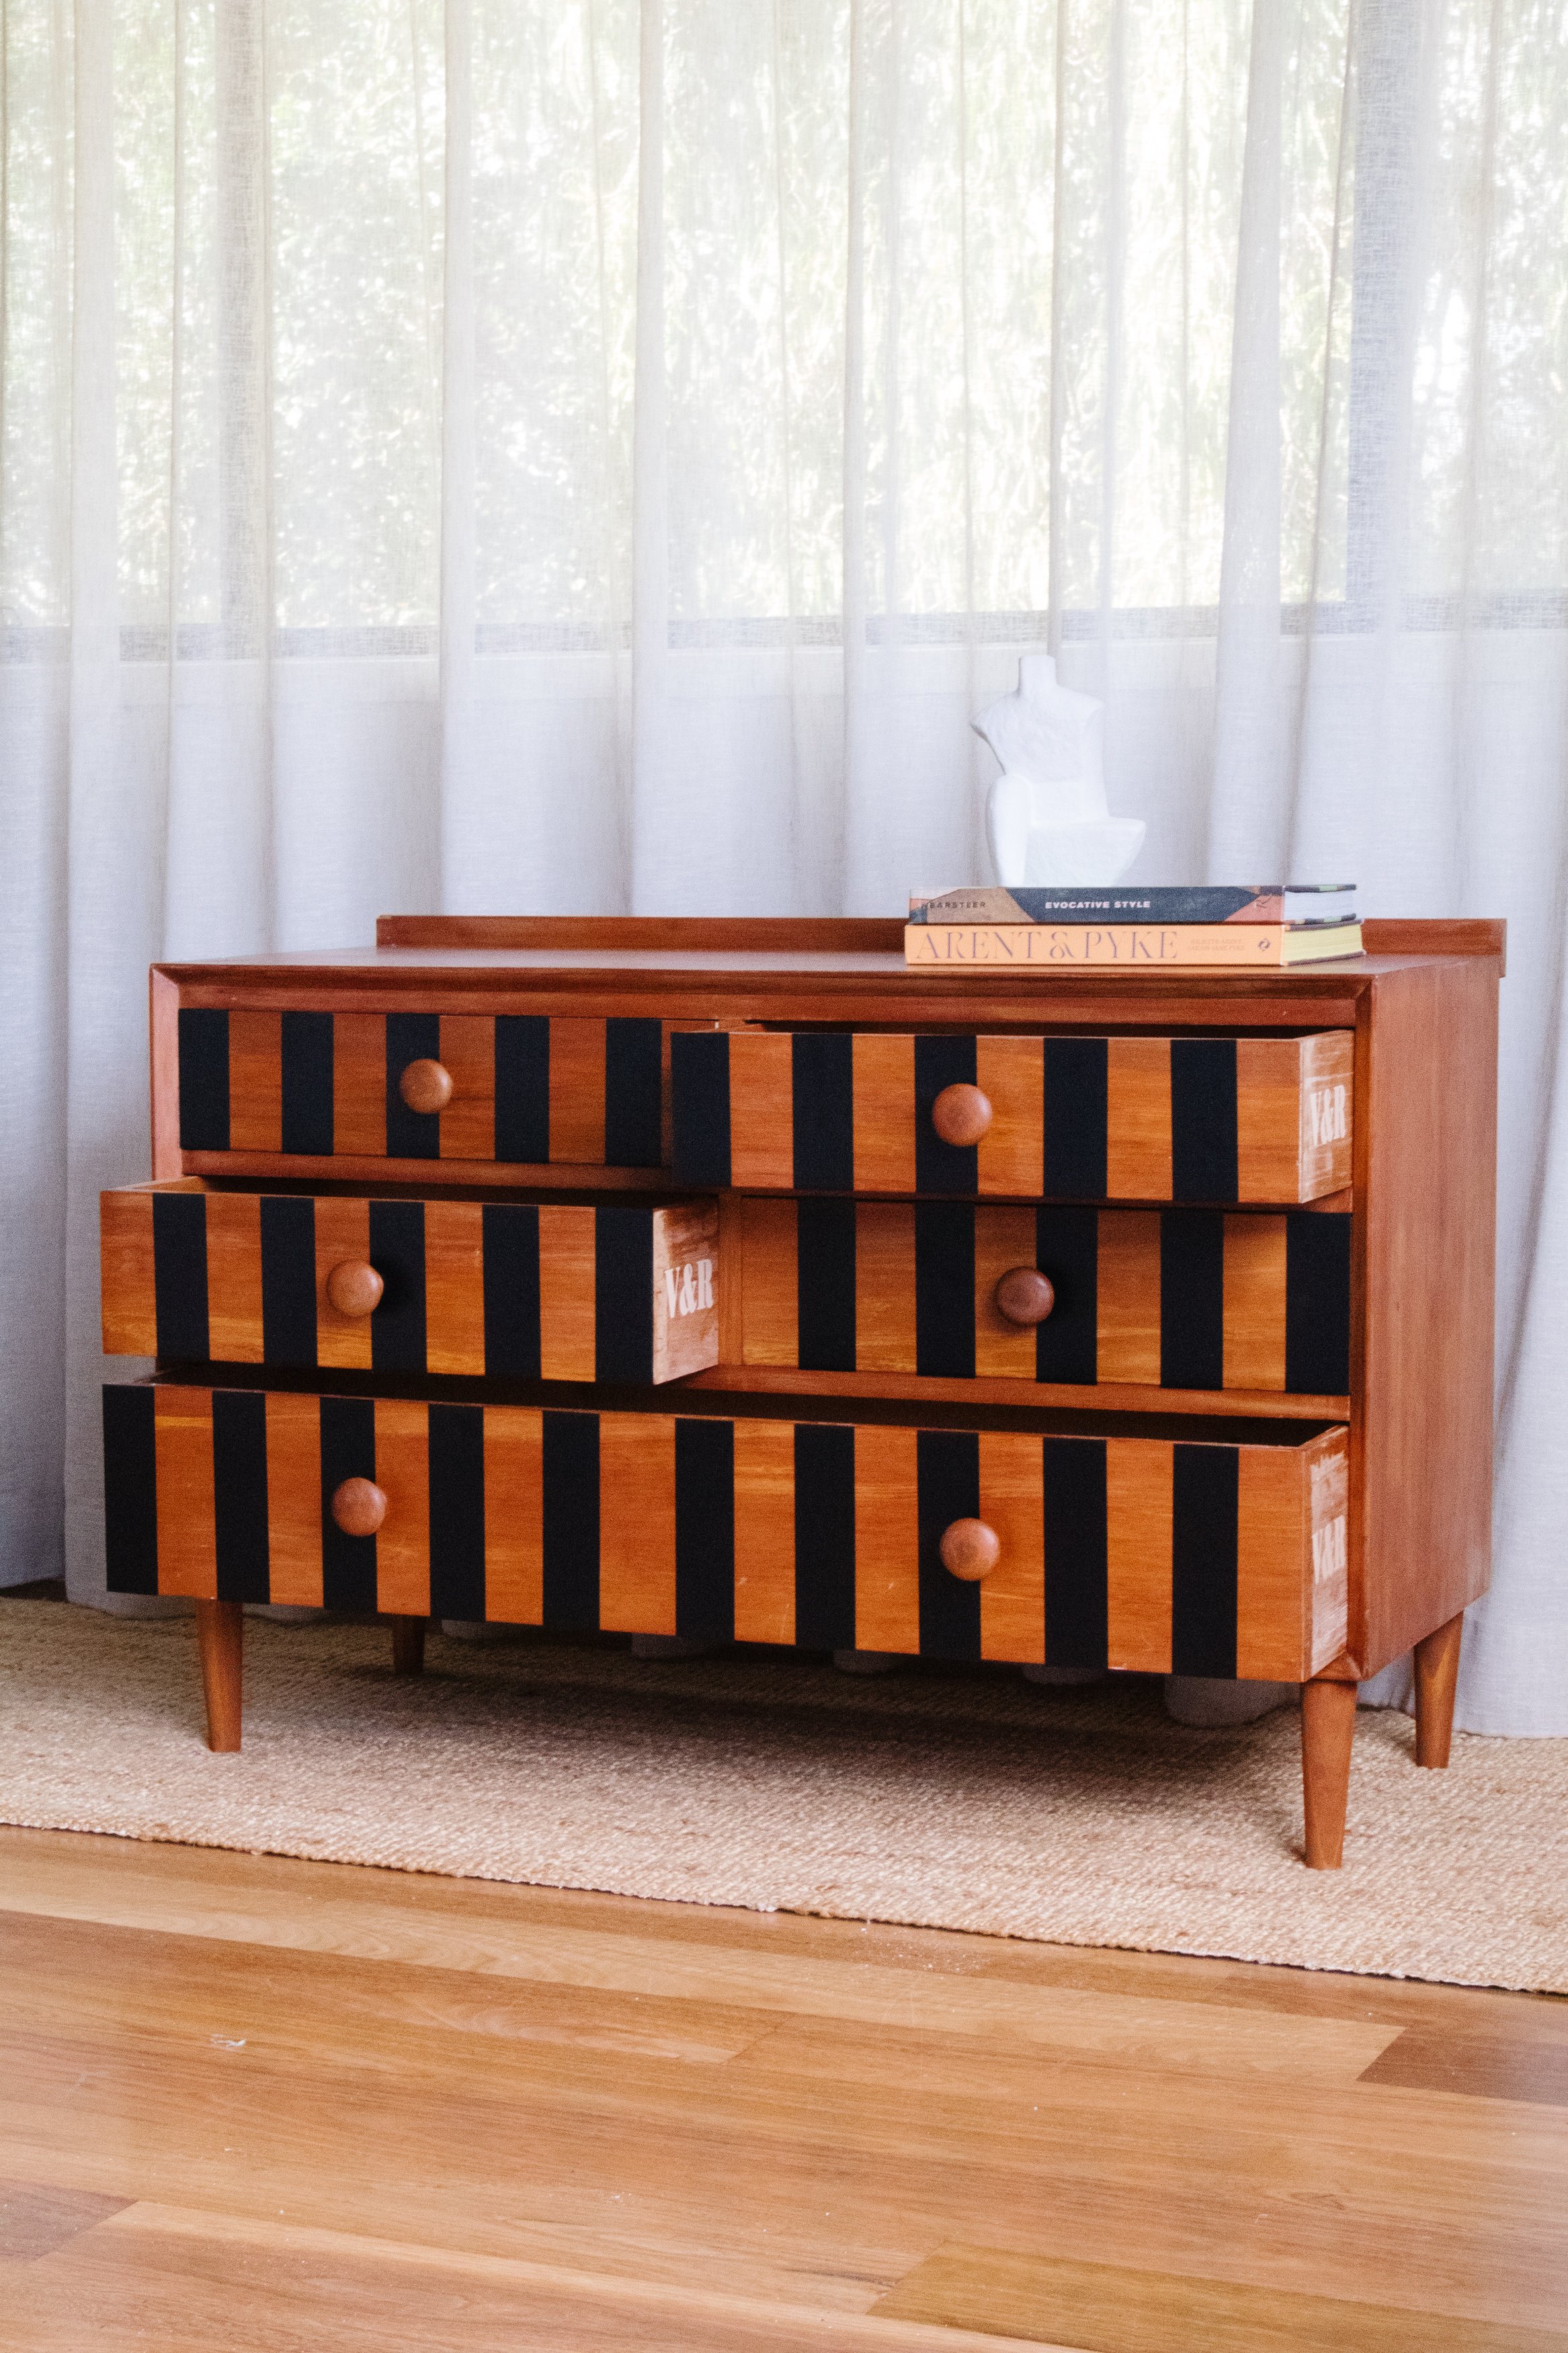
I took inspiration from a Kelly Wearstler console table to create a custom rectangle checker pattern onto the front of the drawers using Cricut’s Smart Vinyl. The vibe I was going for? Mid century modern meets the 90s. I also decided to make this housewarming gift even more special by monogramming my friends' initials using Cricut’s beautiful new Skin Stones Vinyl onto the sides of the drawers to highlight the stunning half-blind dovetail joinery. I added new timber furniture feet, which I stained and used angle leg plates to give them that renowned mid century modern look.
And there you have it! I’d love to know what you think? I’m so excited to give Vanessa and Richard their housewarming gift, so stay tuned. Read on for the tutorial and make sure you check out all my Cricut projects here.
To see this project come to life watch this video.
Before & After
Project Details
♻️ Making: Upcycled Mid Century Drawers
🕒 Project Time Estimate: 2 hours
💰 Materials Cost: $100
Materials
4 x Wooden furniture legs
Timber stain
Angle leg plates
Tools
Sugar soap
2 x Microfibre cloth
How To: Find the perfect piece of furniture for this project
If you are inspired to recreate this project (which I hope you are) I recommend looking for a piece of furniture that is mid century modern in design, has flat sides and 90° corners. Avoid anything curvy, cottage or farmhouse because it won’t suit the application or the design of the rectangular checker pattern.
How To
Step 1: To begin with I dusted and cleaned the drawers using sugar soap and a microfibre cloth. The drawers were in excellent condition, so I did not have to worry about filling in any scratches or staining any sections which was nice because often my projects require this!
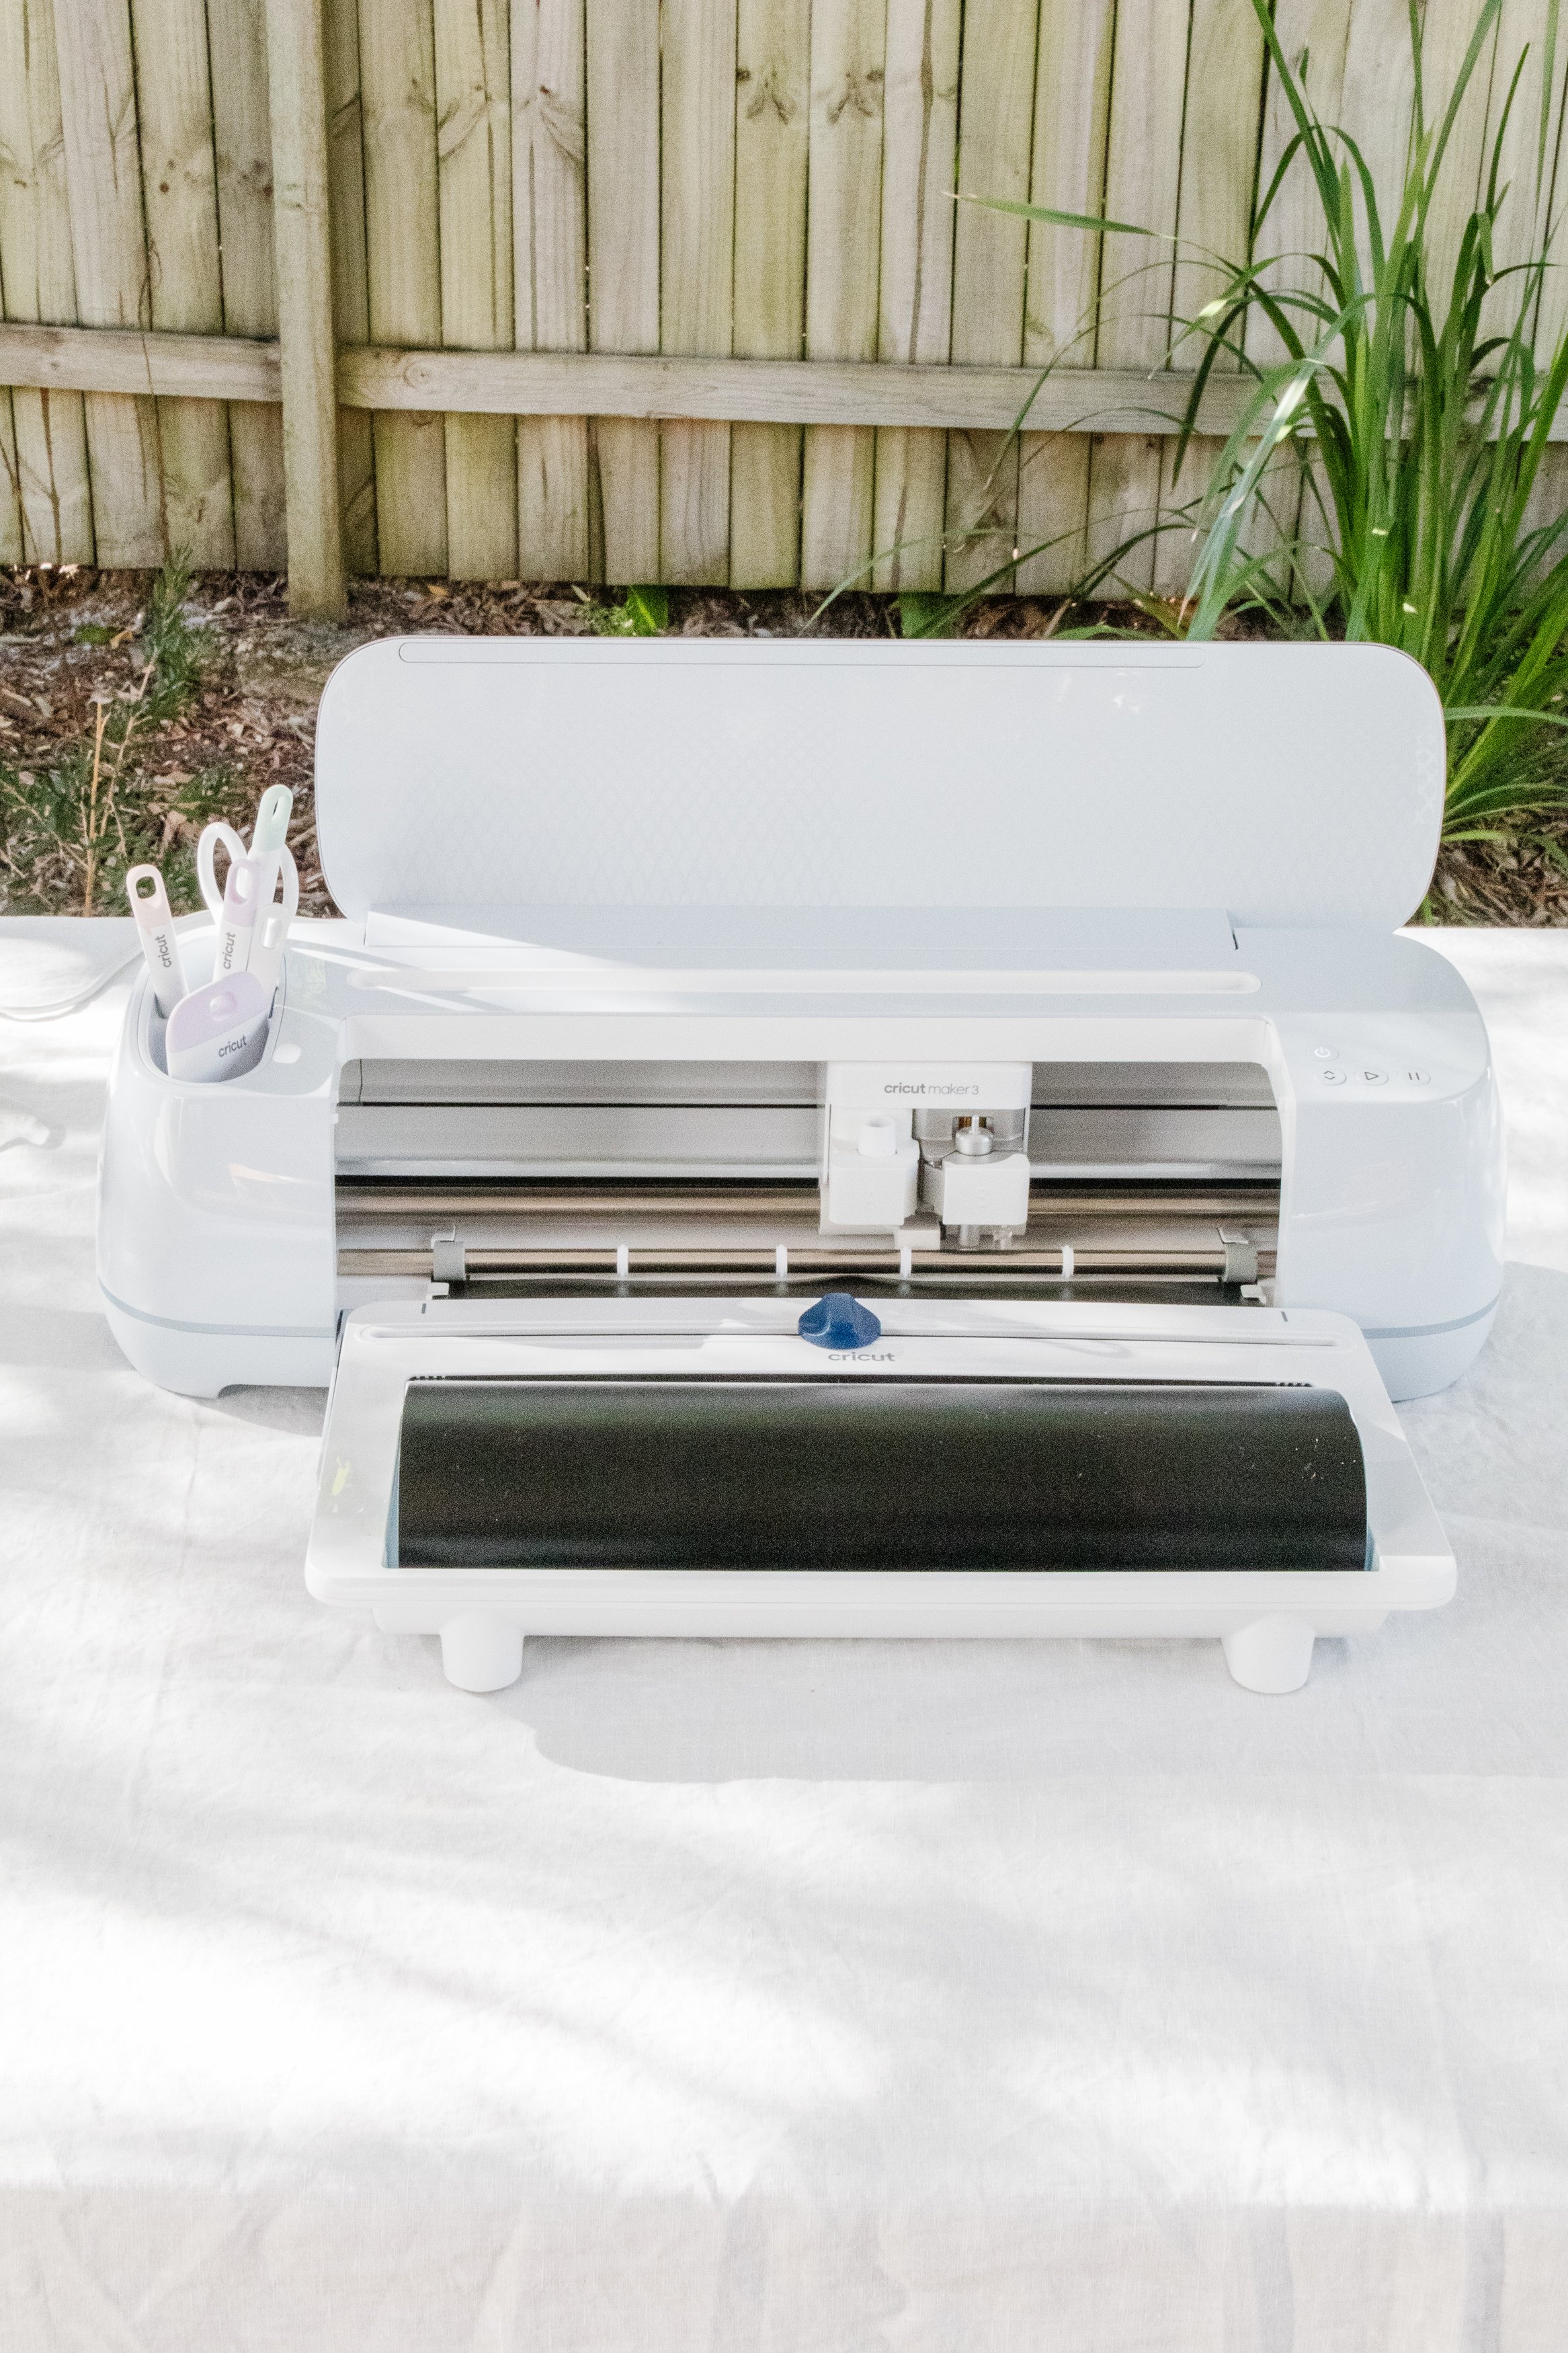
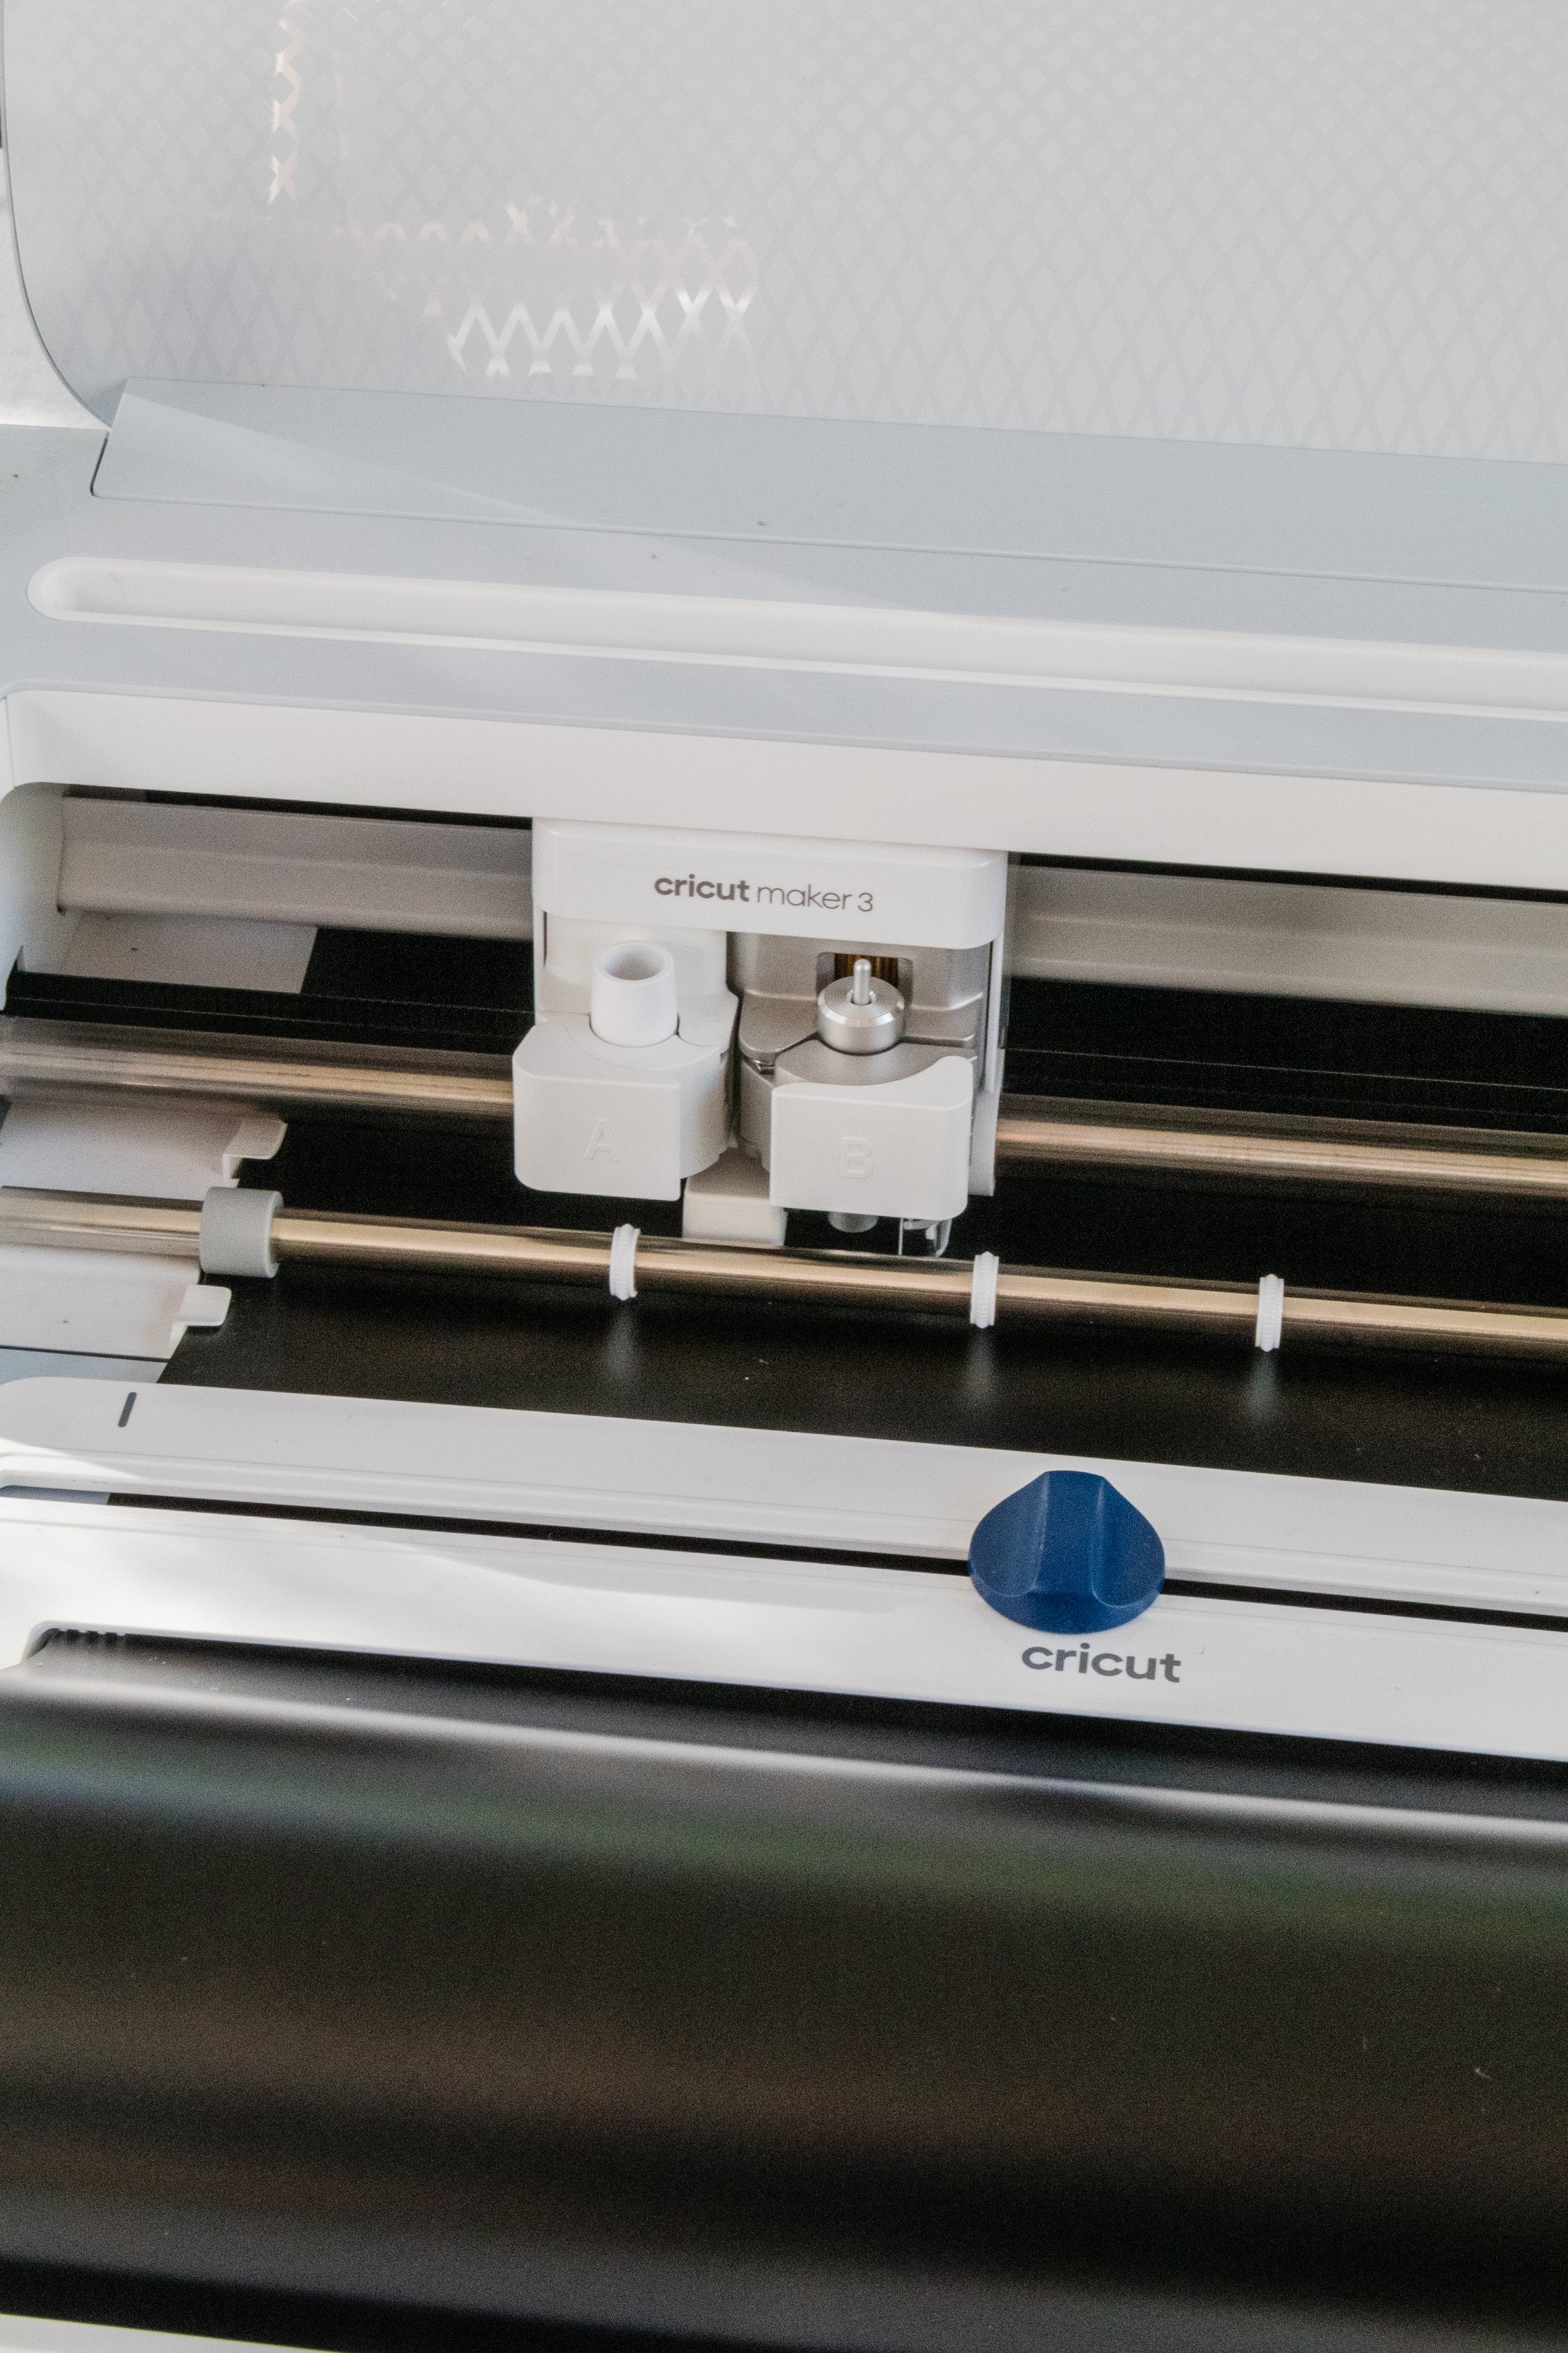
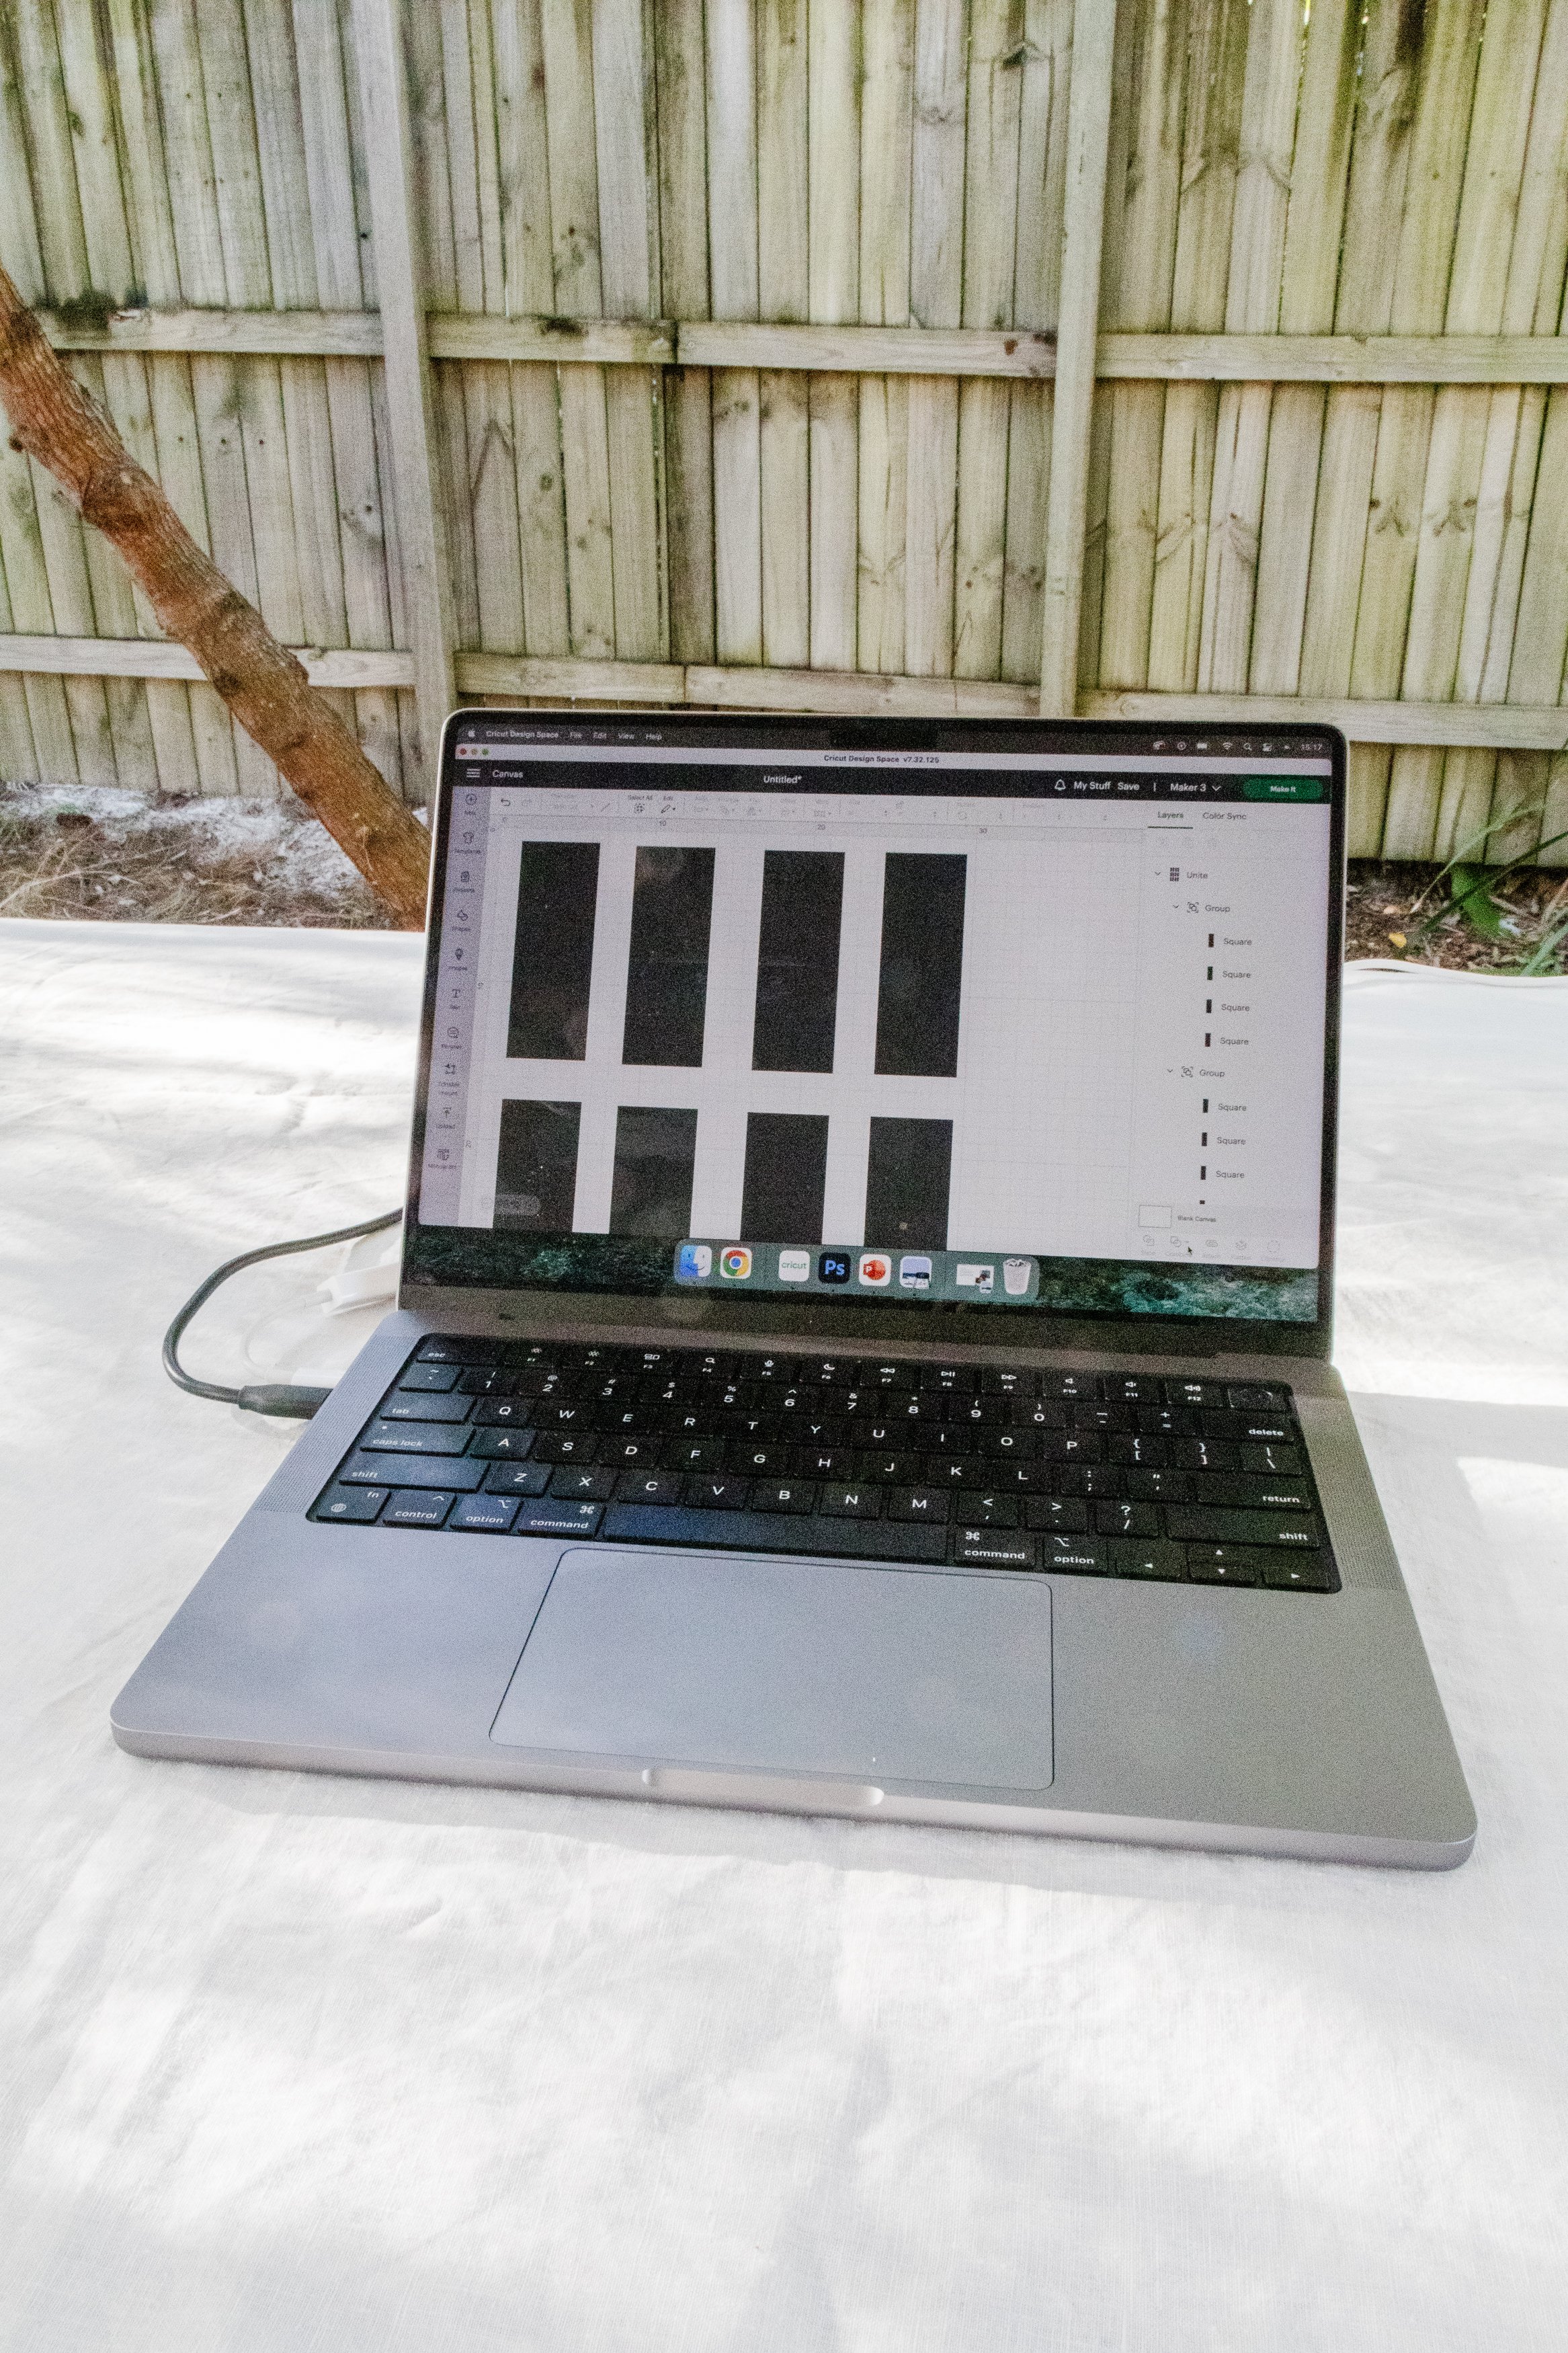
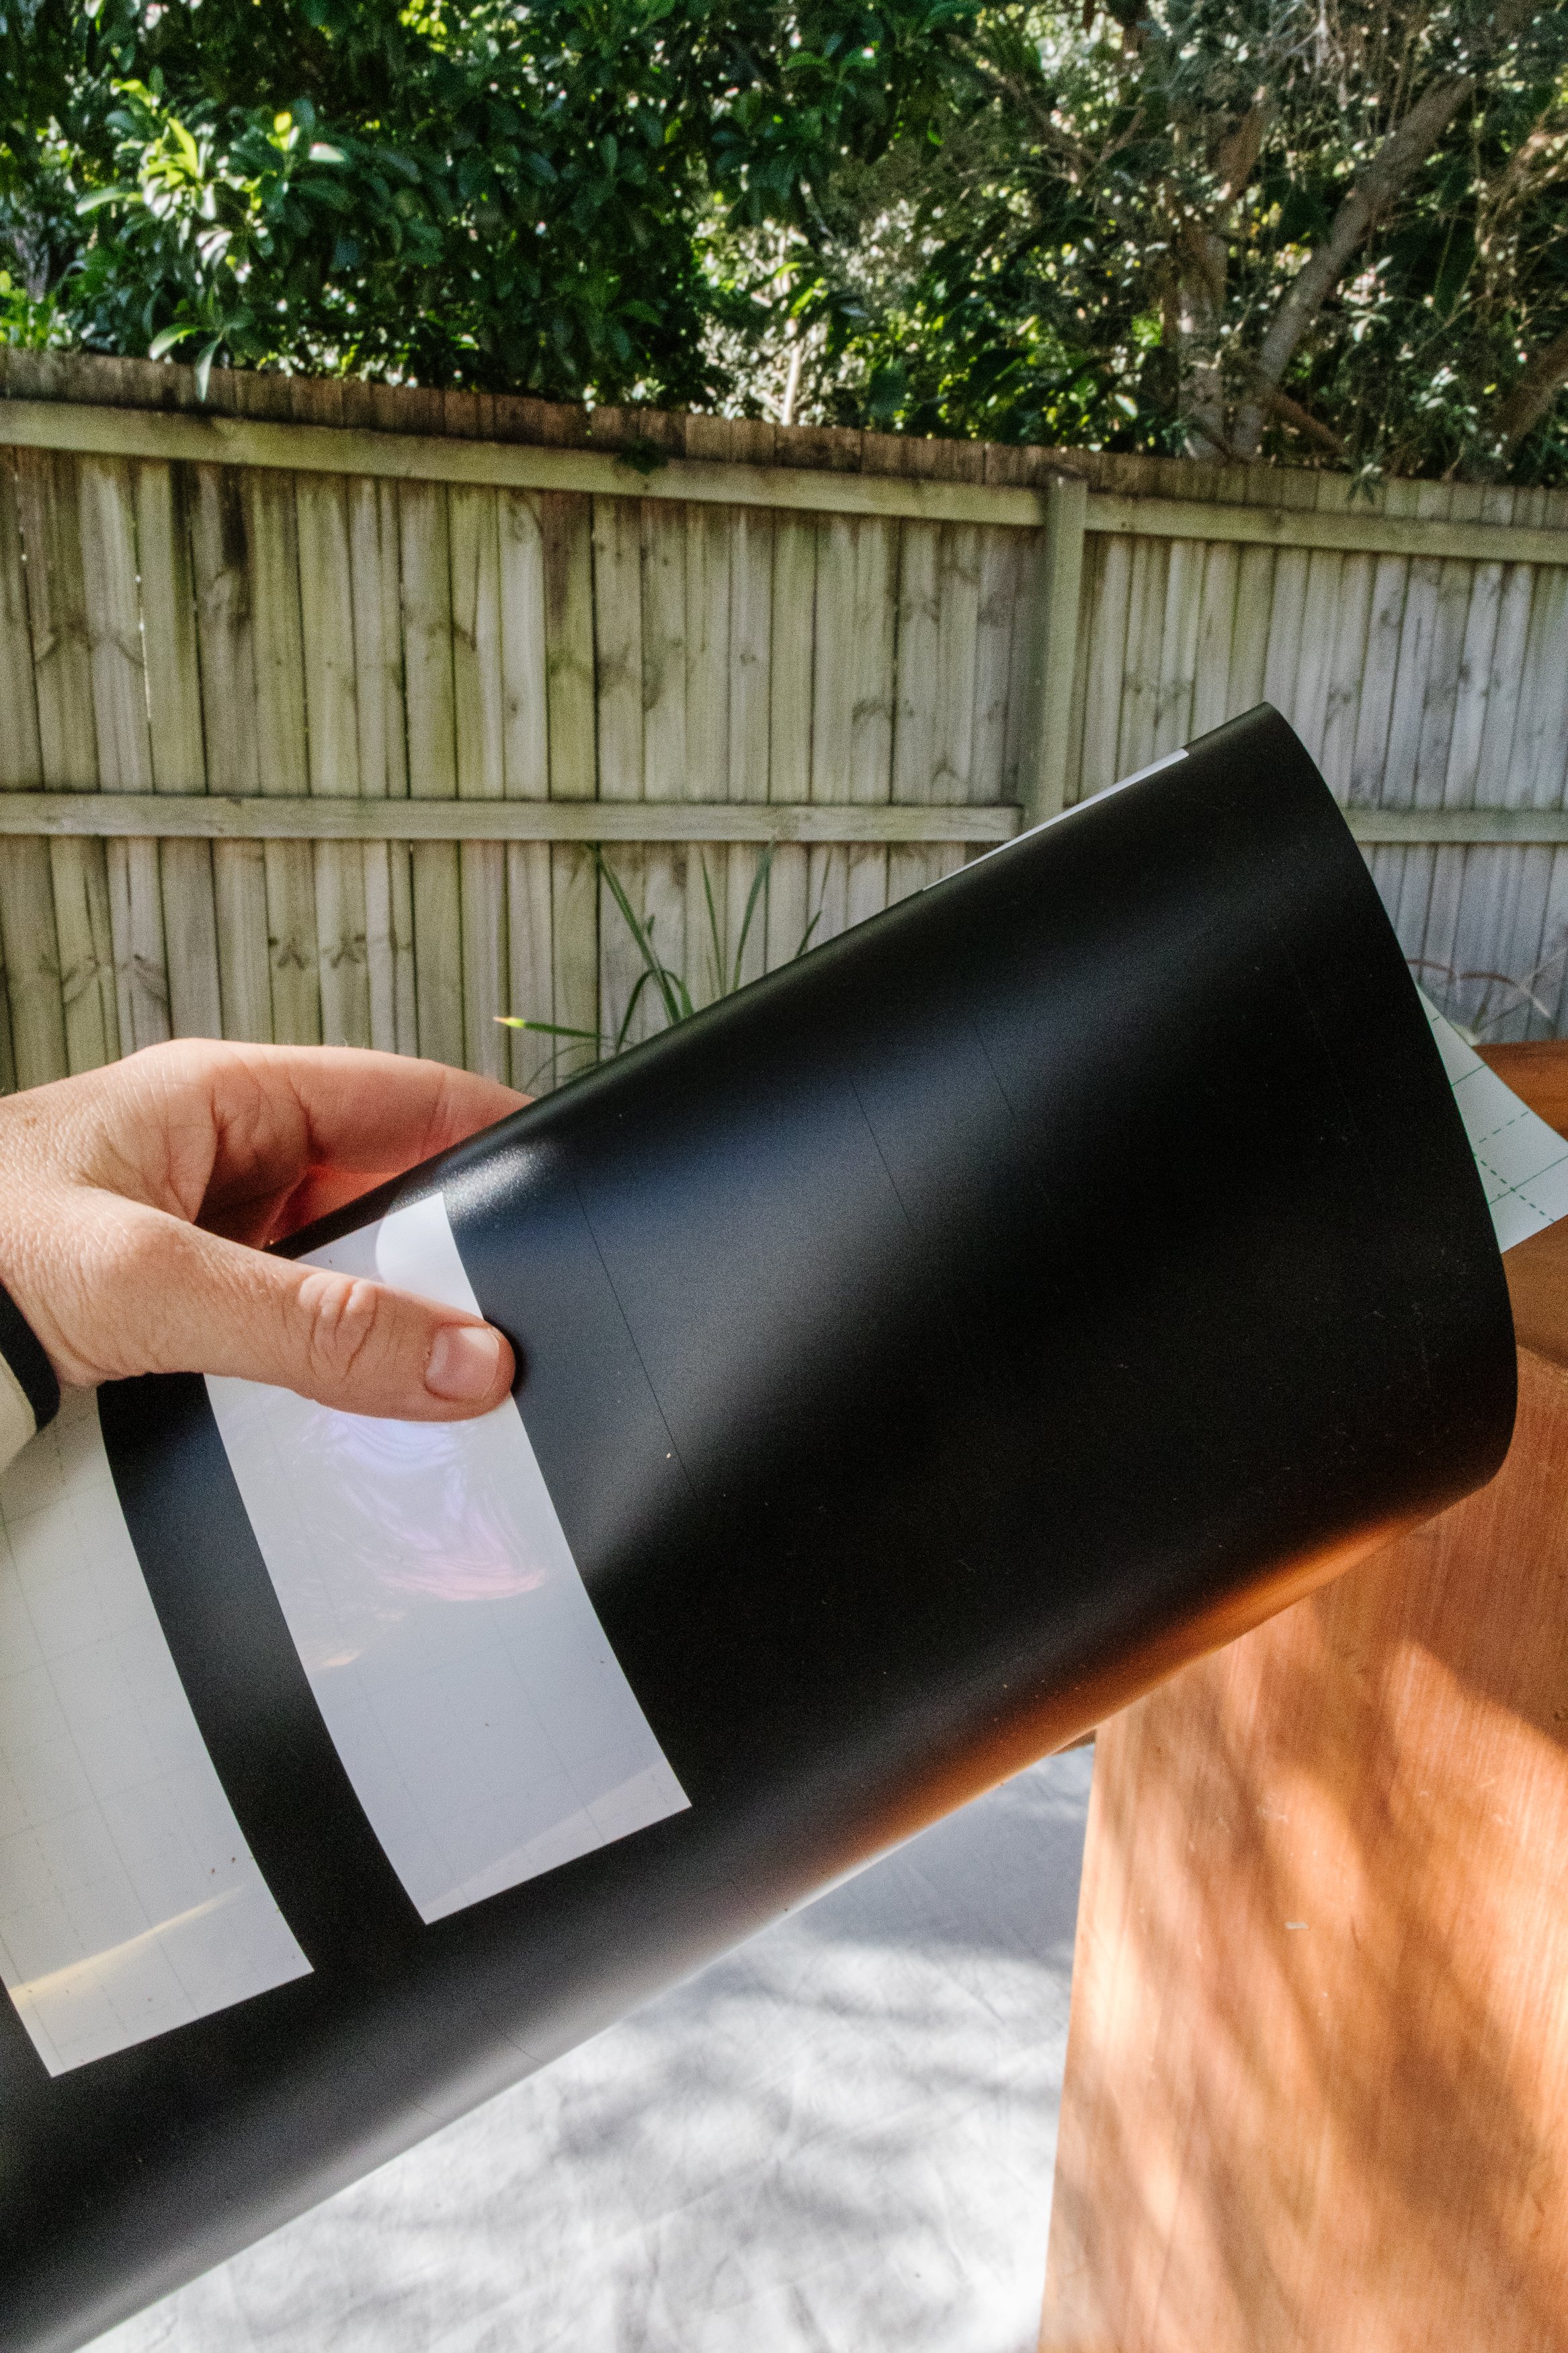
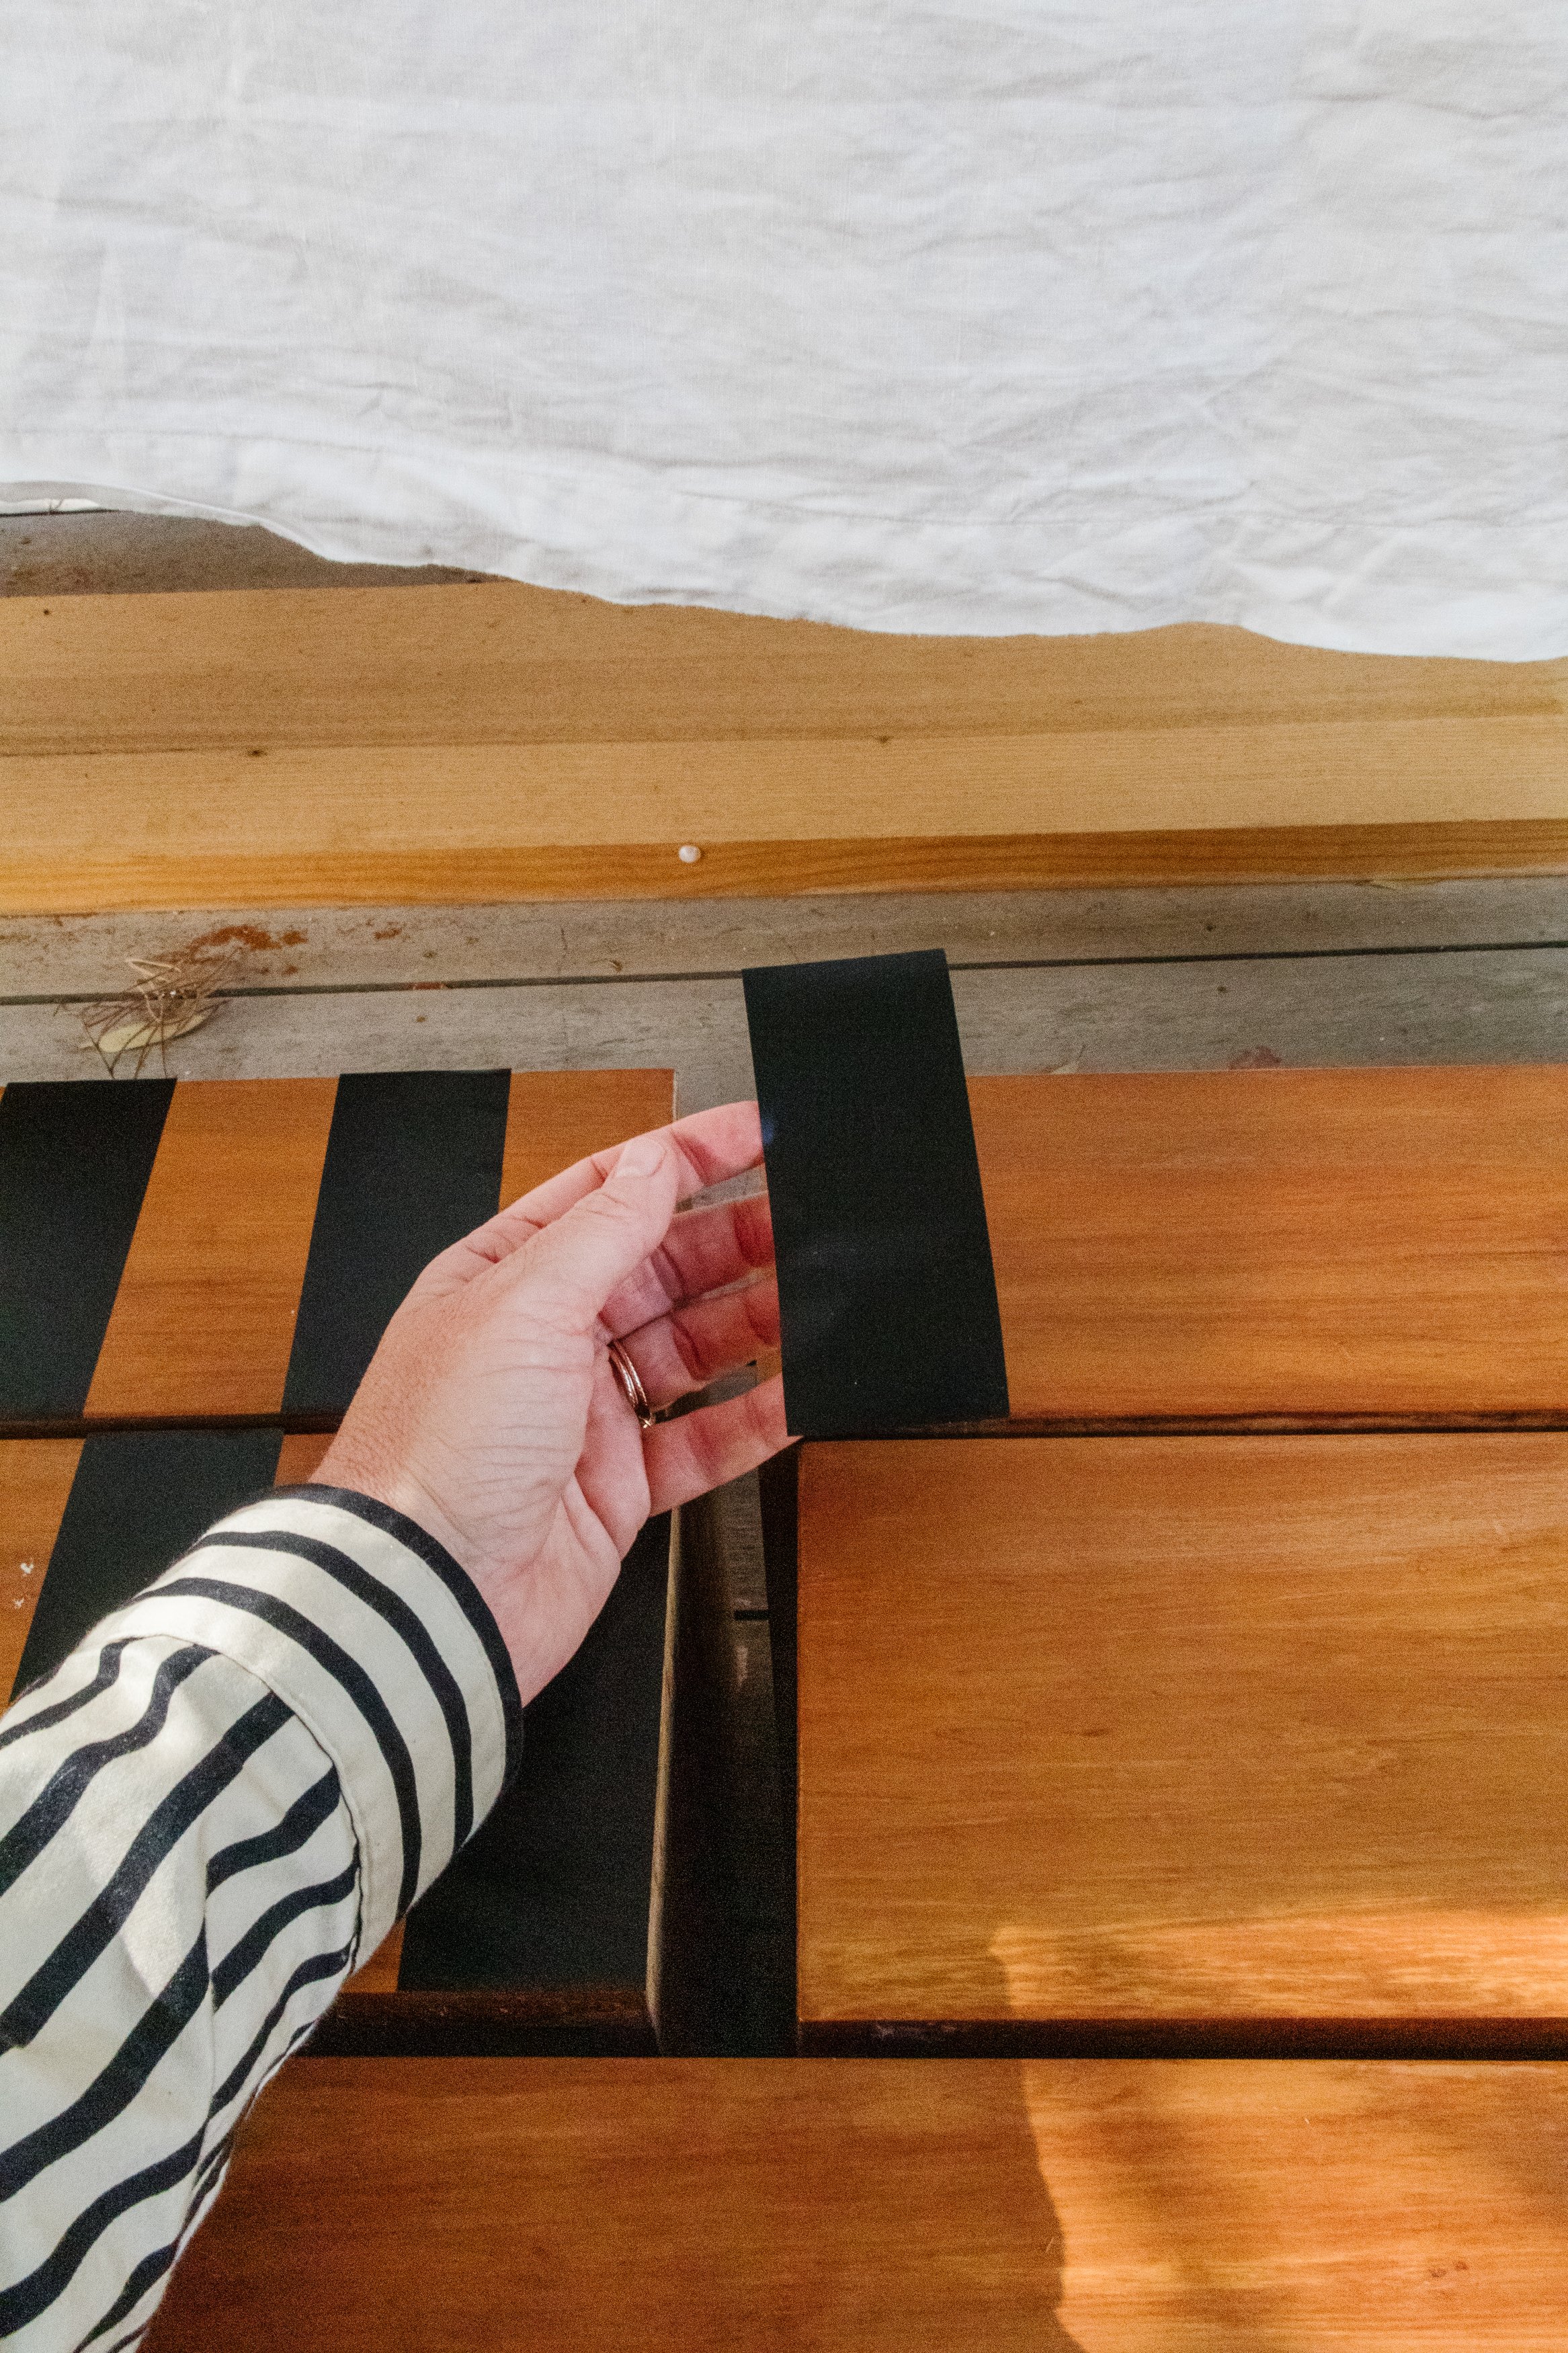
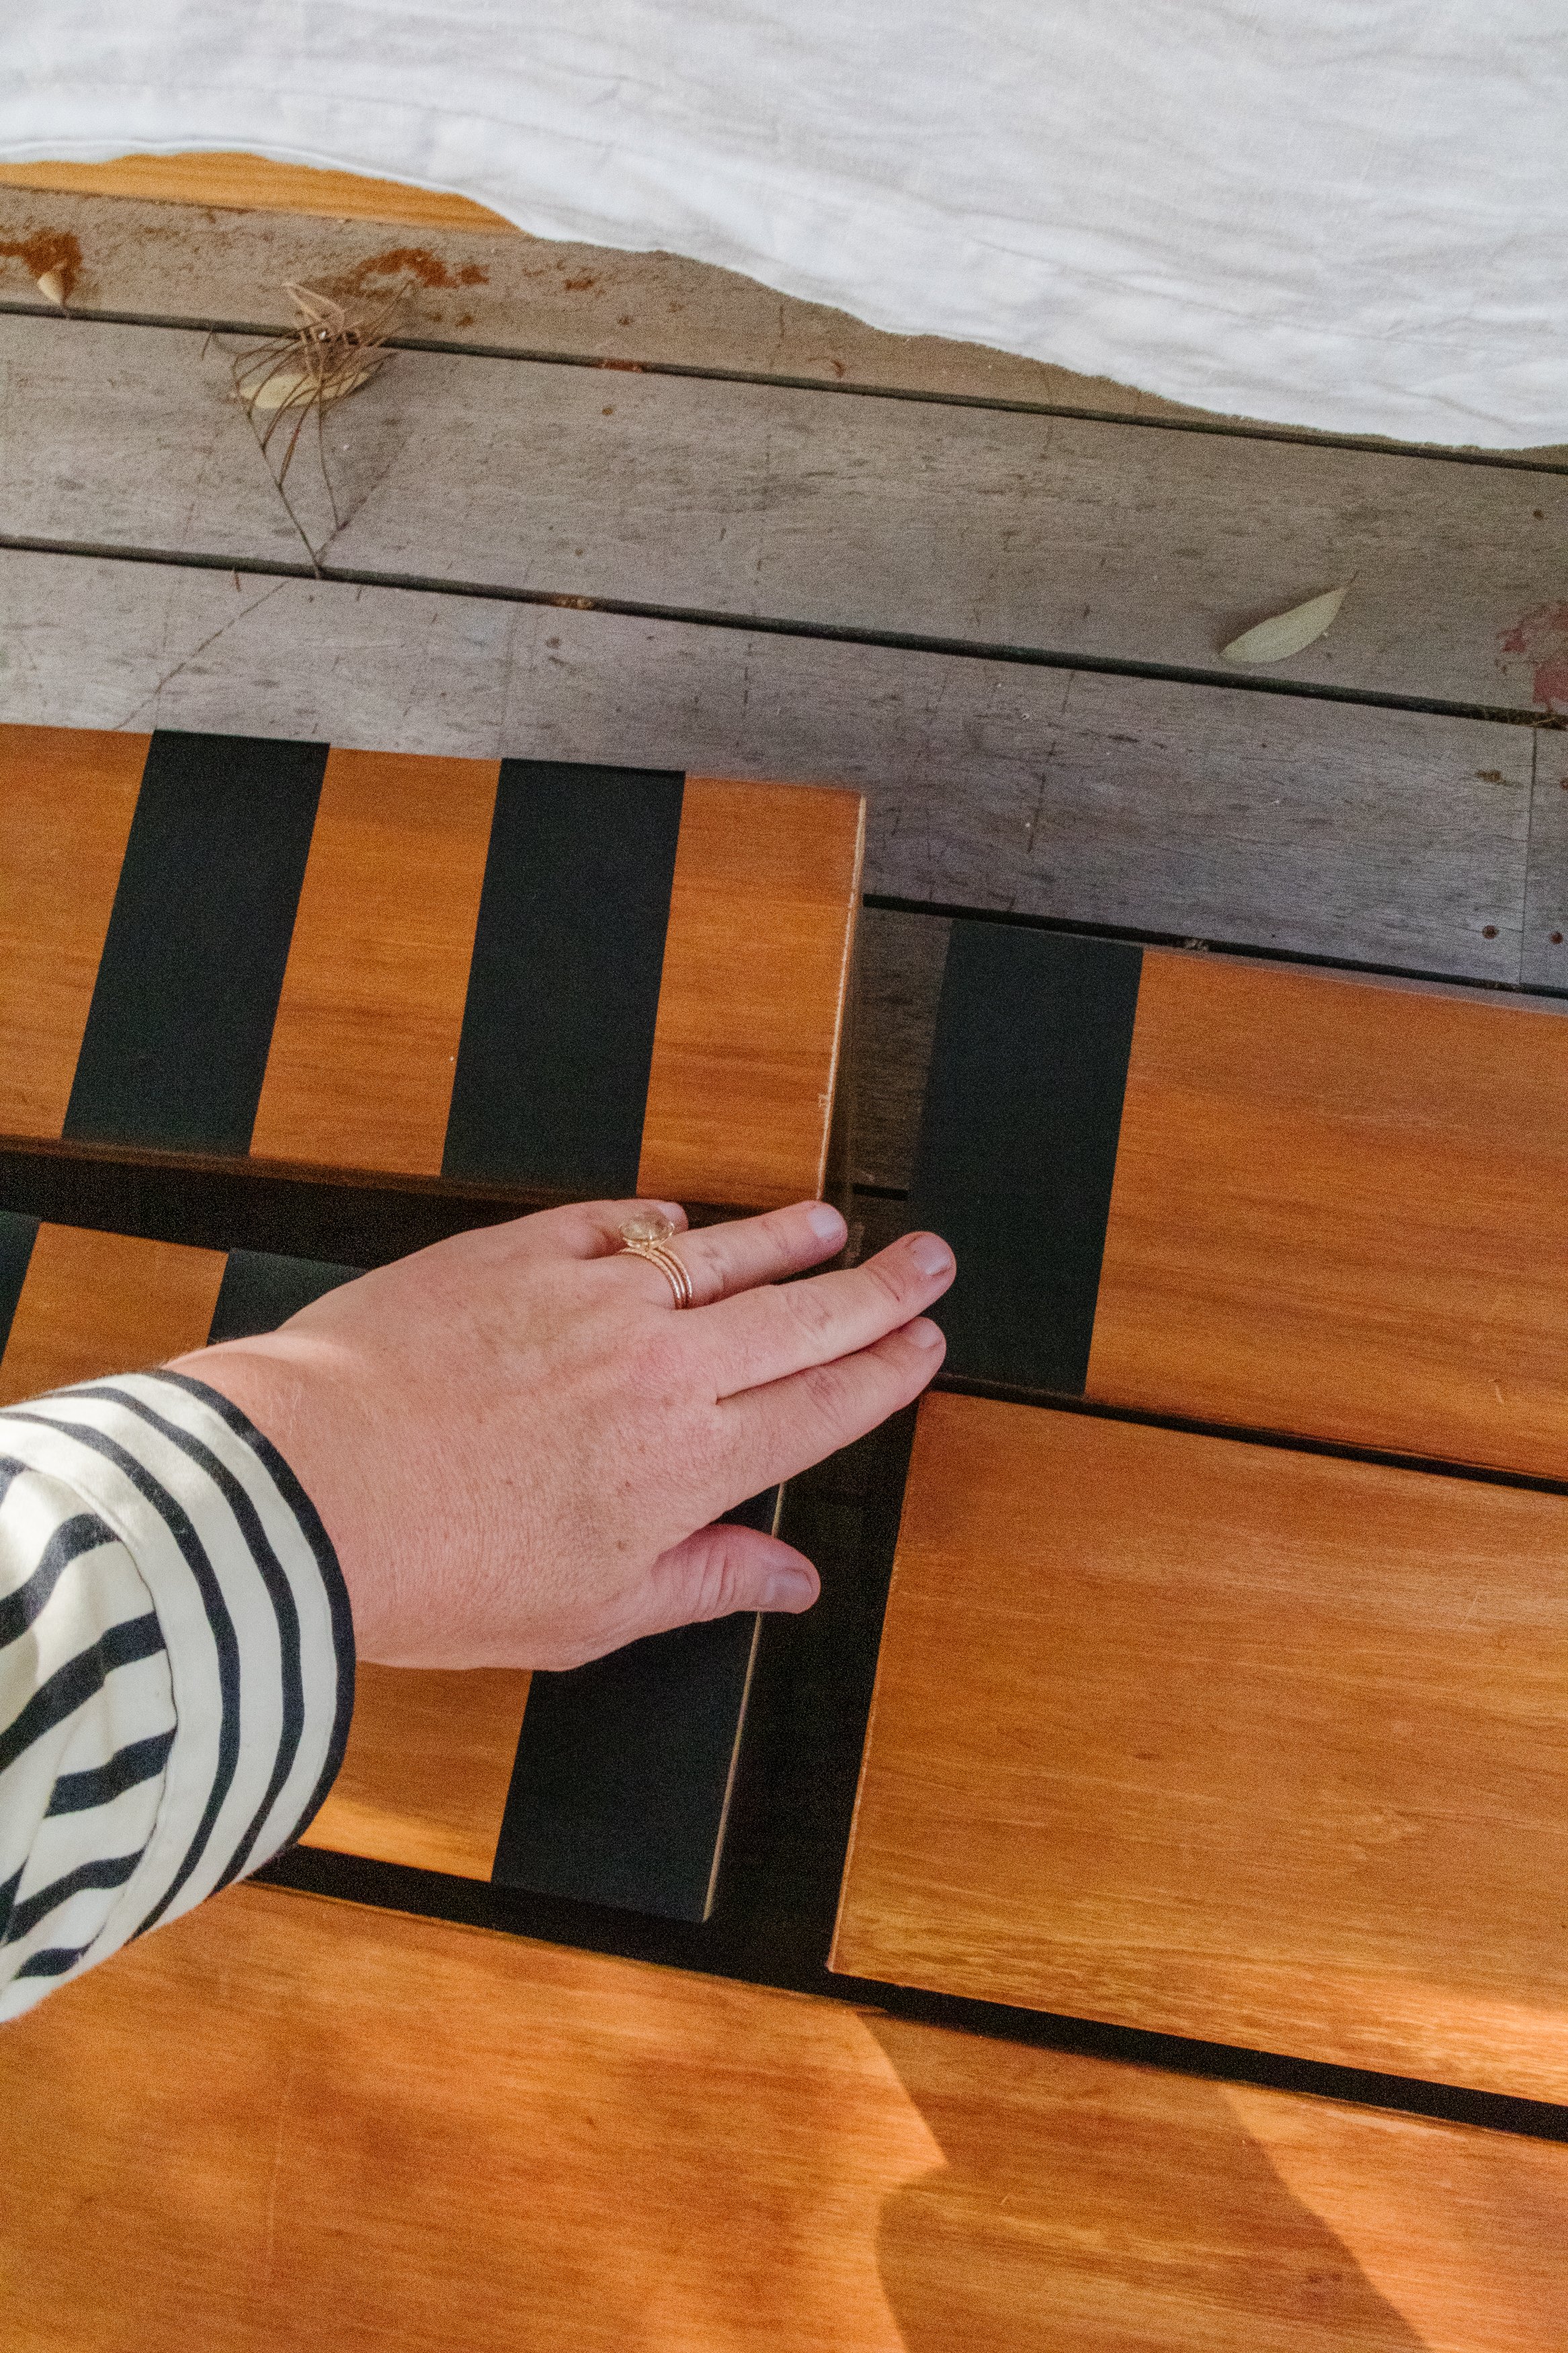
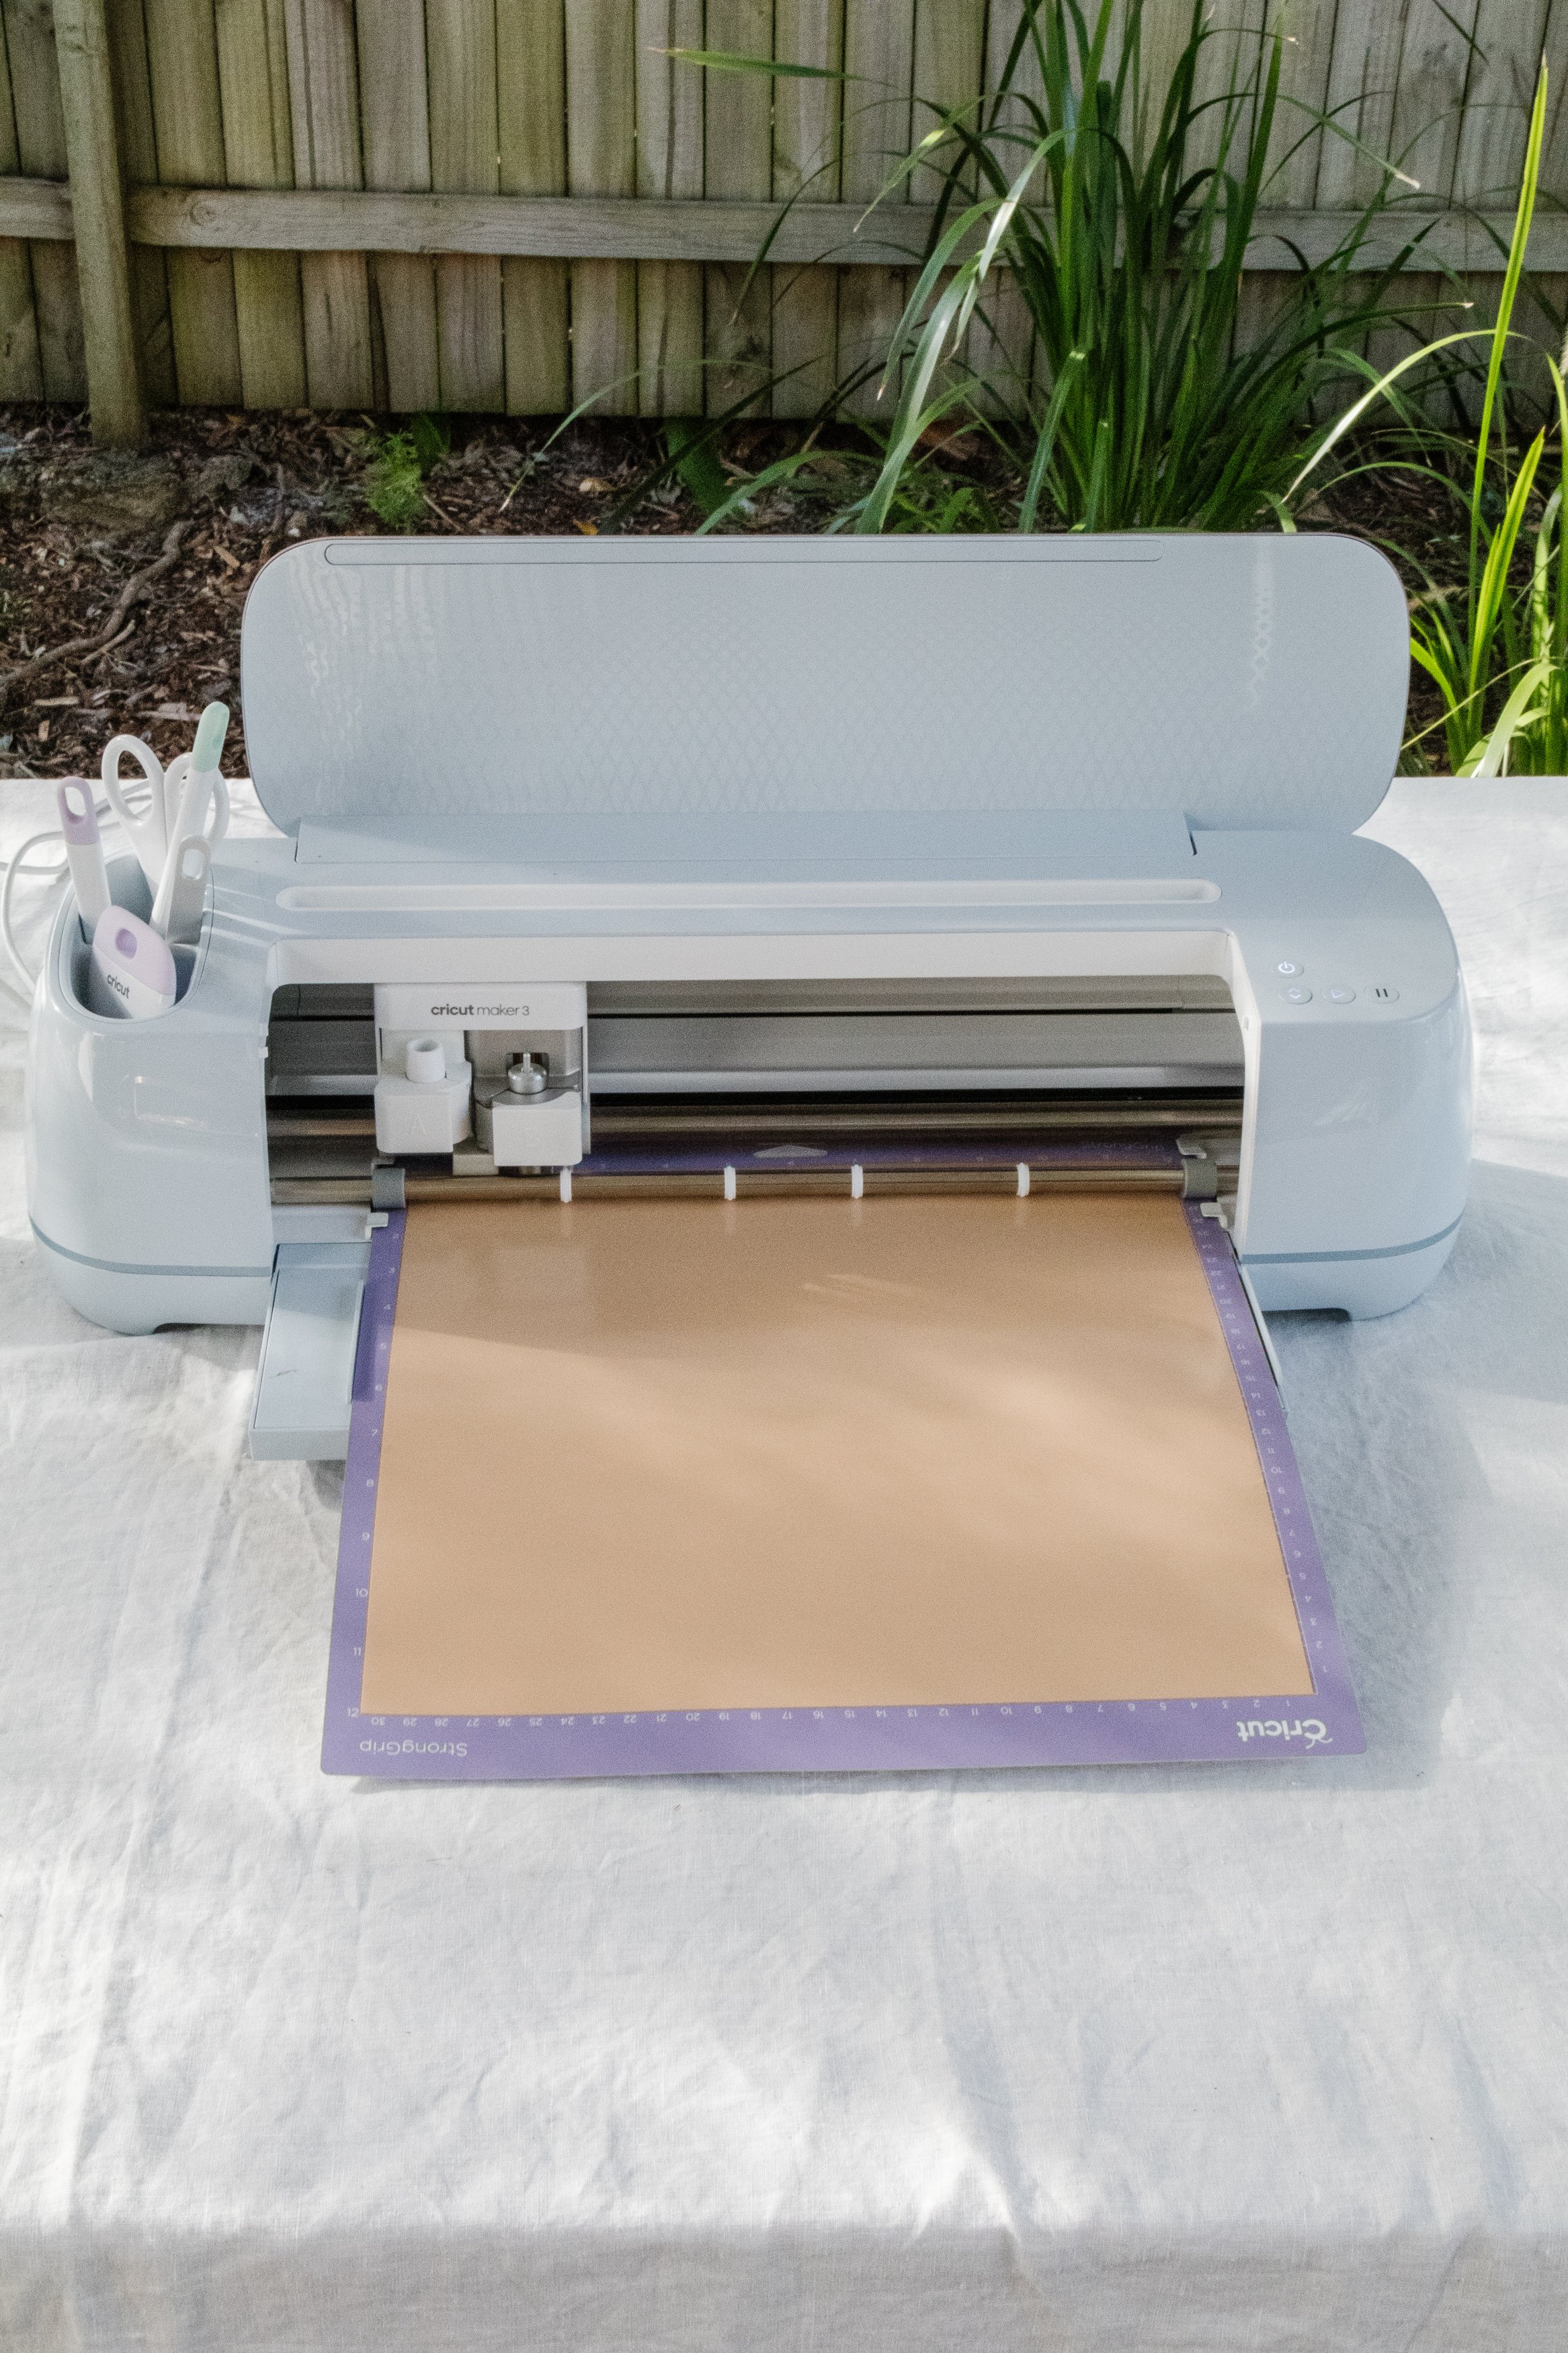
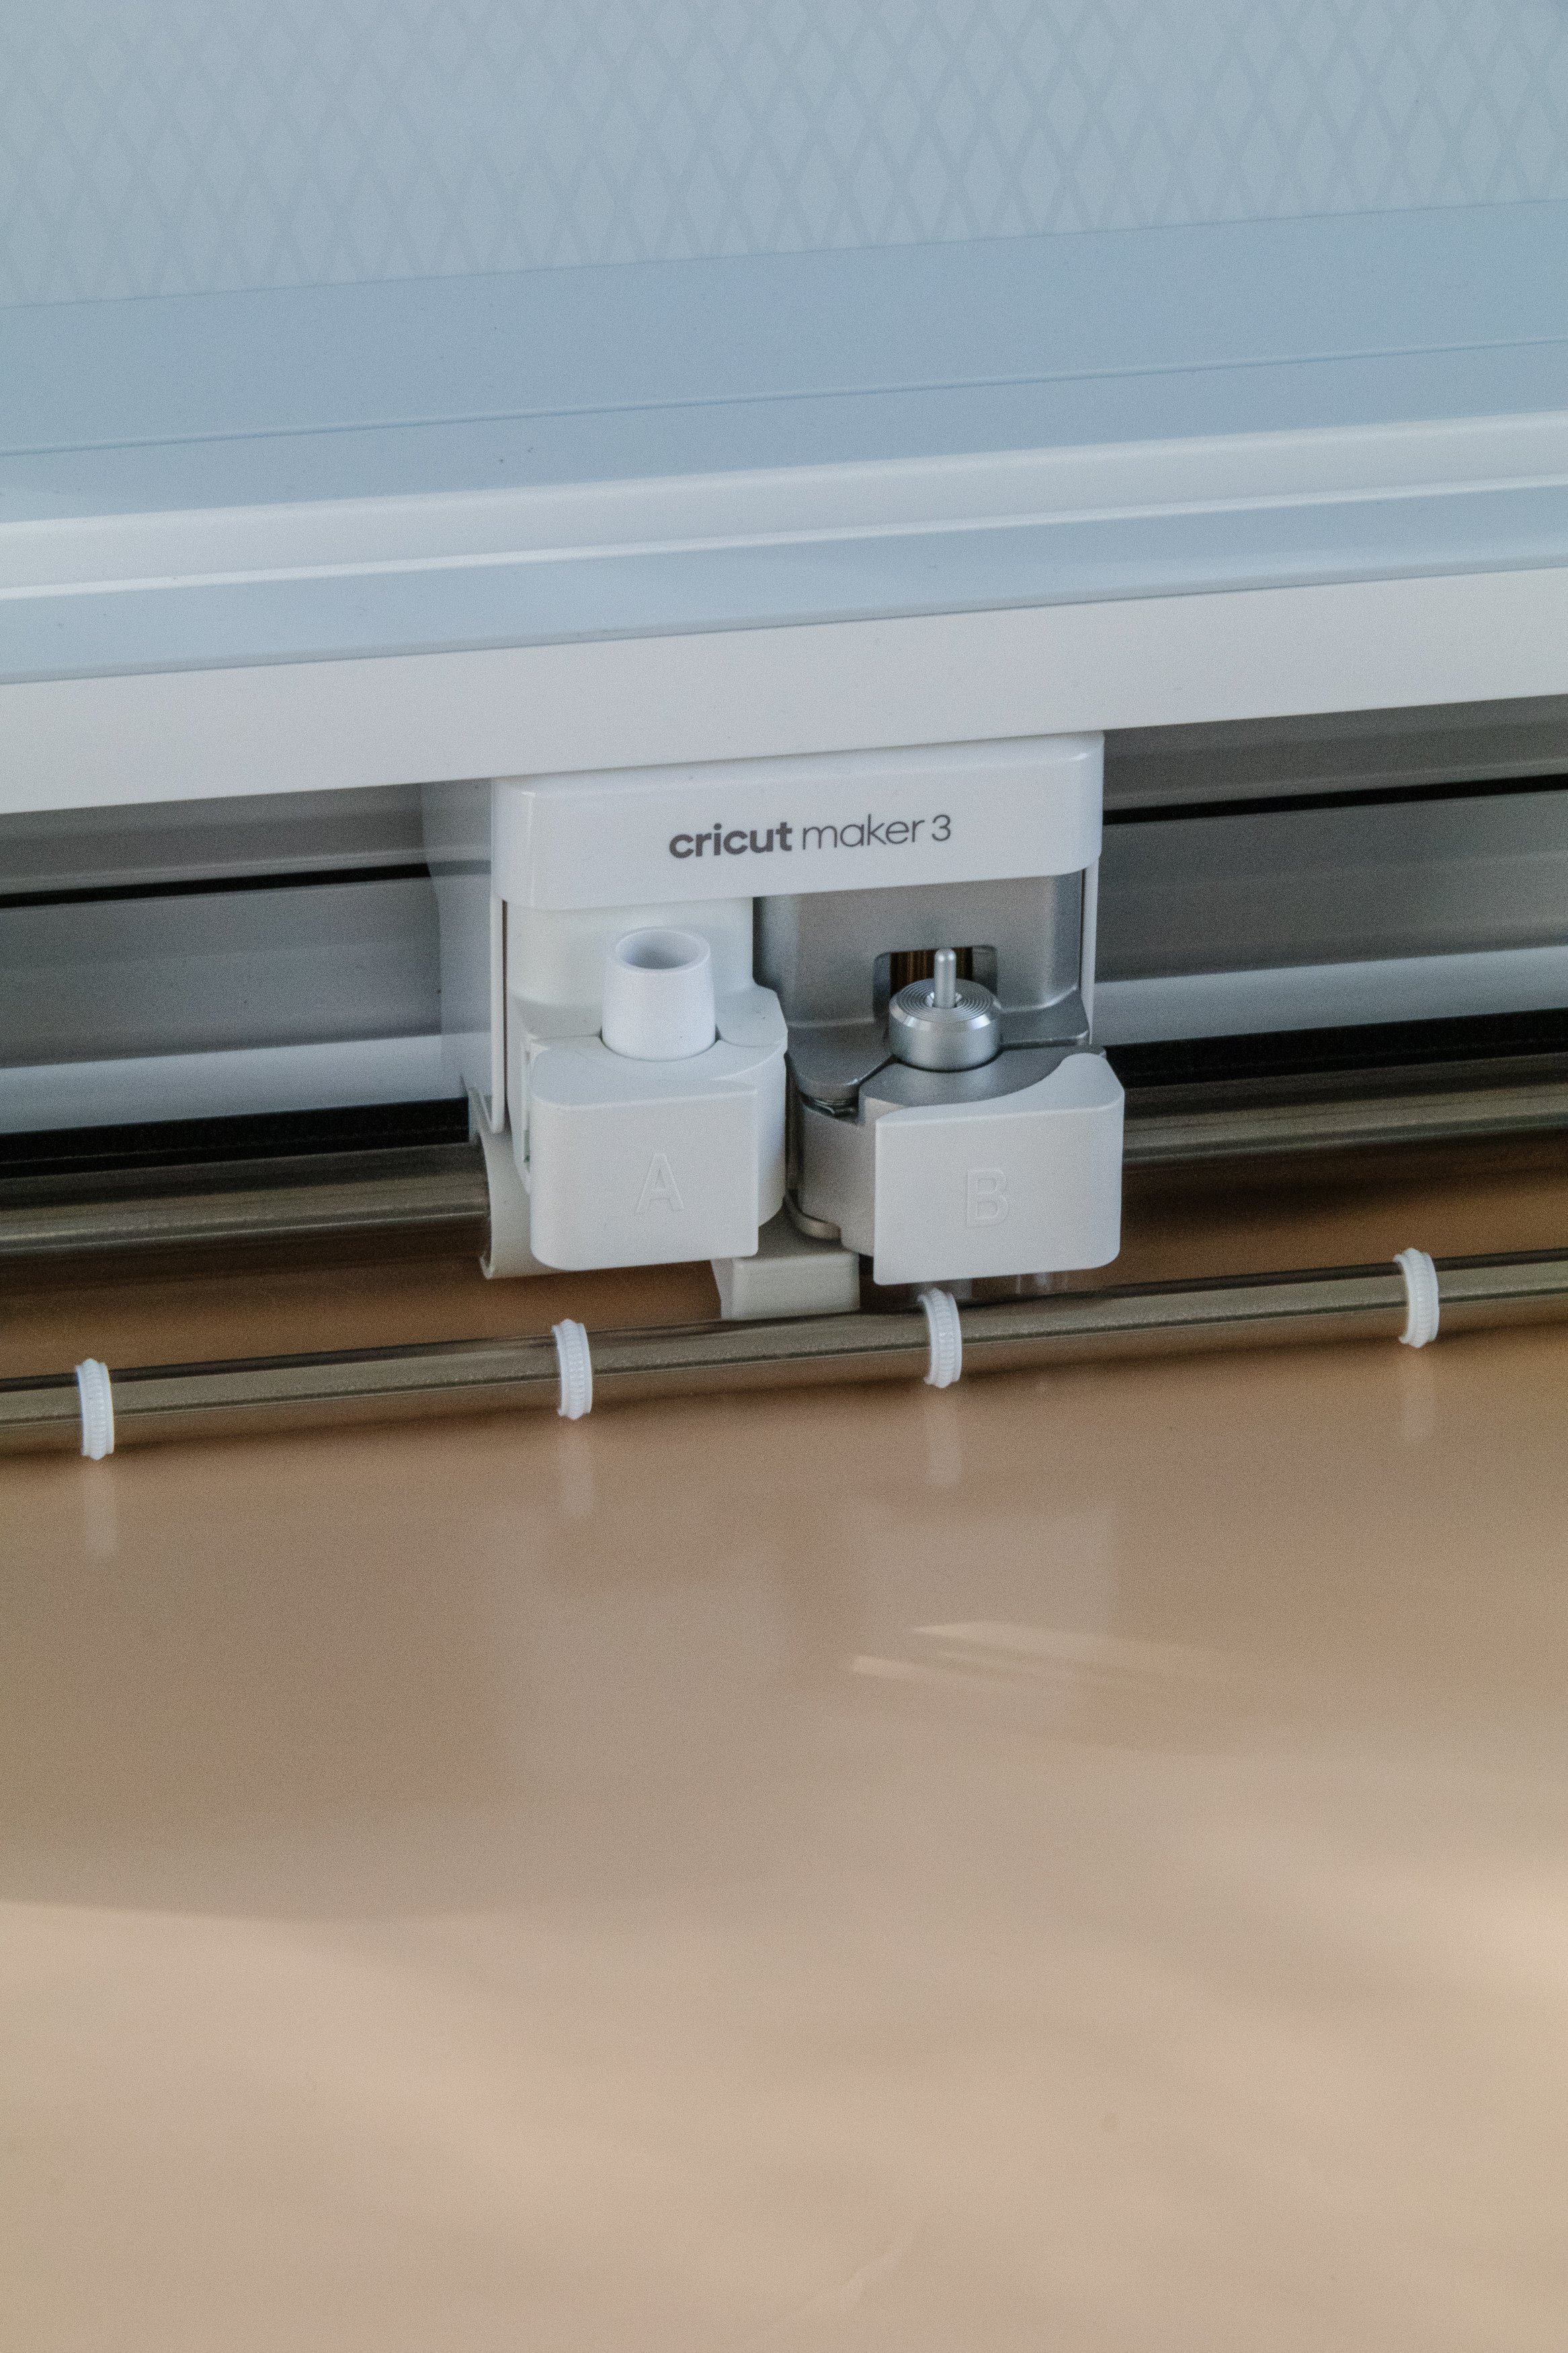
Step 2: Once the drawers were clean, I turned on/hooked up my Cricut Maker 3, loaded my Smart Vinyl in Black in the machine and opened the Cricut app on my computer. I searched for a square and added it to a Canvas. I unlocked the measurements of the square and adjusted the size to create a rectangle to perfectly fit the width of the drawers and copy/pasted several of them on the same canvas. Using my mouse, I grouped the rows and then United them together into one canvas. Following this I clicked “Make It” on the top right side of the screen and followed the prompts until my Cricut Maker 3 had cut all the Smart Vinyl rectangles I needed. Using my Cricut Weeding tool, I carefully peeled the rectangles from the Smart Vinyl and placed them onto the face of the drawers in a checker pattern.
What is Cricut? Cricut specialises in a range of cutting machines, which have been designed for home crafters and makers - like us! The machines are used for cutting a range of materials including paper, felt, fabric, leather, card, iron-on transfers and wood.
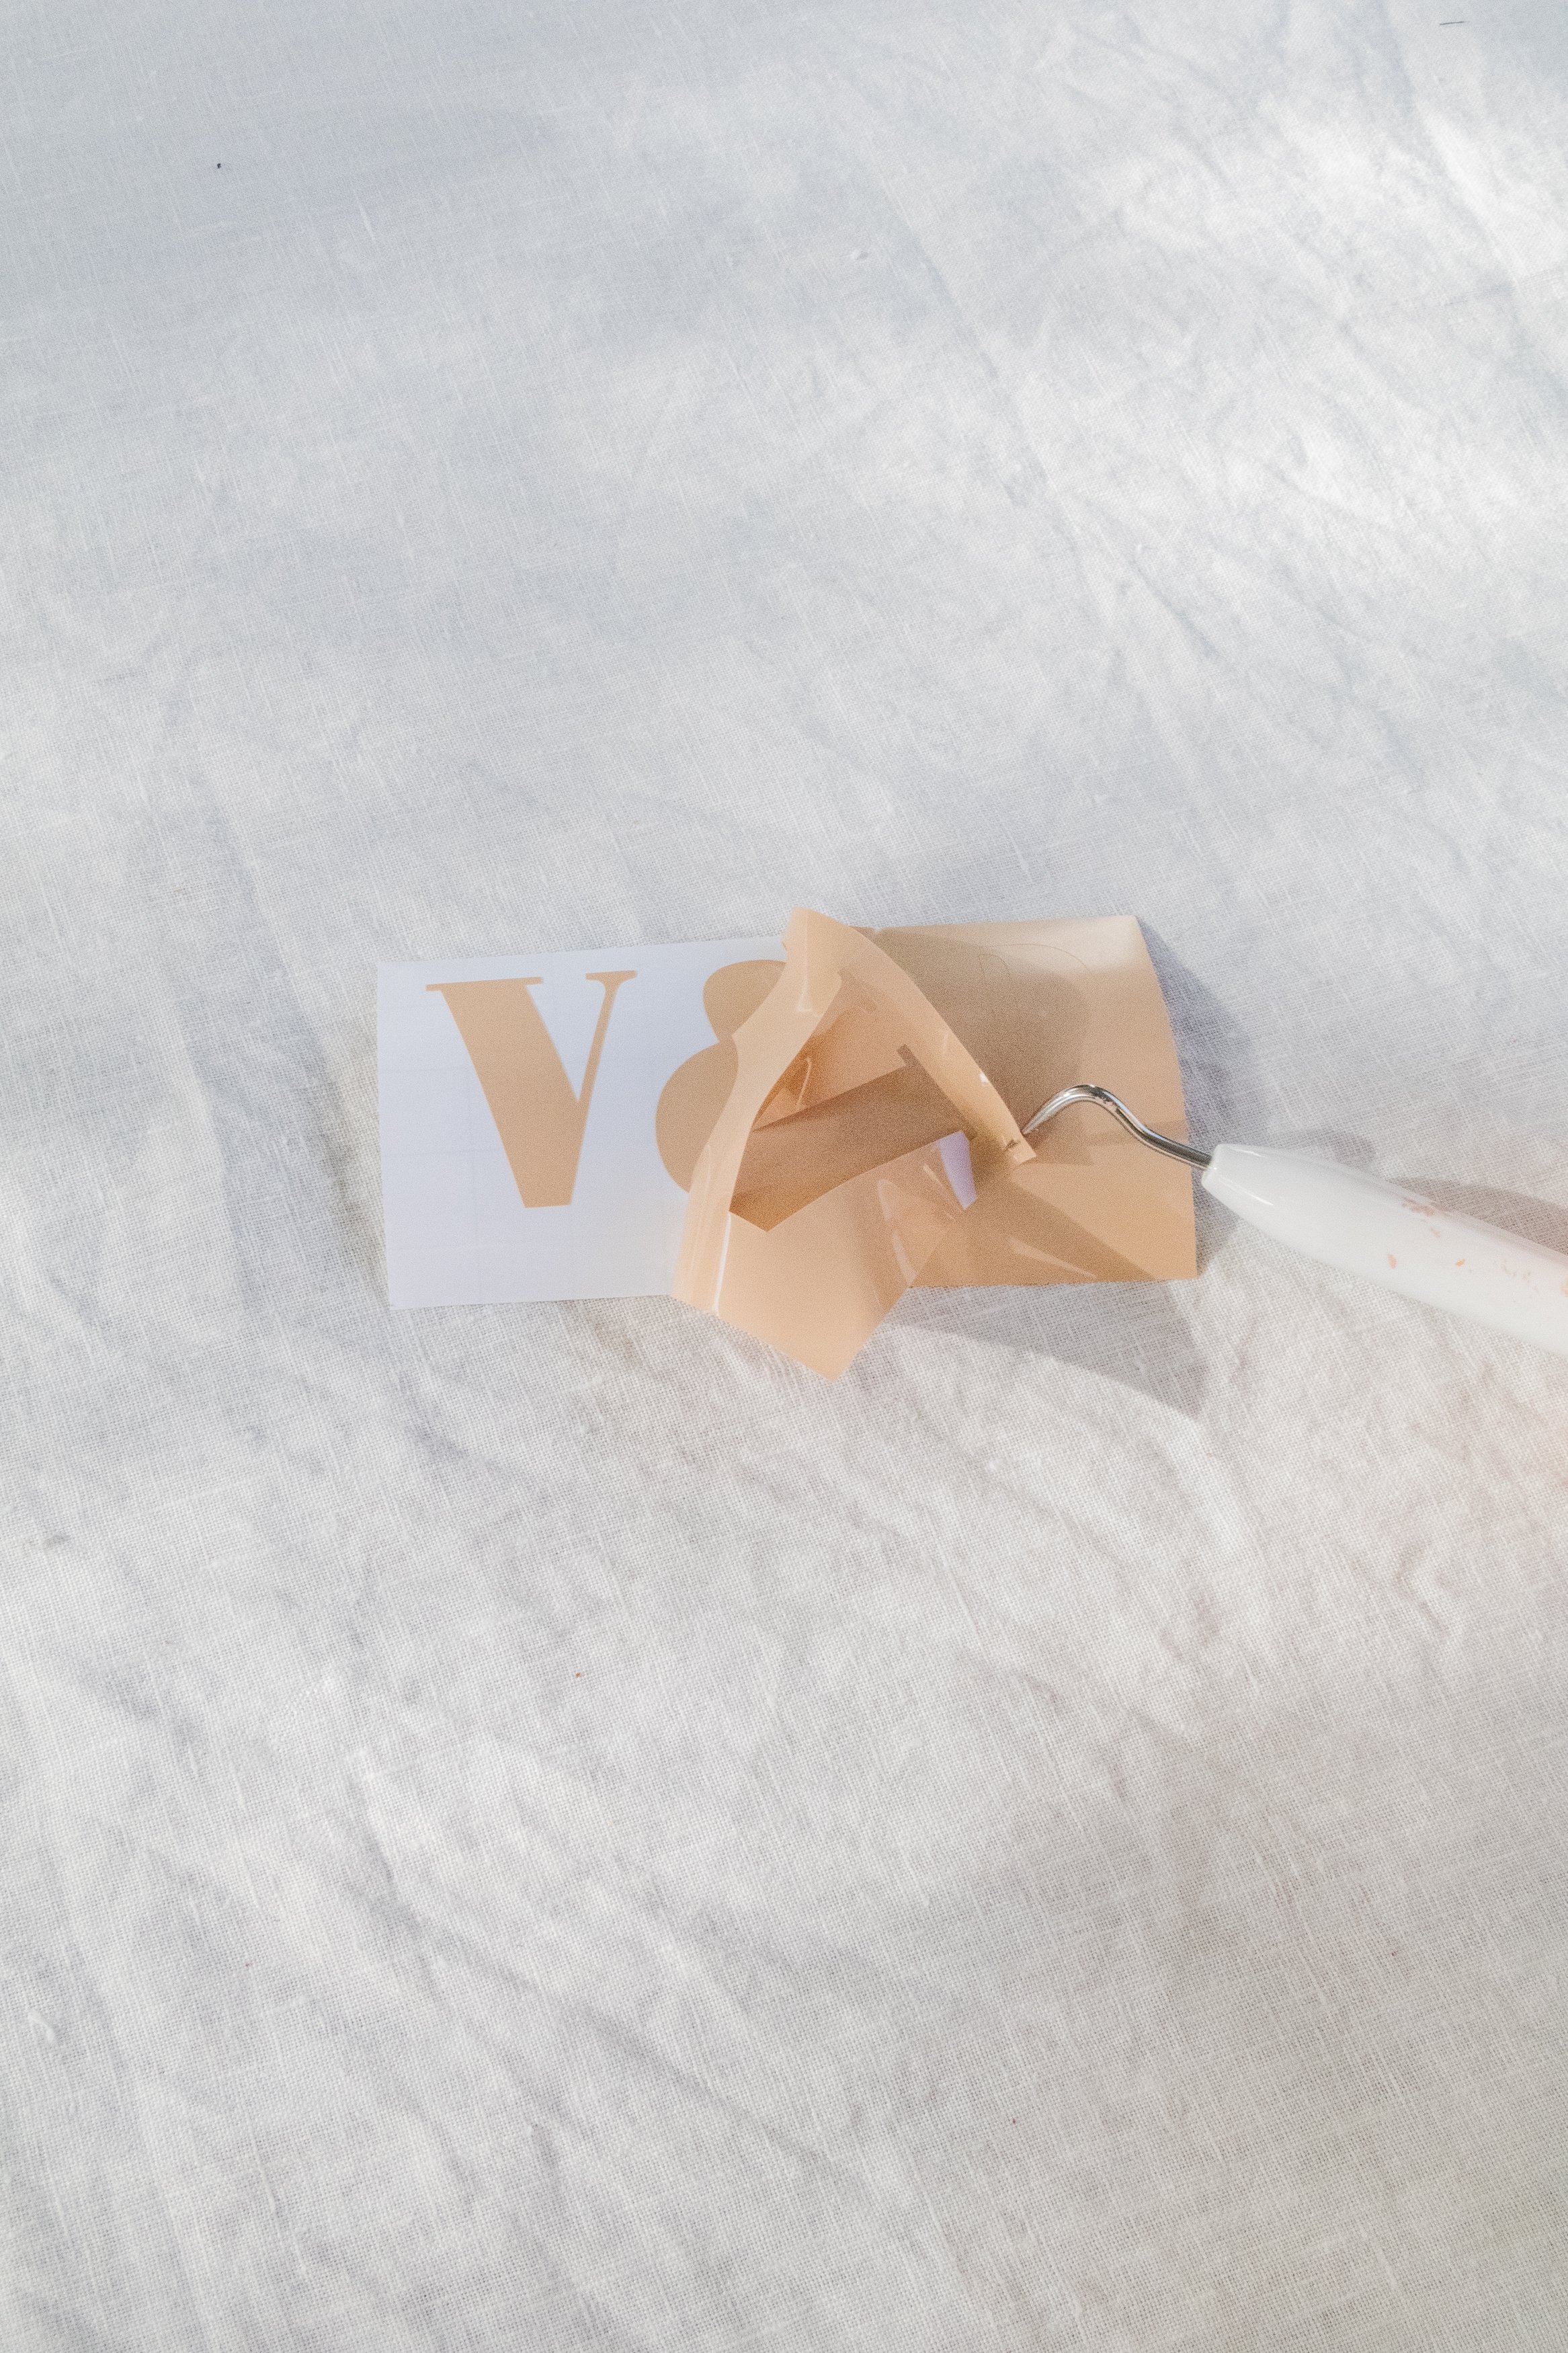
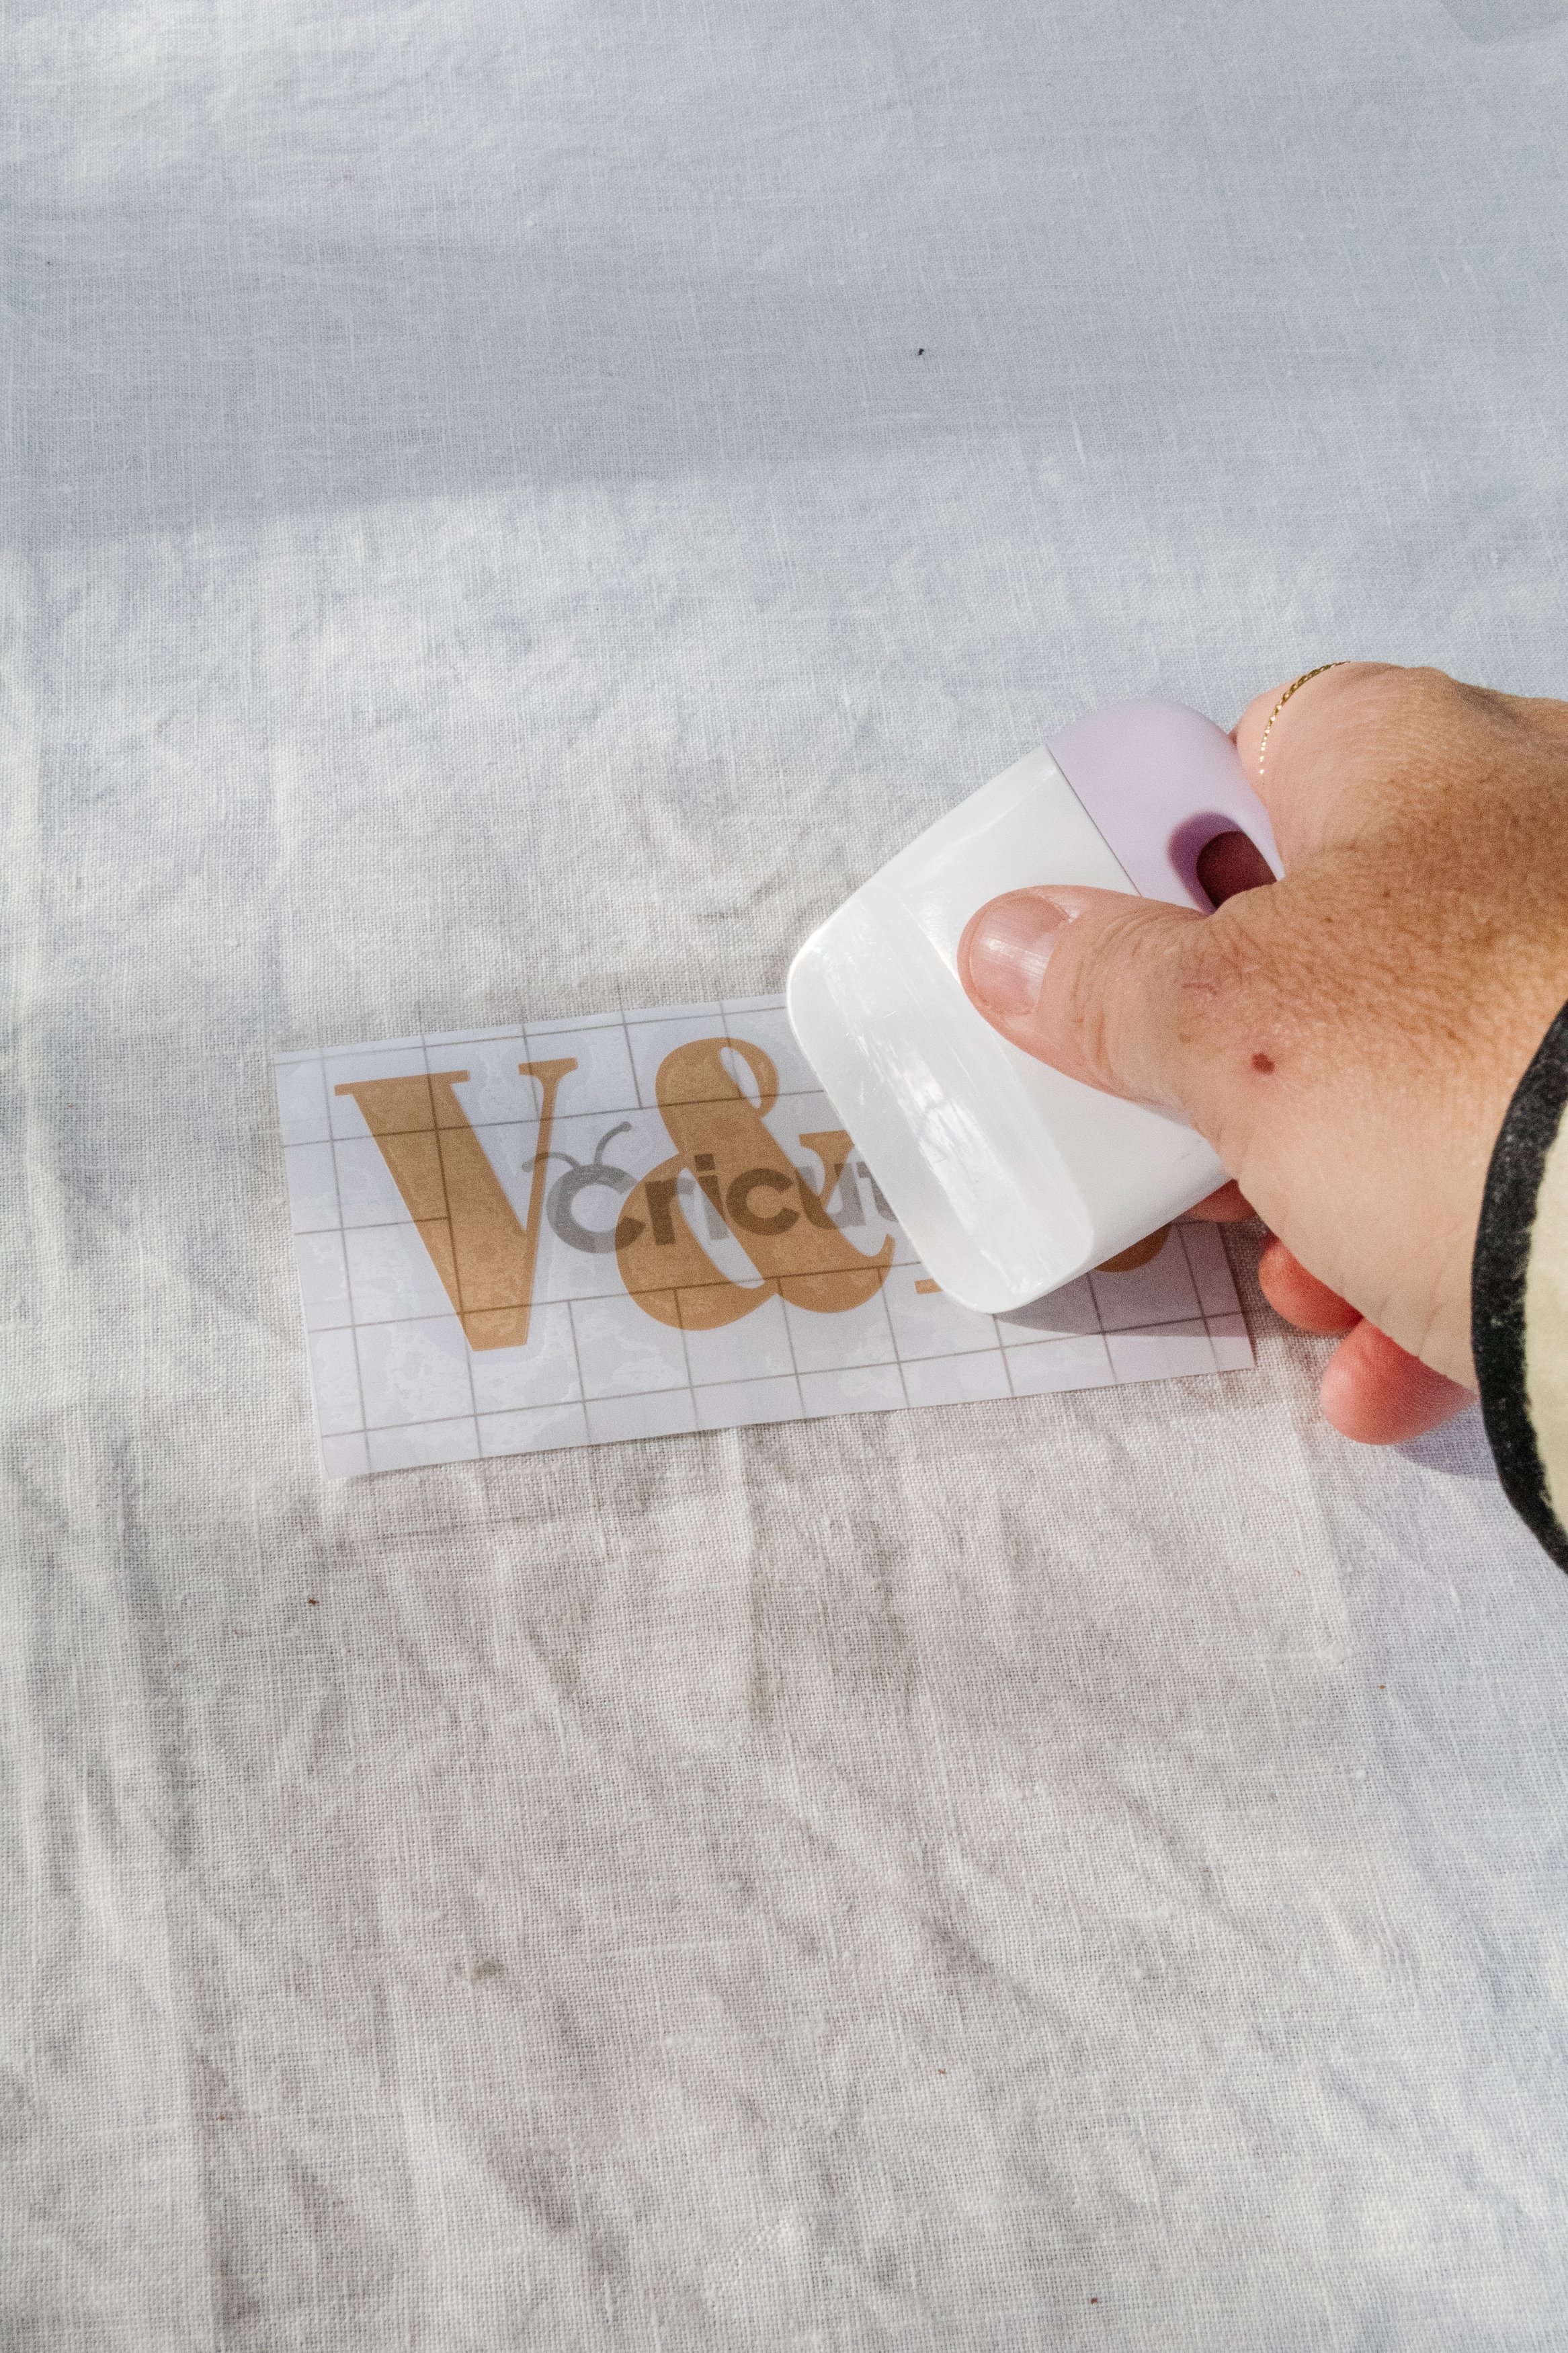
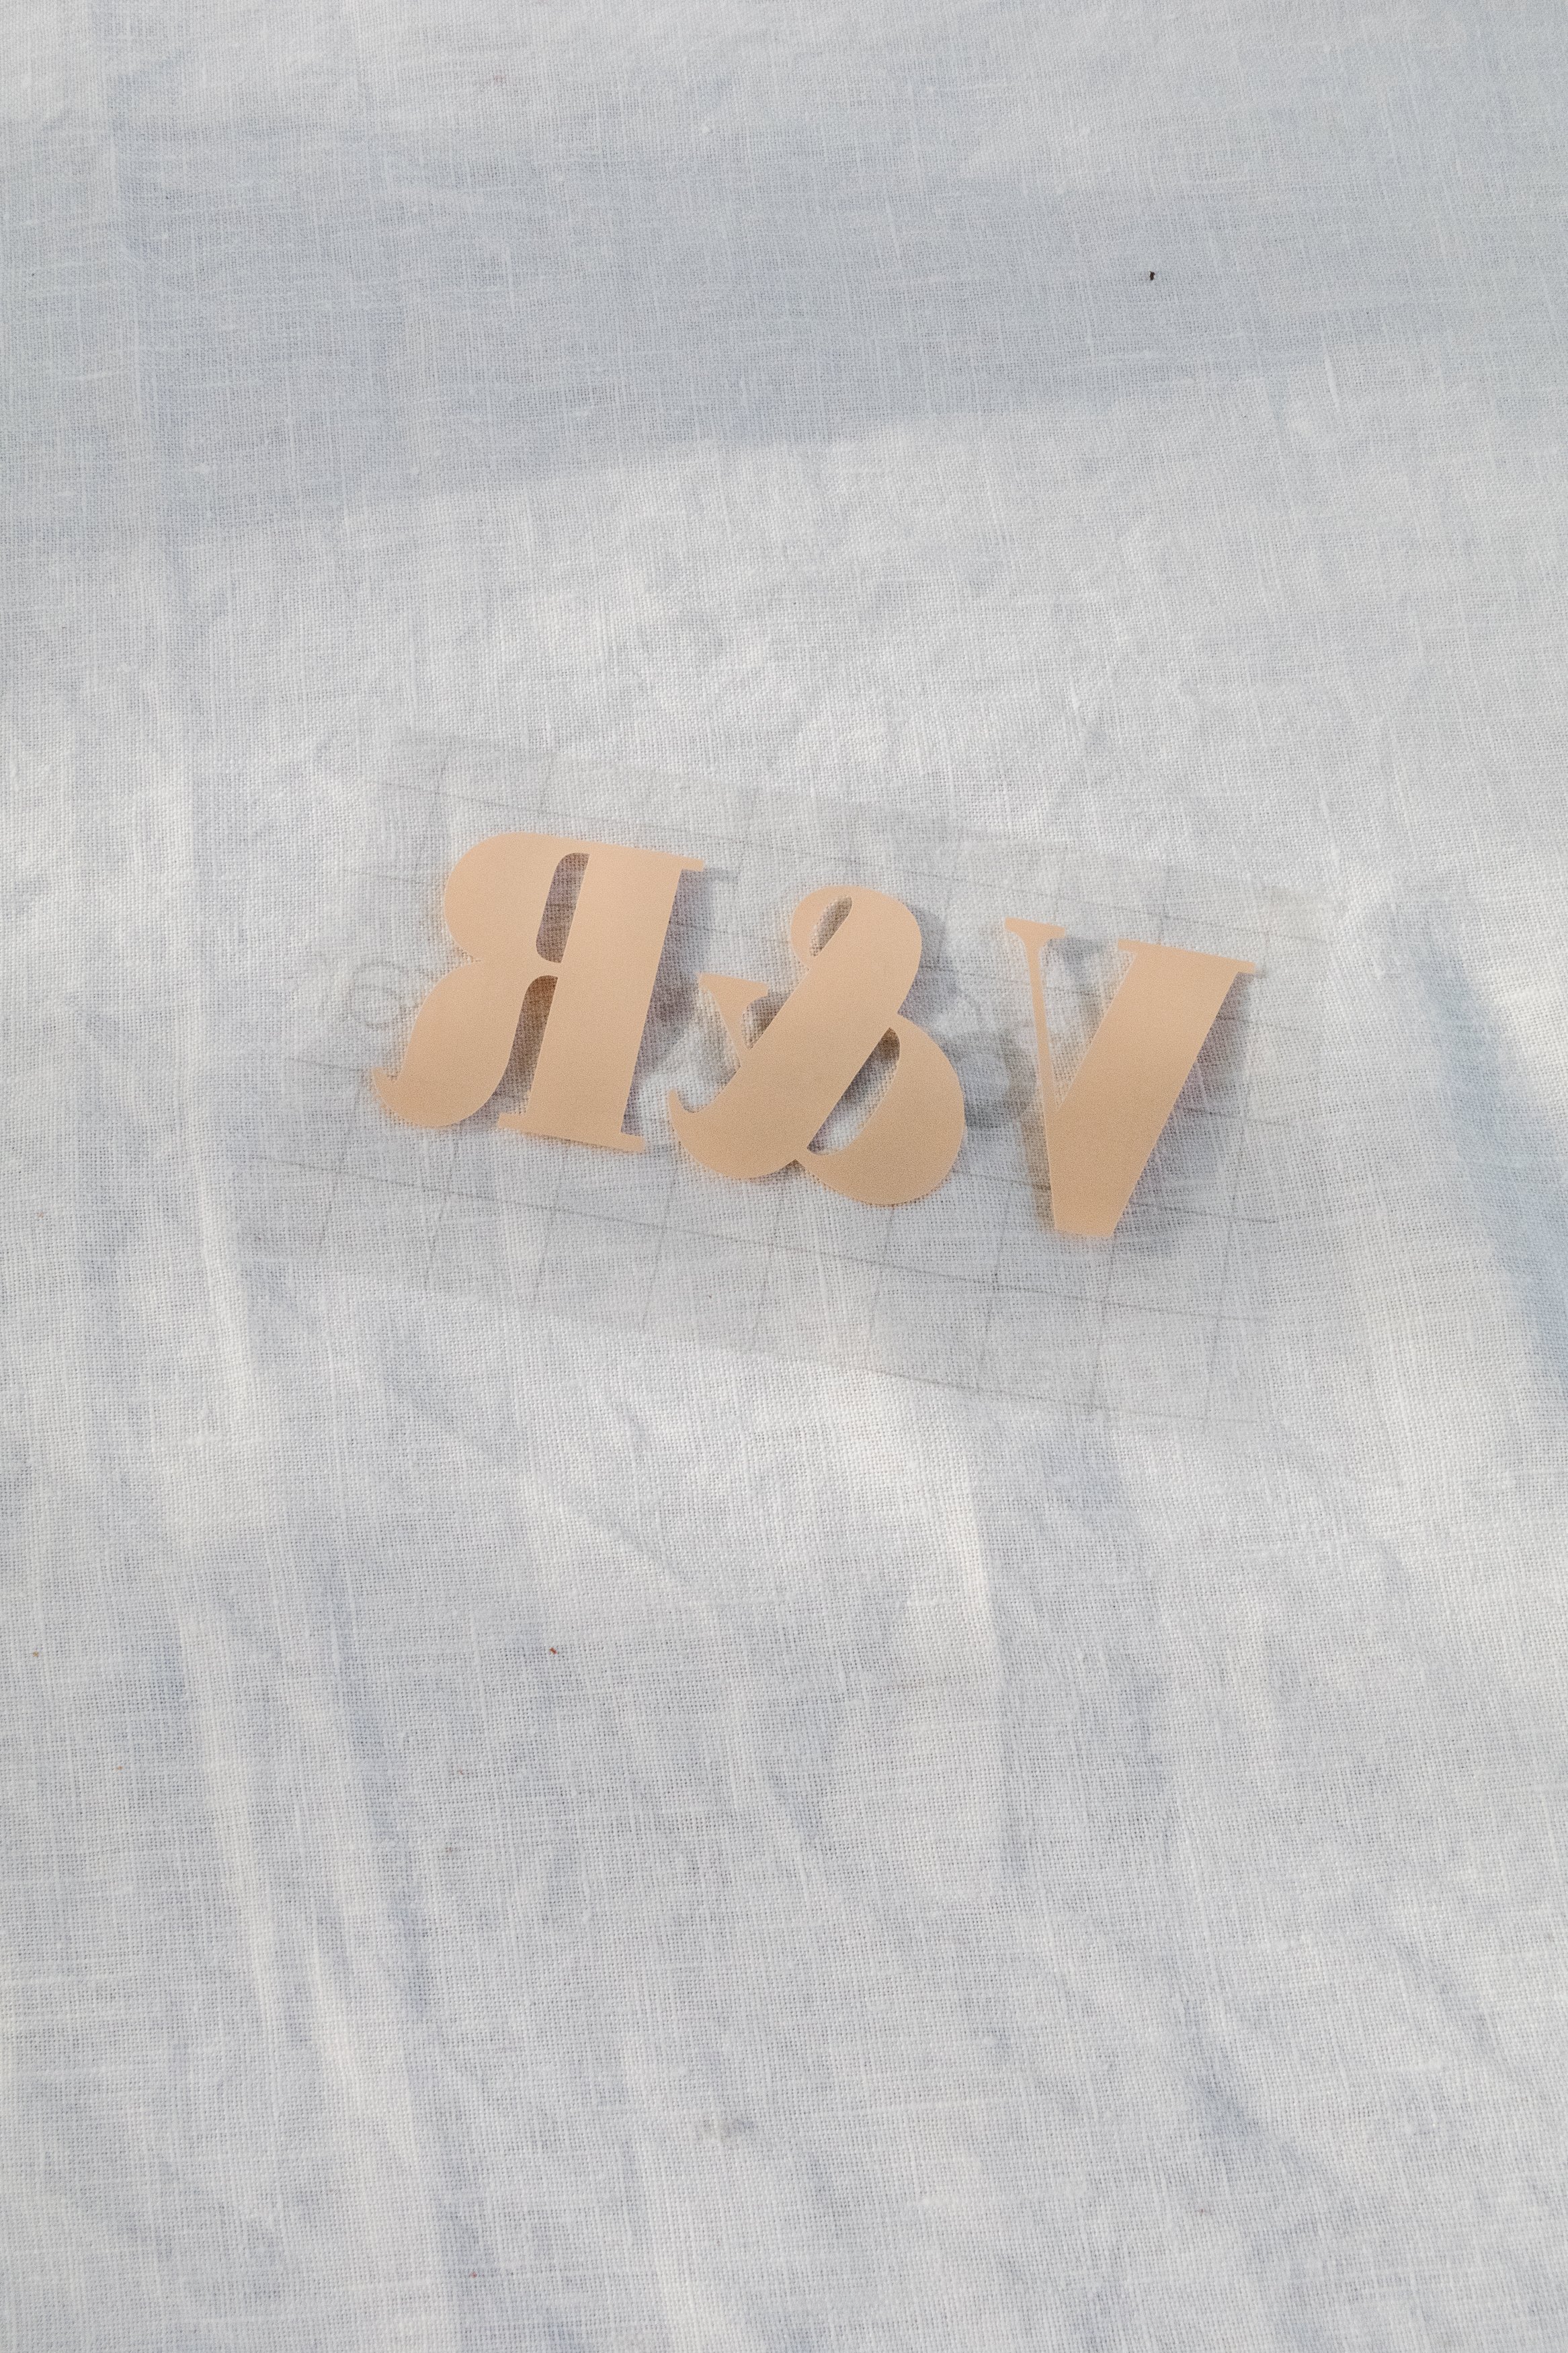
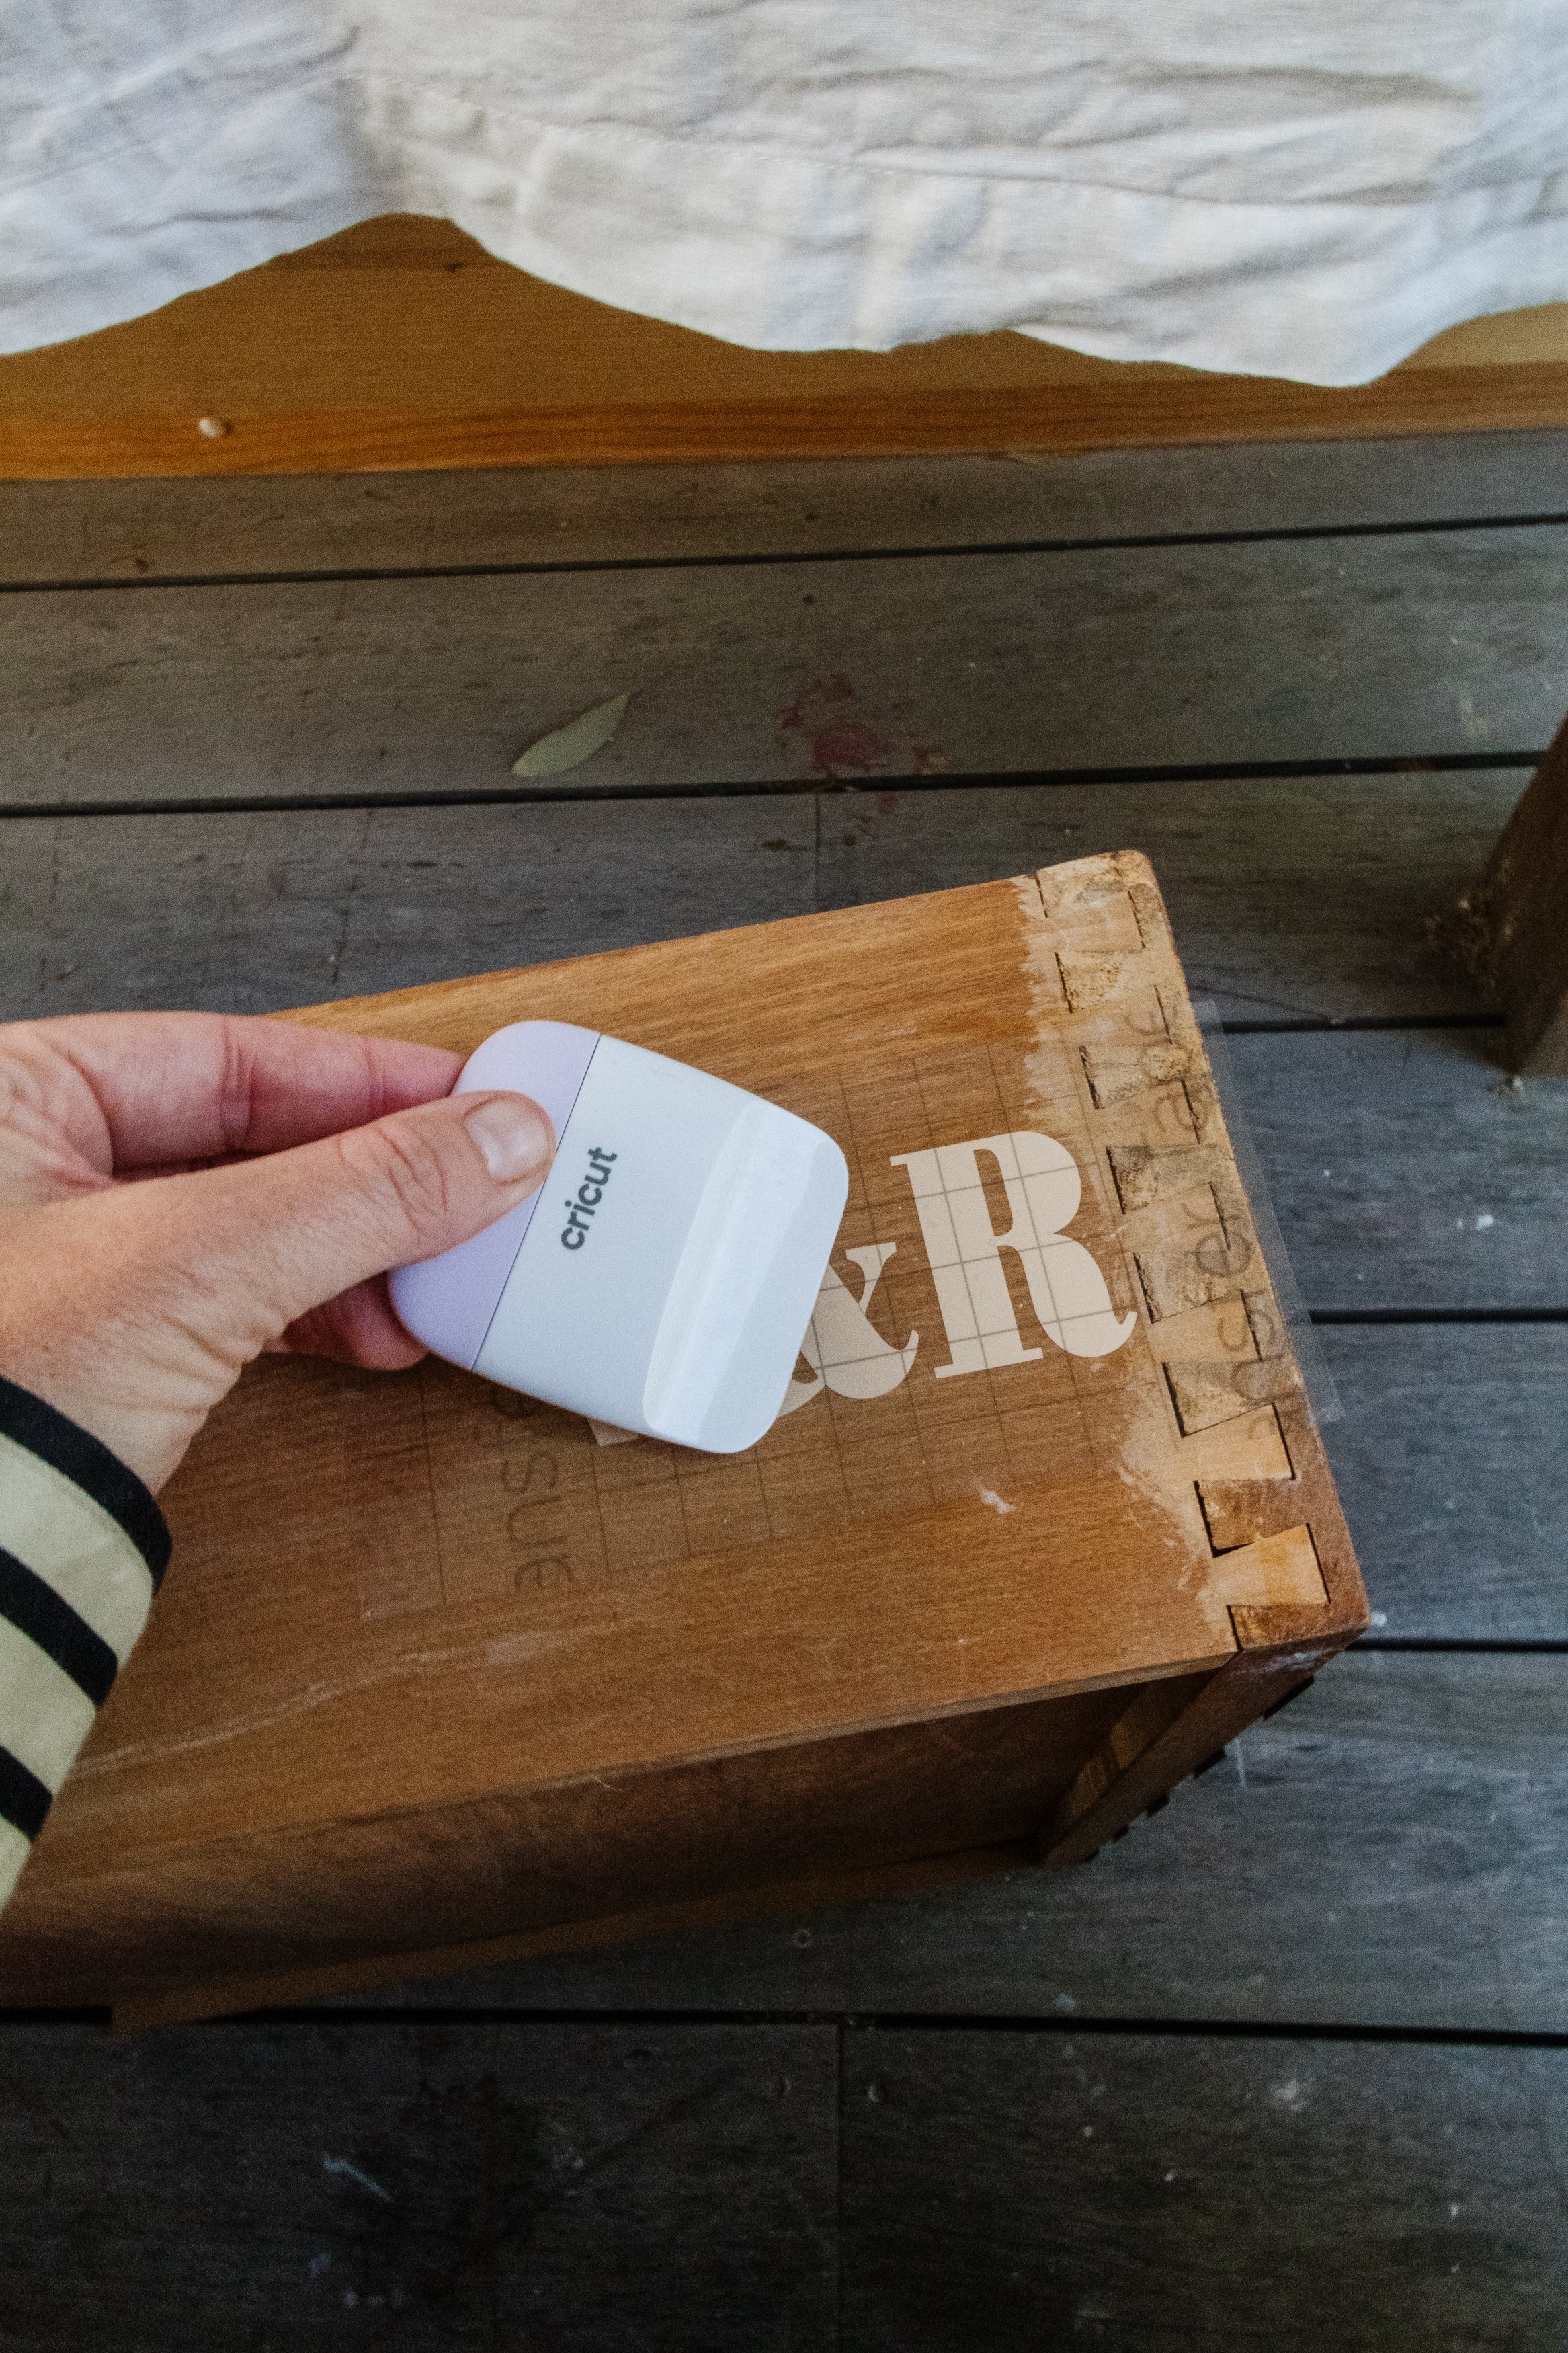
Step 3: Following this I designed a modern V&R for (Vanessa and Richard) monogram in the Cricut app using the Bondoni Poster font and following the prompts in the Cricut app, my Cricut Maker 3 cut 10 monograms from the Vinyl Skin Tones collection (I also needed to use a Grip Mat for this). After this I cut the excess sheeting from around each monogram using scissors and weeded the V&R monograms to remove the negative space. Using transfer tape and a Scraper, I applied each monogram onto the sides of the drawers - I love this little surprise! I also used a ruler to make sure the monograms were placed in the same position.
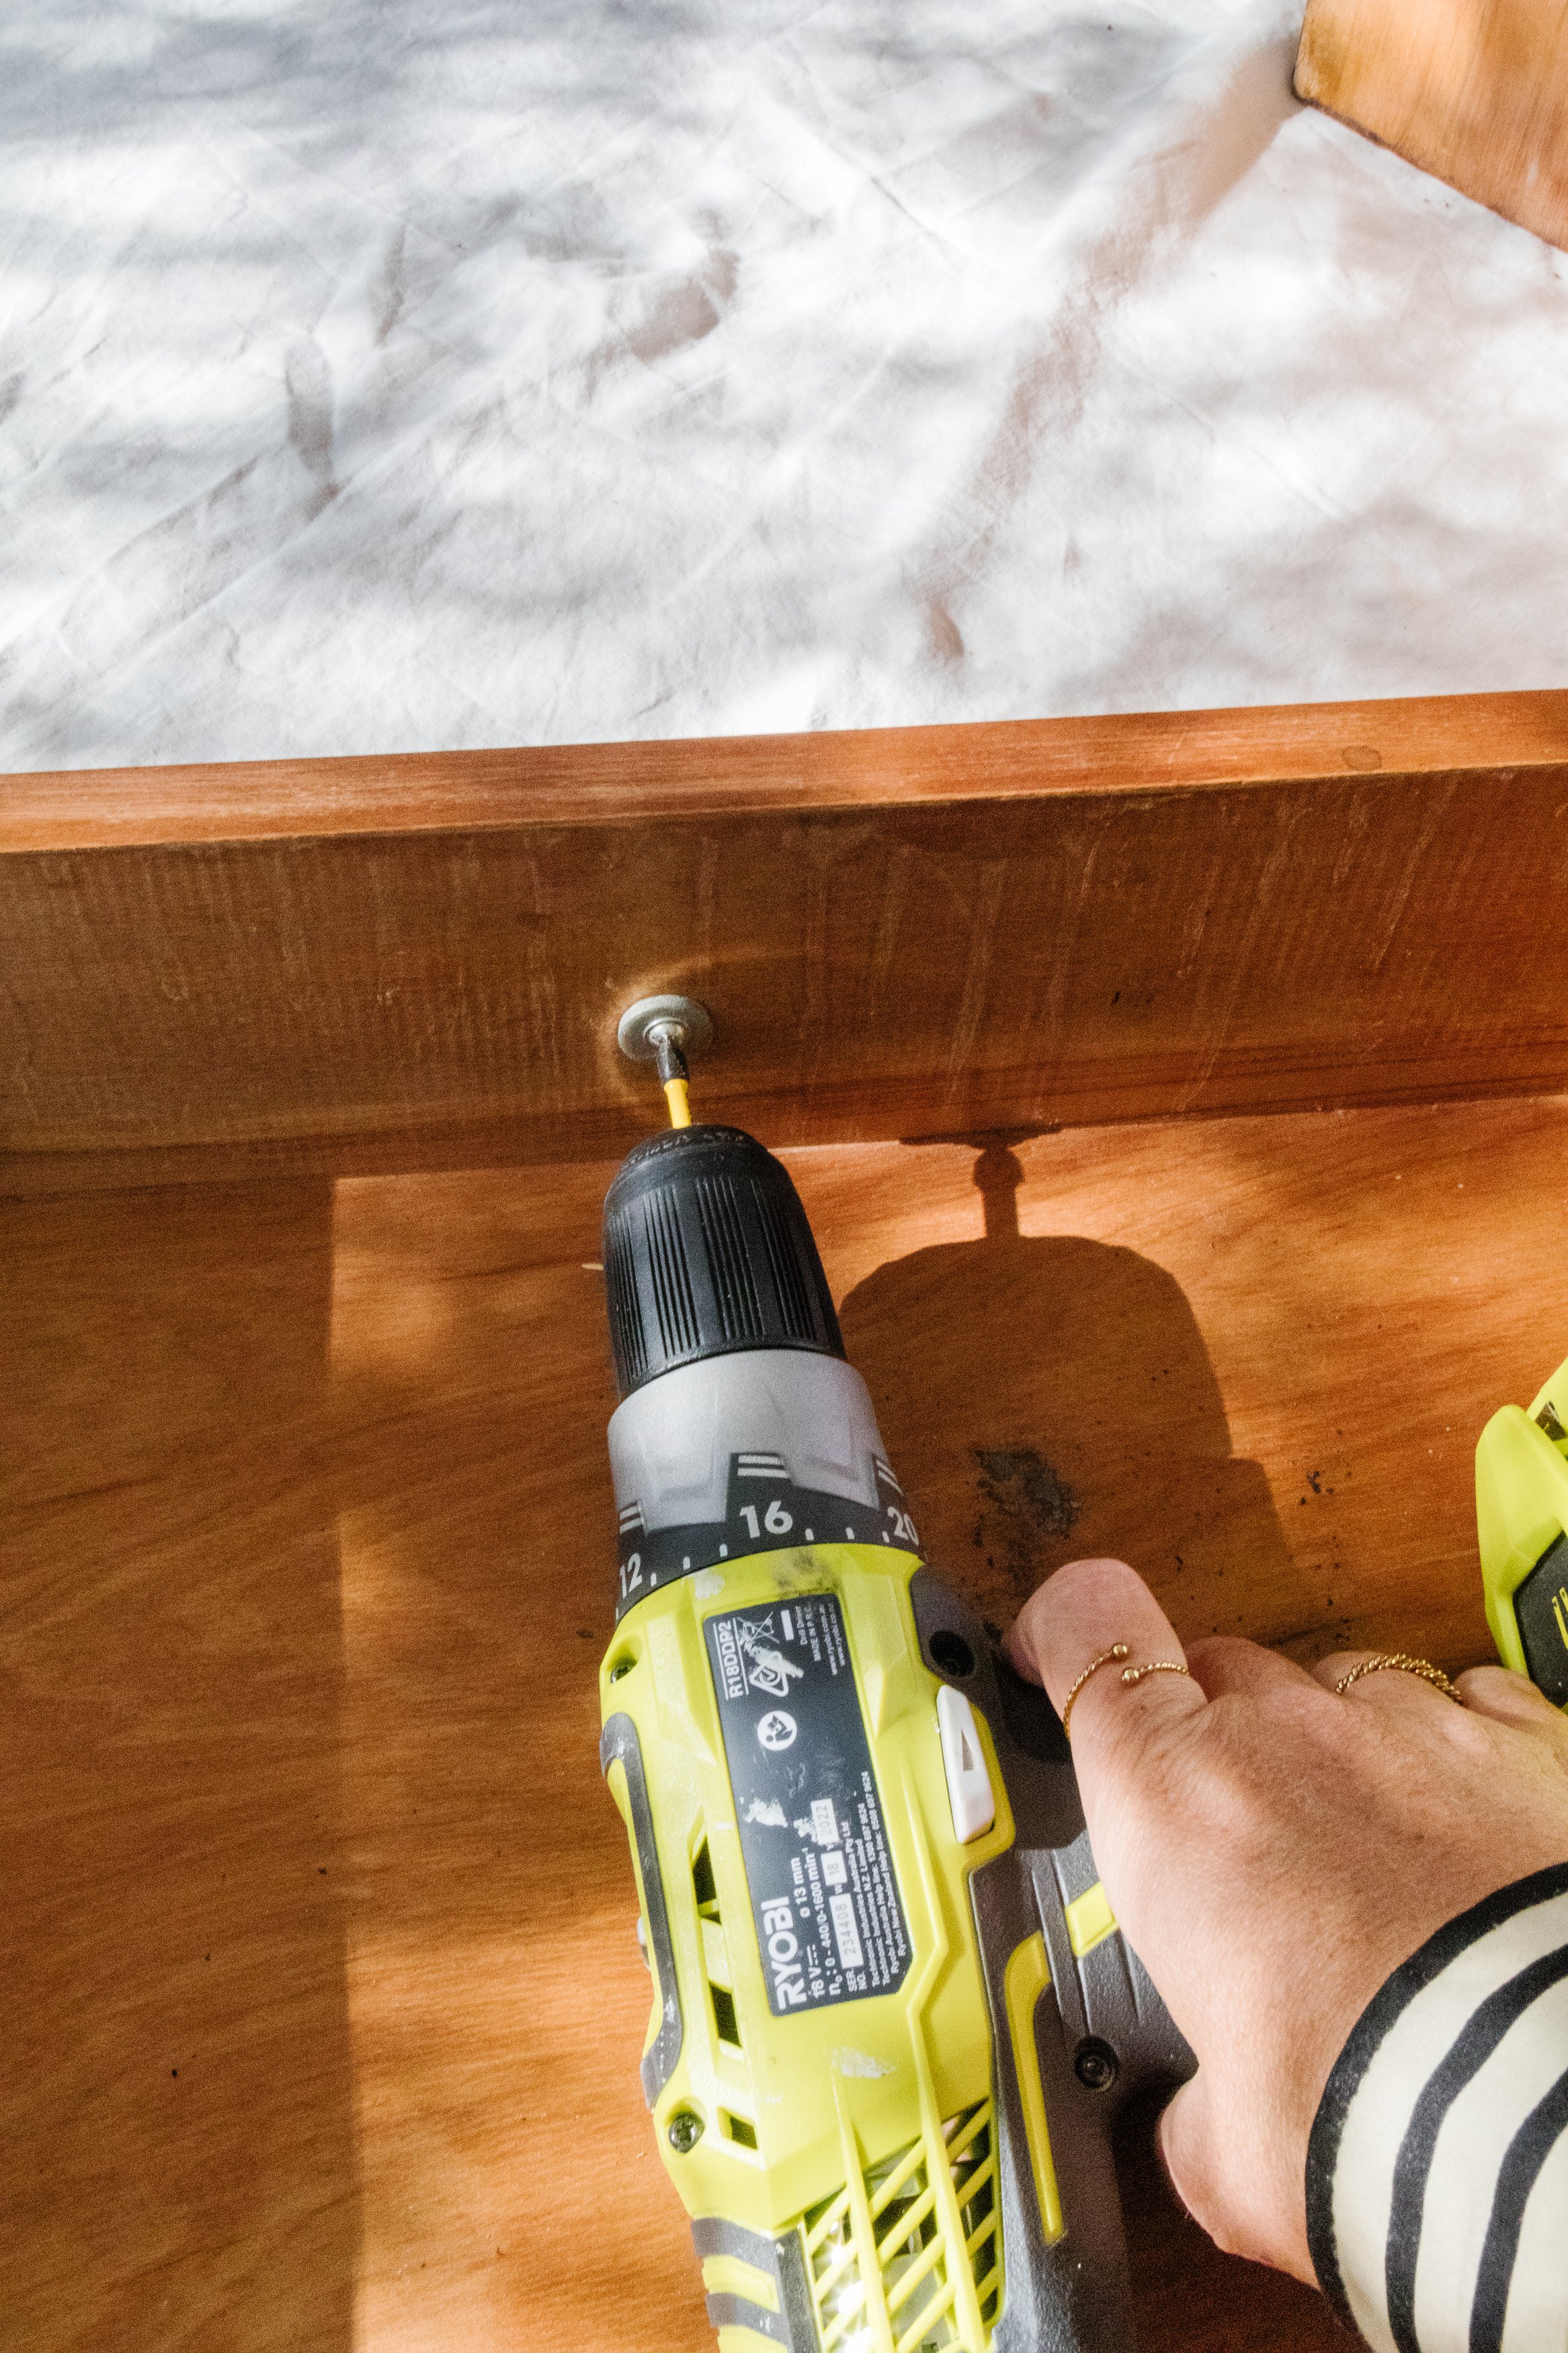
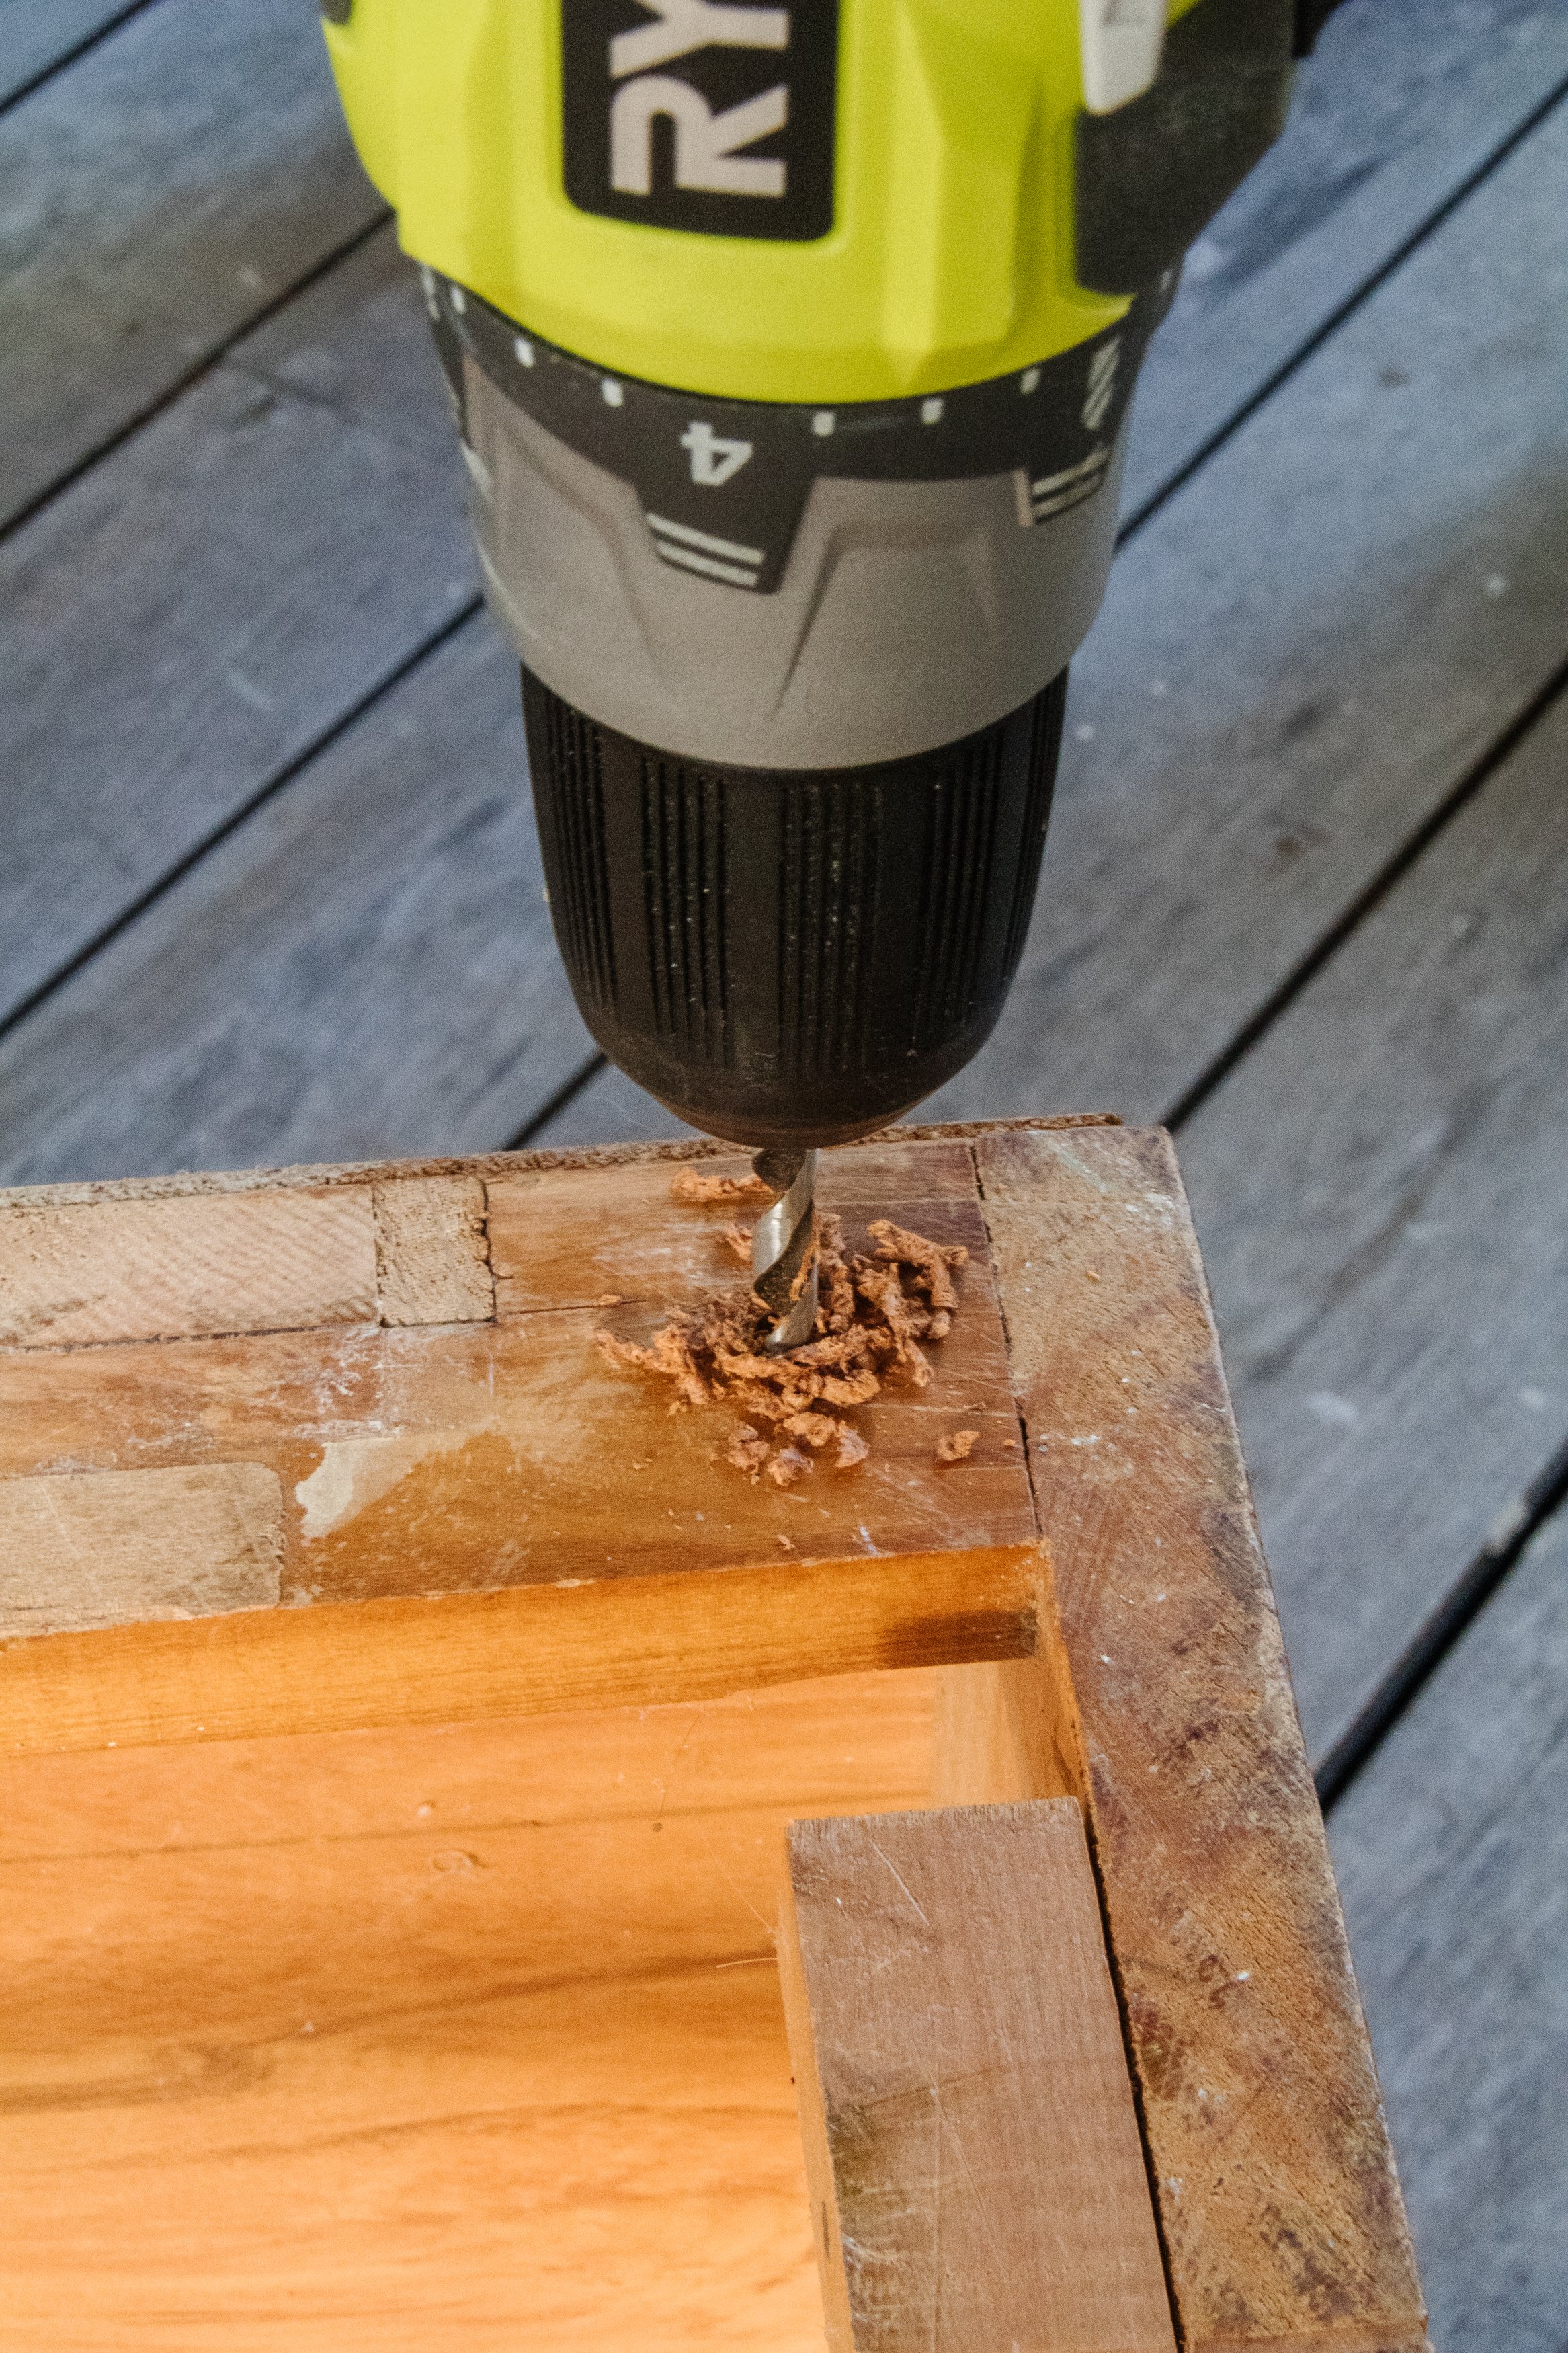
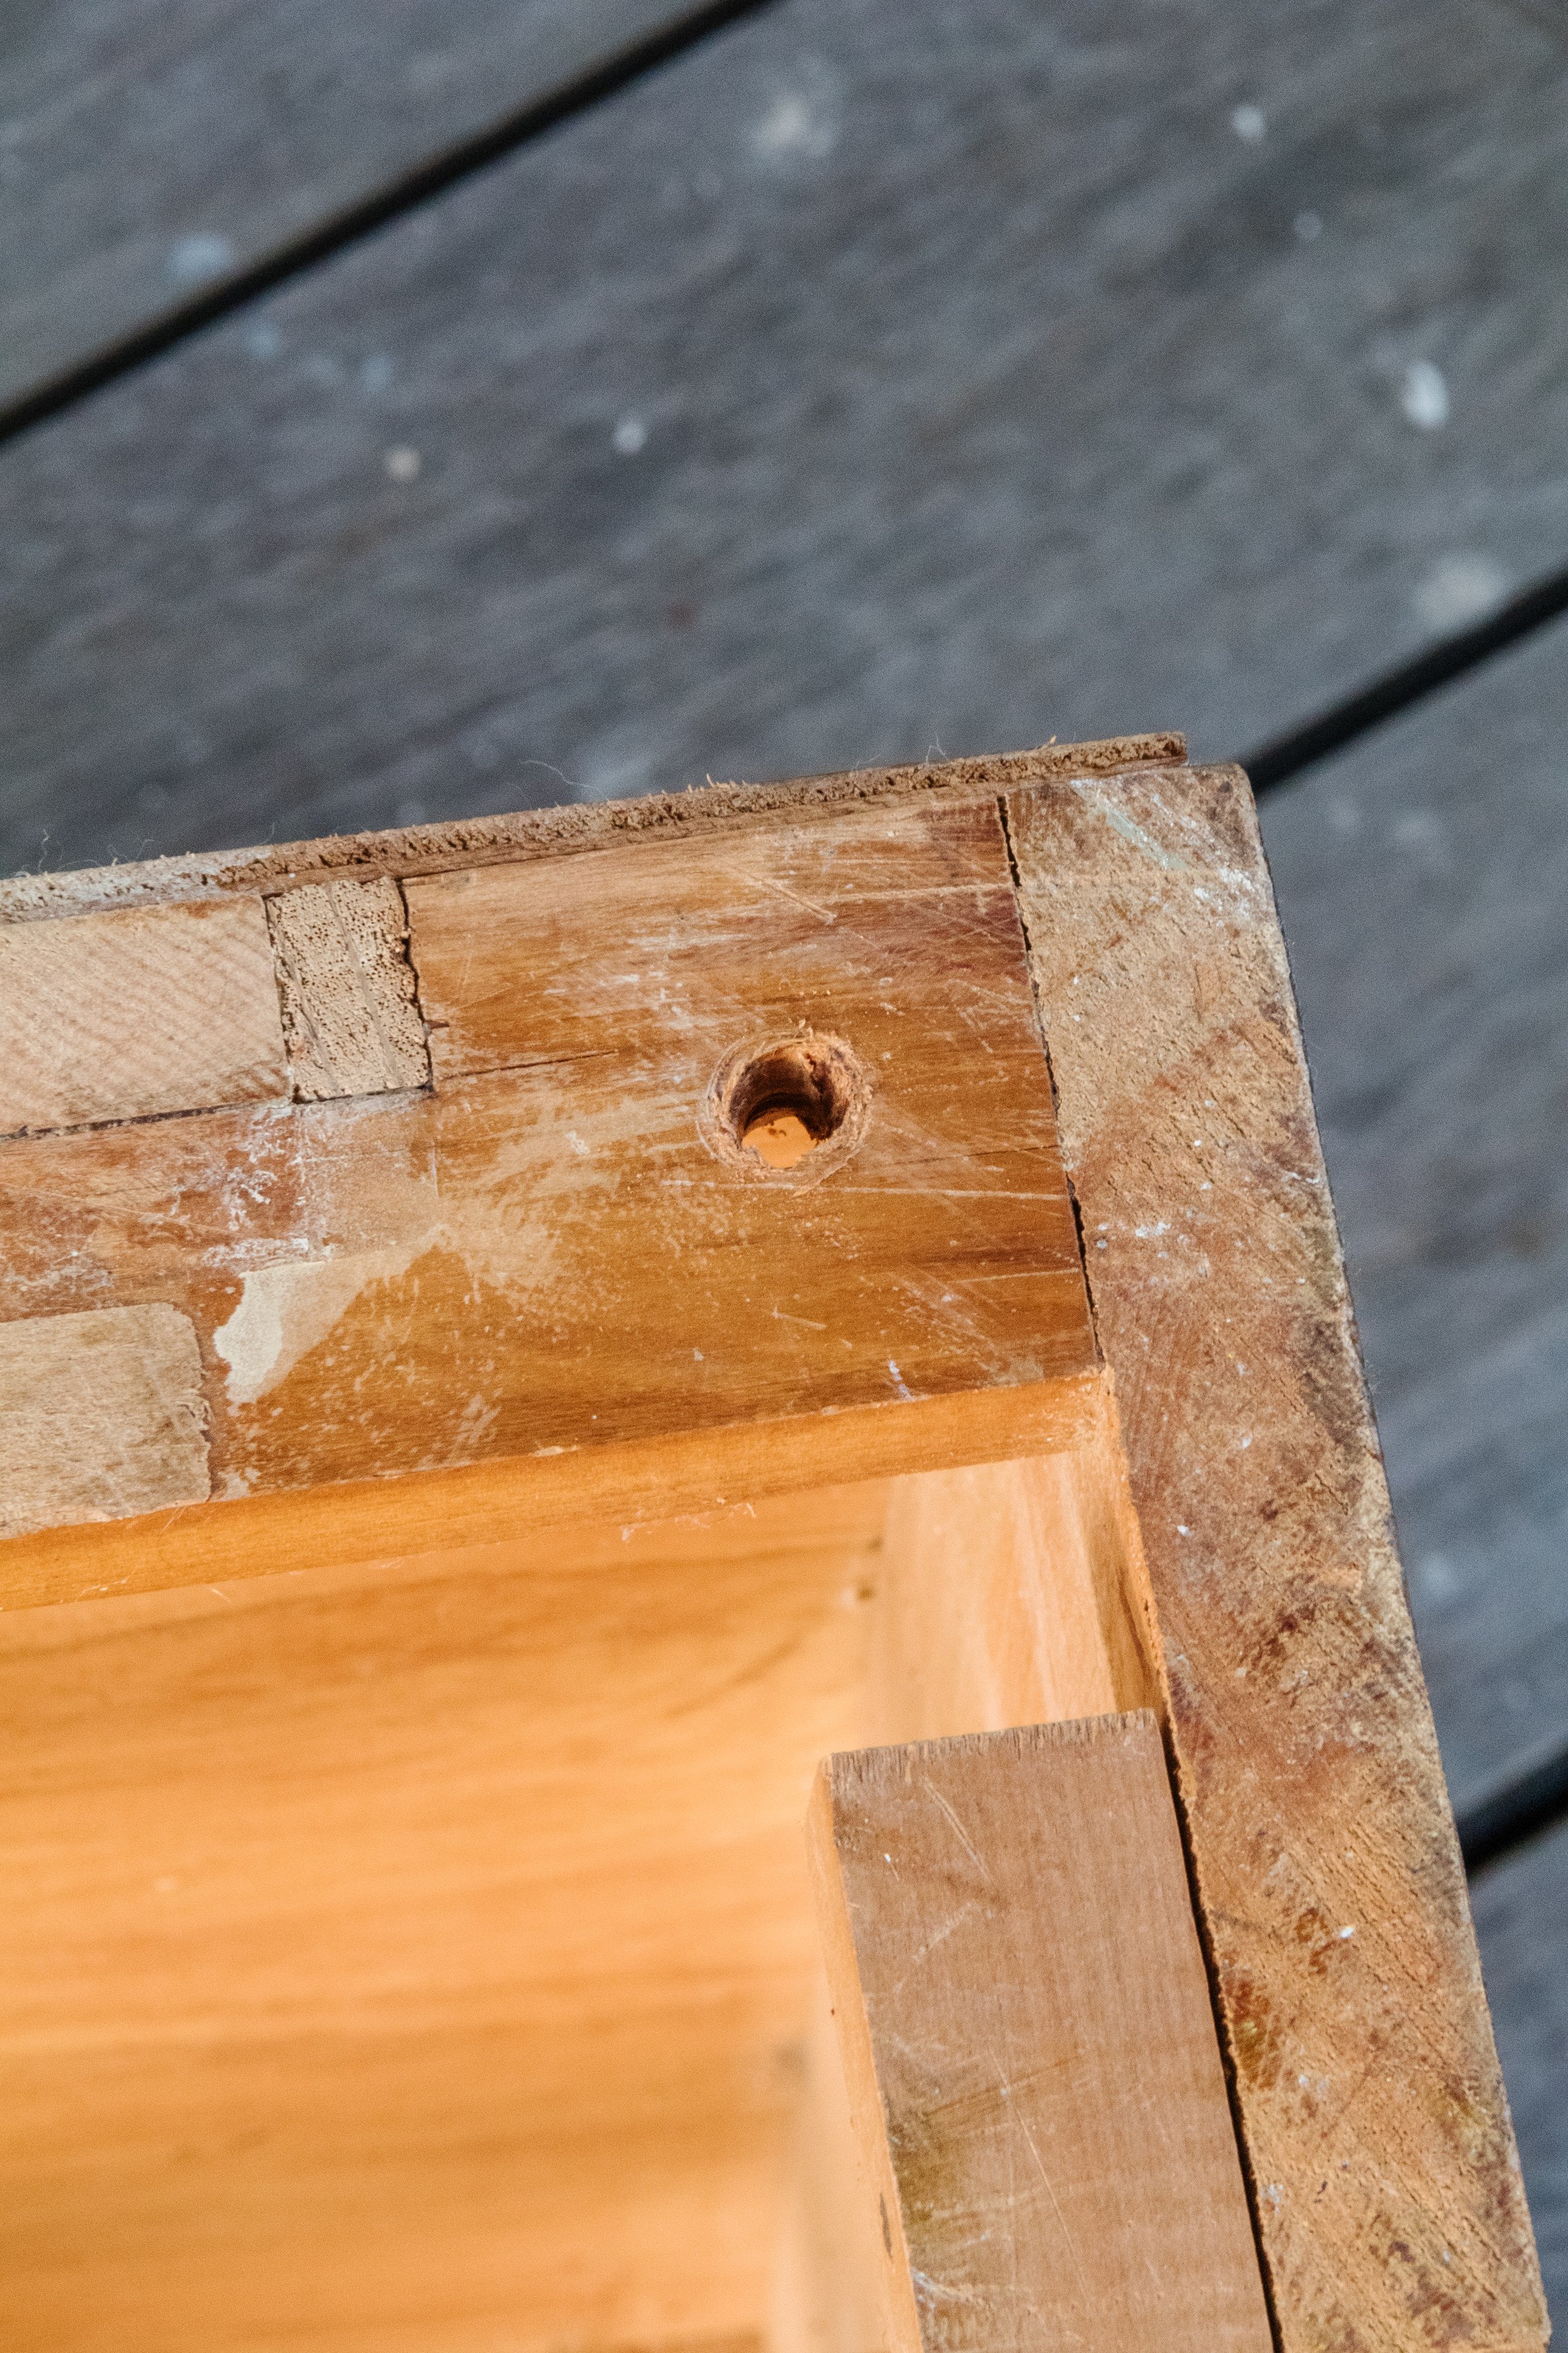
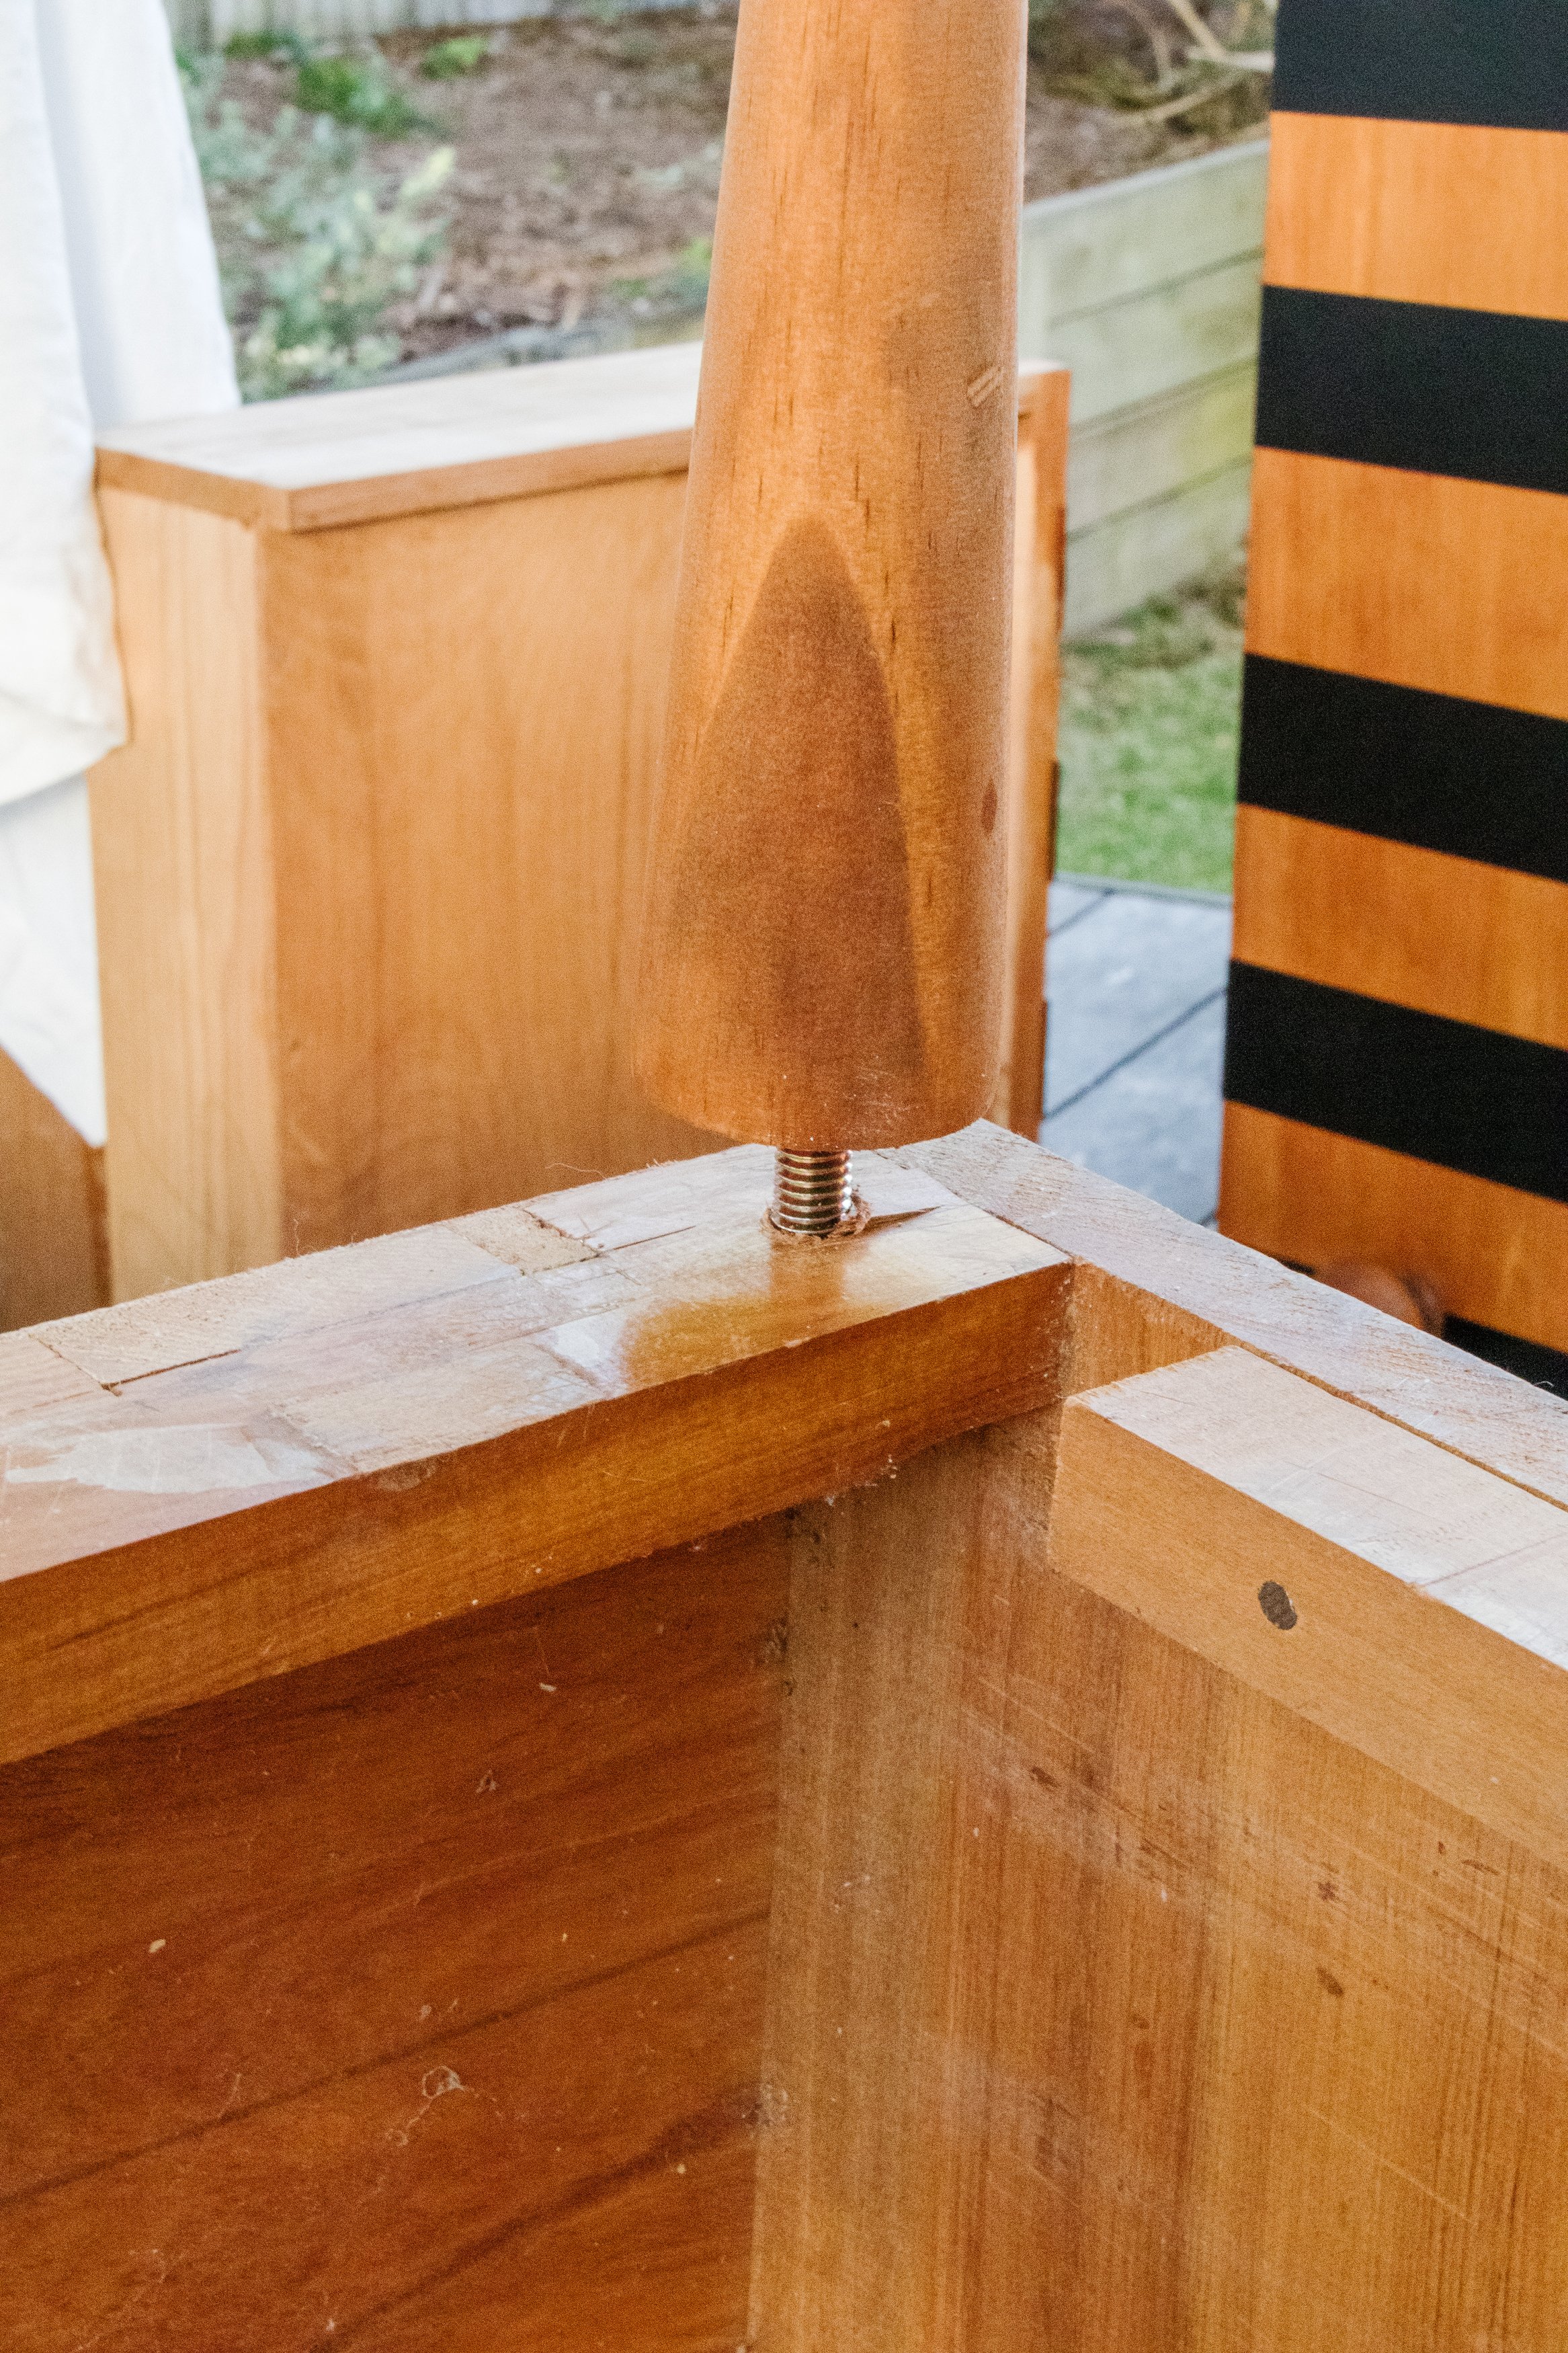
Step 4: I felt that the drawers were a bit too low to the ground so I decided to install 4 mid century modern style timber furniture legs to the bottom of the drawers, which I also stained the timber legs to match the colours of the drawers. And that’s it!
Ta daaaa!
I have to admit when I first thought of this idea I wasn’t sure if I could pull it off - it’s a bit wild! There were also a few factors I needed to consider - finding the right piece of MCM furniture, making sure the pattern and the colours of Cricut’s Smart Vinyl would suit the drawers, adding an element of surprise for Vanessa and Richard’s housewarming gift by applying their monograms onto the sides of the drawers, and elevating the drawers off the ground using timber furniture feet, which I stained to give them that renowned mid century modern look. Best of all? I was able to pull it off in just a couple of hours! And I am absolutely thrilled. I can’t wait to give this to Vanessa and Richard for their housewarming gift.
Honestly, is there anything Cricut can’t do? Speaking of which, you can shop Cricut in a variety of stores in Australia including Officeworks, Spotlight and Big W. I hope this project inspires you to get a Cricut for yourself, they really are amazing! Below are lots of other projects I’ve made using my Cricut:
This project was in collaboration with Cricut Australia

