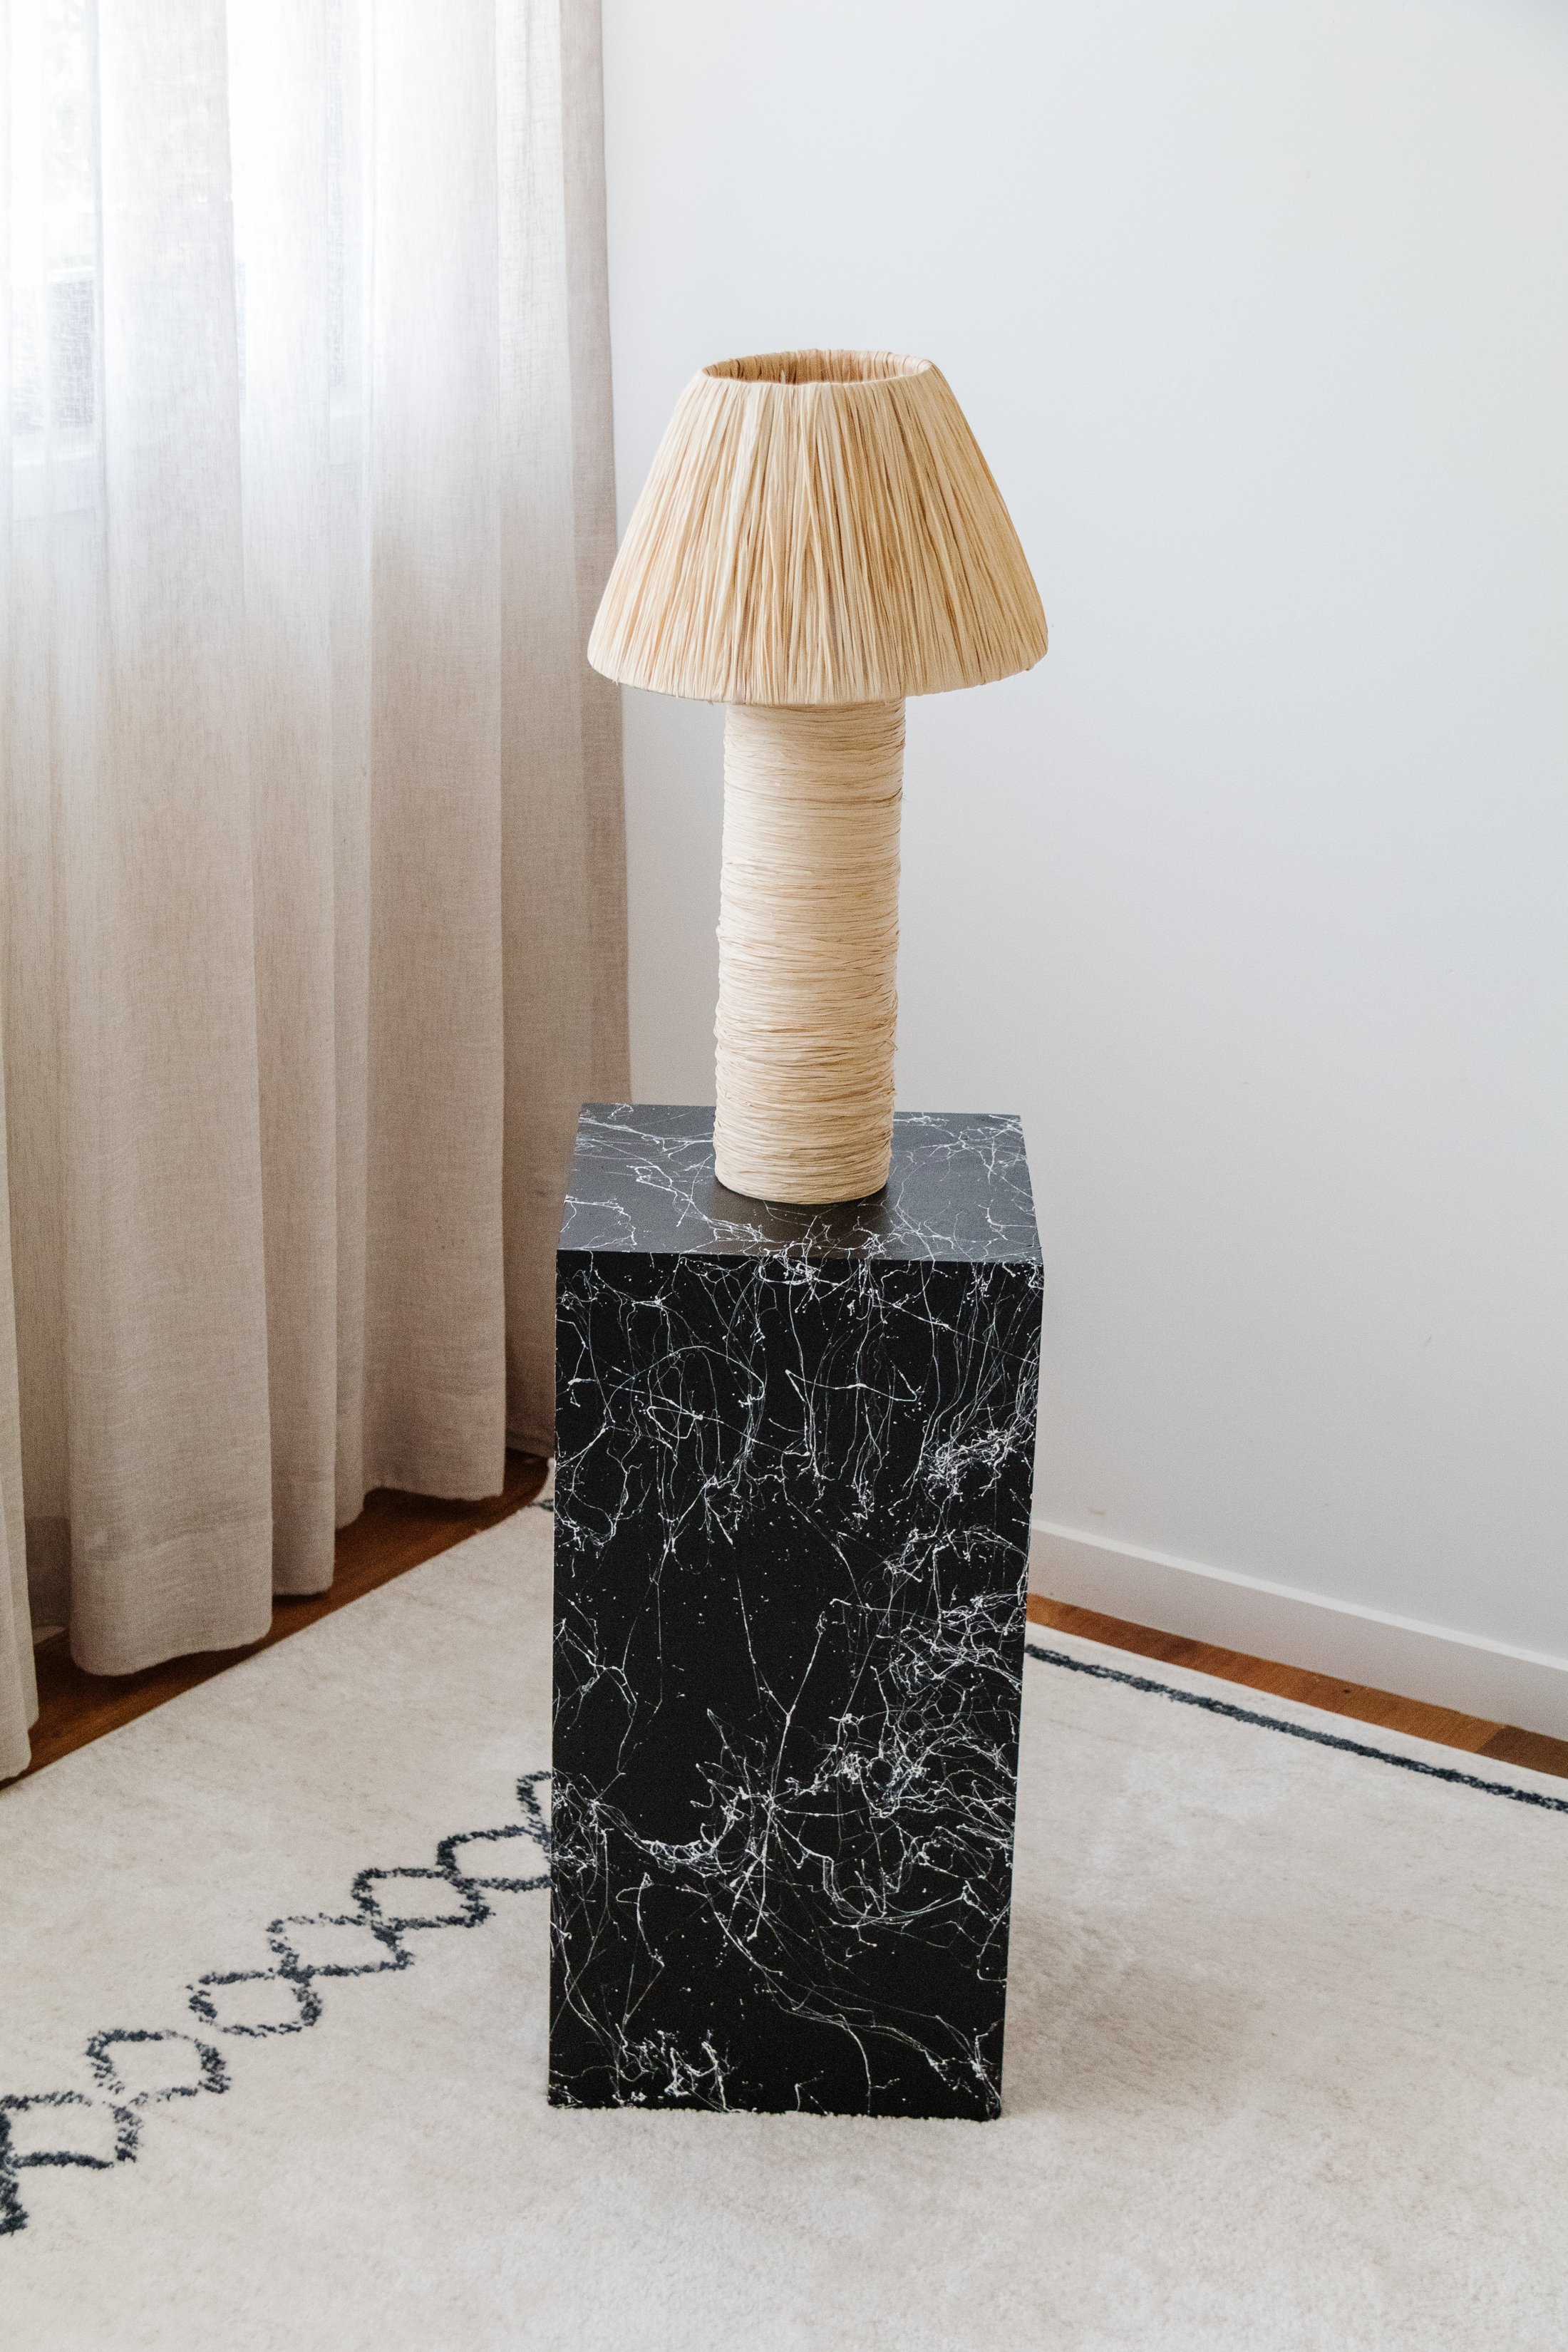
How To Make A Marble Effect Plinth
Lusting over marble tables, but they’re out of your budget? Let me show you how to make one - for less!
I have been loving marble tables for a really long time - side tables, coffee tables, dining tables and bedside tables. Rightfully so, they can cost into the thousands. And as I am constantly thinking about how you can make your dream home for less, I decided to give myself a challenge and see if I could make my own Marble Effect Plinth. As you know, I always get my materials for my DIY and upcycling projects from Bunnings, so I am delighted to be partnering with them for this fun project. The first thing I did was head to Bunnings to explore what I could find to help me make my idea come to life. My original plan was to use marble effect vinyl adhesive for this project (by the way, I have an upcycle for this coming soon!) but then I happened to stumble across Dulux DuraMax Marble Effect Spray Paint. I knew this spray paint would be a lot quicker and easier than vinyl, and as they say - the rest is history. Read on to learn how to make your very own Marble Effect Plinth, and as always I have included all the steps and materials you need to make this Easter craft project even easier for you when you go to Bunnings.
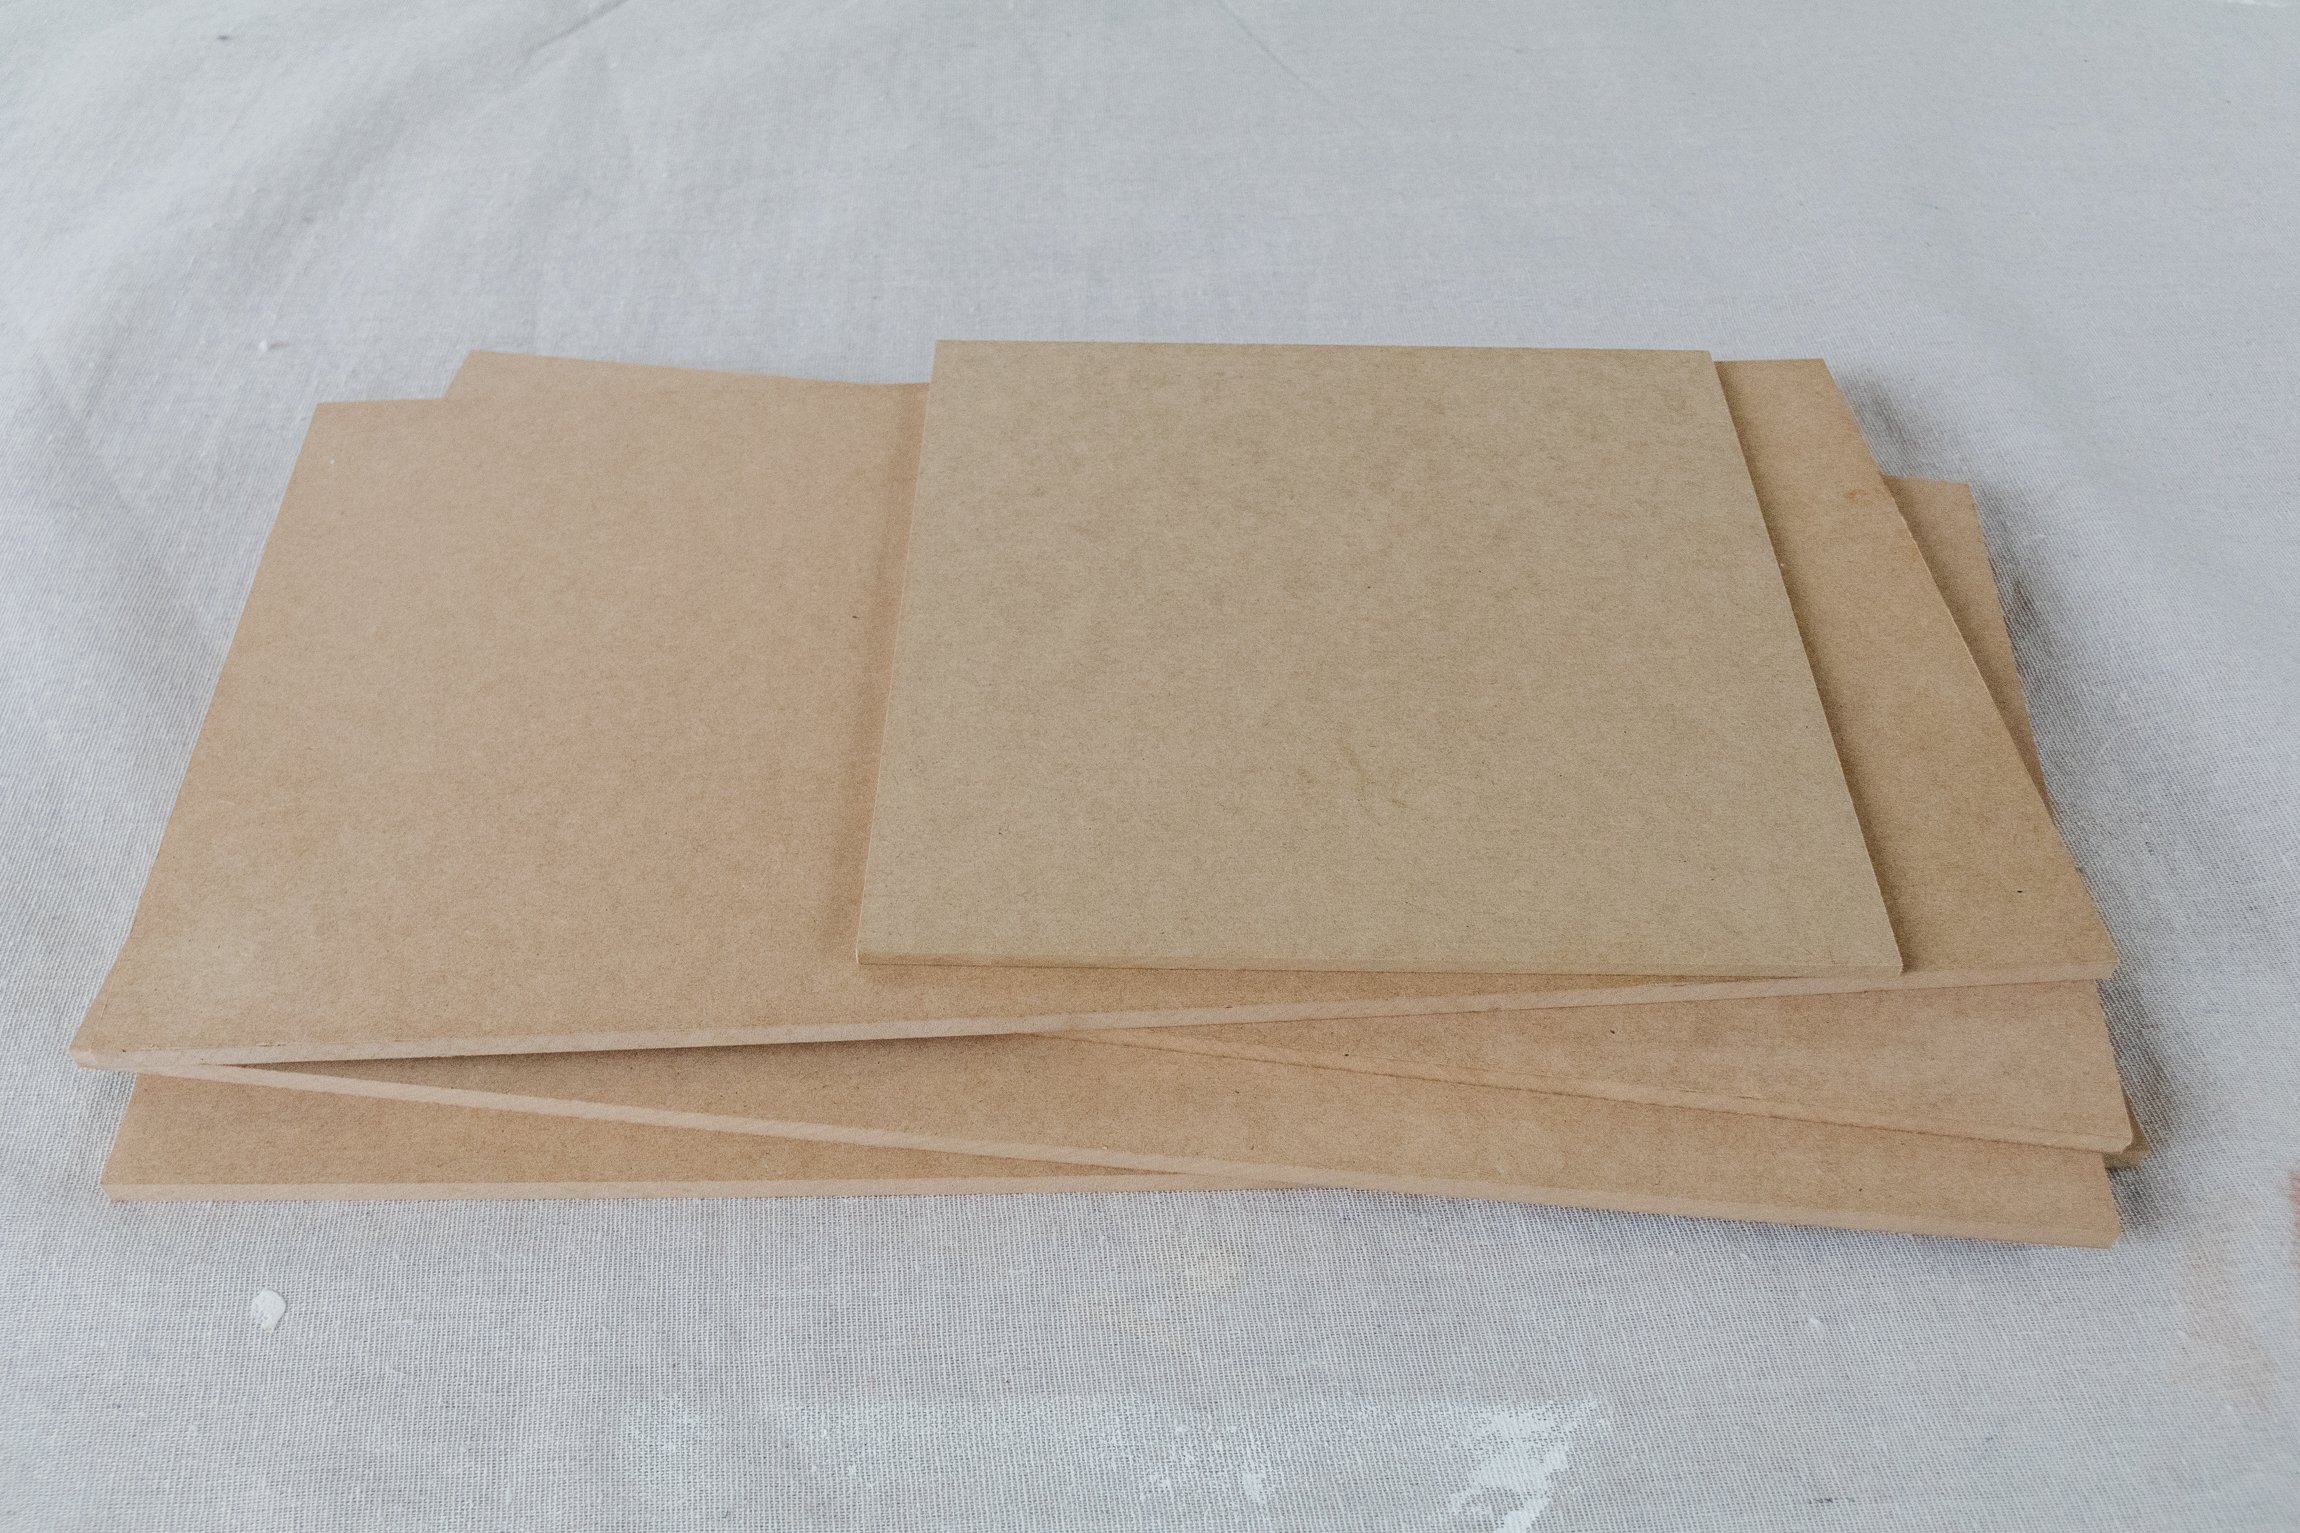
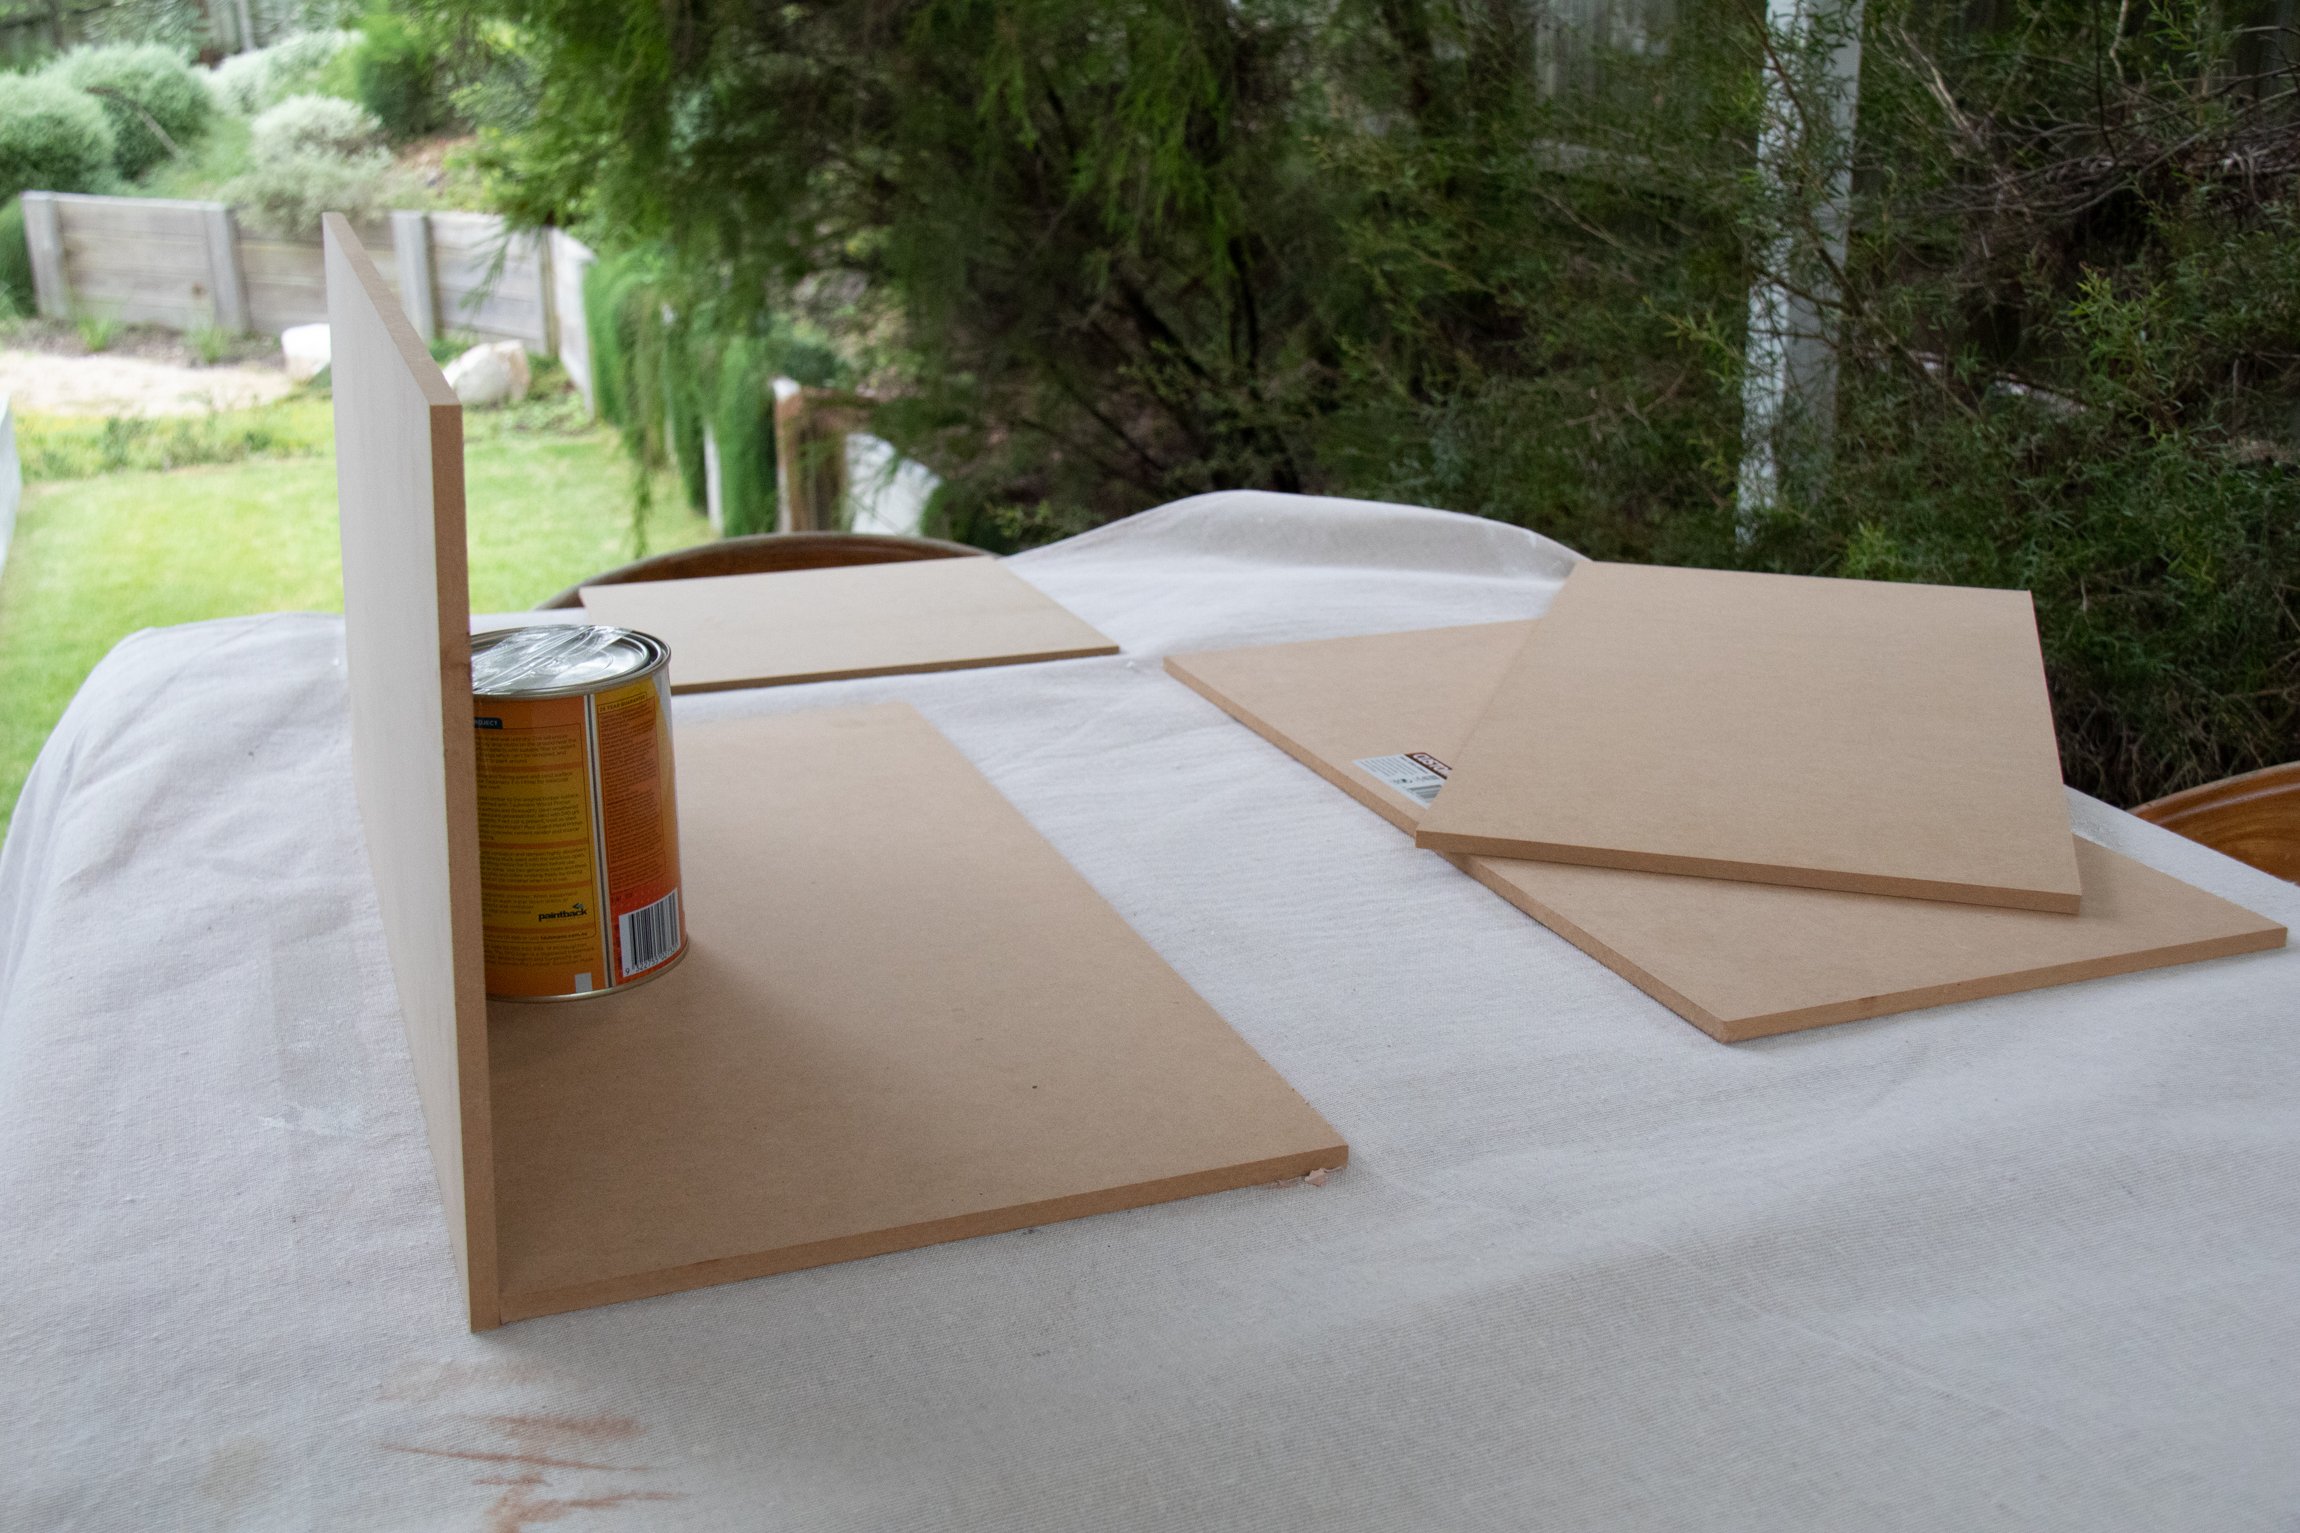
Before you start this project, if you don’t have a mitre saw at home, which will help you cut perfectly straight lines through your MDF panels, Bunnings are actually able to cut the panels for you. This is what I opted for this time around. You could cut the MDF panel using a jigsaw but it wouldn’t create the perfectly straight edges you need for this plinth.
Materials
All materials are from Bunnings:
2 x MDF panel 1200mm x 600mm cut into 4 sides and 1 top (there are more details on this below). Preferably 12mm thick or more.
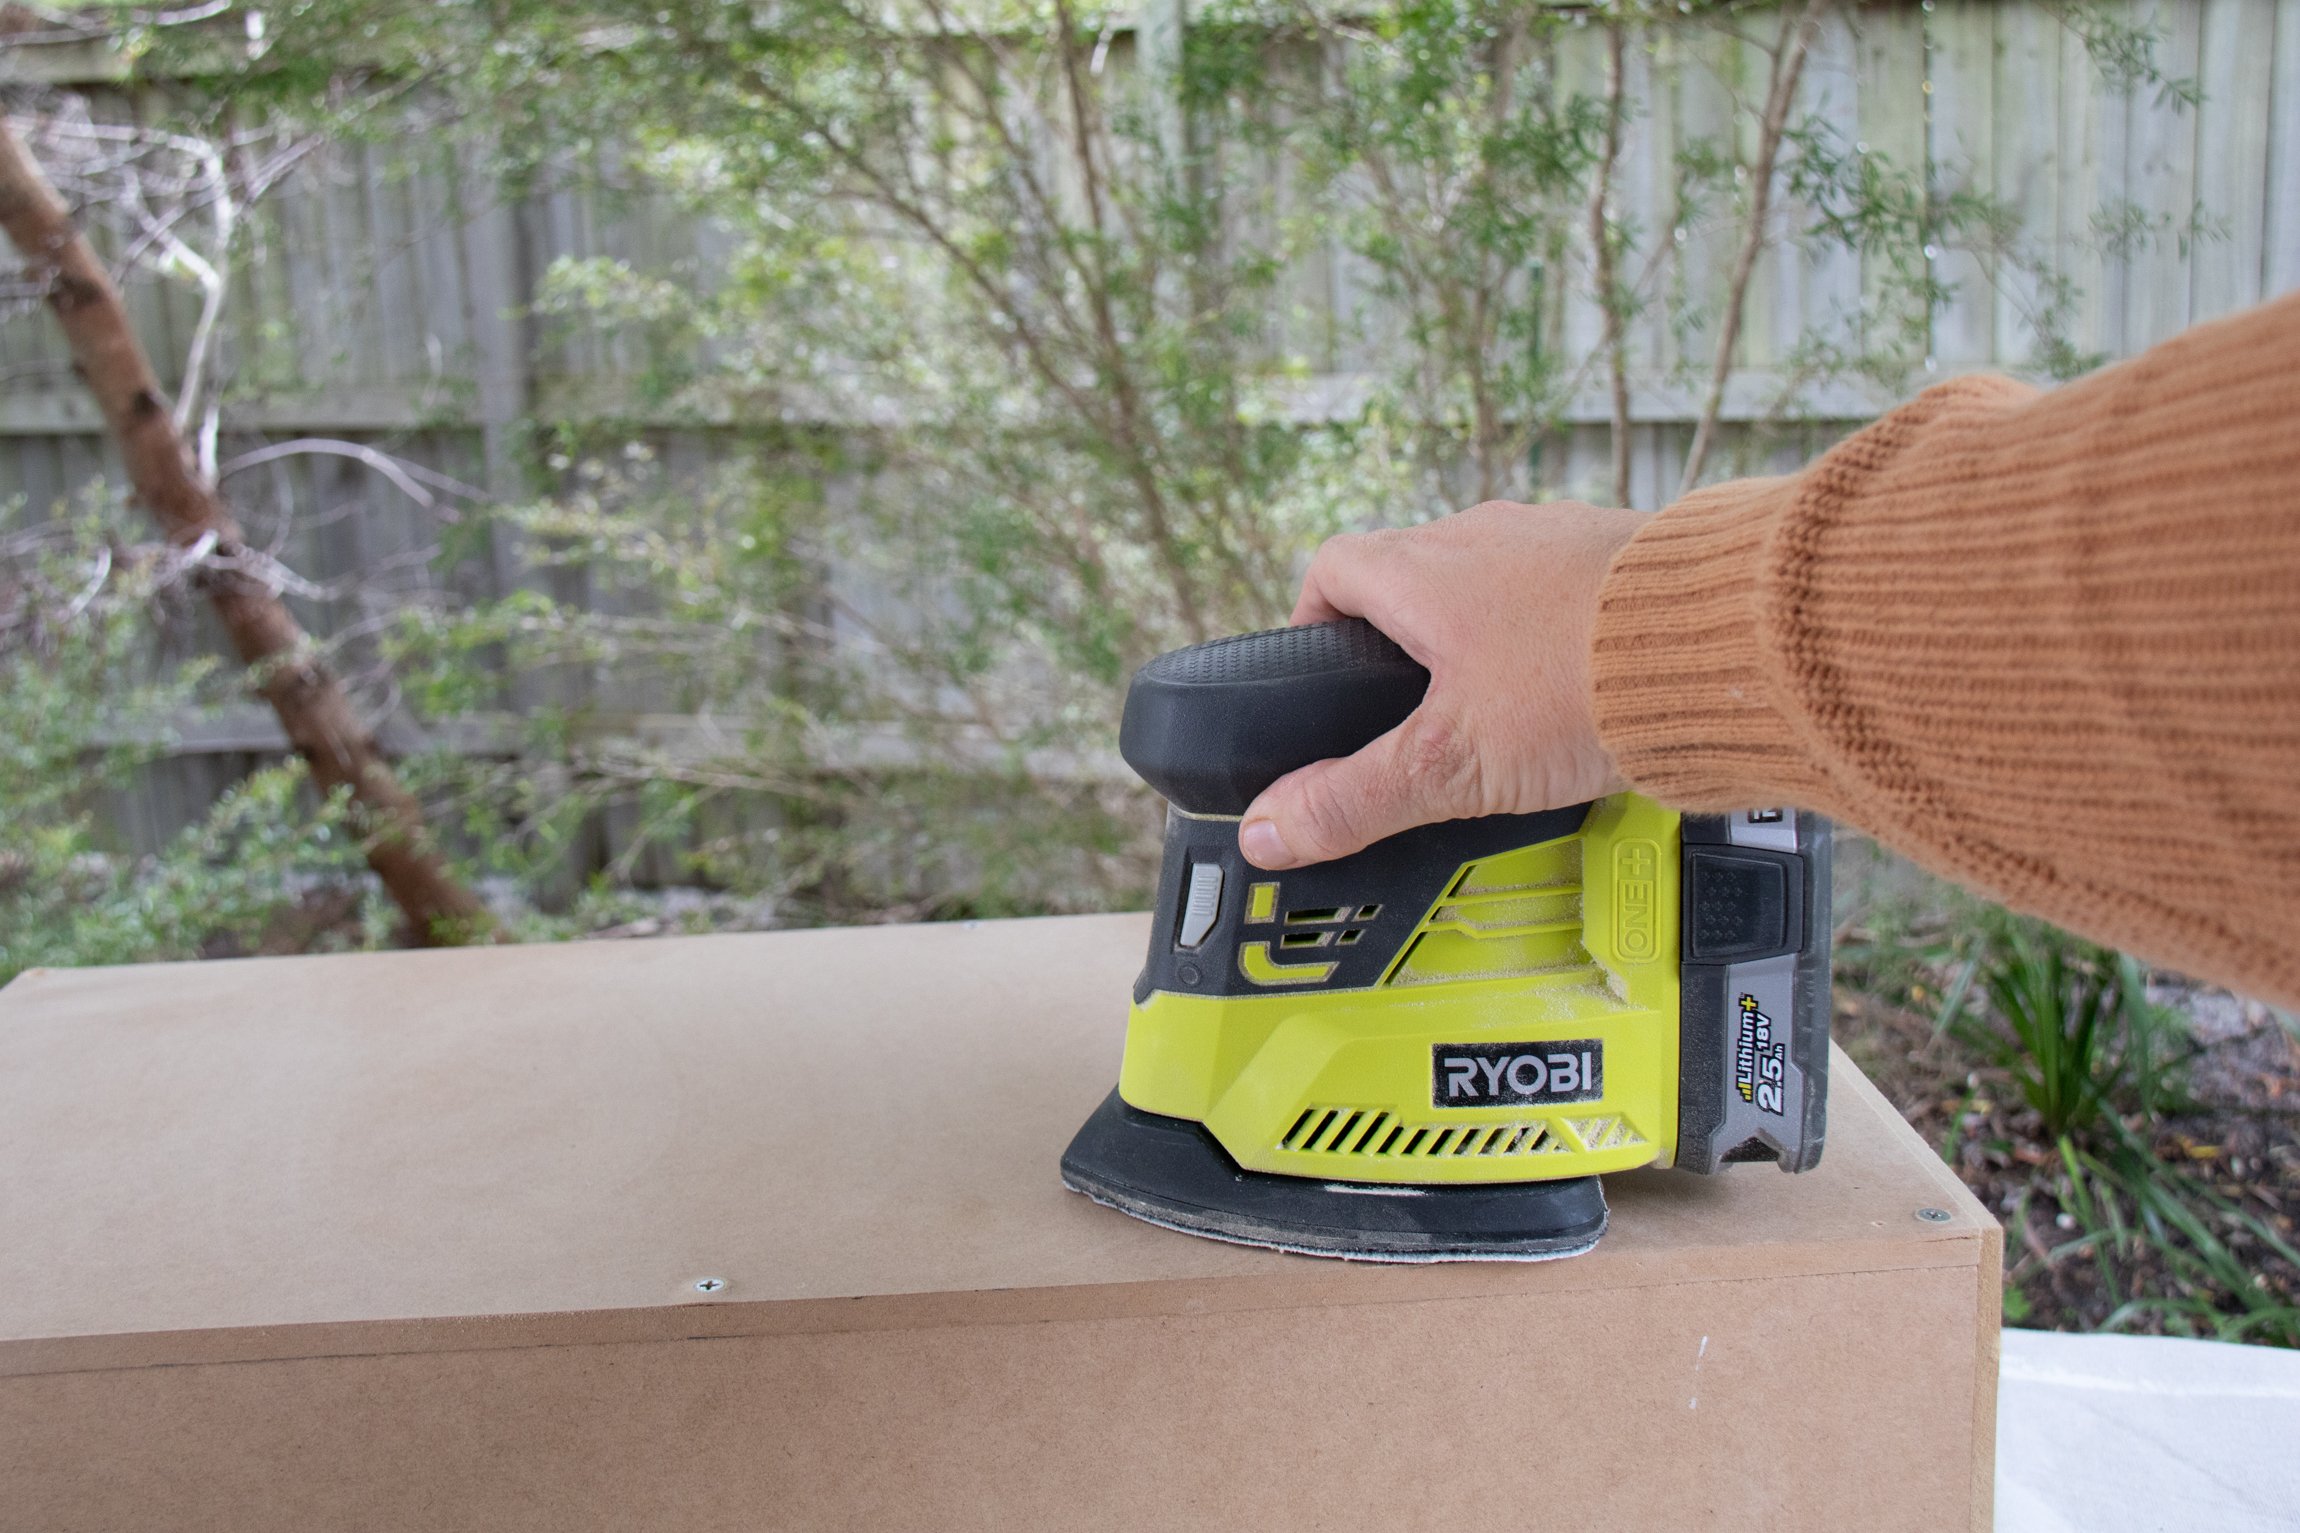
You will need a sander, and a drill with a phillips head bit and a multi-purpose drill bit for drilling into the MDF (to create pilot holes - don’t worry, I will explain what these are during the tutorial :).
Measurements
4 x 600mm x 300mm
For the top of the plinth, you will need to mock assemble the four sides and take your measurement. The sides of the top of the plinth won’t all be equal or a perfect square, rather you’ll have something like 2 x sides 300mm and 2 x sides 310mm.
How To
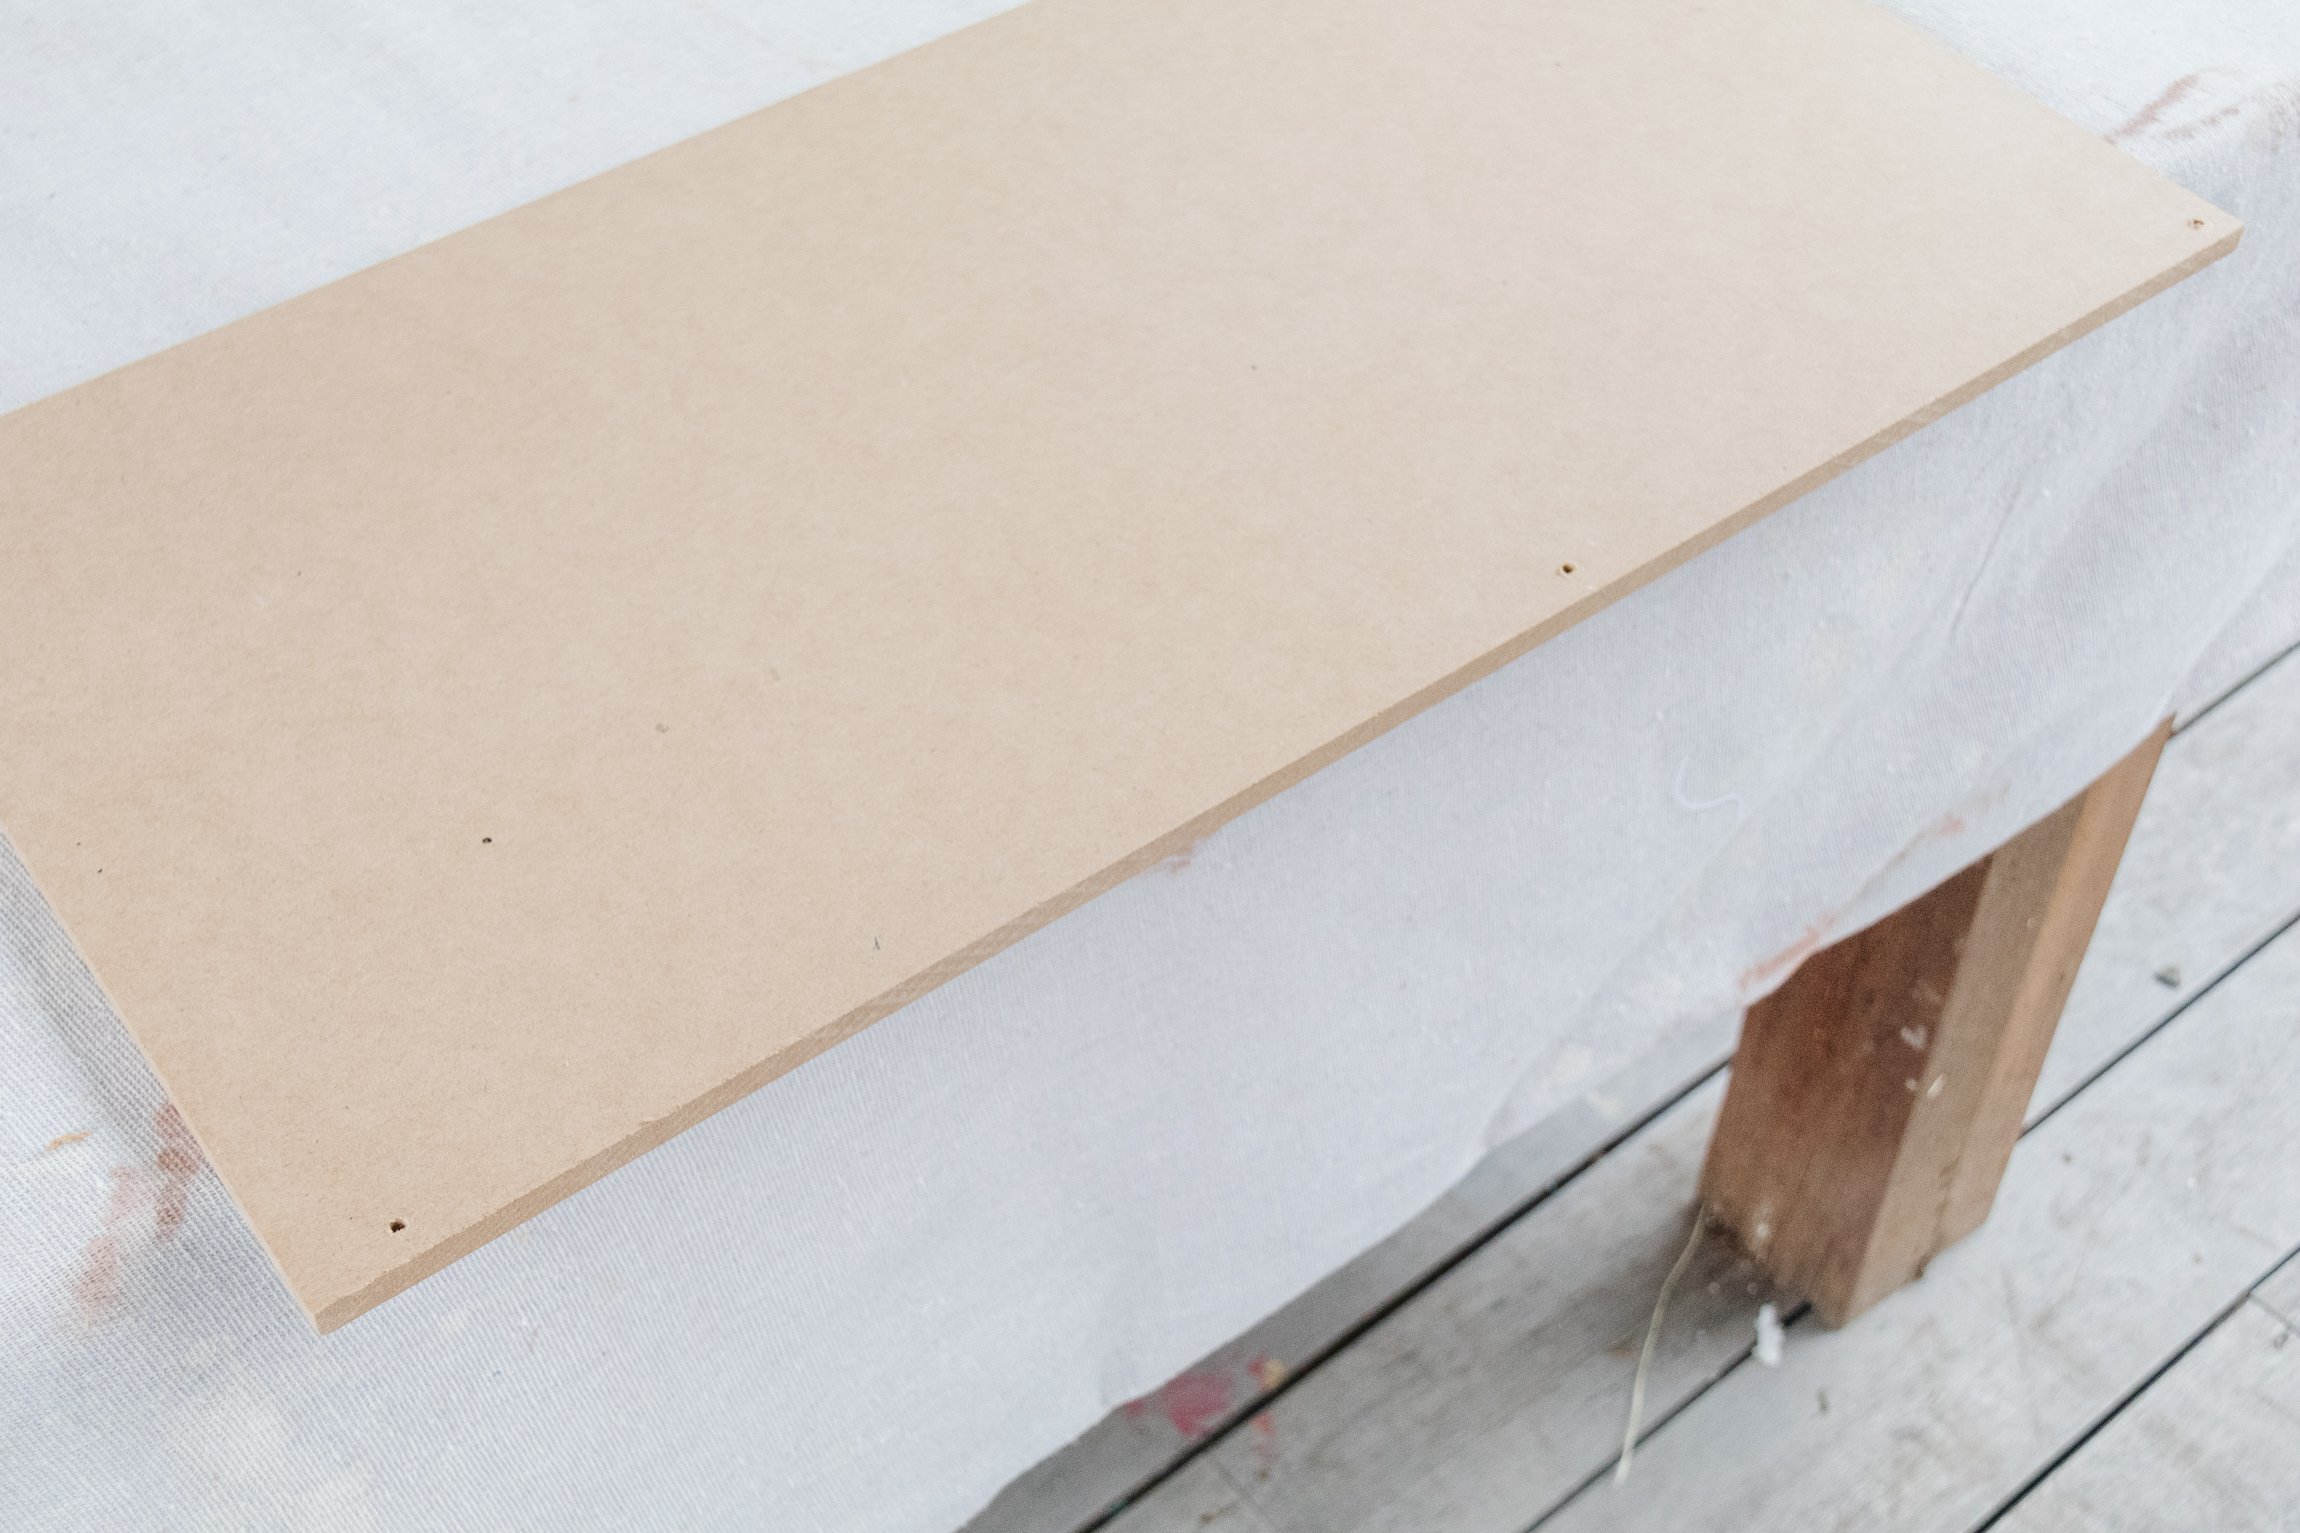
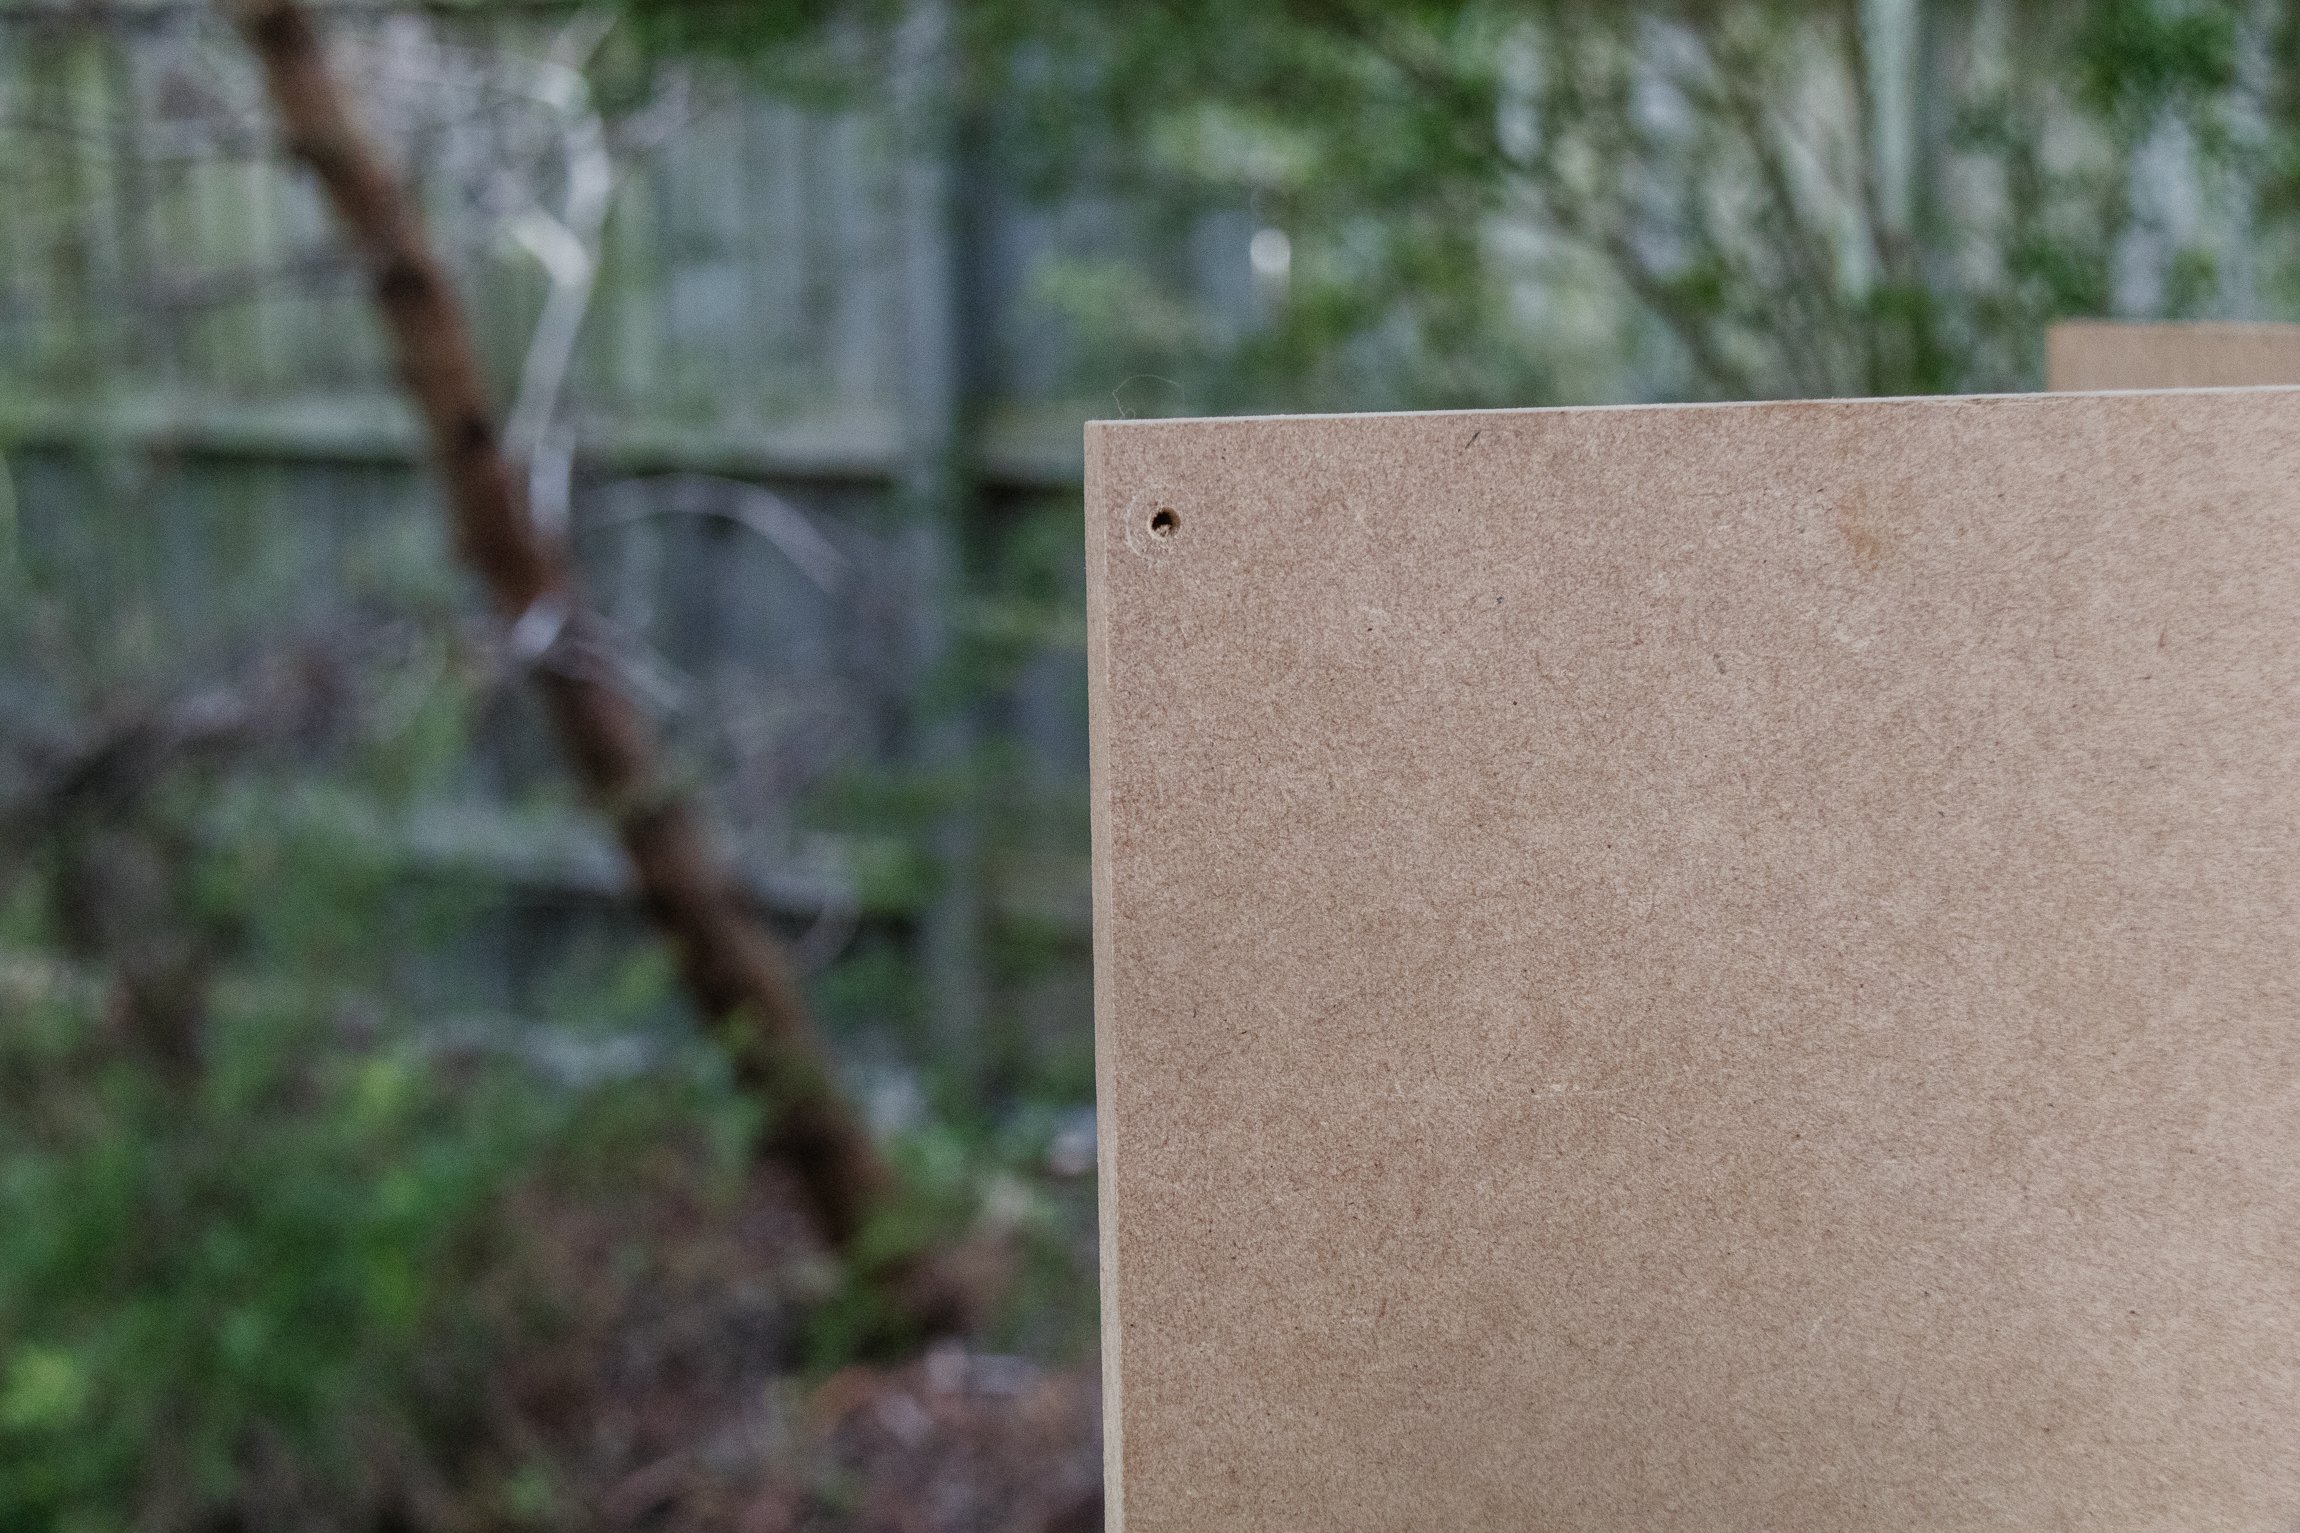
The first thing you need to do is build the plinth. Drill three pilot holes along the length of one piece of MDF.
What is a pilot hole? Basically you are pre-drilling a smaller hole than the screw into the MDF. You will need to use a smaller multipurpose drill bit than the size of the screw. If you drill too large a hole, the screw won’t stay in position.
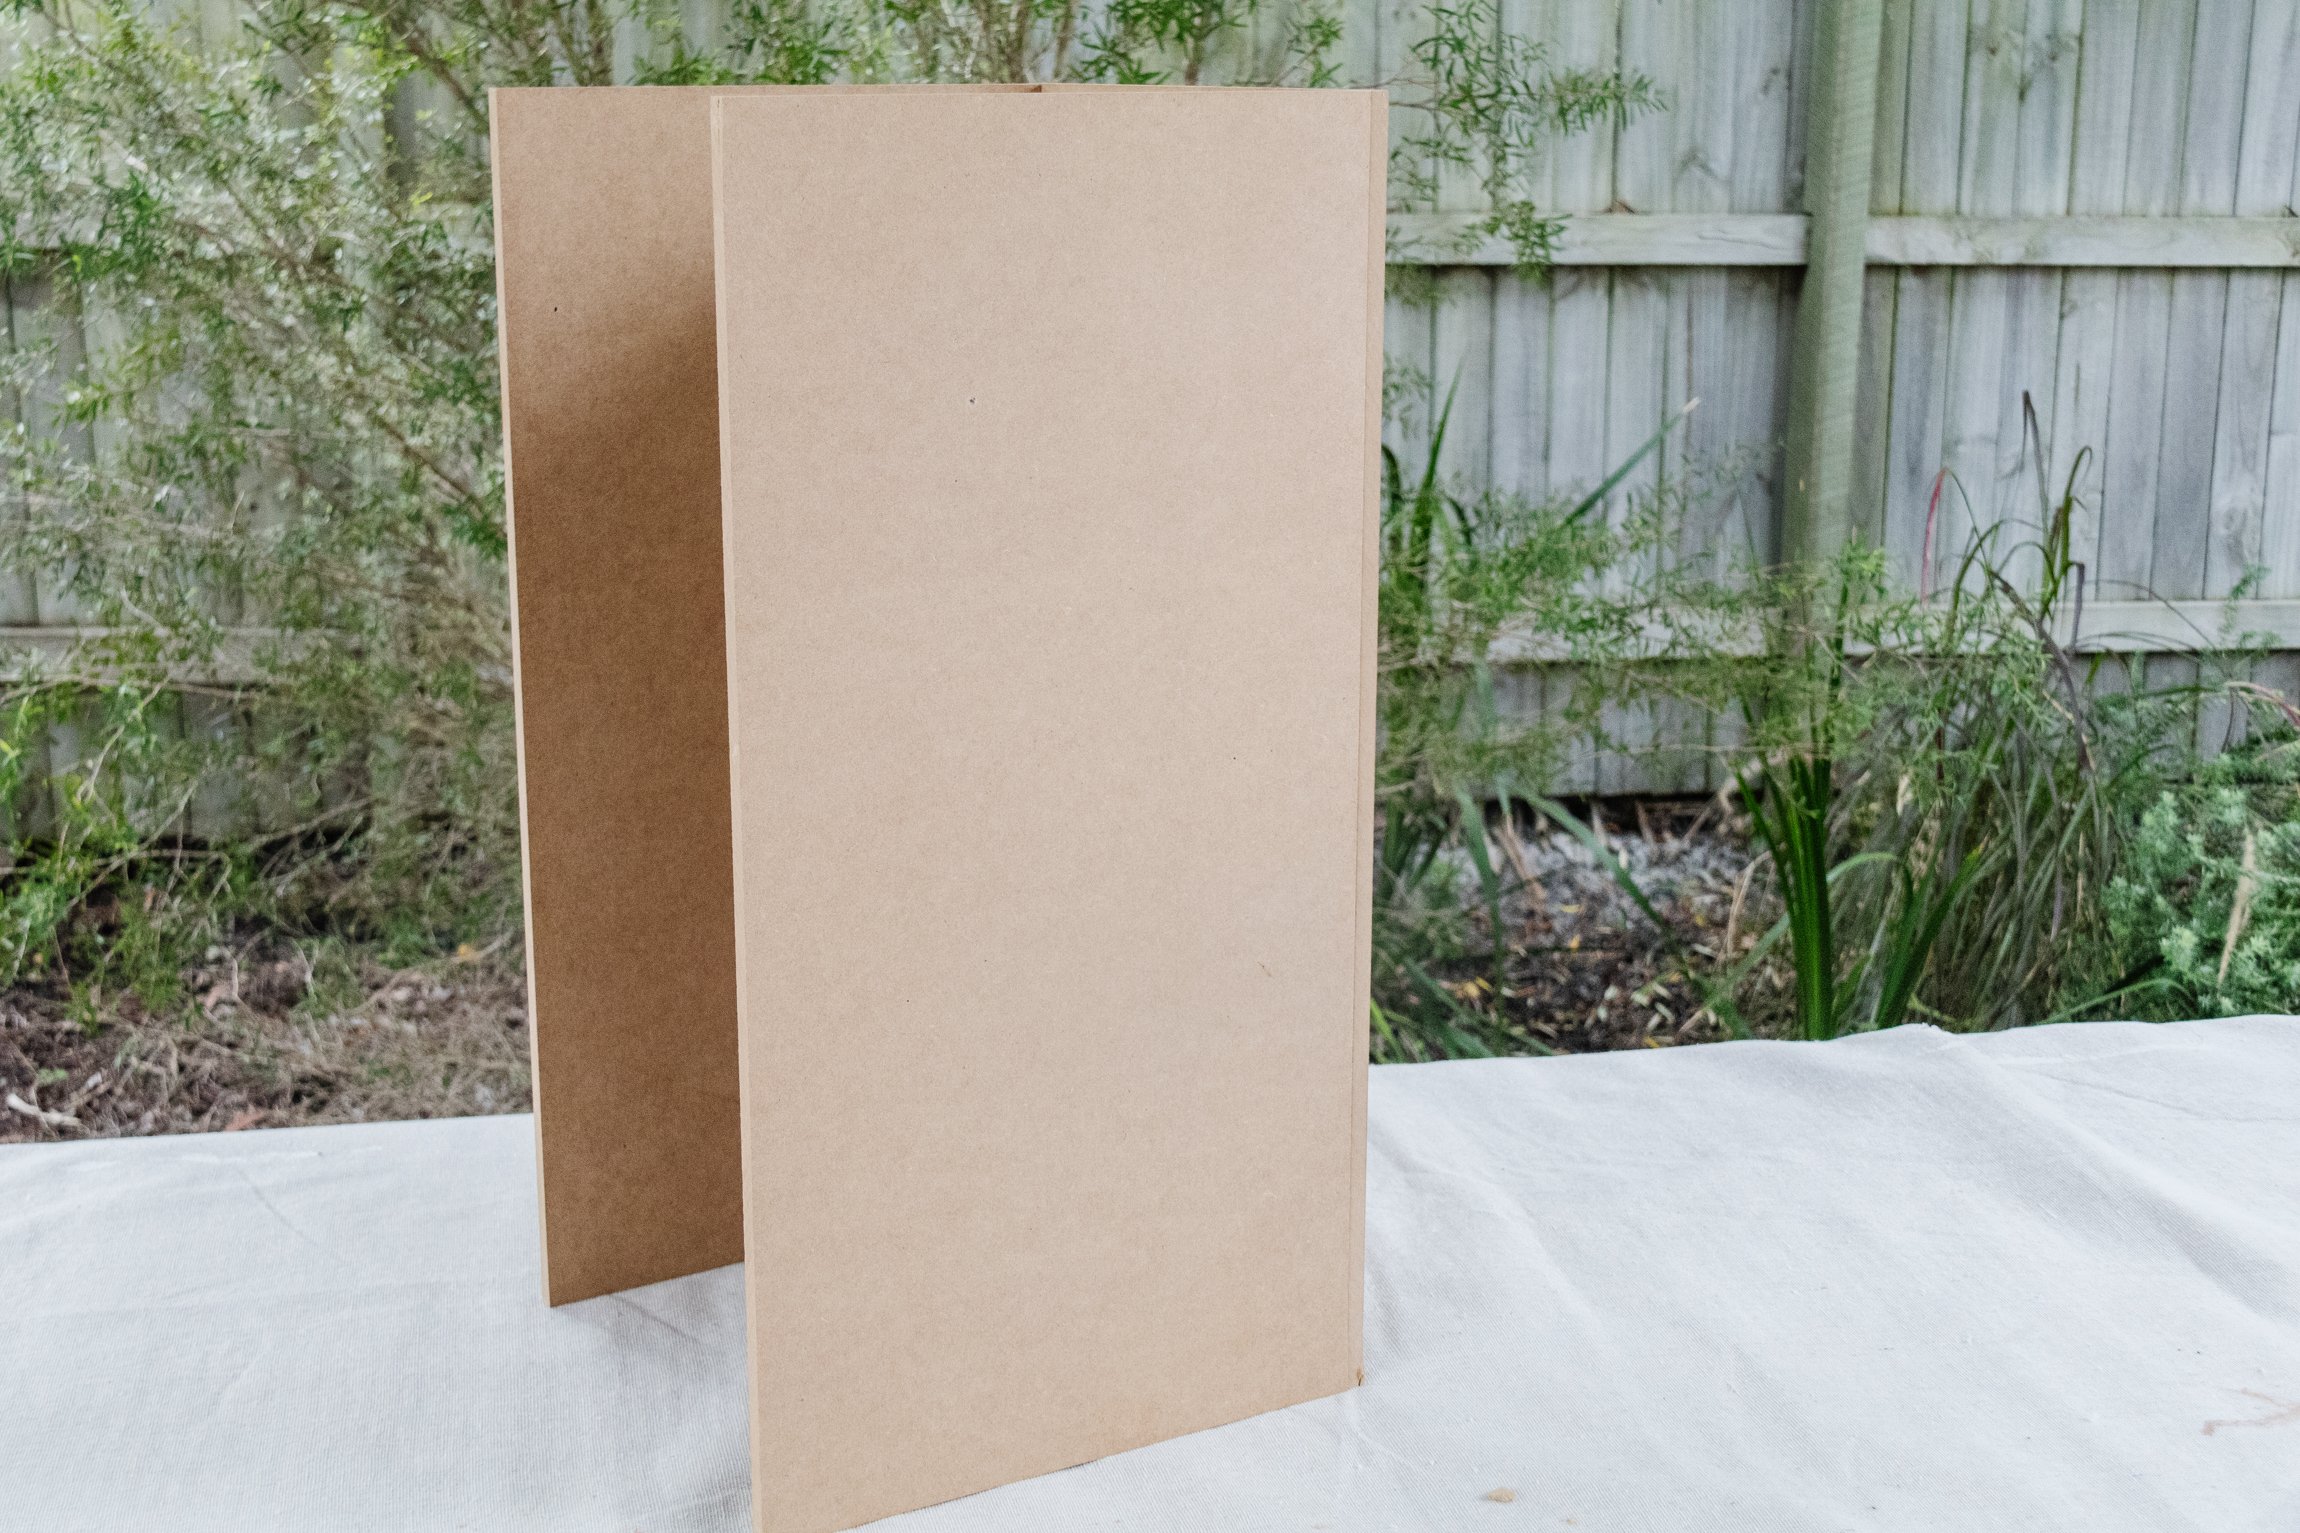
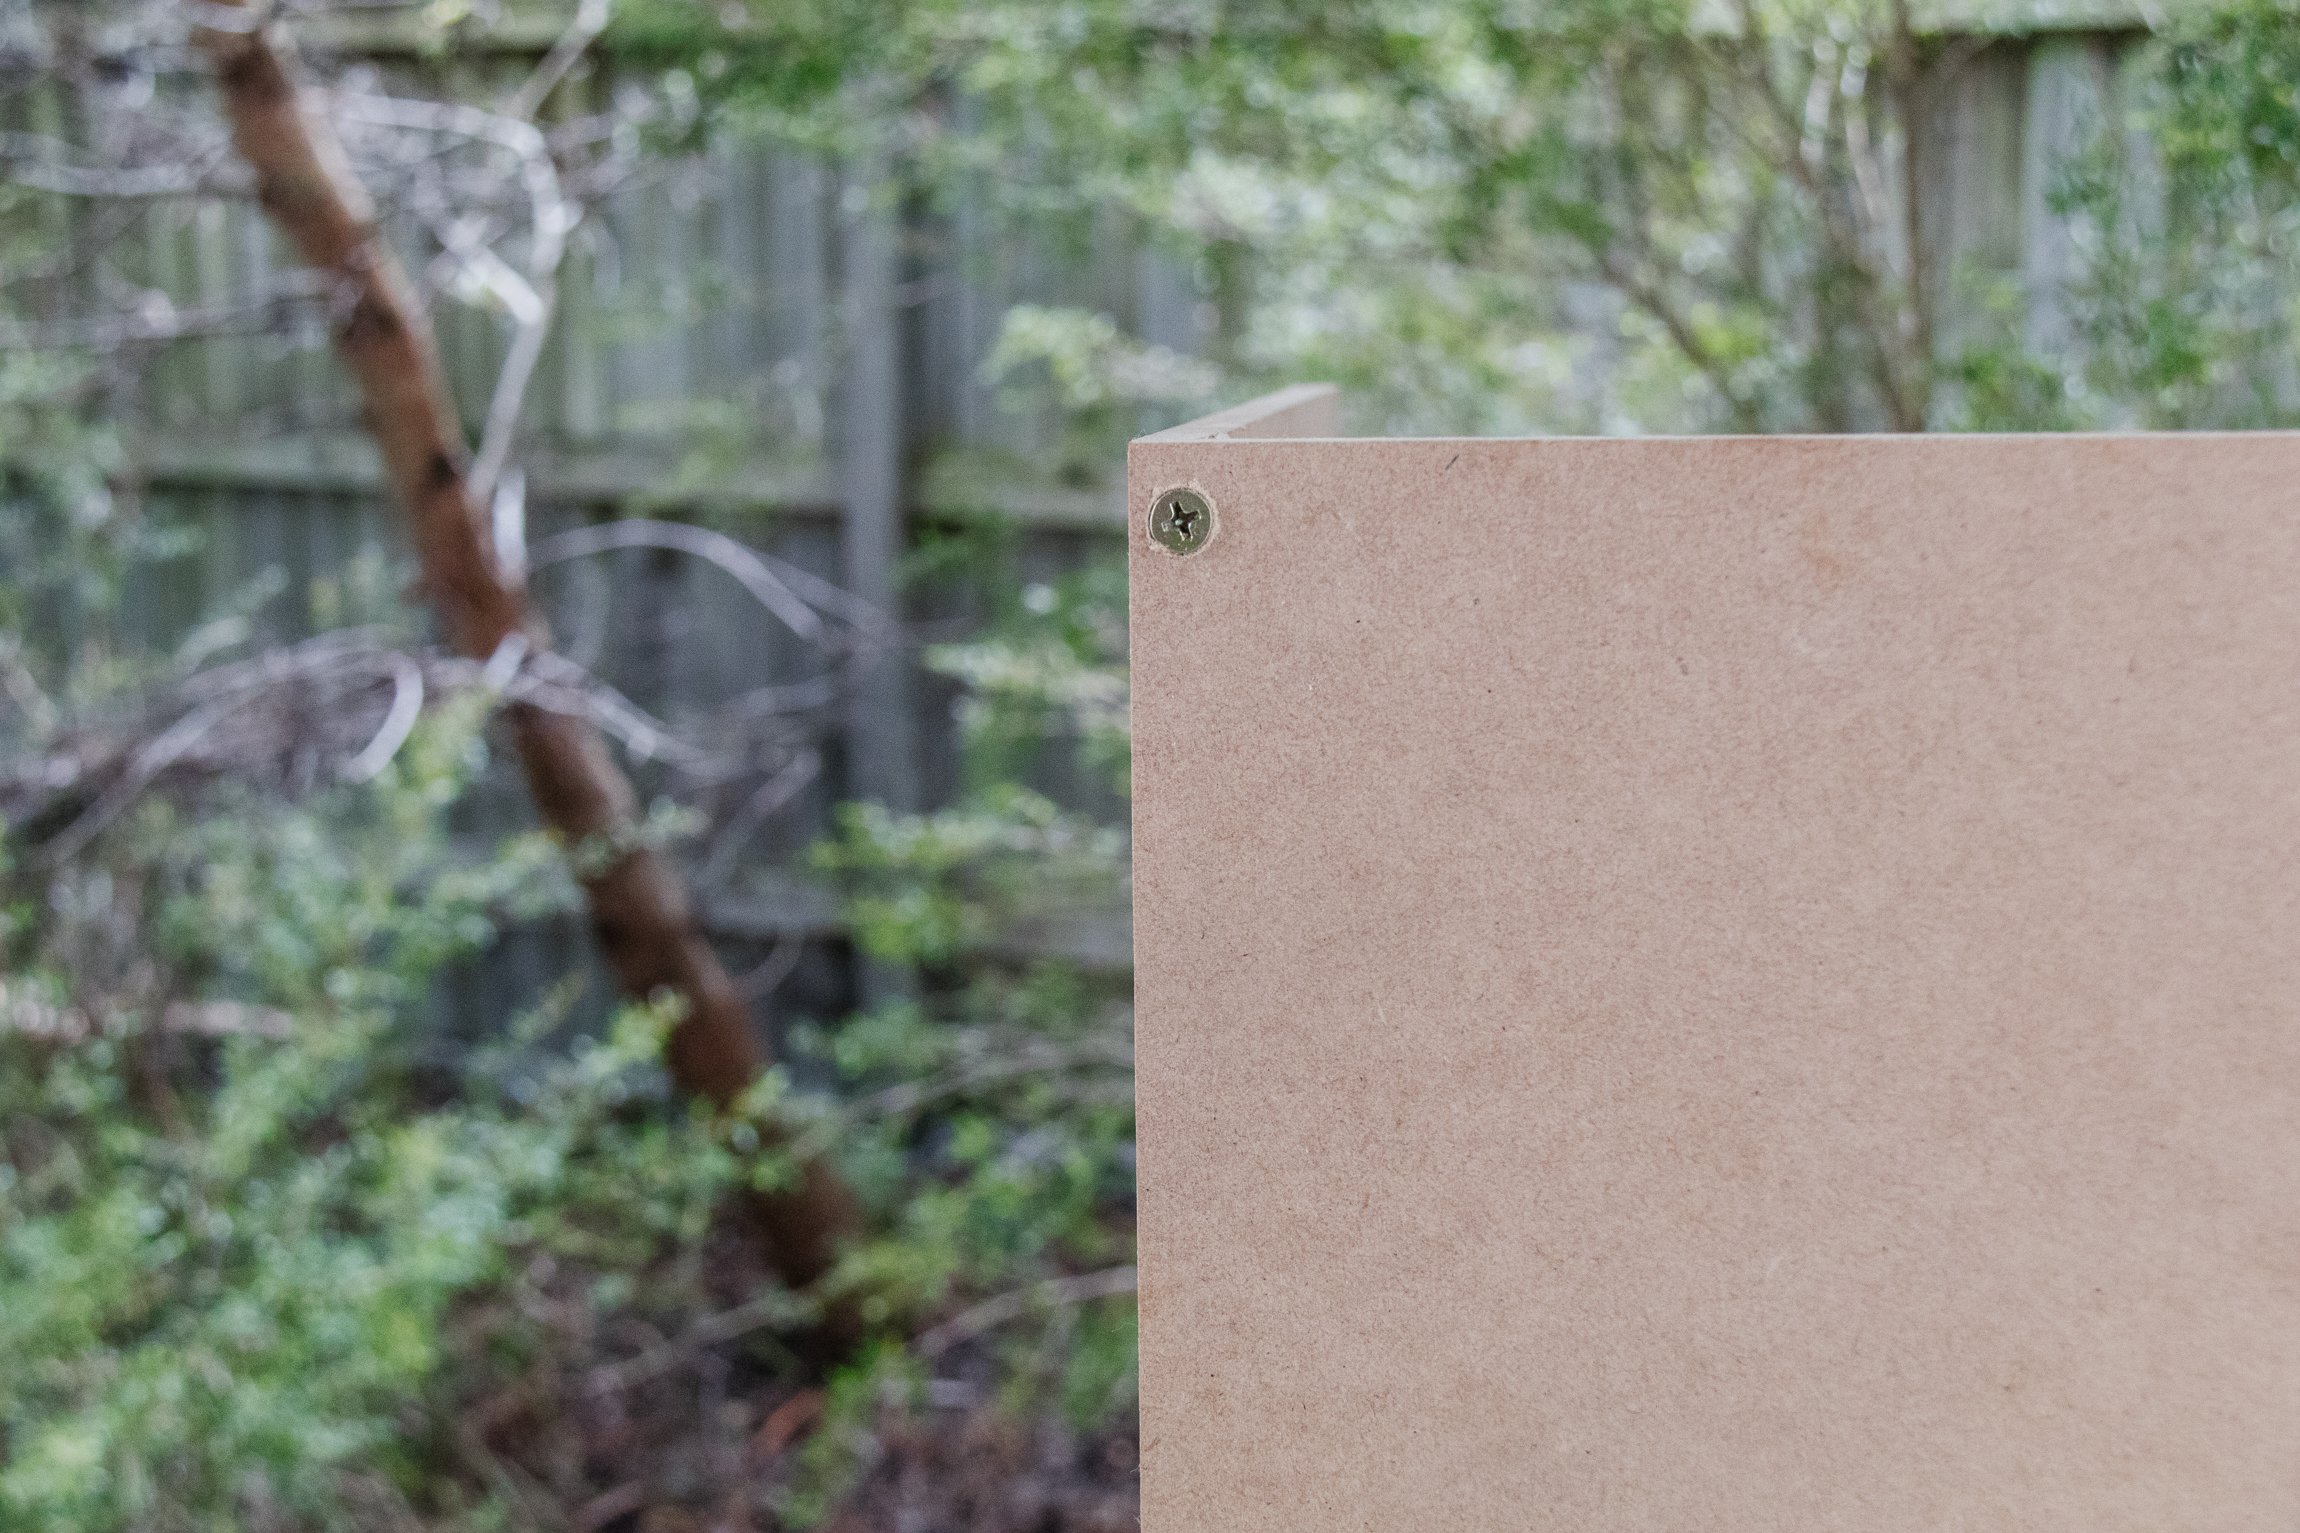
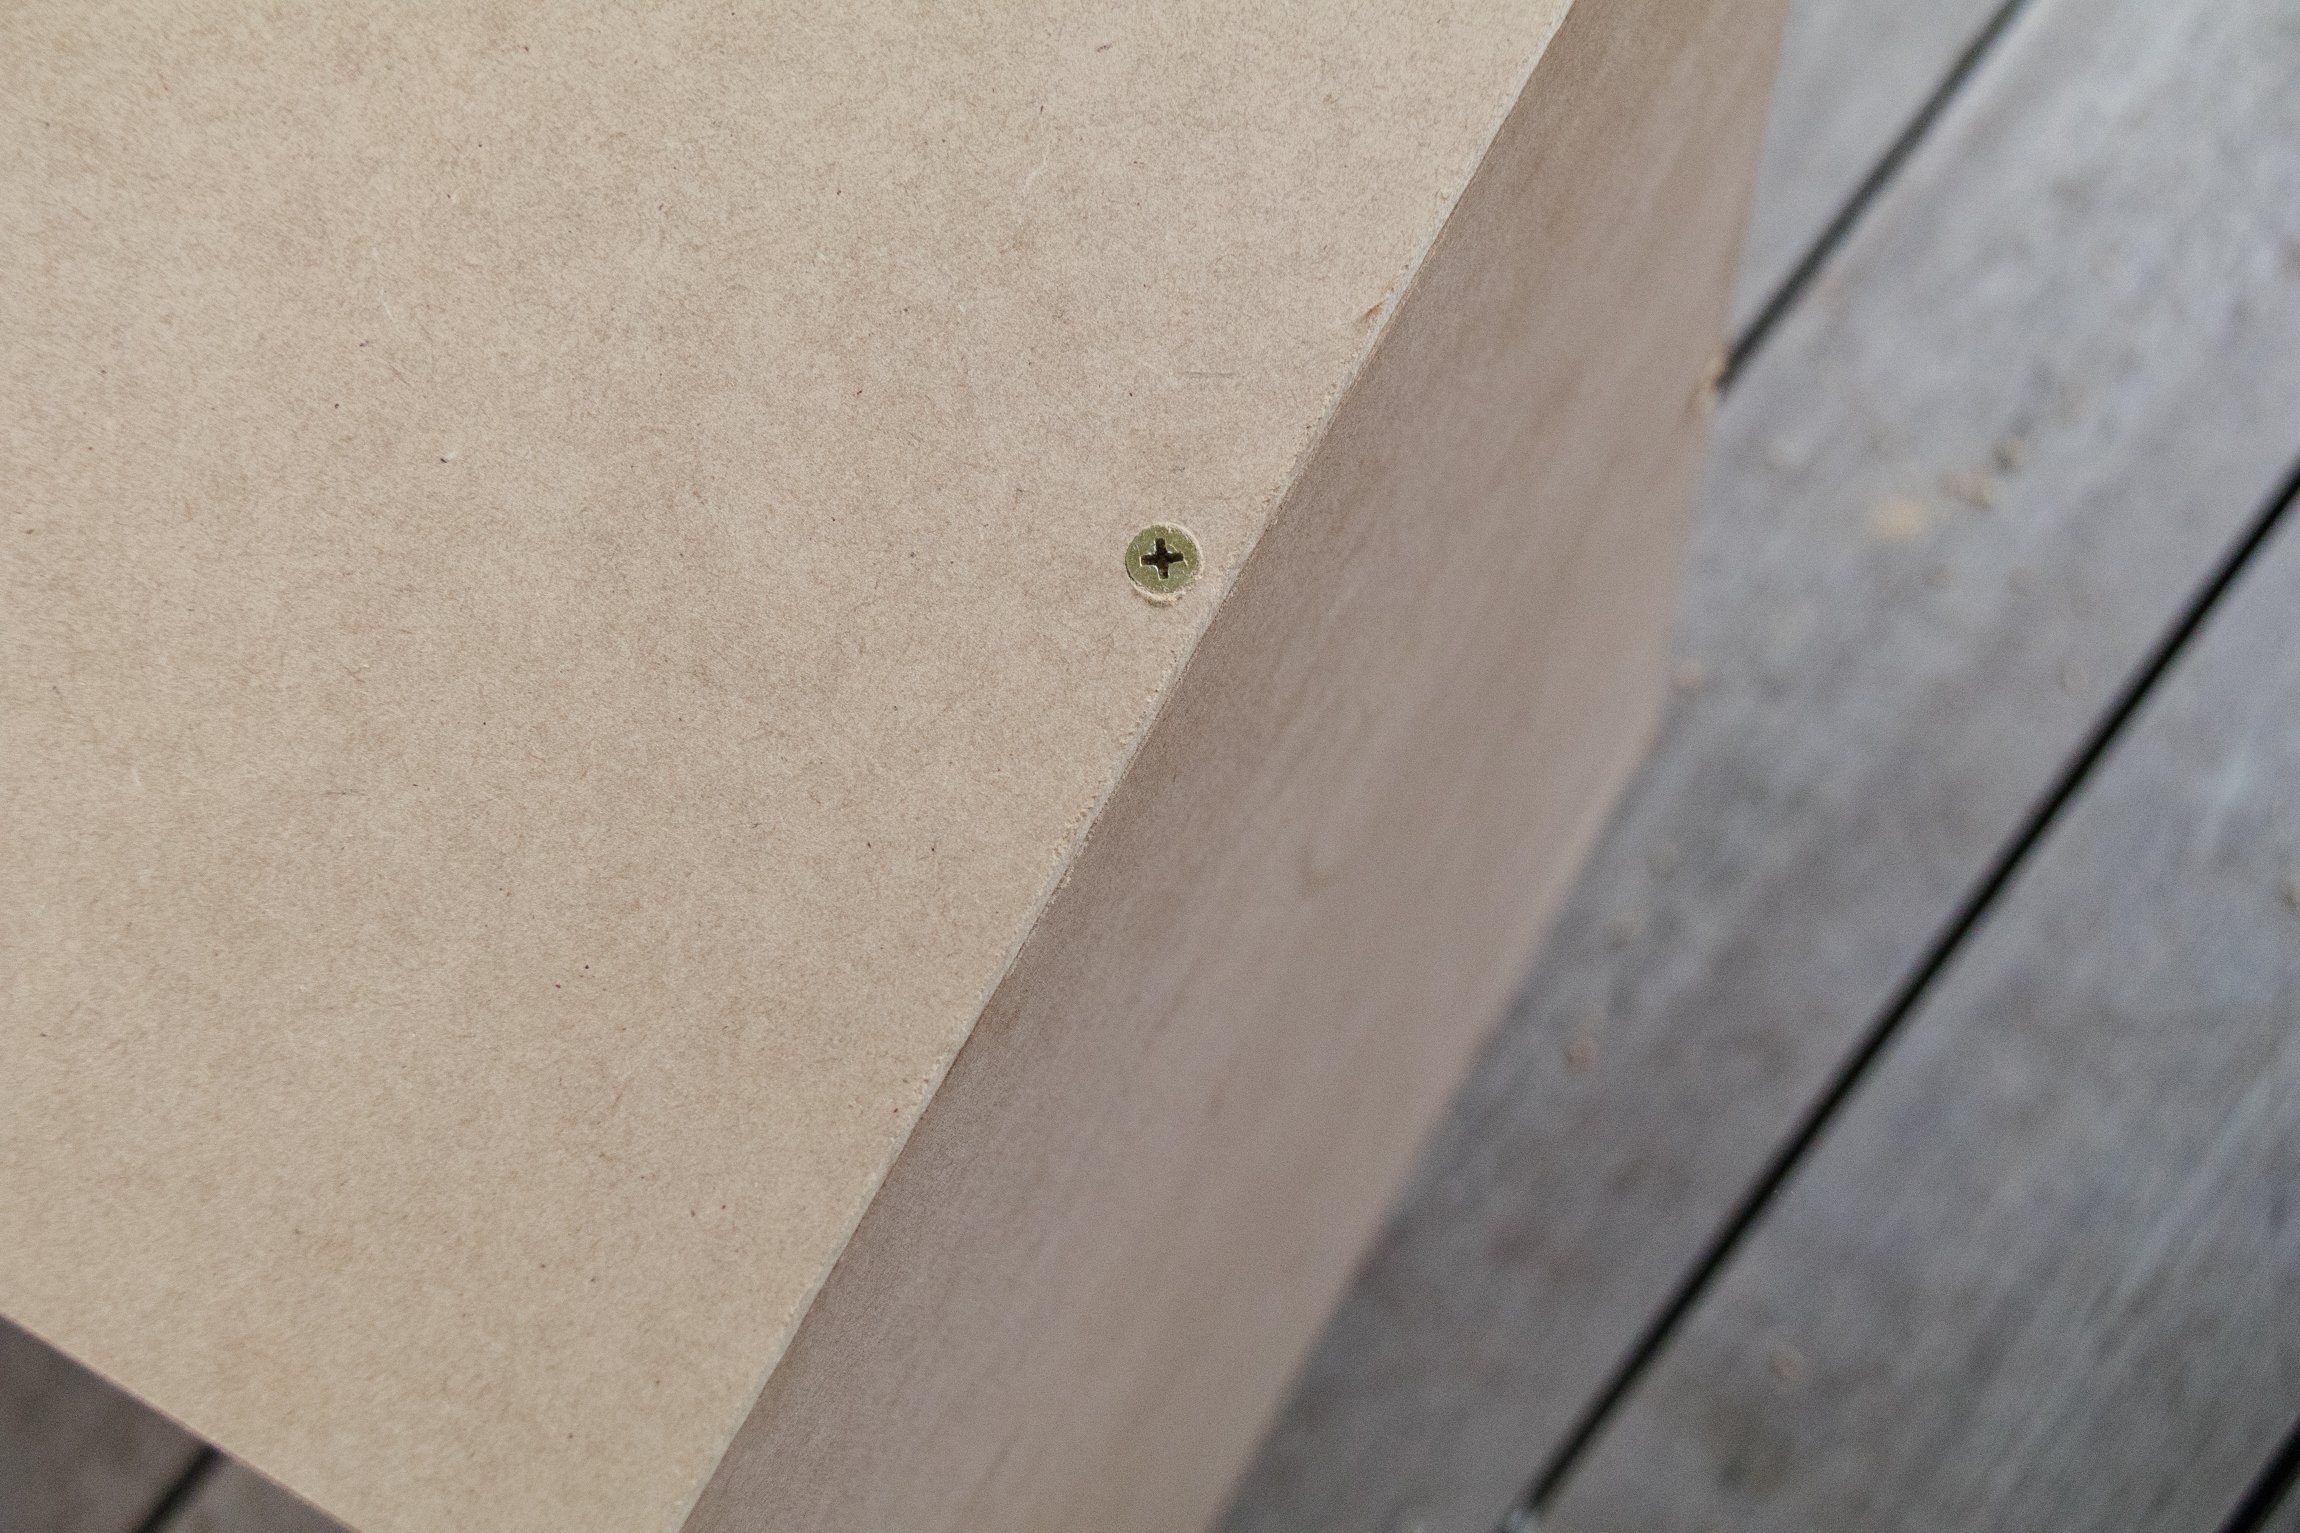
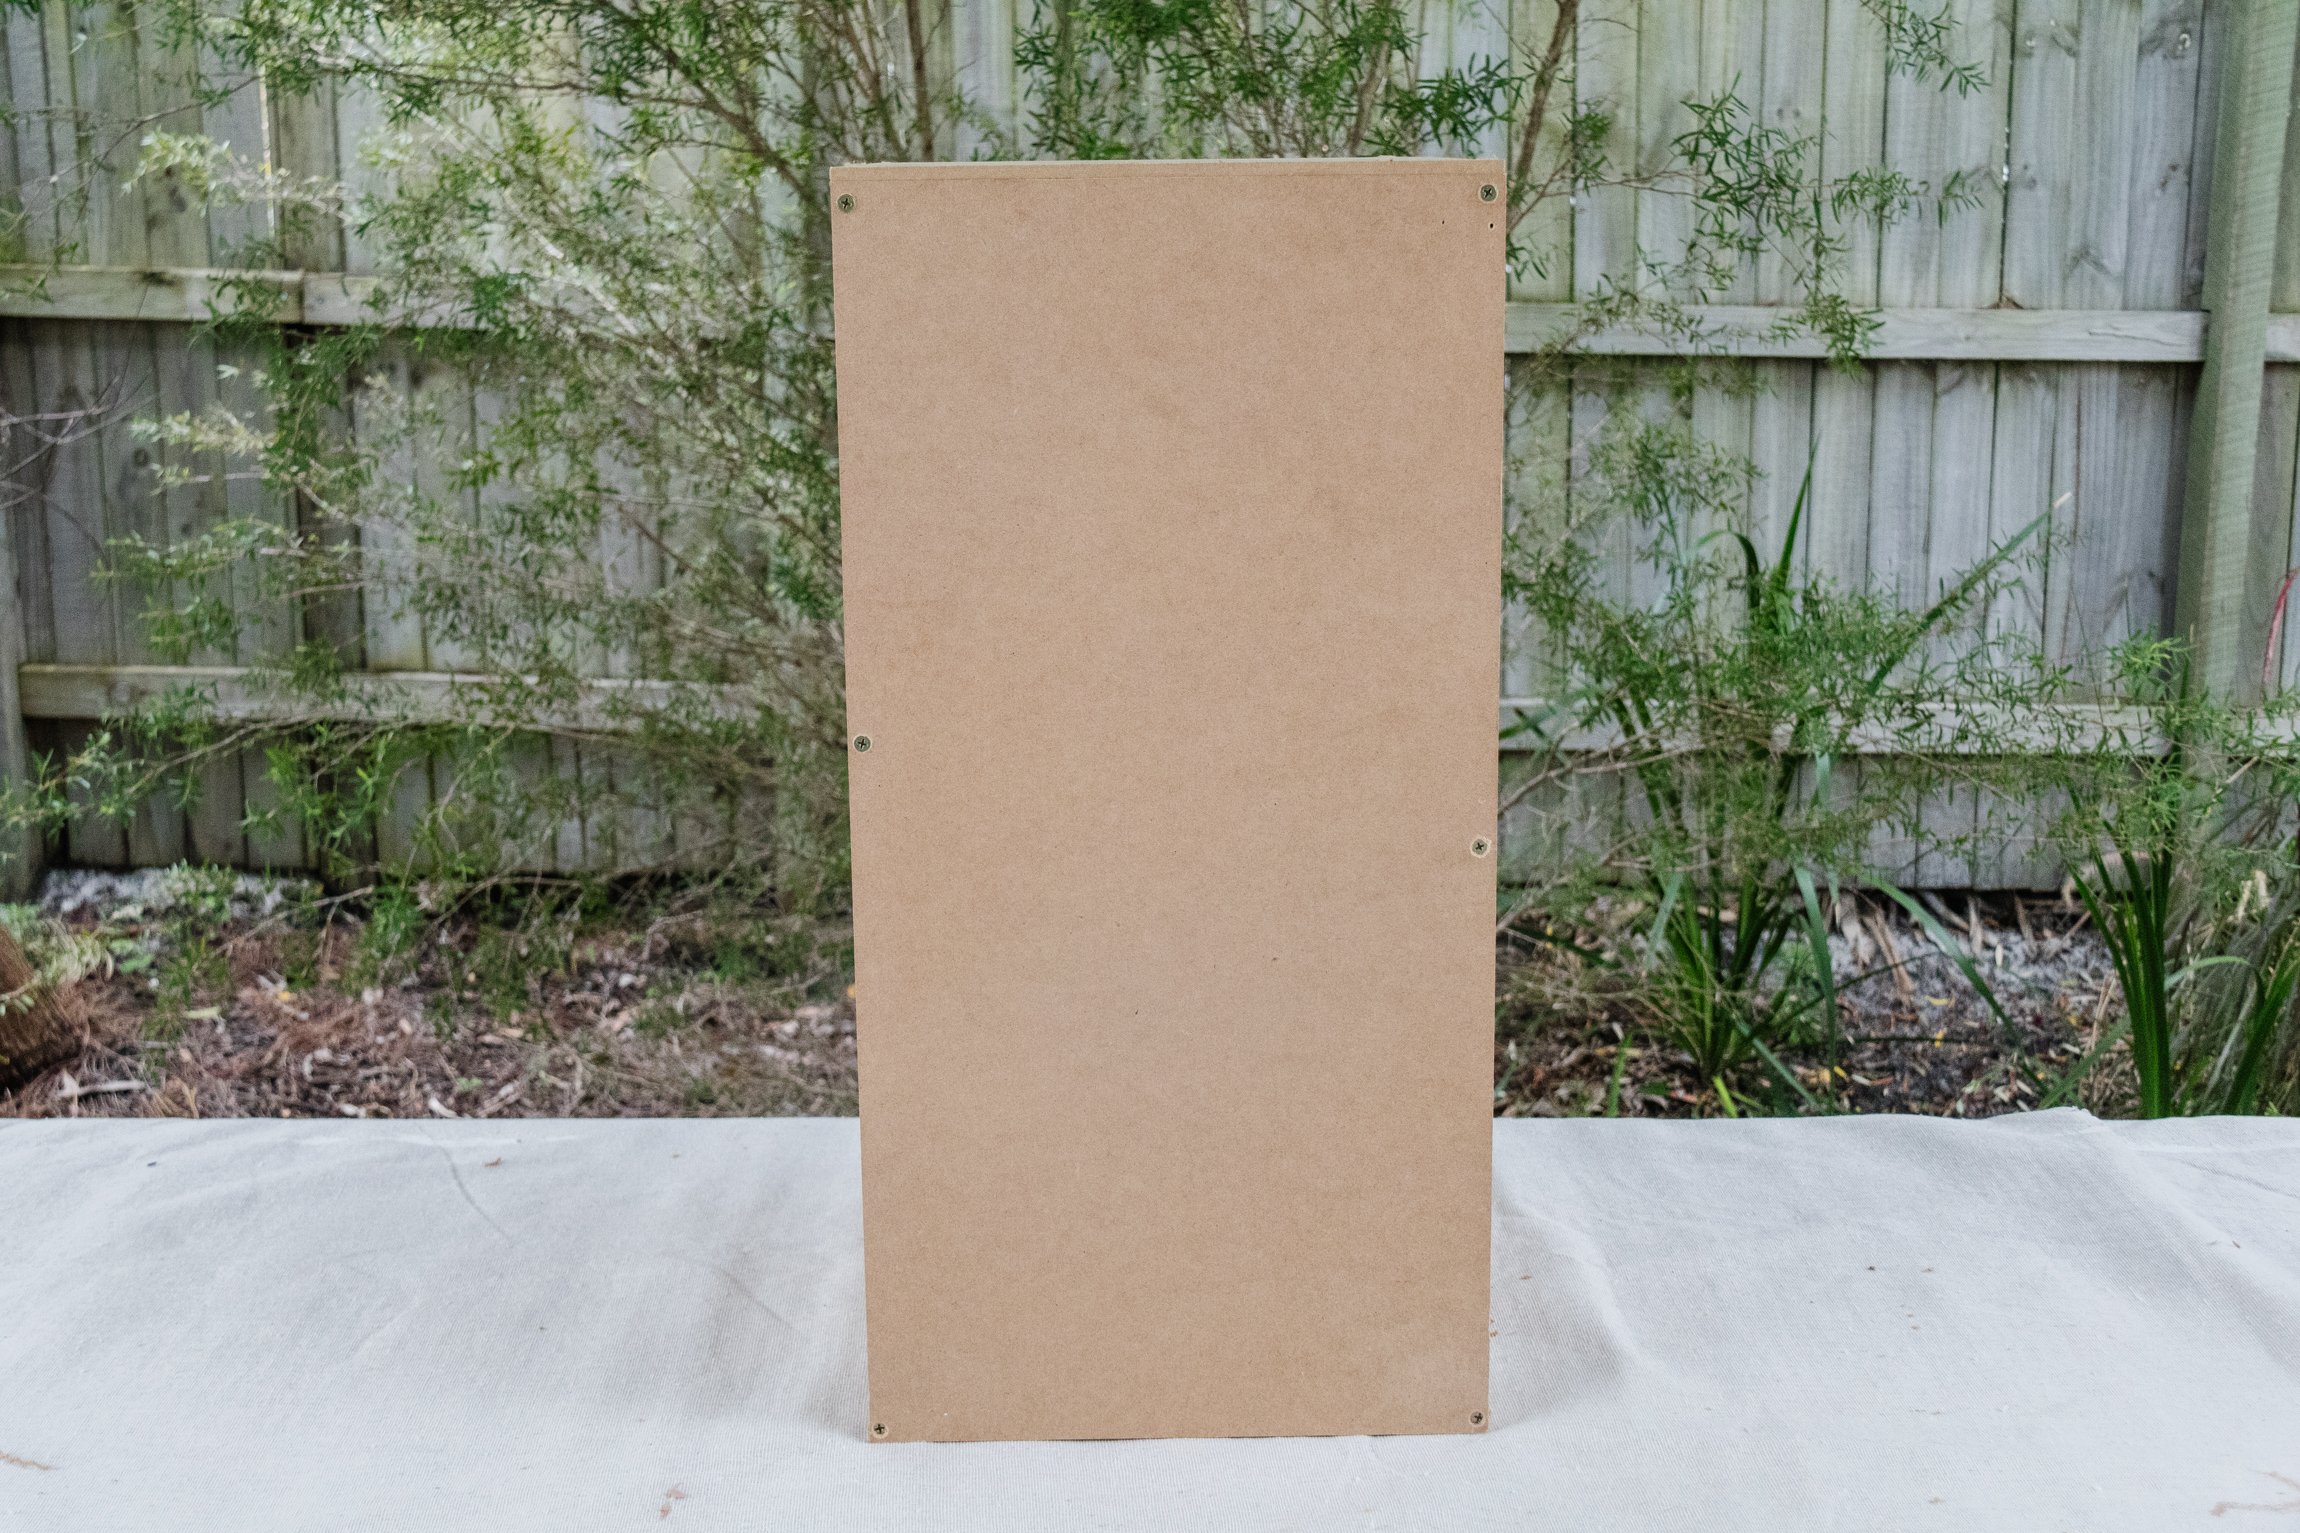
Prop this piece and another piece of MDF together at a 90 degree angle. Make sure the ends are lined up perfectly (or as best you can). Holding it together (it’s a bit awkward but as soon as you get this done the rest is a bit easier), drill through the existing pilot holes and keep going so you drill further pilot holes into the second piece of MDF. Then you will switch to a phillip head drill bit, and drill a countersunk screw into each pilot hole. You will now have two pieces of MDF joined together at a 90 degree angle. Keep working your way around until you have created a plinth (without the top). Your goal is to drill the nails in so they are flush with the surface of the plinth. You may drill the screws too deep into the MDF, don’t worry as we will fill these holes/gaps in with filler later on. You may not quite be able to drill the screws flush with the surface - keep trying and if all else fails, bang them a few times with a hammer.
Repeat the pilot hole process followed by drilling in the screws for the top of the plinth. You will now have a plinth!
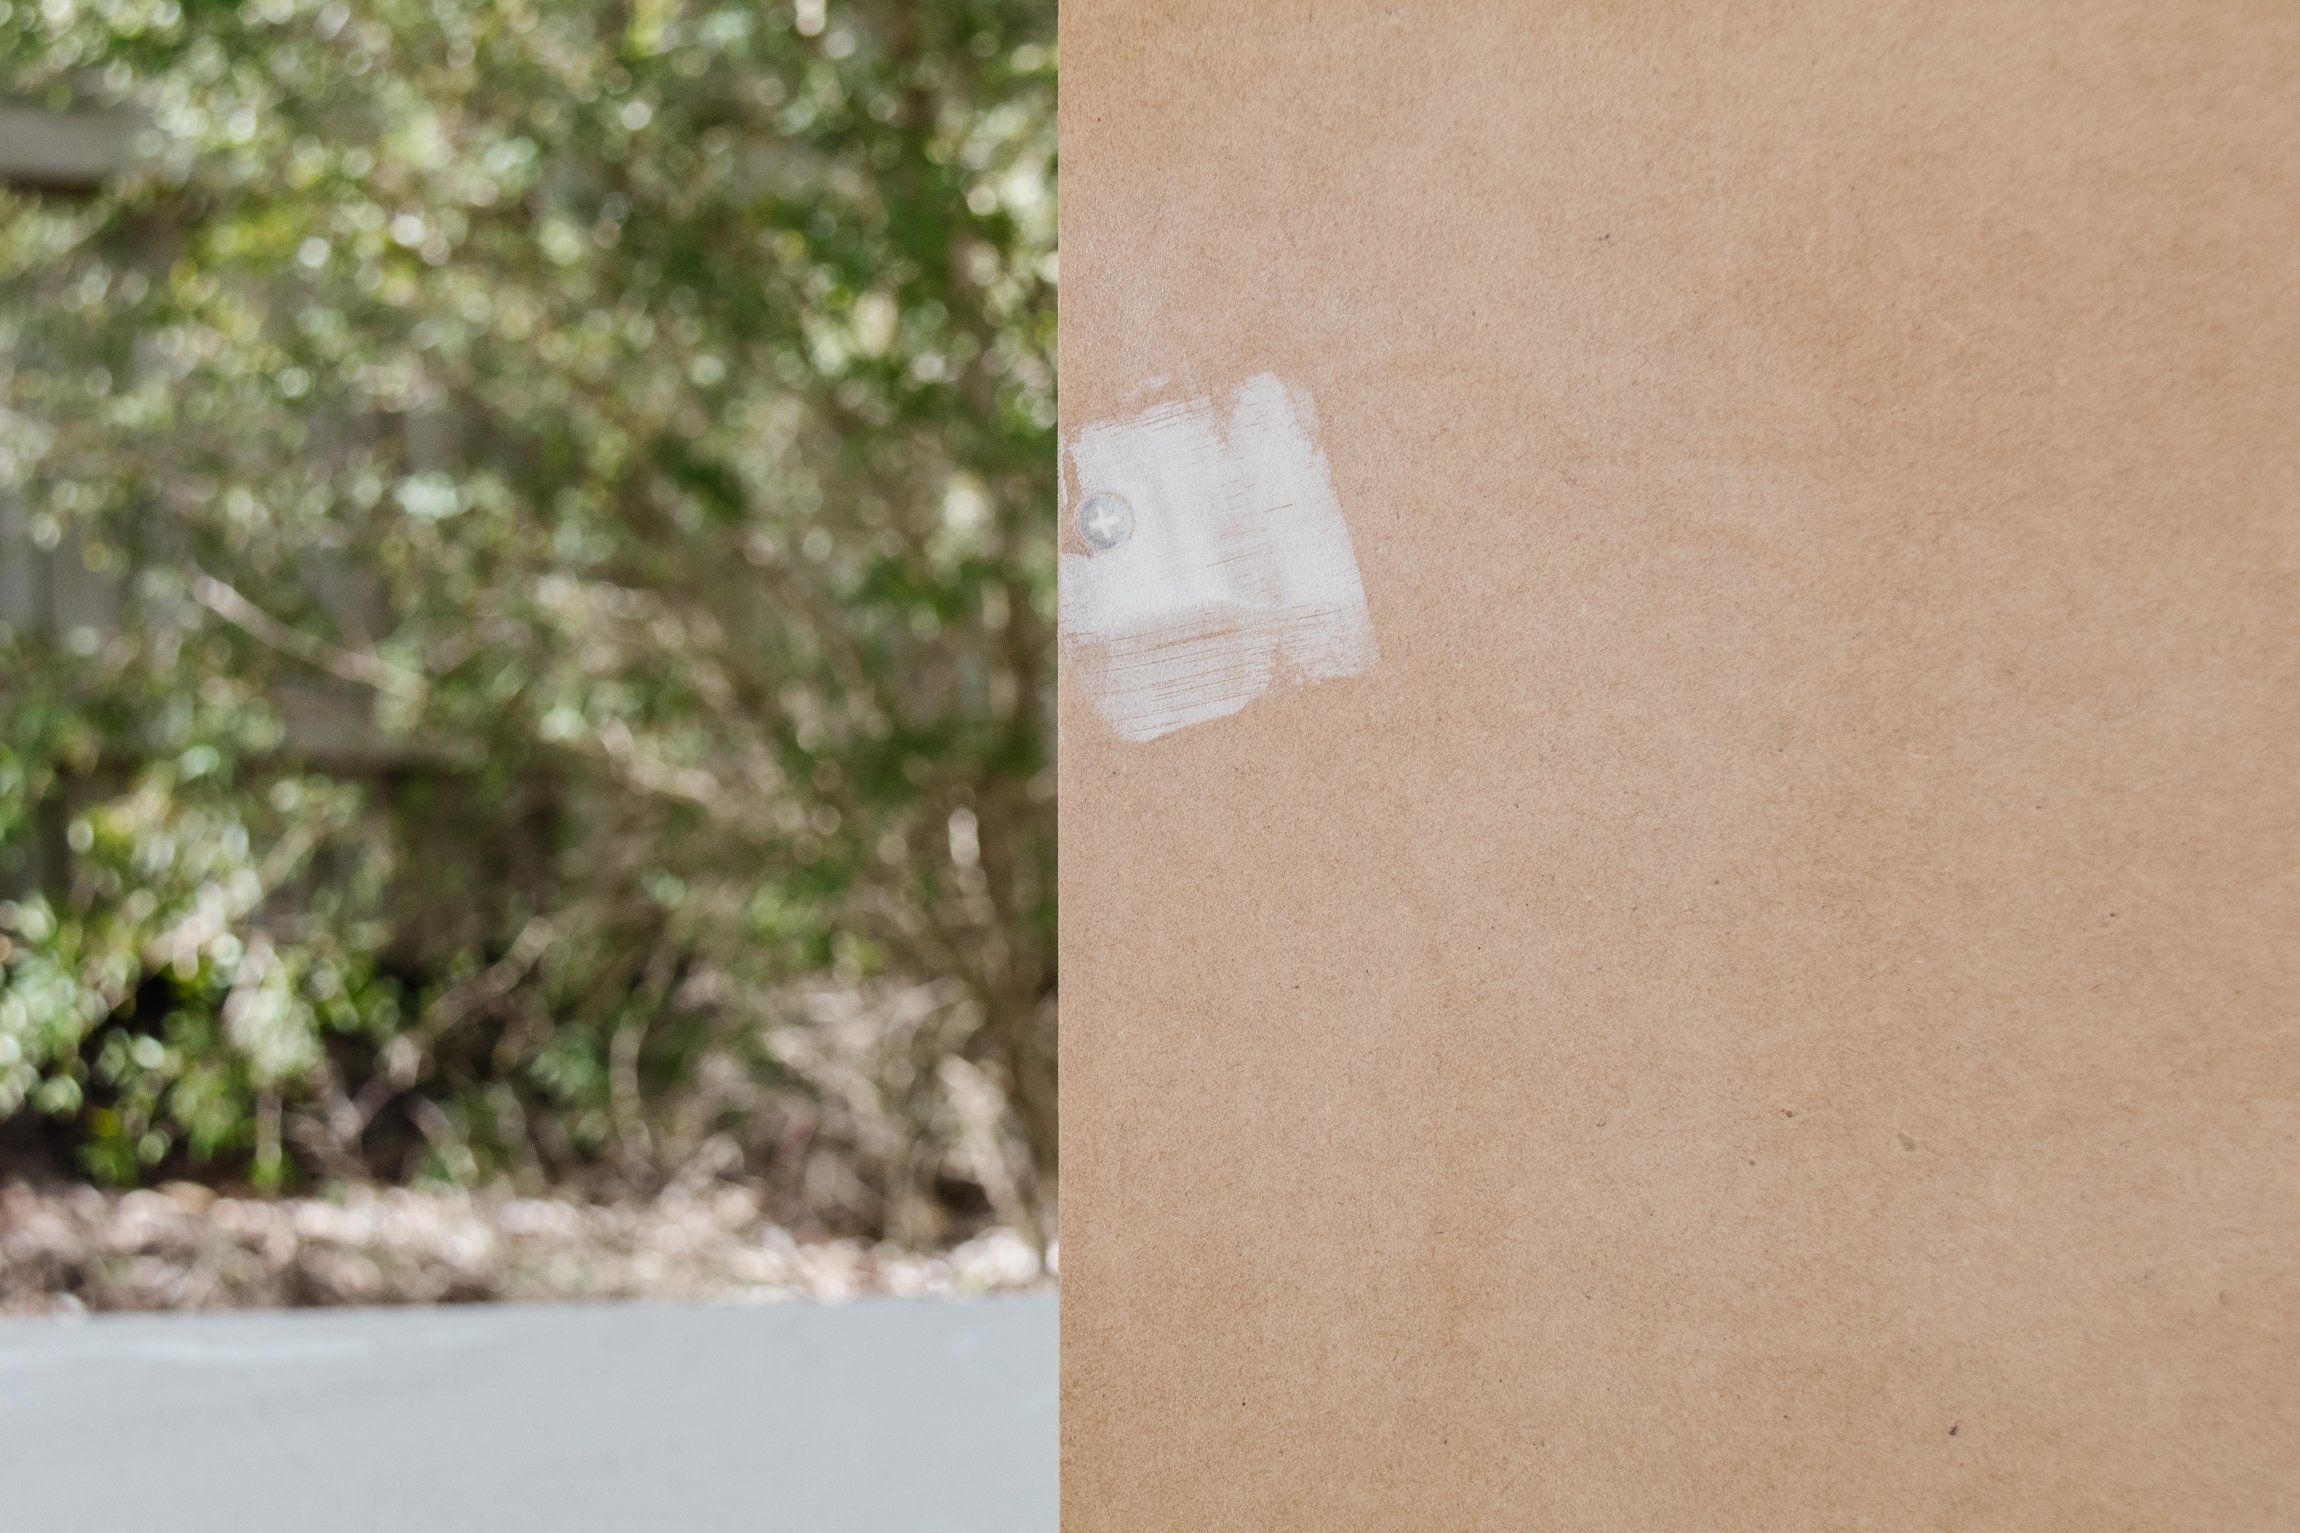
Fill in the screws and any deeper gaps using multipurpose filler. Set aside to dry for at least 3 hours, or less if the day is hot and dry. Sand the multipurpose filler so it’s flush with the surface.
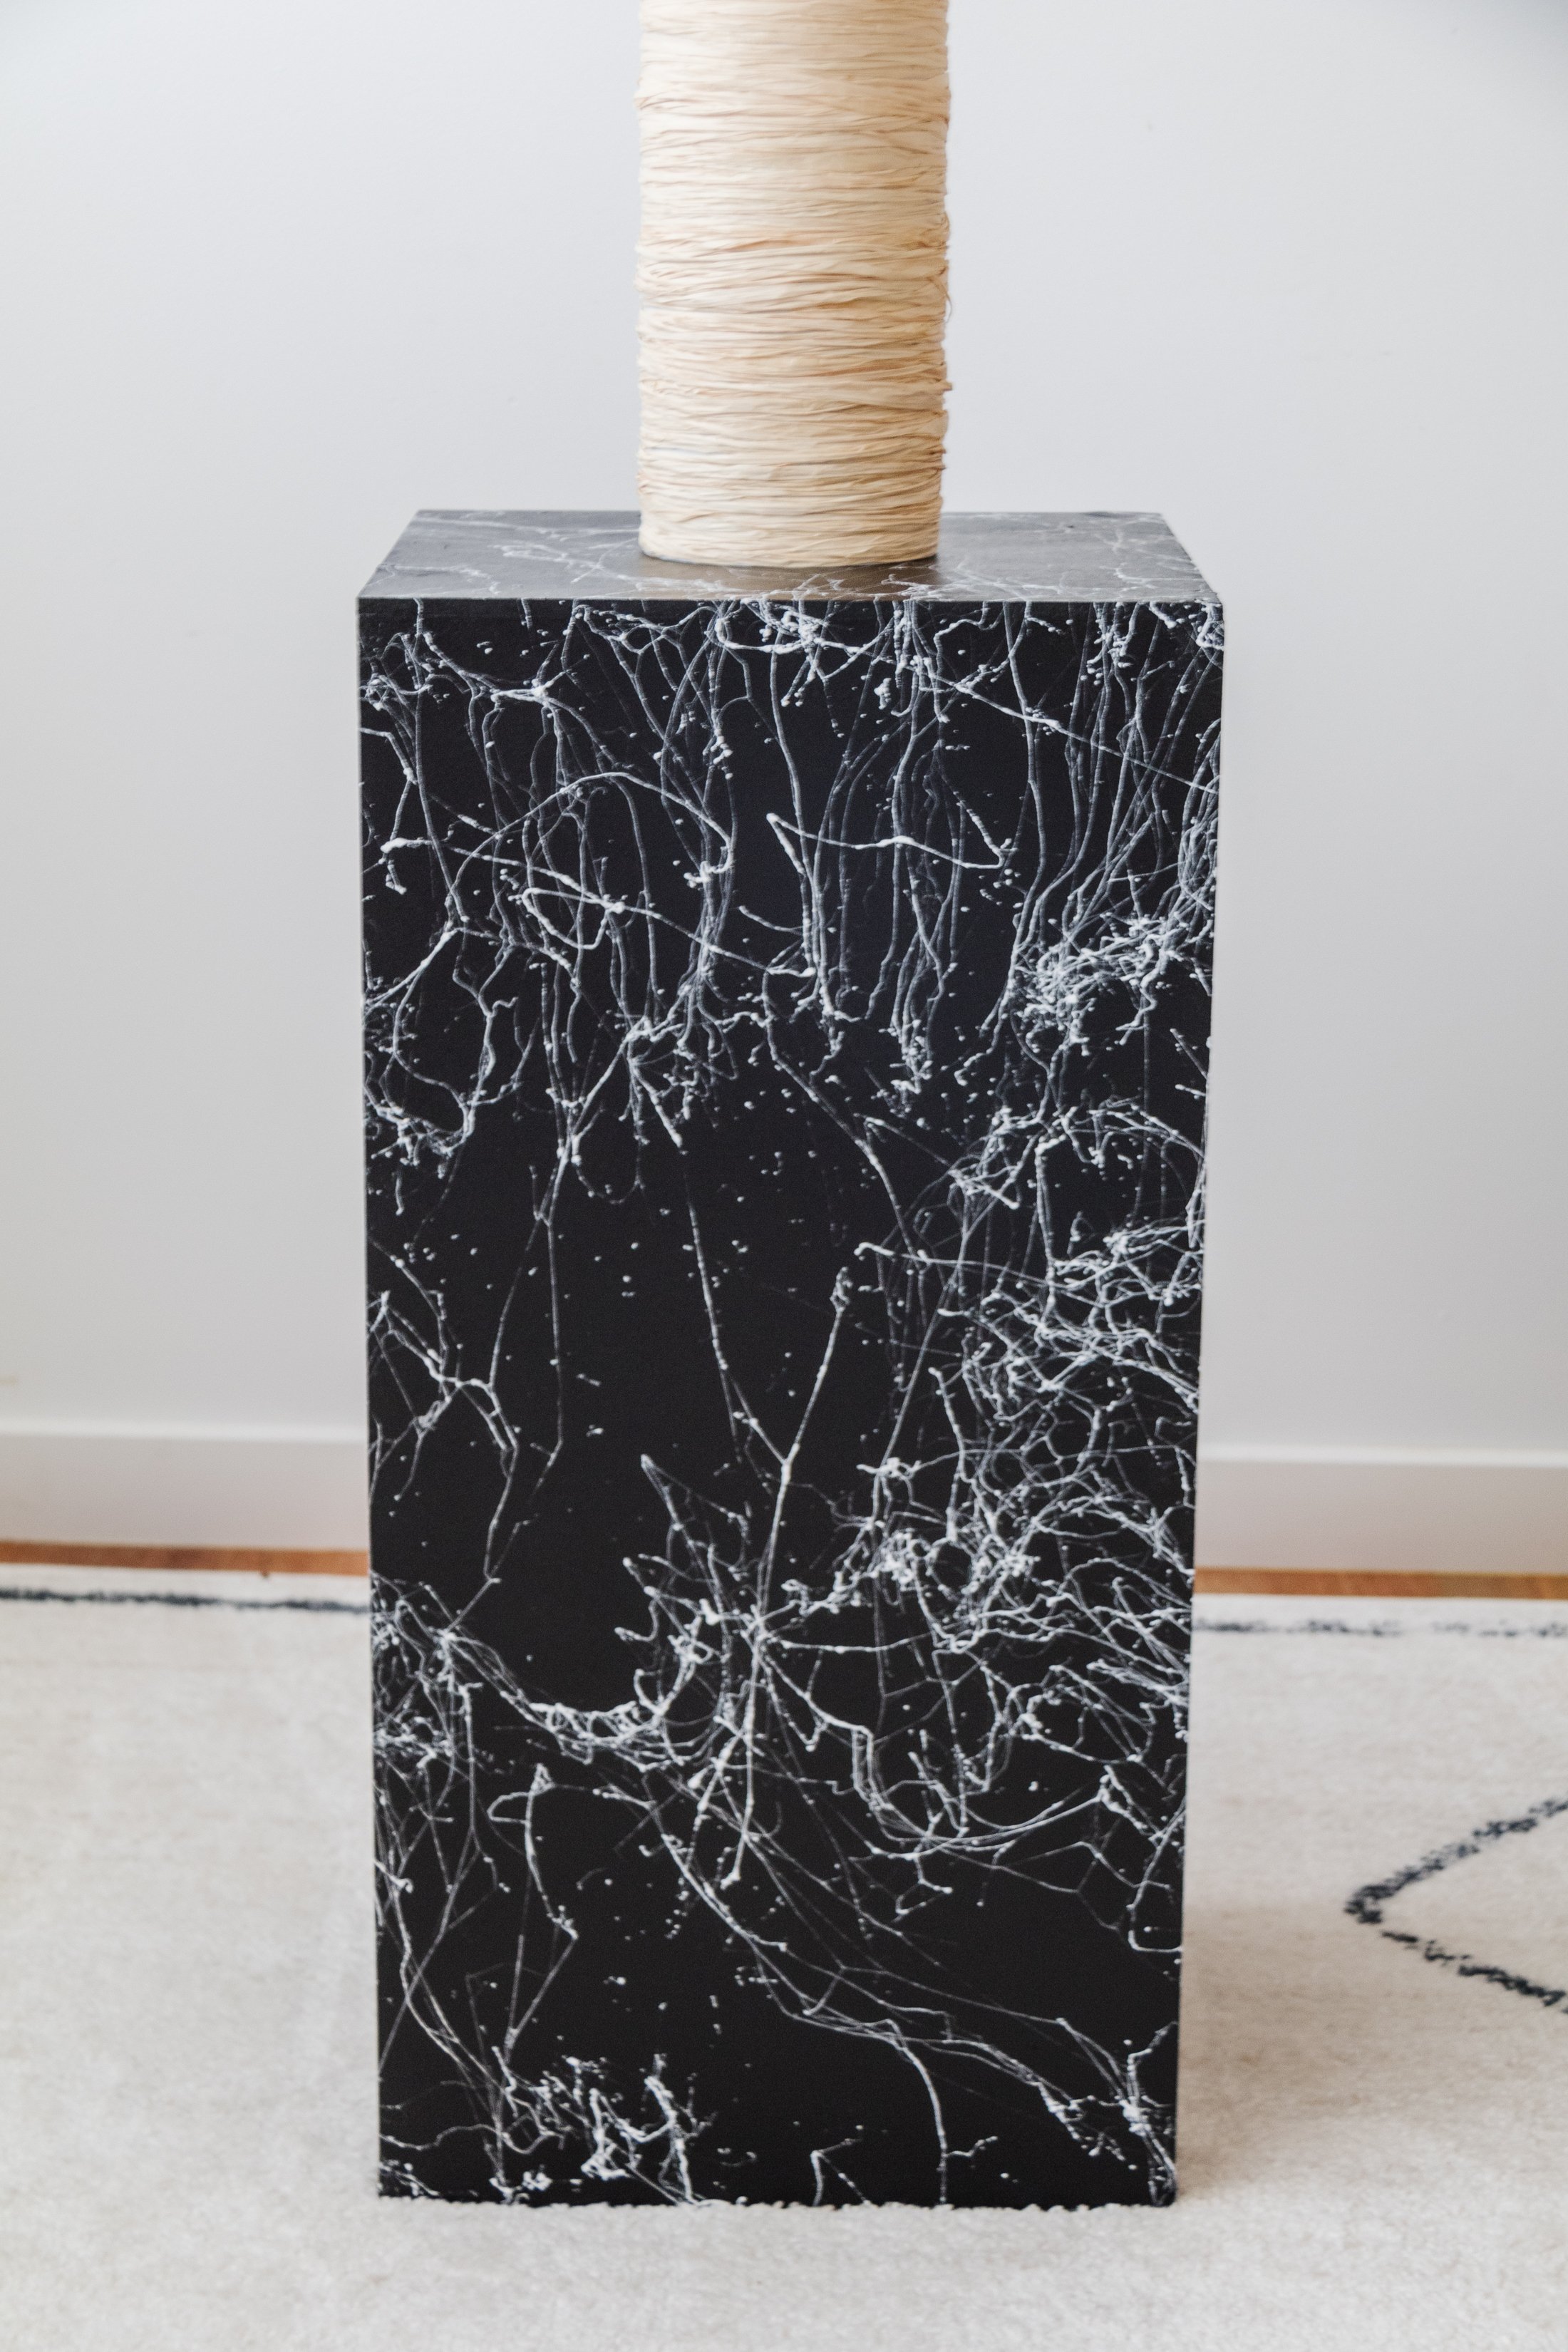
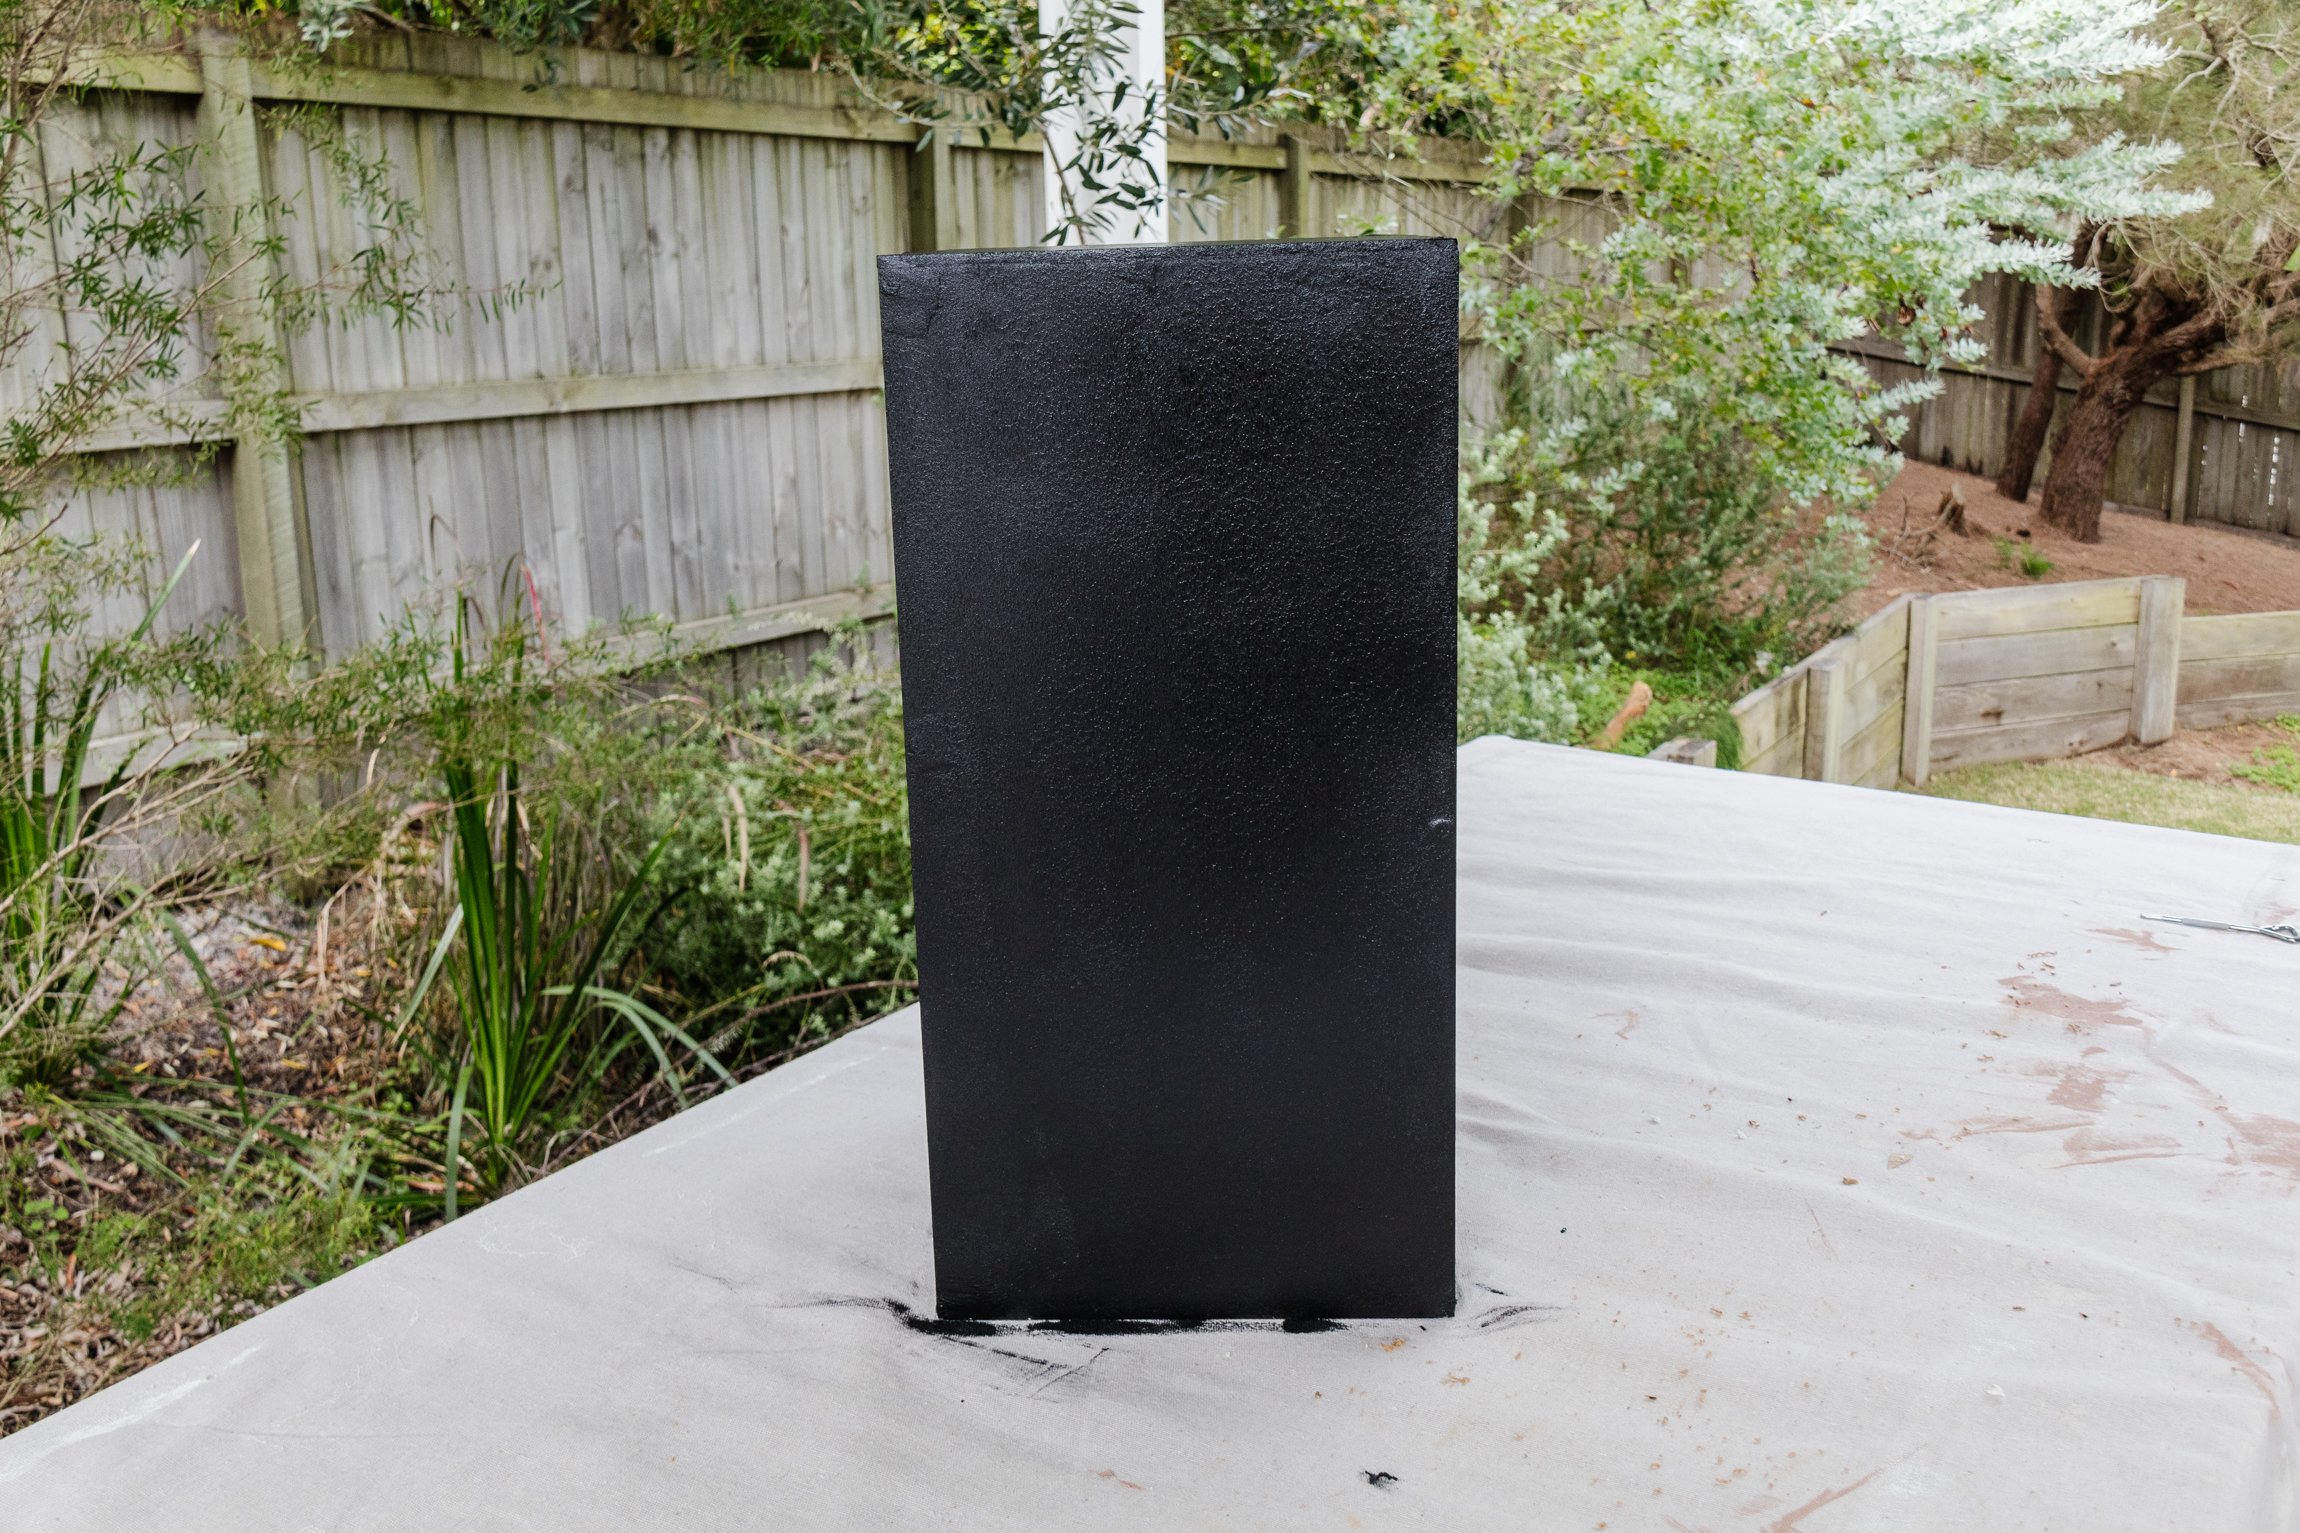
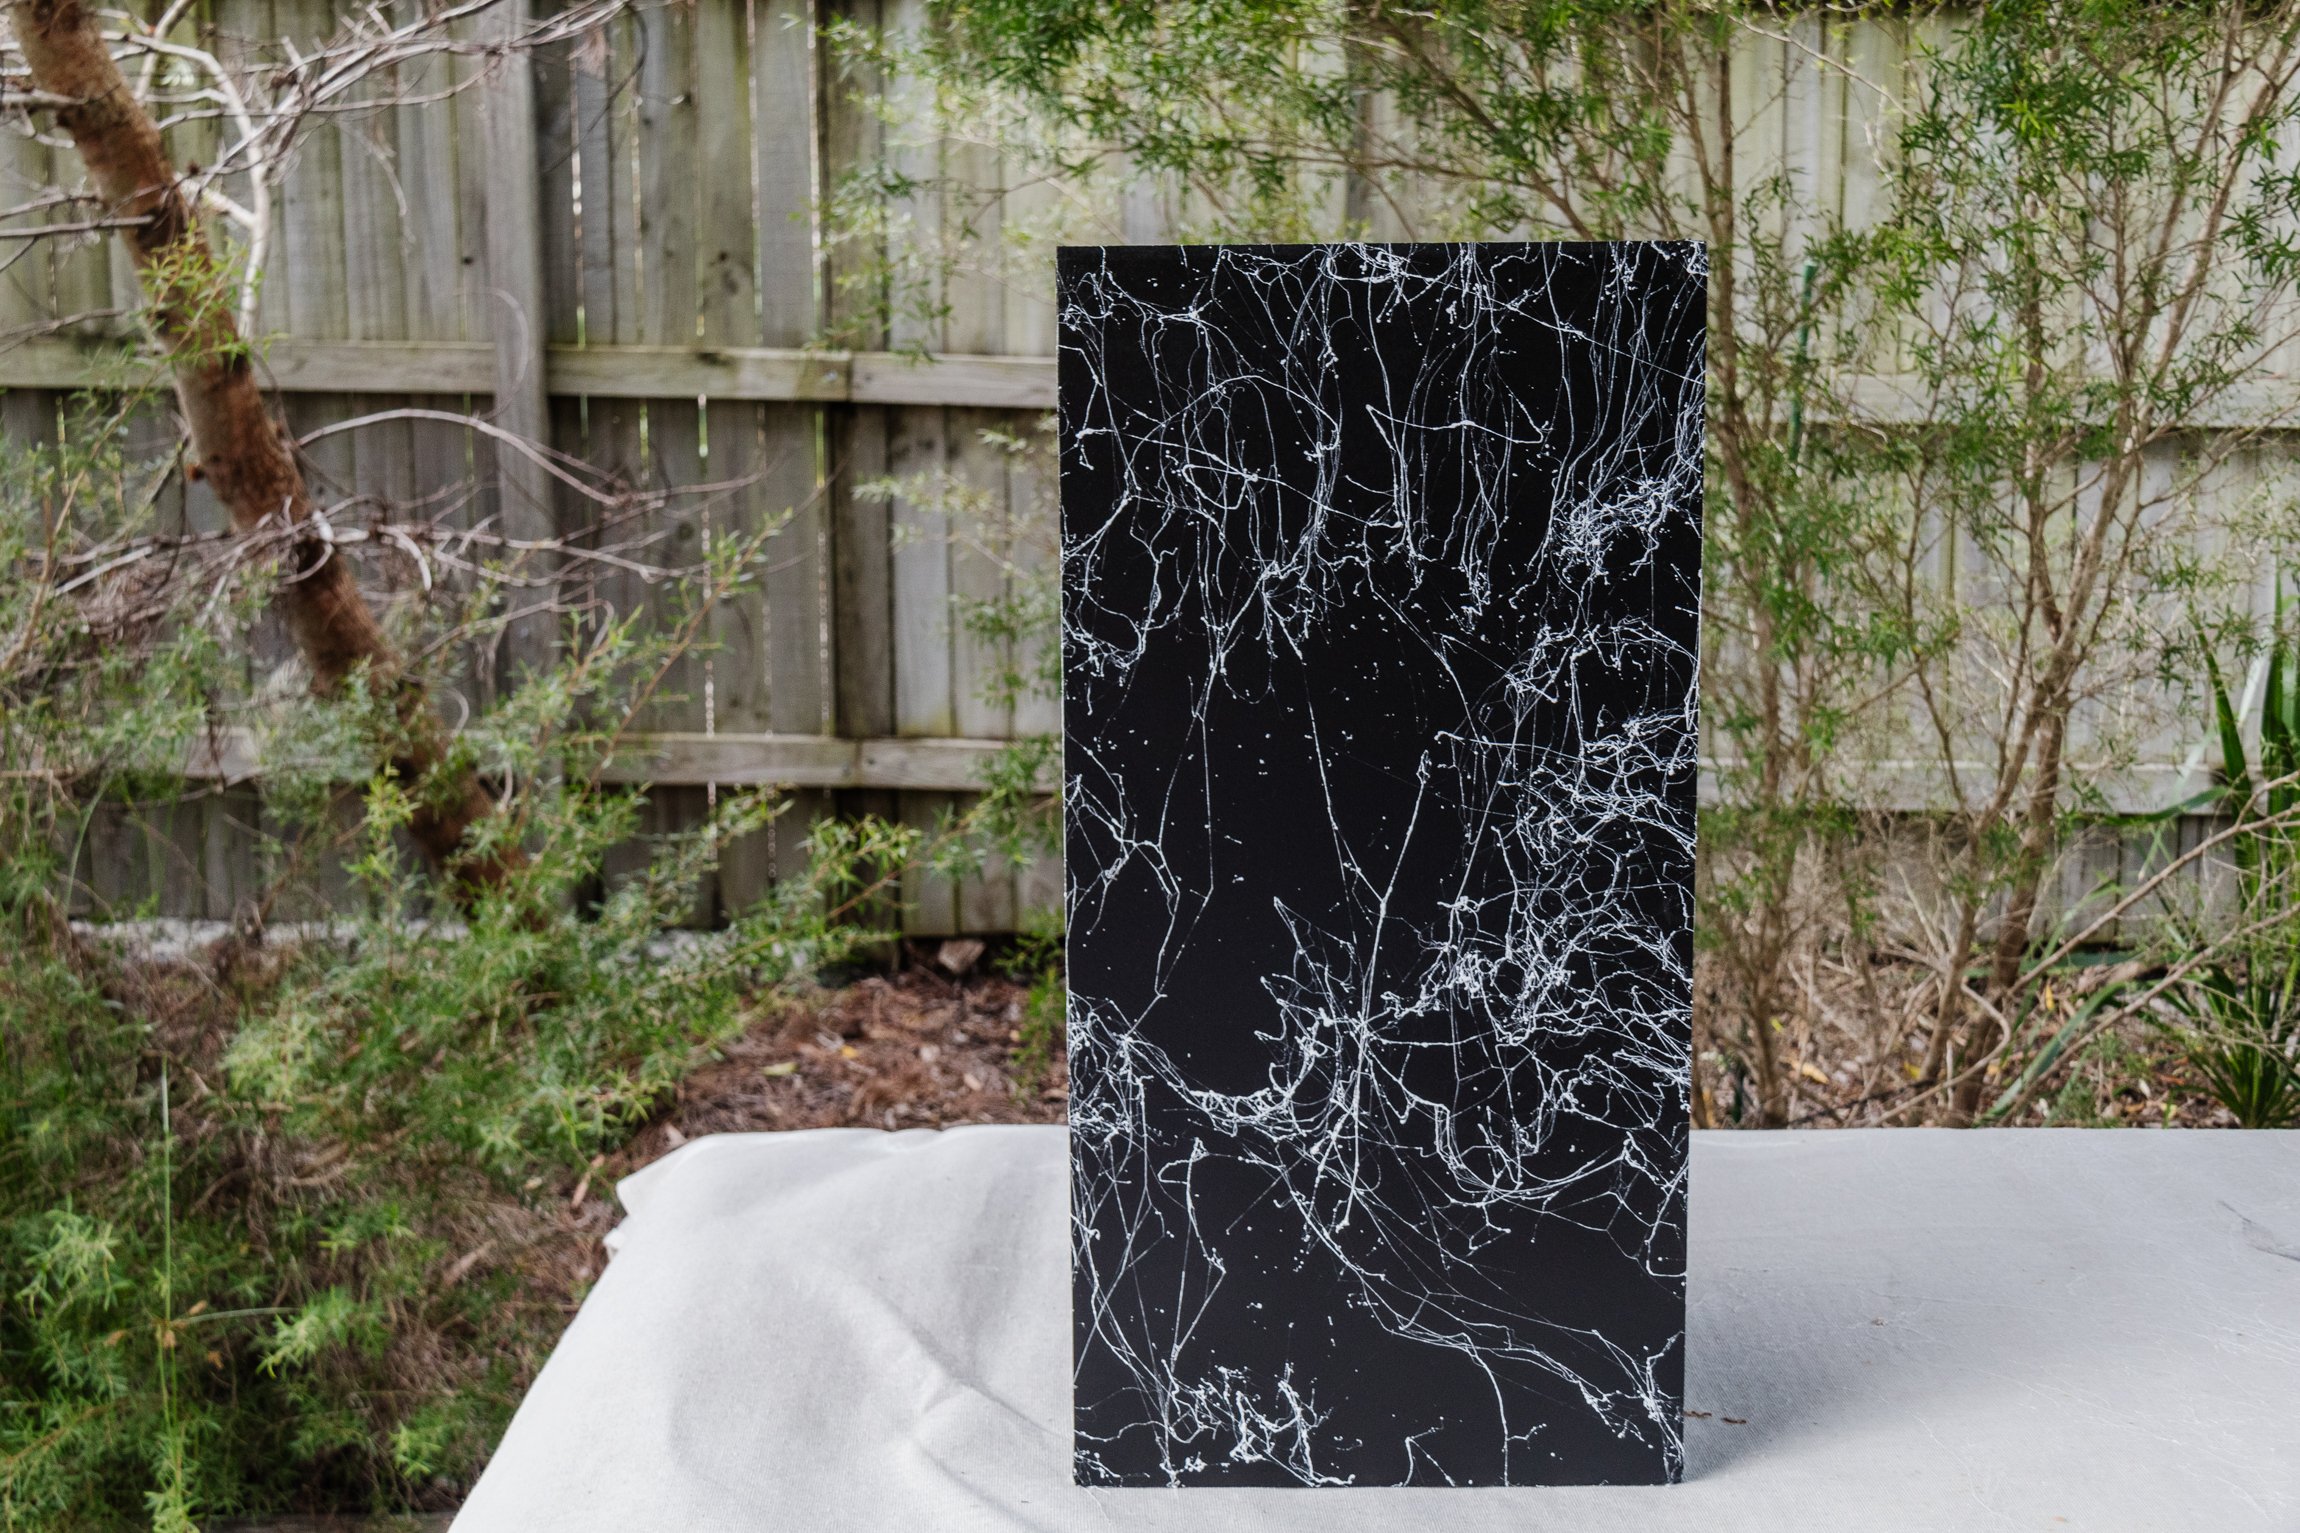
Paint the plinth with black gloss paint. The Taubmans exterior paint I used dried really quickly, which is a bonus! Apply at least 2 to 3 coats of paint. When the paint has dried, apply the marble effect spray paint as per the instructions. I recommend practicing on leftover MDF, and make sure the MDF piece is vertical when you spray as this will emulate how you will apply it onto the plinth. I found soft sprays and letting the air settle the marble effect spray paint really helped. Don’t apply it straight on, too close or directly. Instead lightly spray it on from a good distance. if you find some of the marble effect hanging (you’ll know when I mean when you use it), carefully lift it and let it drop naturally and organically. Try not to over spray otherwise it won’t look natural. The spray paint dries really quickly too so after a few minutes, you’ll have a beautiful Marble Effect Plinth!
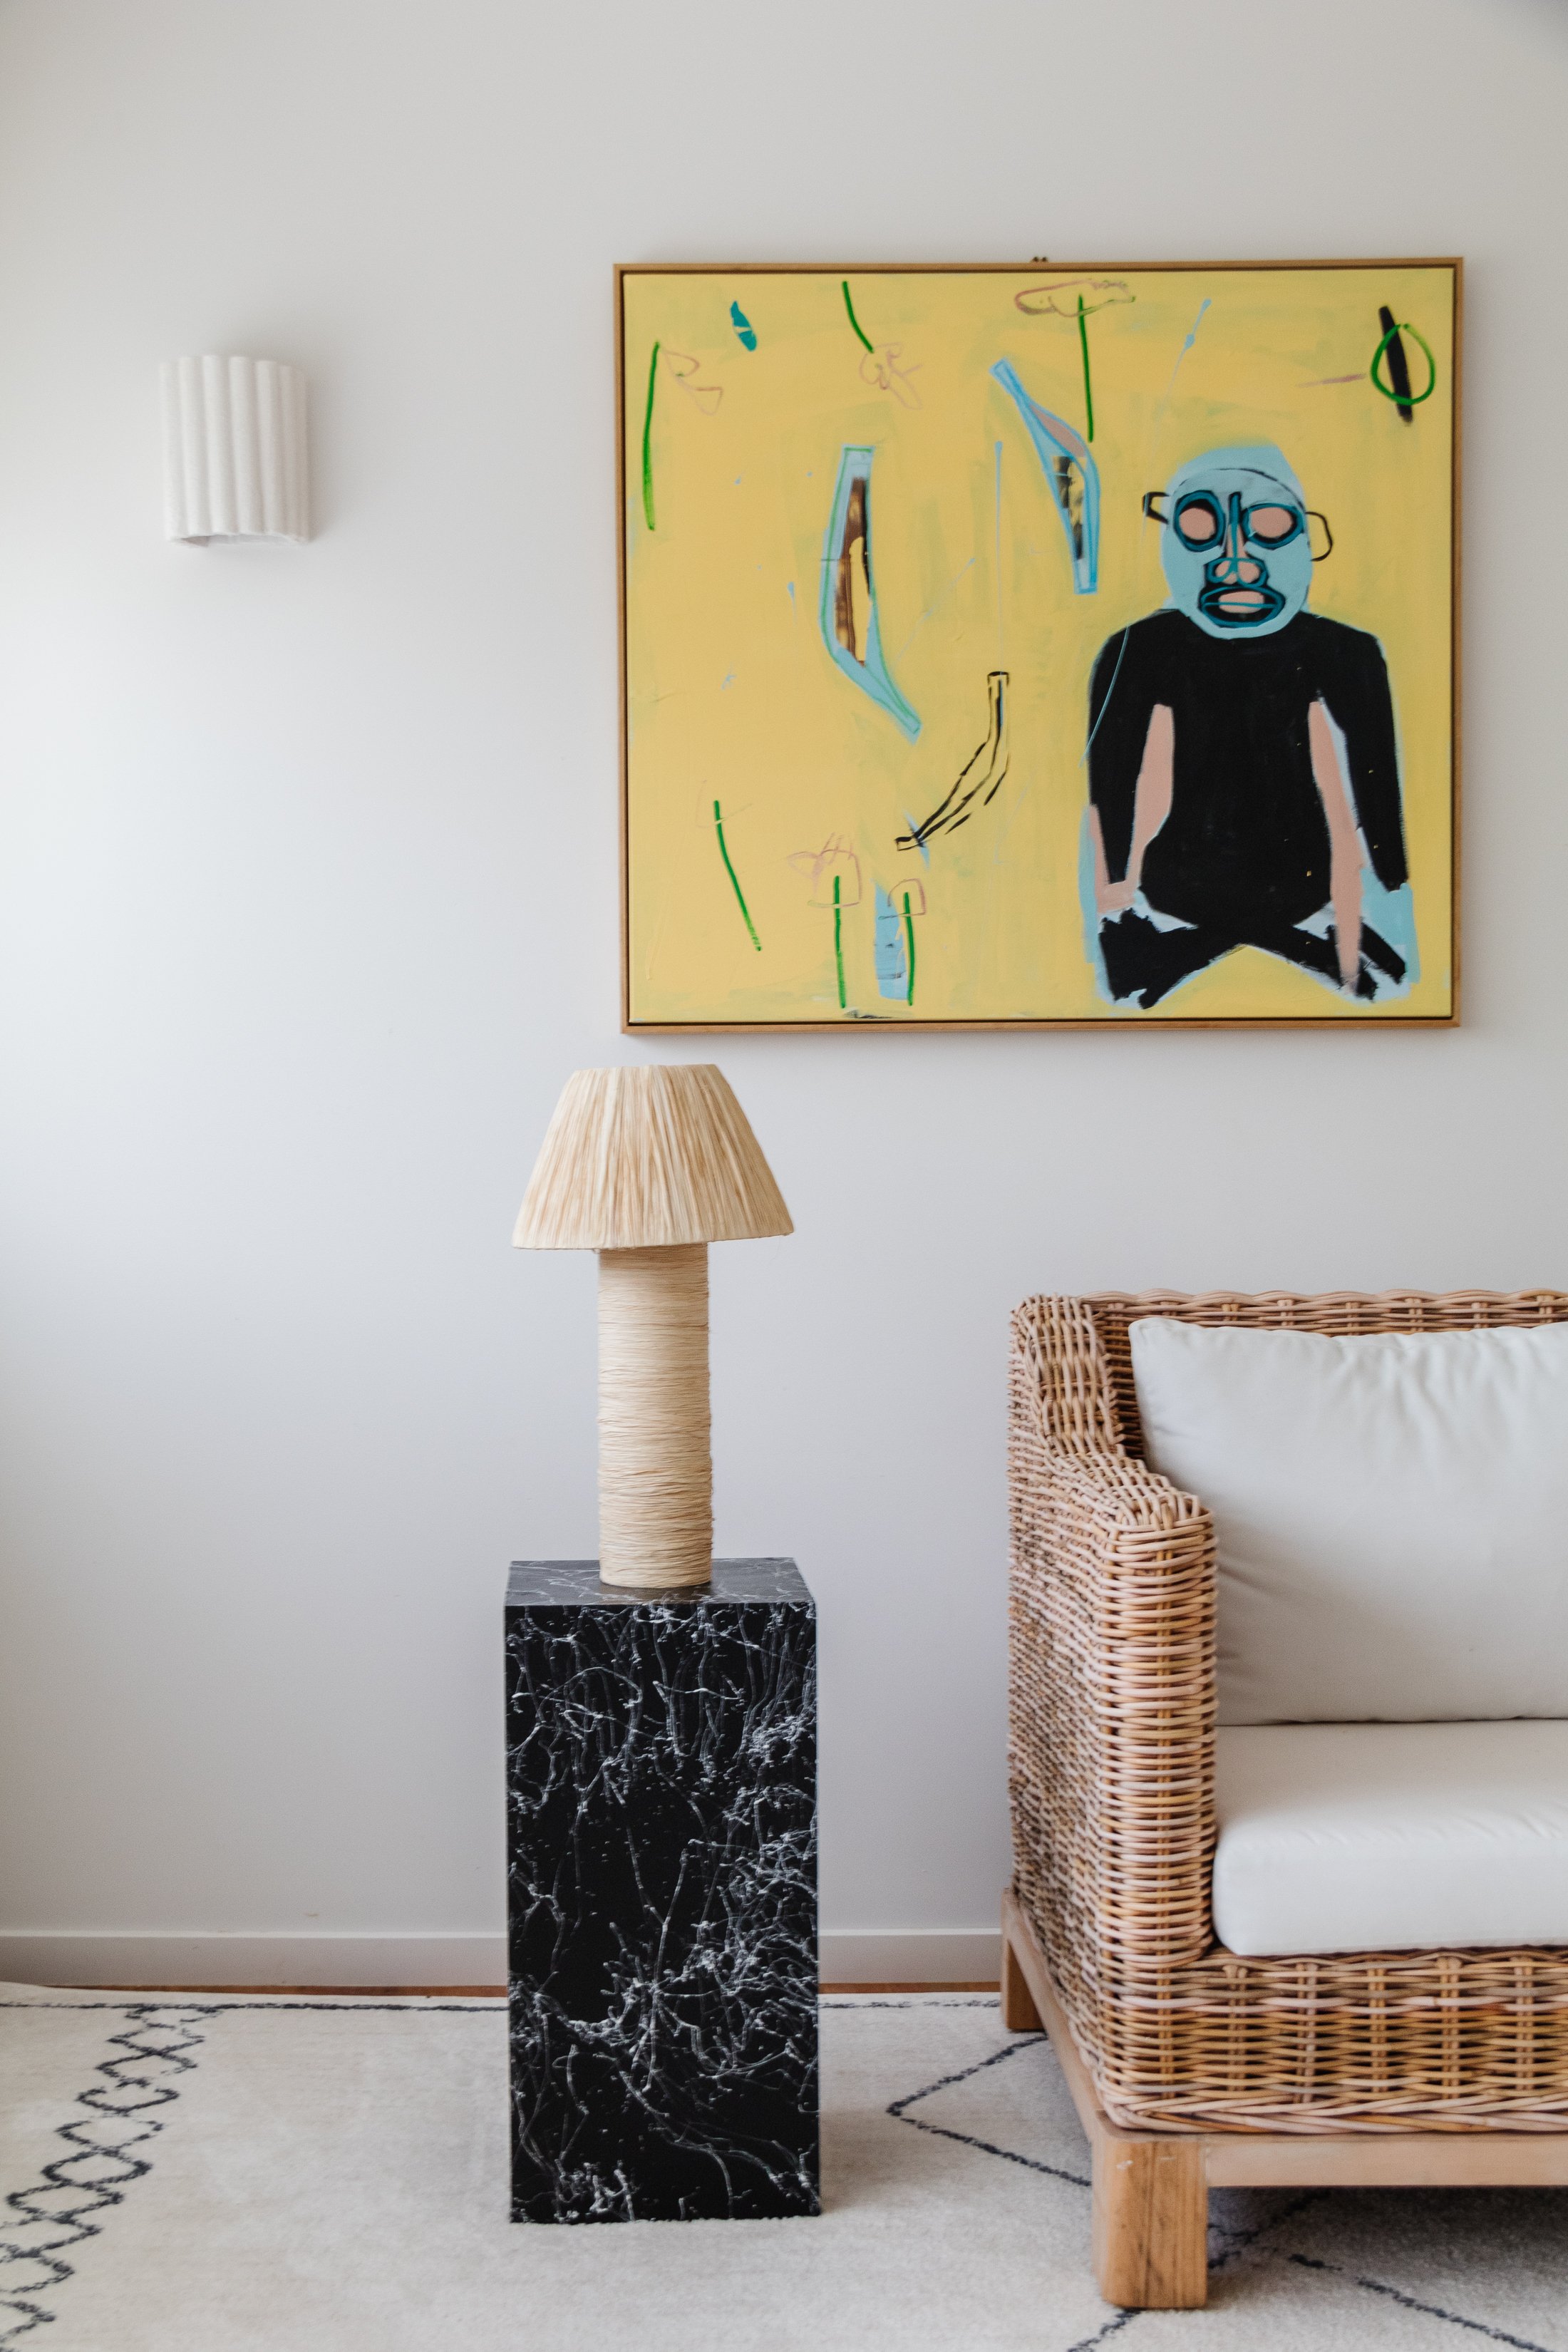
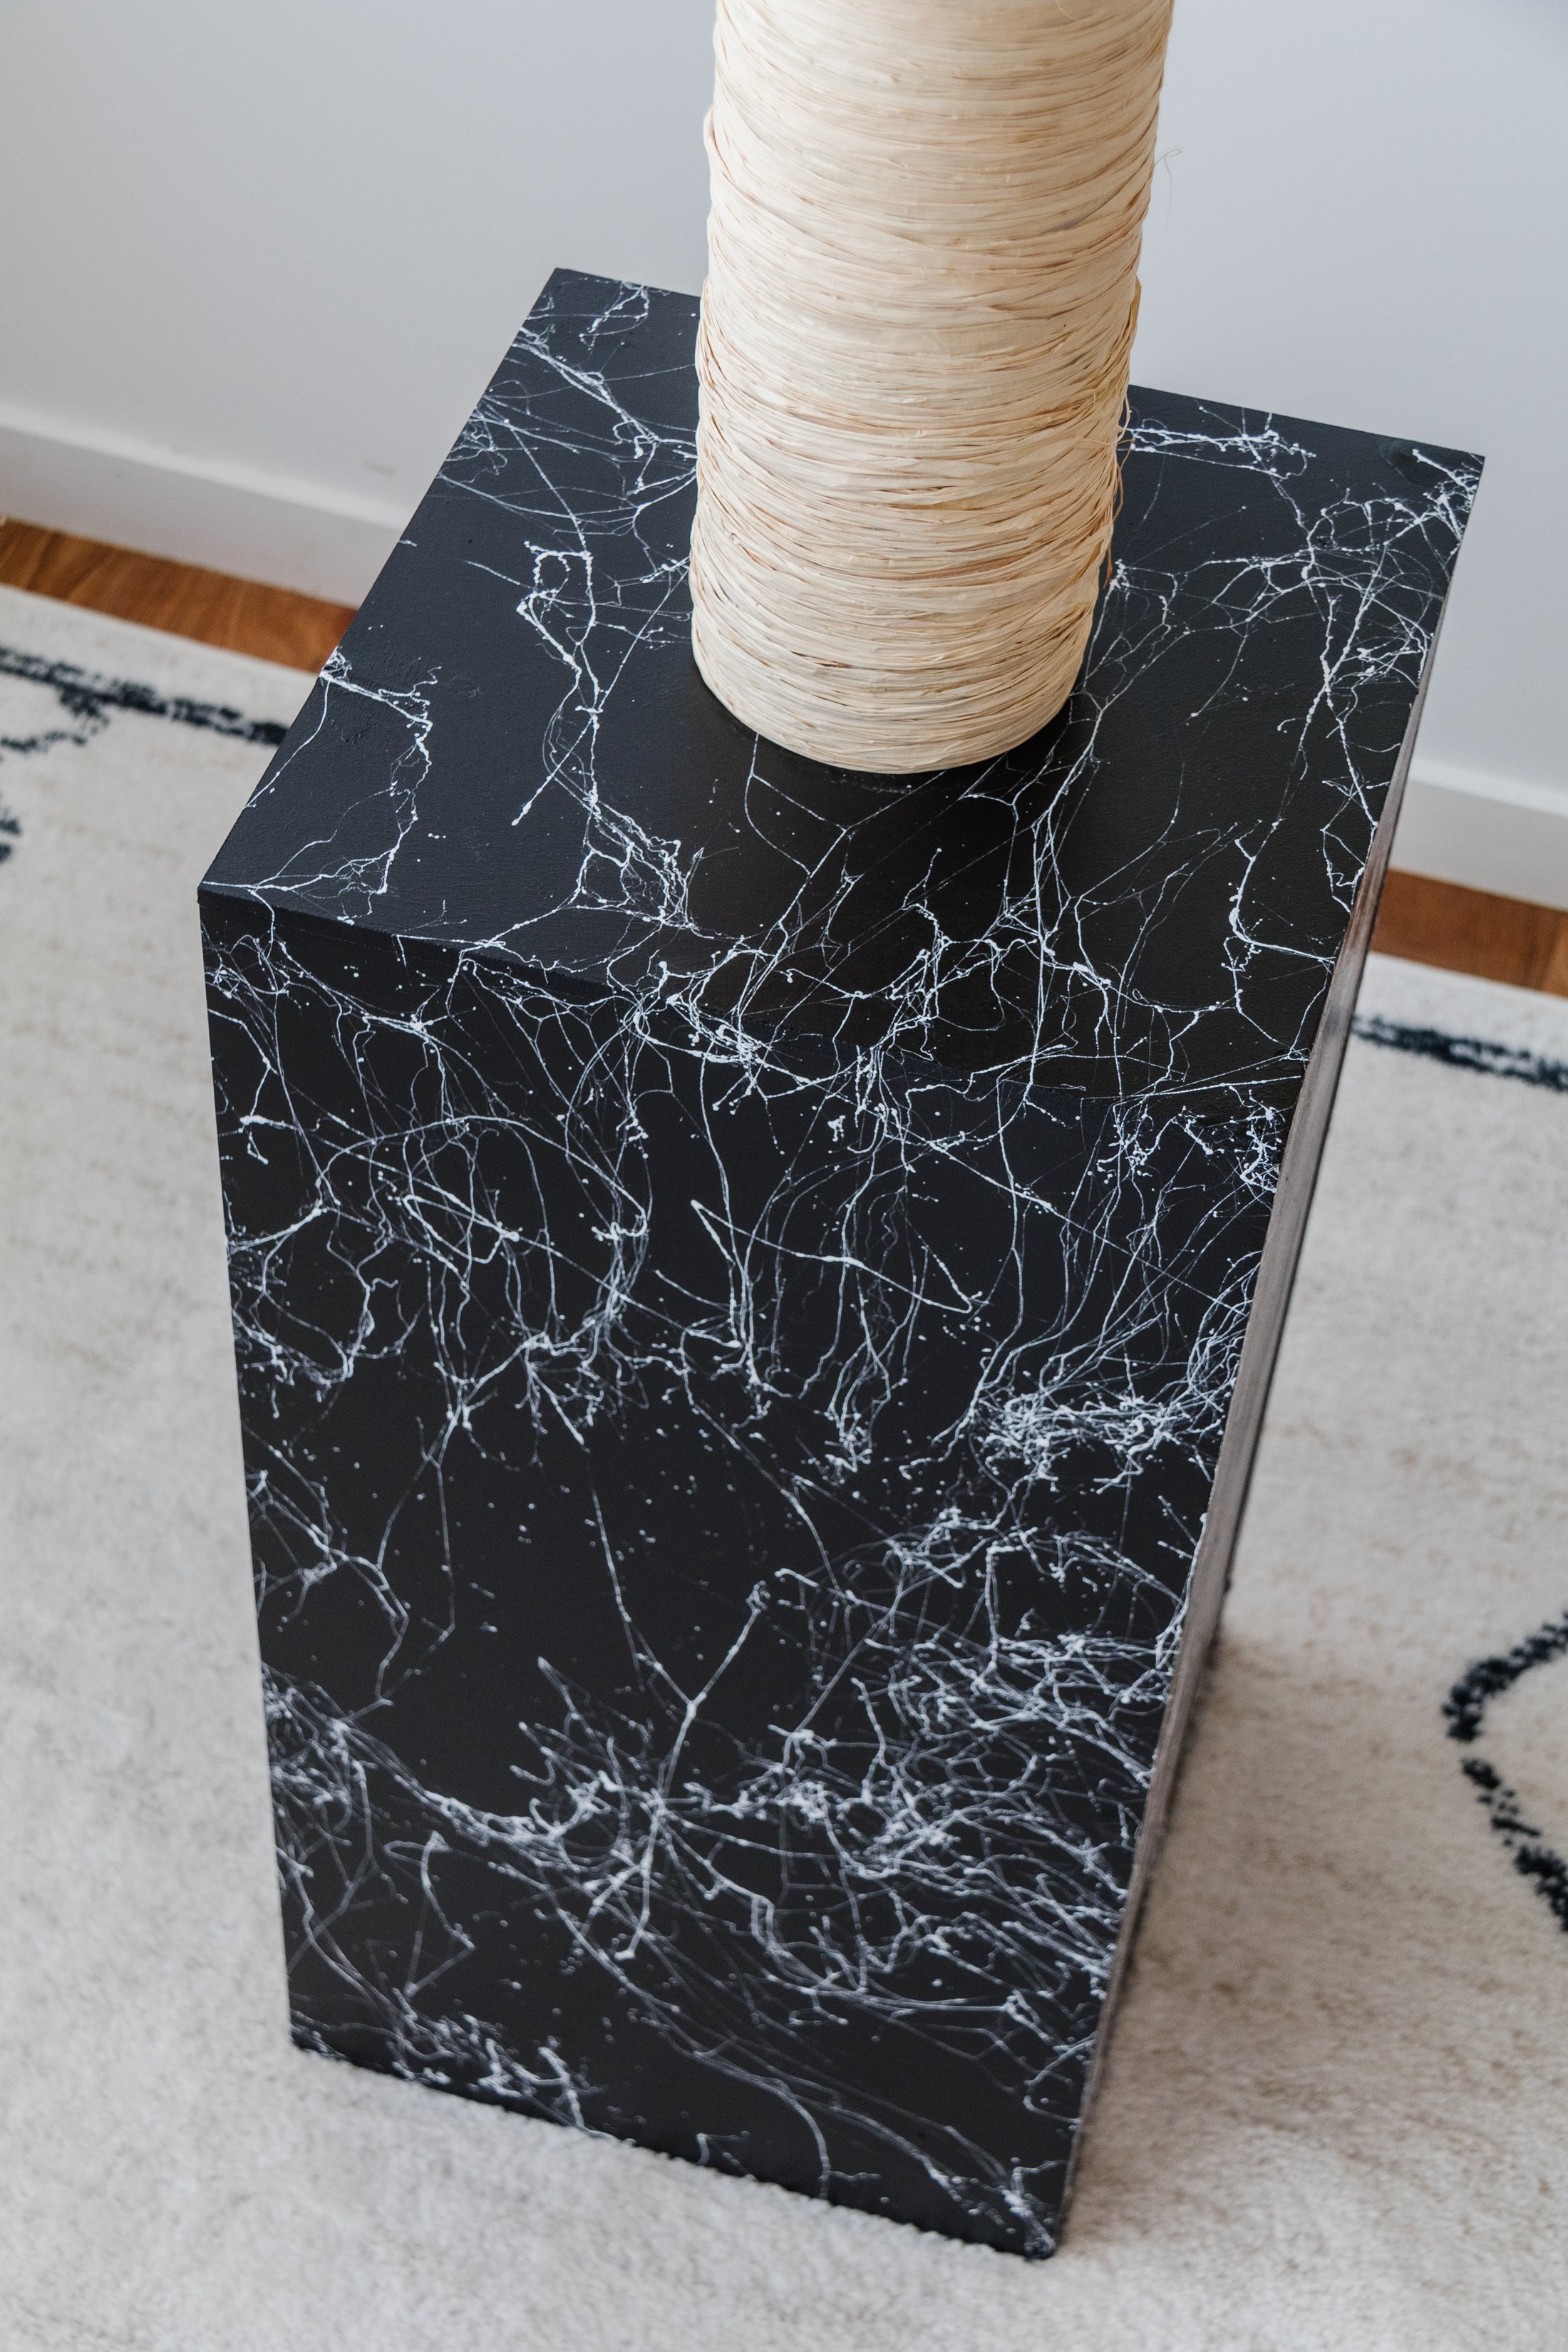
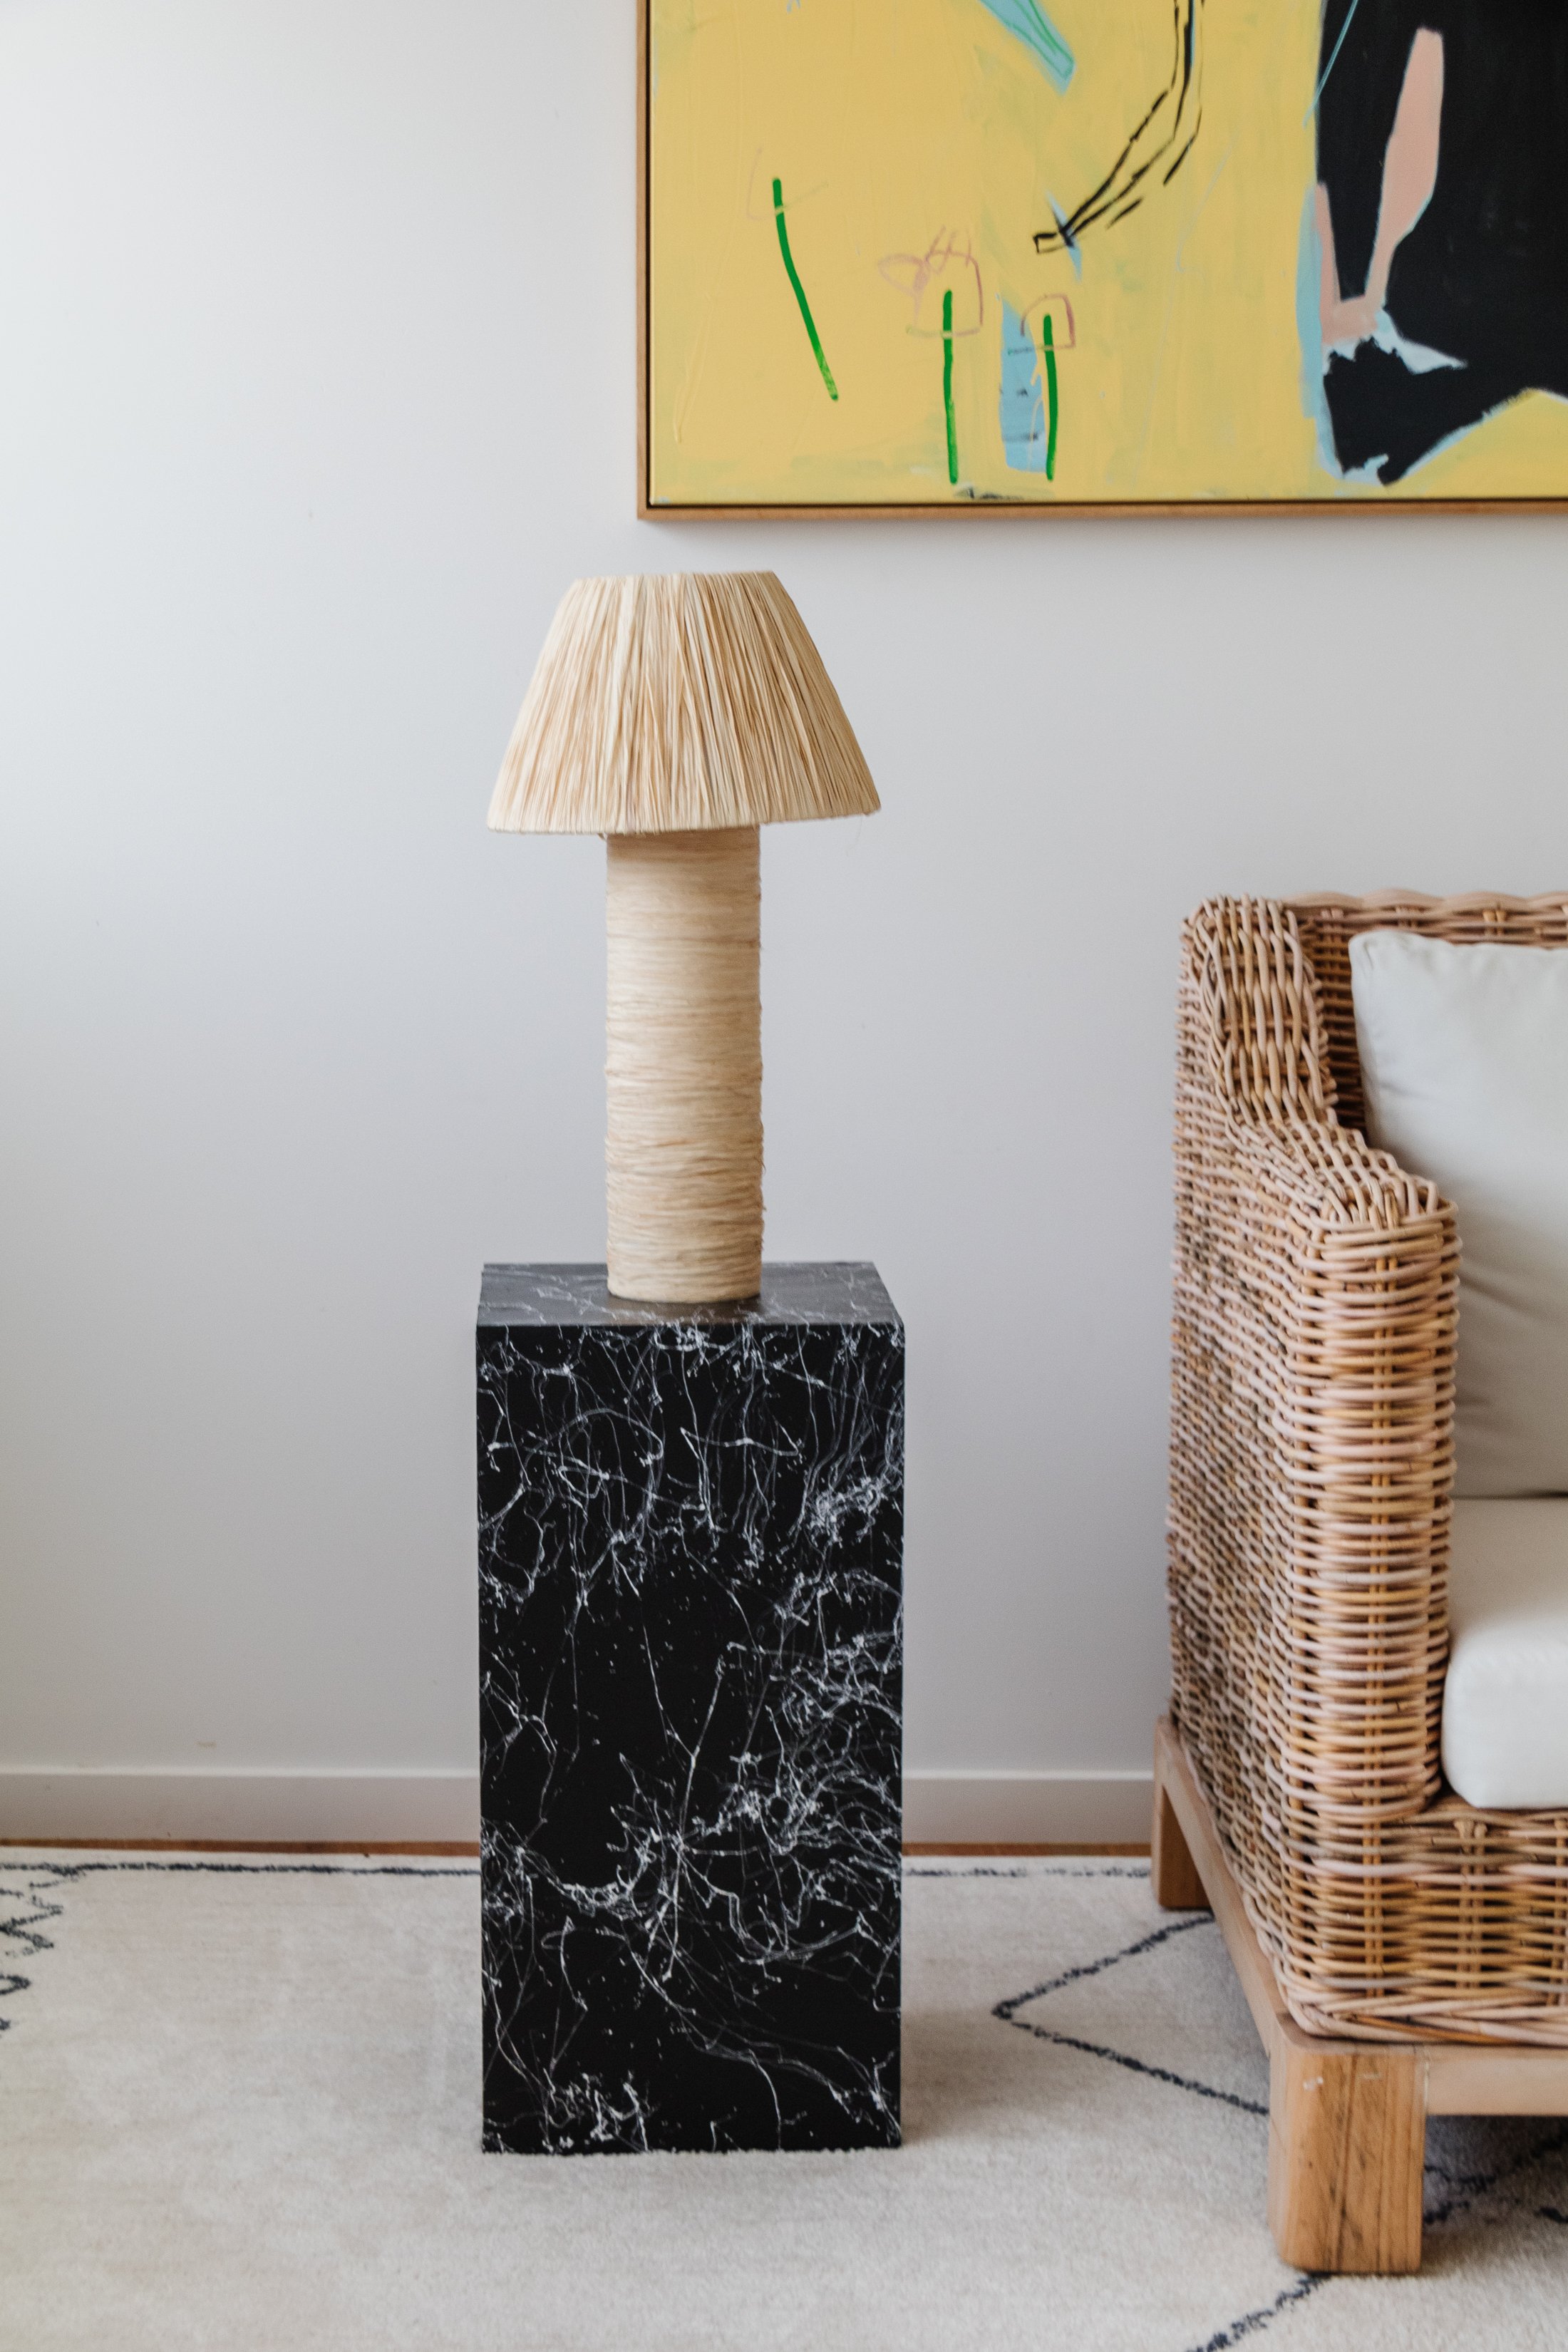
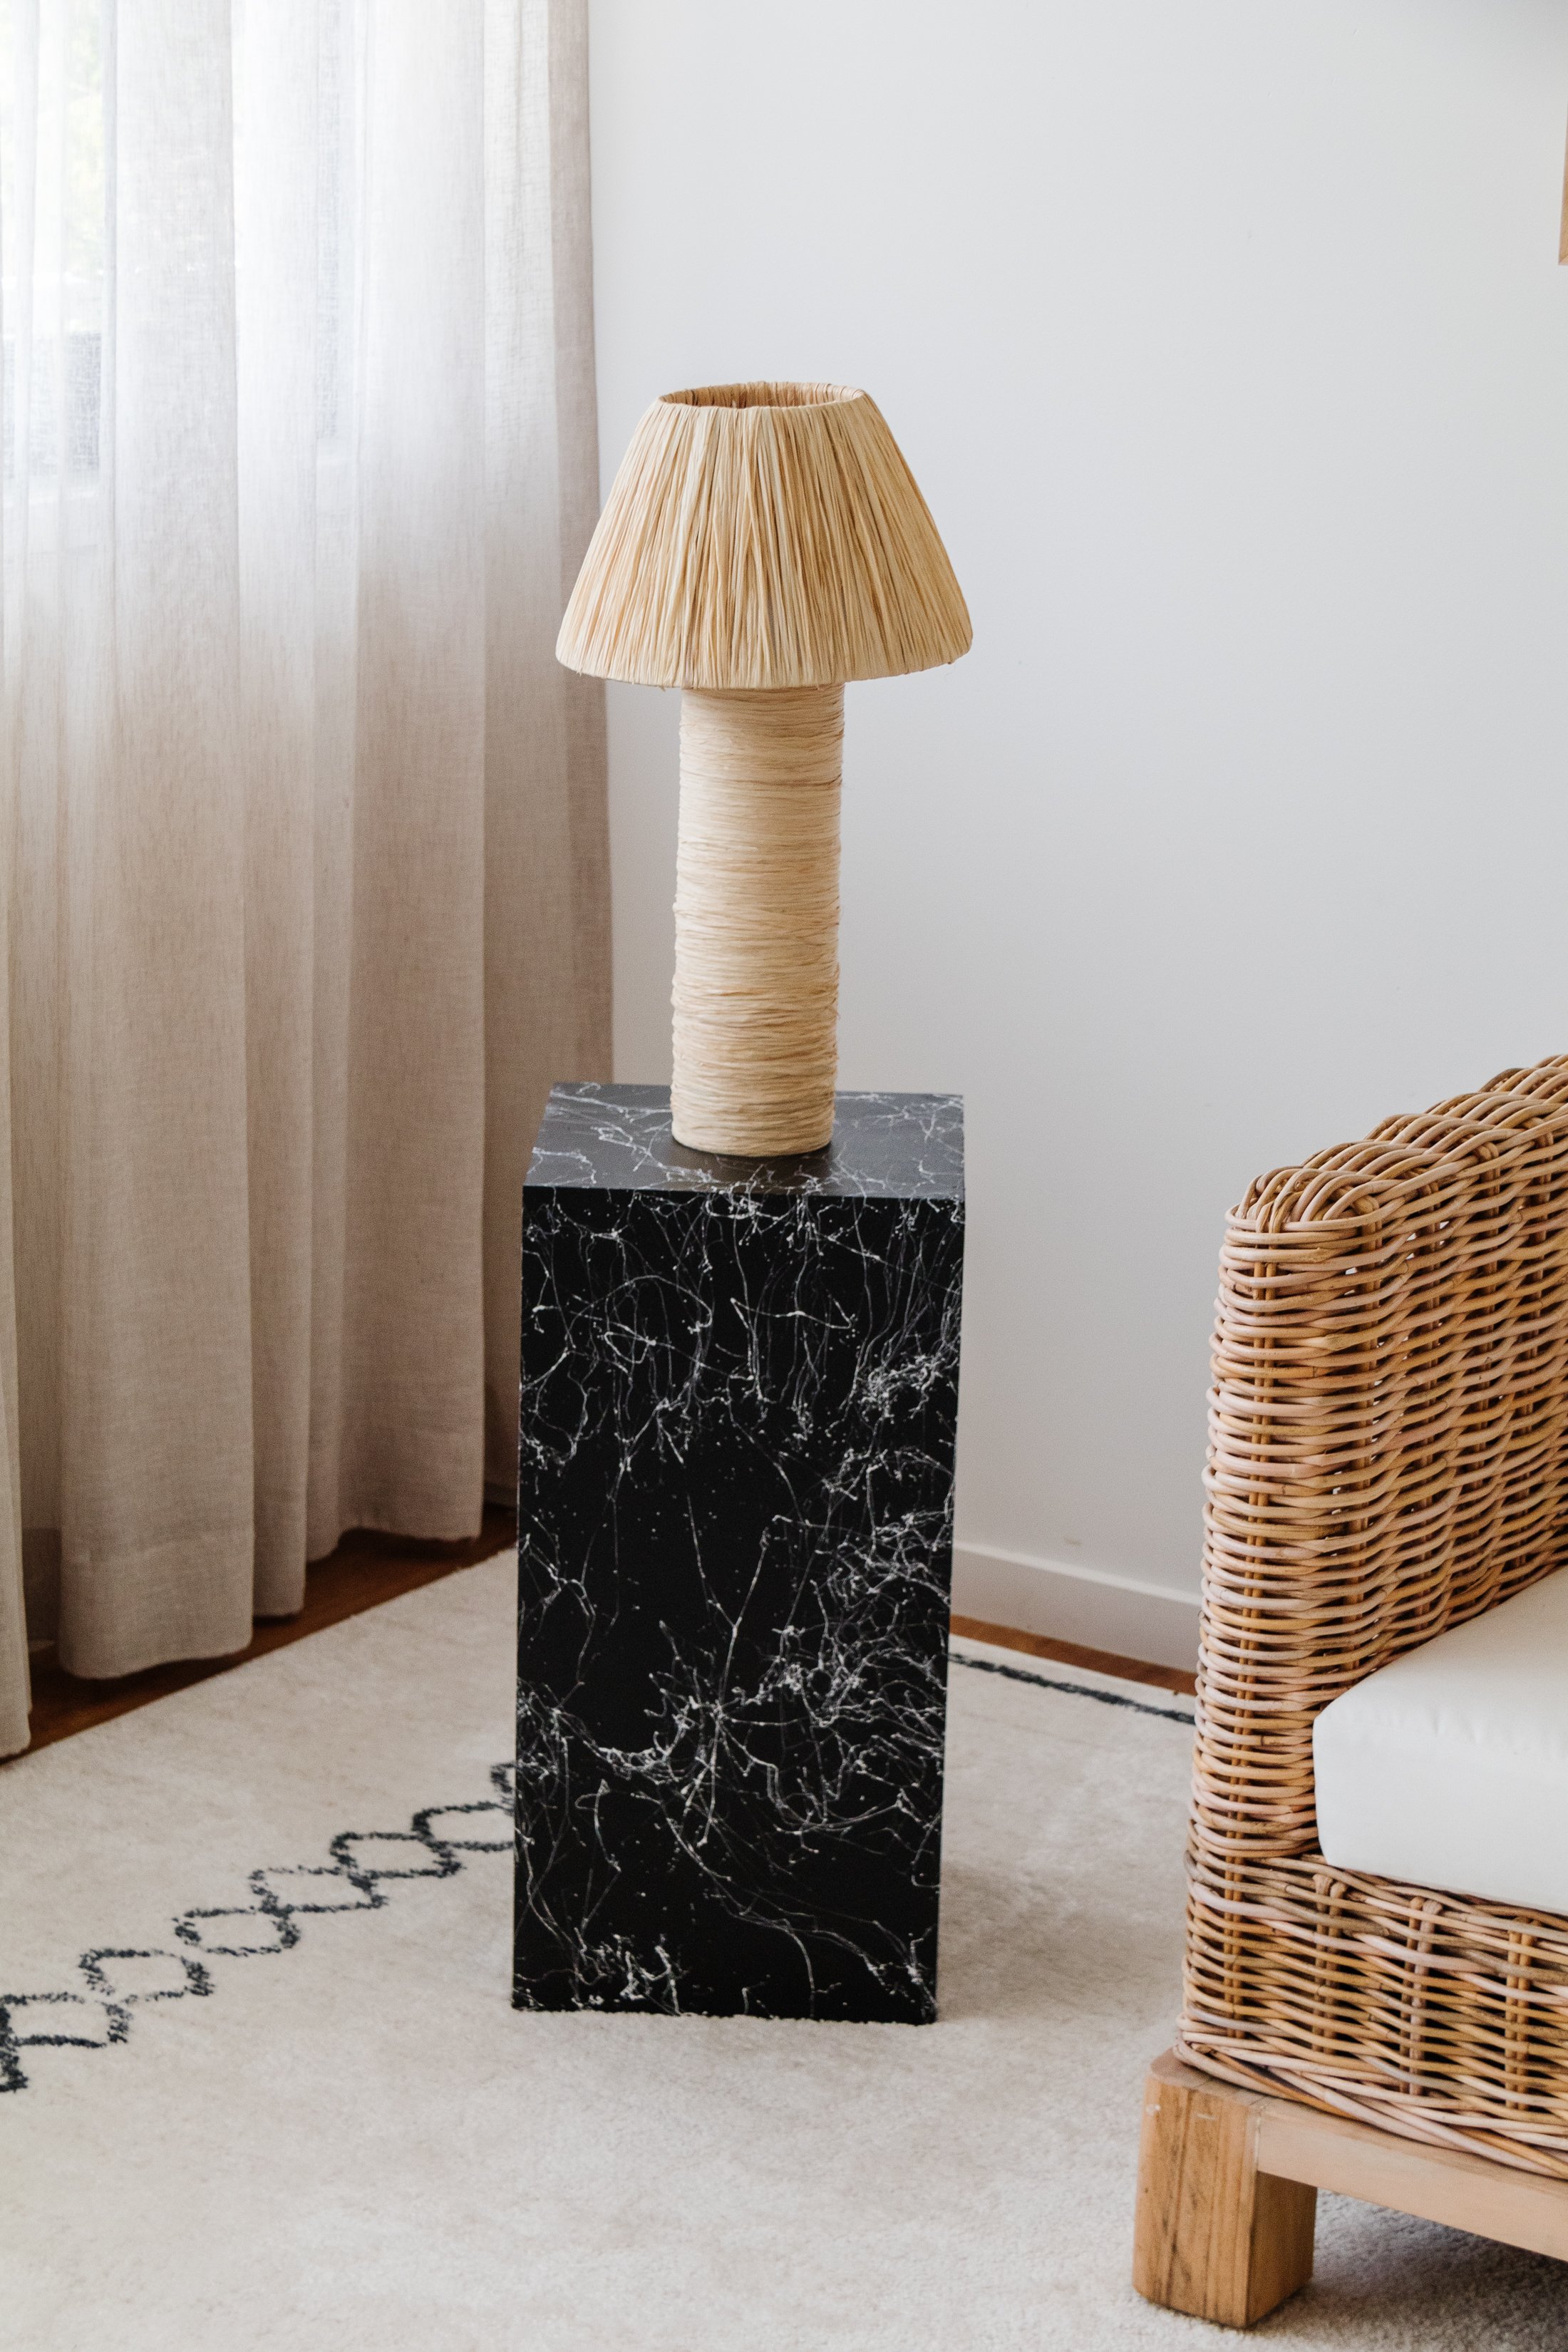
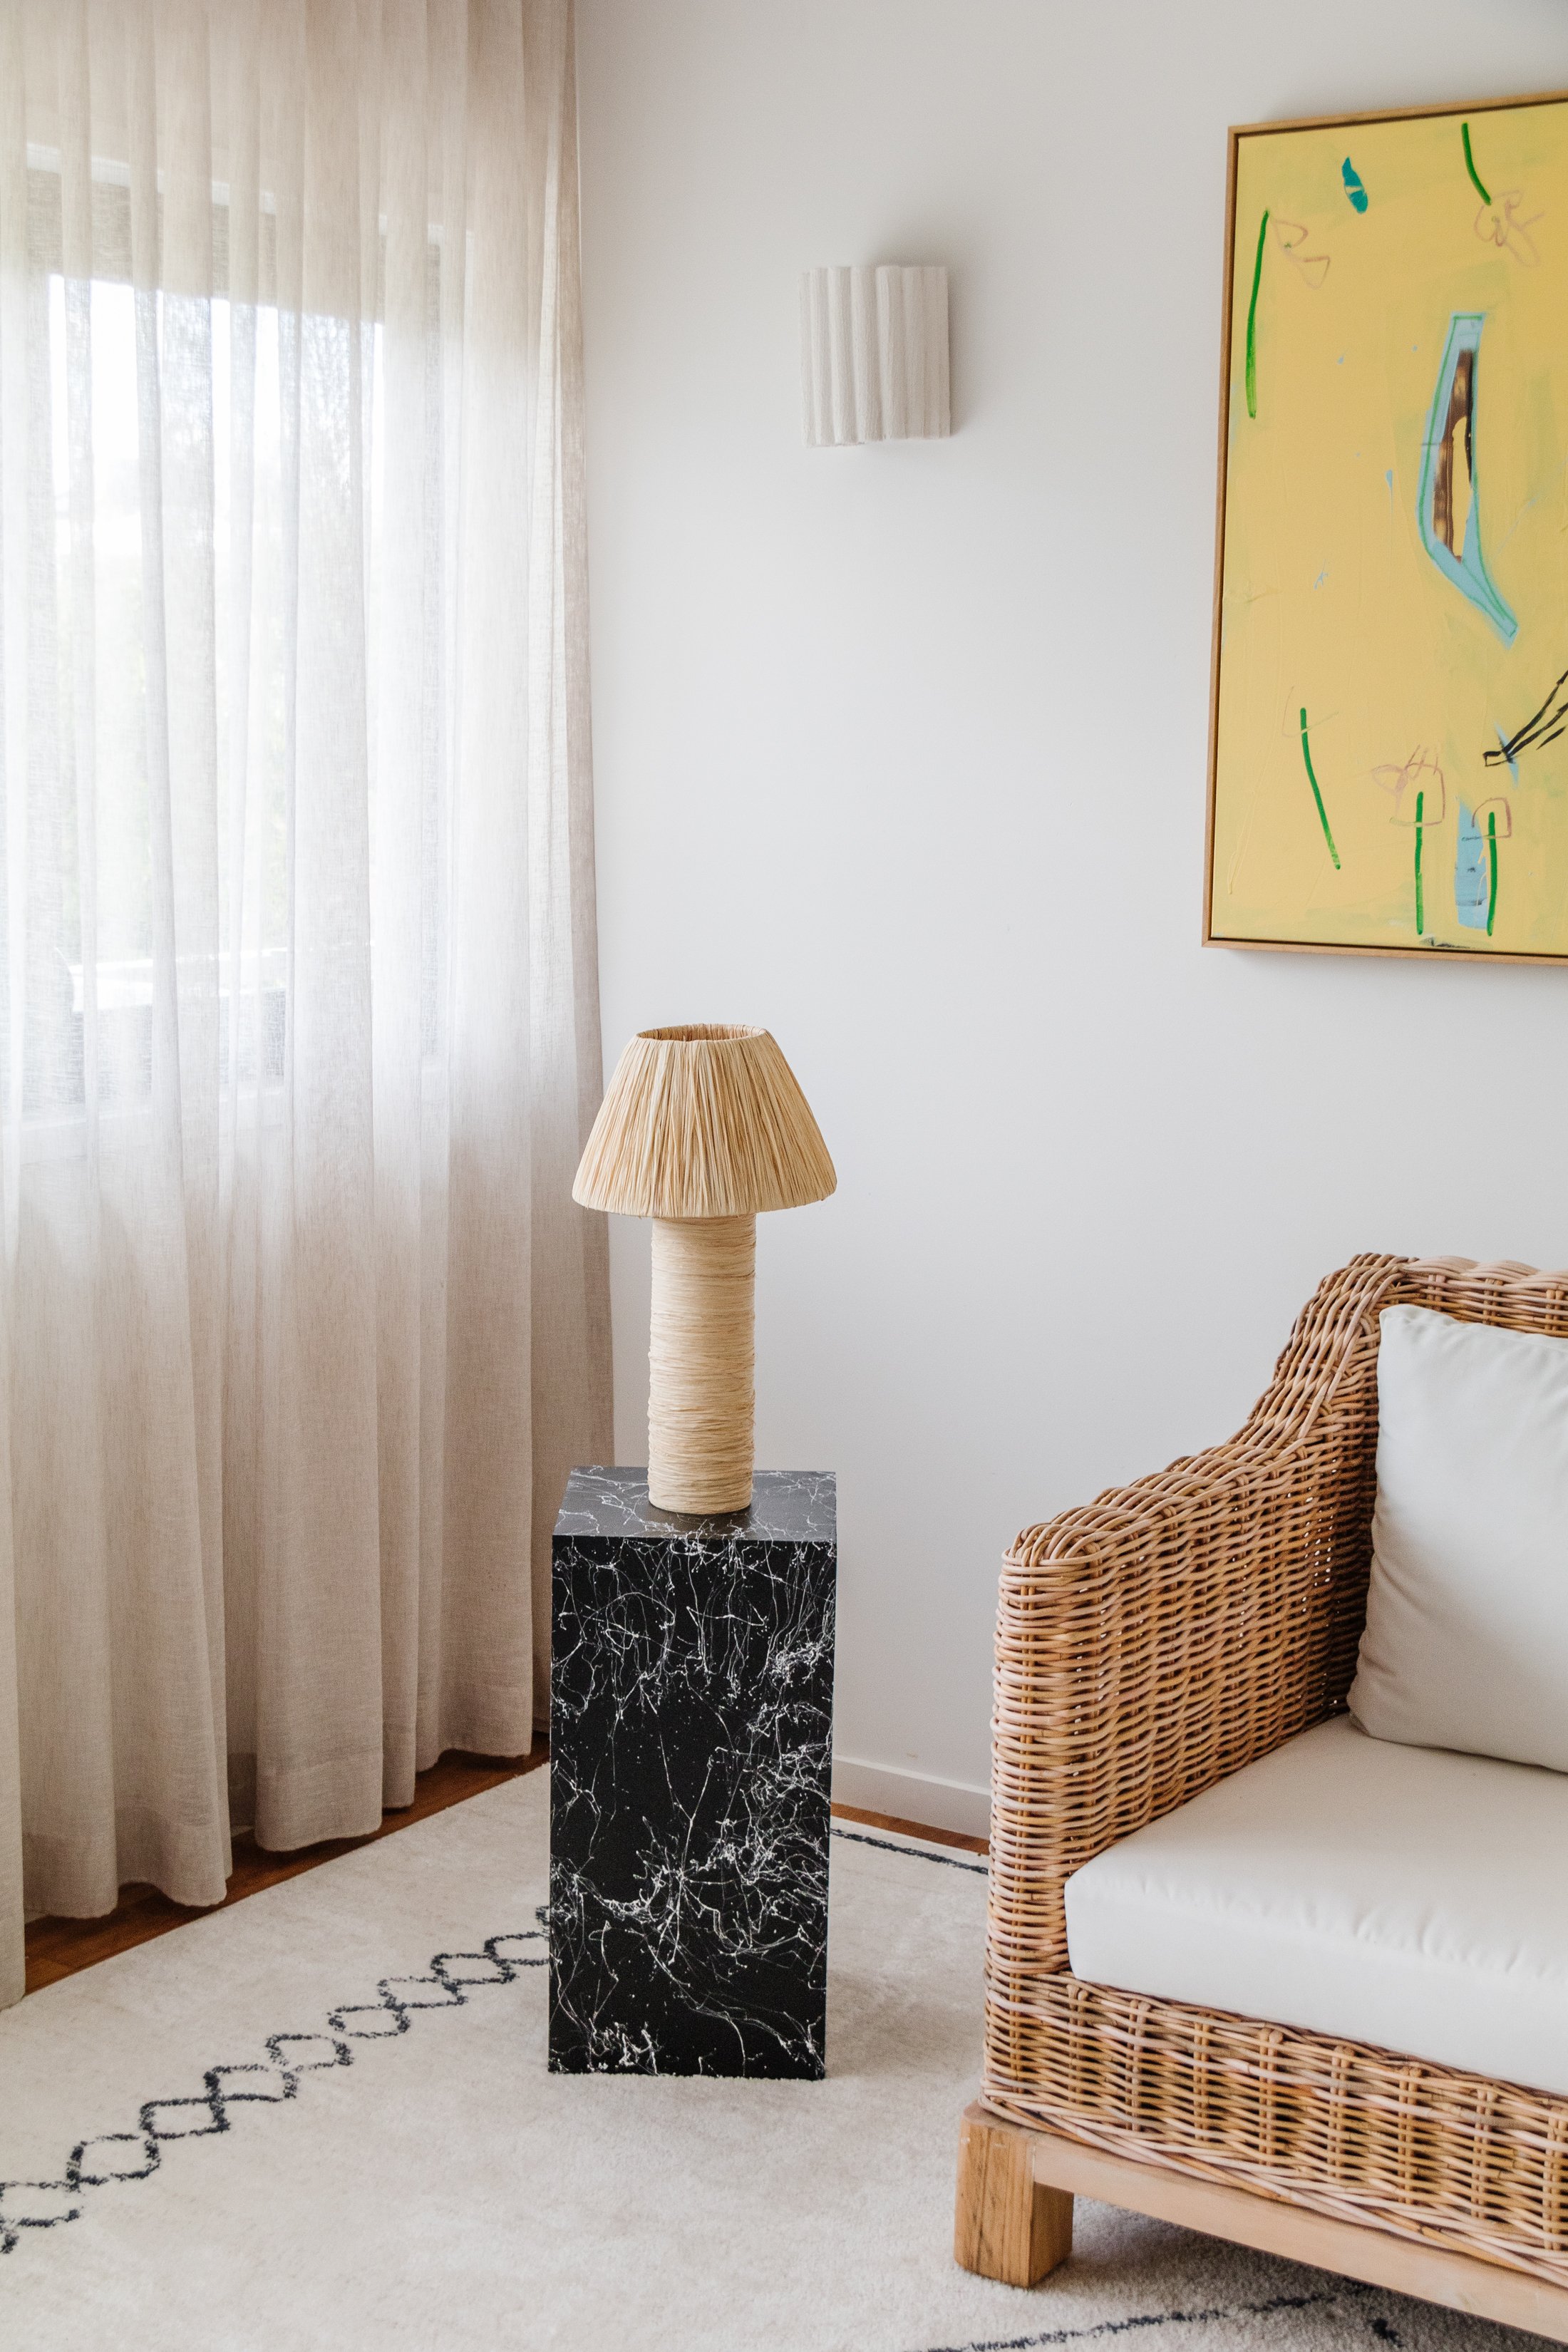
Ta daaaa! A fun dupe that will make even the discerning interior addict wonder if your marble plinth is real… You’ll definitely keep them guessing.
Guys, I’m shook. I actually cannot believe how beautiful and REAL this marble effect plinth looks! I have had this idea in my head for months and being able to make it for less, while sharing the materials and process with you has been a dream come true. I learned a lot along the way and have made sure to share every tip and trick I learned right here on this very page with you. You could easily replicate this tutorial and make a marble effect side table, coffee table, dining table and bedside table. I hope I have inspired you to make your own marble effect plinth (or table! or vessel! or vase!). If you do try this project, make sure to tag me over on Instagram as I love seeing all the projects you make.
This project is in partnership with Bunnings. I hope you loved learning how to make your own DIY Marble Effect Plinth as much as I did!

