DIY Checker Painted Rug
Love the checker trend but nervous to dip your toe into it? This is the perfect project for you.
Checker, checker, checker. It’s everywhere! And it’s certainly not going anywhere soon. Love the checker trend? Too nervous to dip your toe into it? If you said yes to either of these questions then my DIY Checker Painted Rug project is perfect for you. As you may know, I am in the middle of giving our guest bedroom a makeover and when I rolled up our Ikea Lohals jute runner rug a couple of weeks ago, an idea struck. What if I painted a checker pattern onto the rug? I have seen checker rugs cost into the thousands and as I am constantly thinking about how you can make your dream home for less, and this DIY seemed like a no brainer. So, I gathered up some leftover paint, a ruler, painter's tape and rolled up my sleeves. And as they say, the rest is history. Read on to make your own DIY Checker Painted Rug in under an hour.
Before & After
Project Details
🛠️ Making: DIY Checker Painted Rug
🕒 Project Time Estimate: 2 hours (not including paint drying time)
💰 Materials Cost: $100
Materials
Drop sheet
Ruler / measuring tape
Painters tape
Paint (I used interior paint but you can use an exterior paint if you’re rug will be positioned in a high use area)
Microfibre paint roller
Paint plate or tray
How To
Using a measuring tape, measure your rug and work out how big or small you would like the checkers to be. Personally, I prefer having a checker pattern that looks that same at both ends. It’s these tiny details that make your DIYs look super professional!
I have calculated the measurements below for you depending on whether you would like small or big checkers for this Ikea rug:
Big checkers
Length 250cm x Width 80cm
80cm ÷ 3 (rows) = 26.6cm
Your checker squares will be 27cm x 27cm (I rounded up 26.6cm)
You then need to 250mm ÷ 27cm = 9 (columns)
This means you will have 3 rows and 9 columns of checkers with 27cm sides.
Small checkers
Length 250cm x Width 80cm
80cm ÷ 6 (rows) = 13.3cm
Your checker squares will be 13cm x 13cm
You then need to 250mm ÷ 13cm = 19 (columns)
This means you will have 6 rows and 19 columns of checkers with 13cm sides.
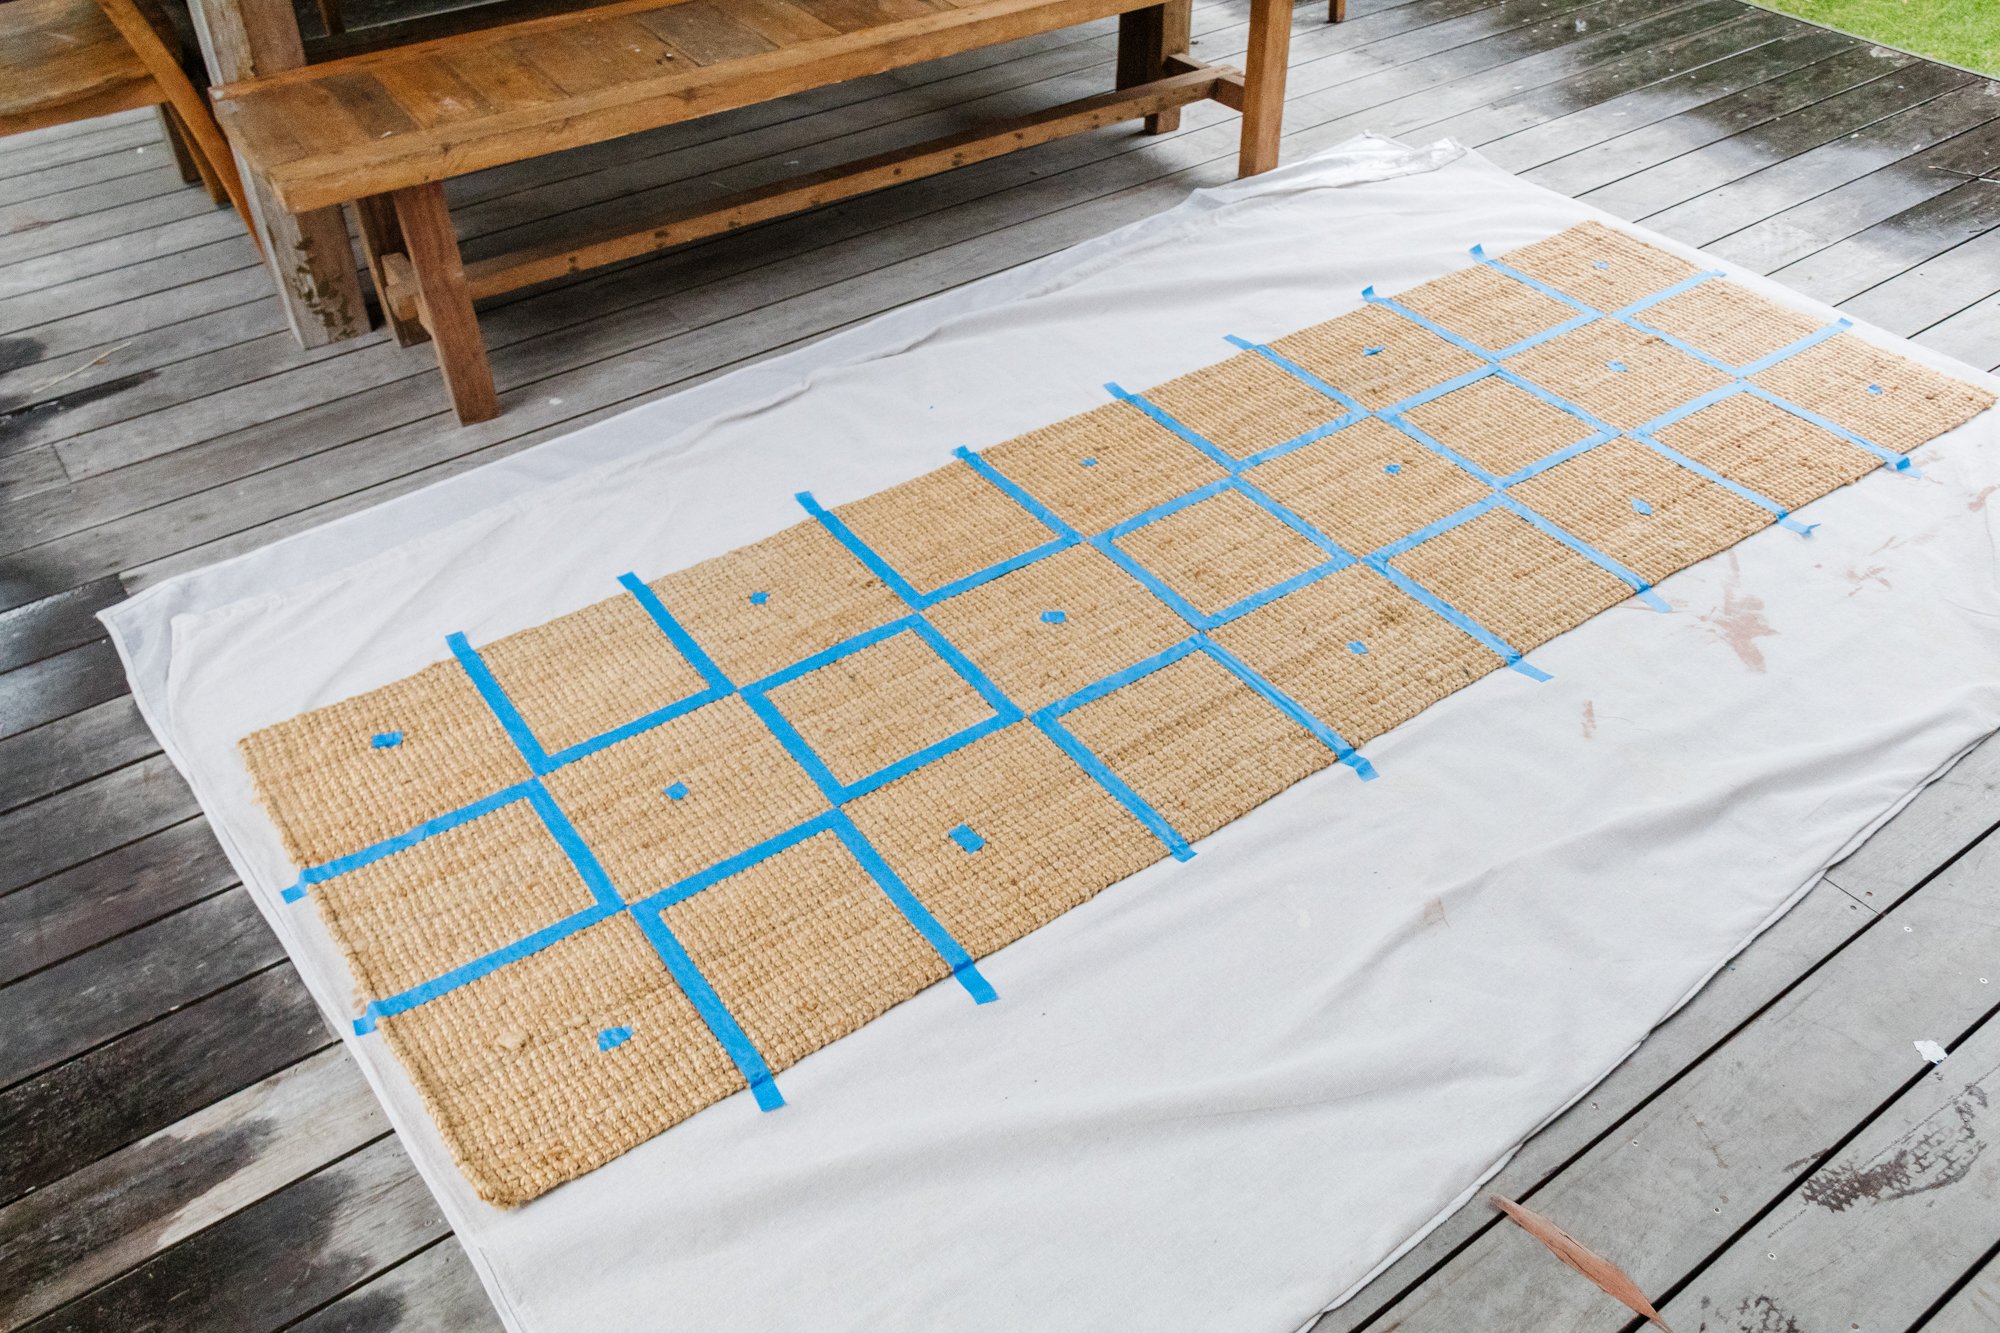
Apply painters tape onto the rug using a ruler. Look at my photos closely. I started from one end but by the time I got to the other, my measurements were out so I recommend working your way down the bottom row (using my photos as a guyed) from right to left and then I finished the other top rows accordingly.
Extra Tip: Add a small piece of painters tape onto the squares you will be painting. I found this helped with the taping and meant my eyes were going cross-eyed.
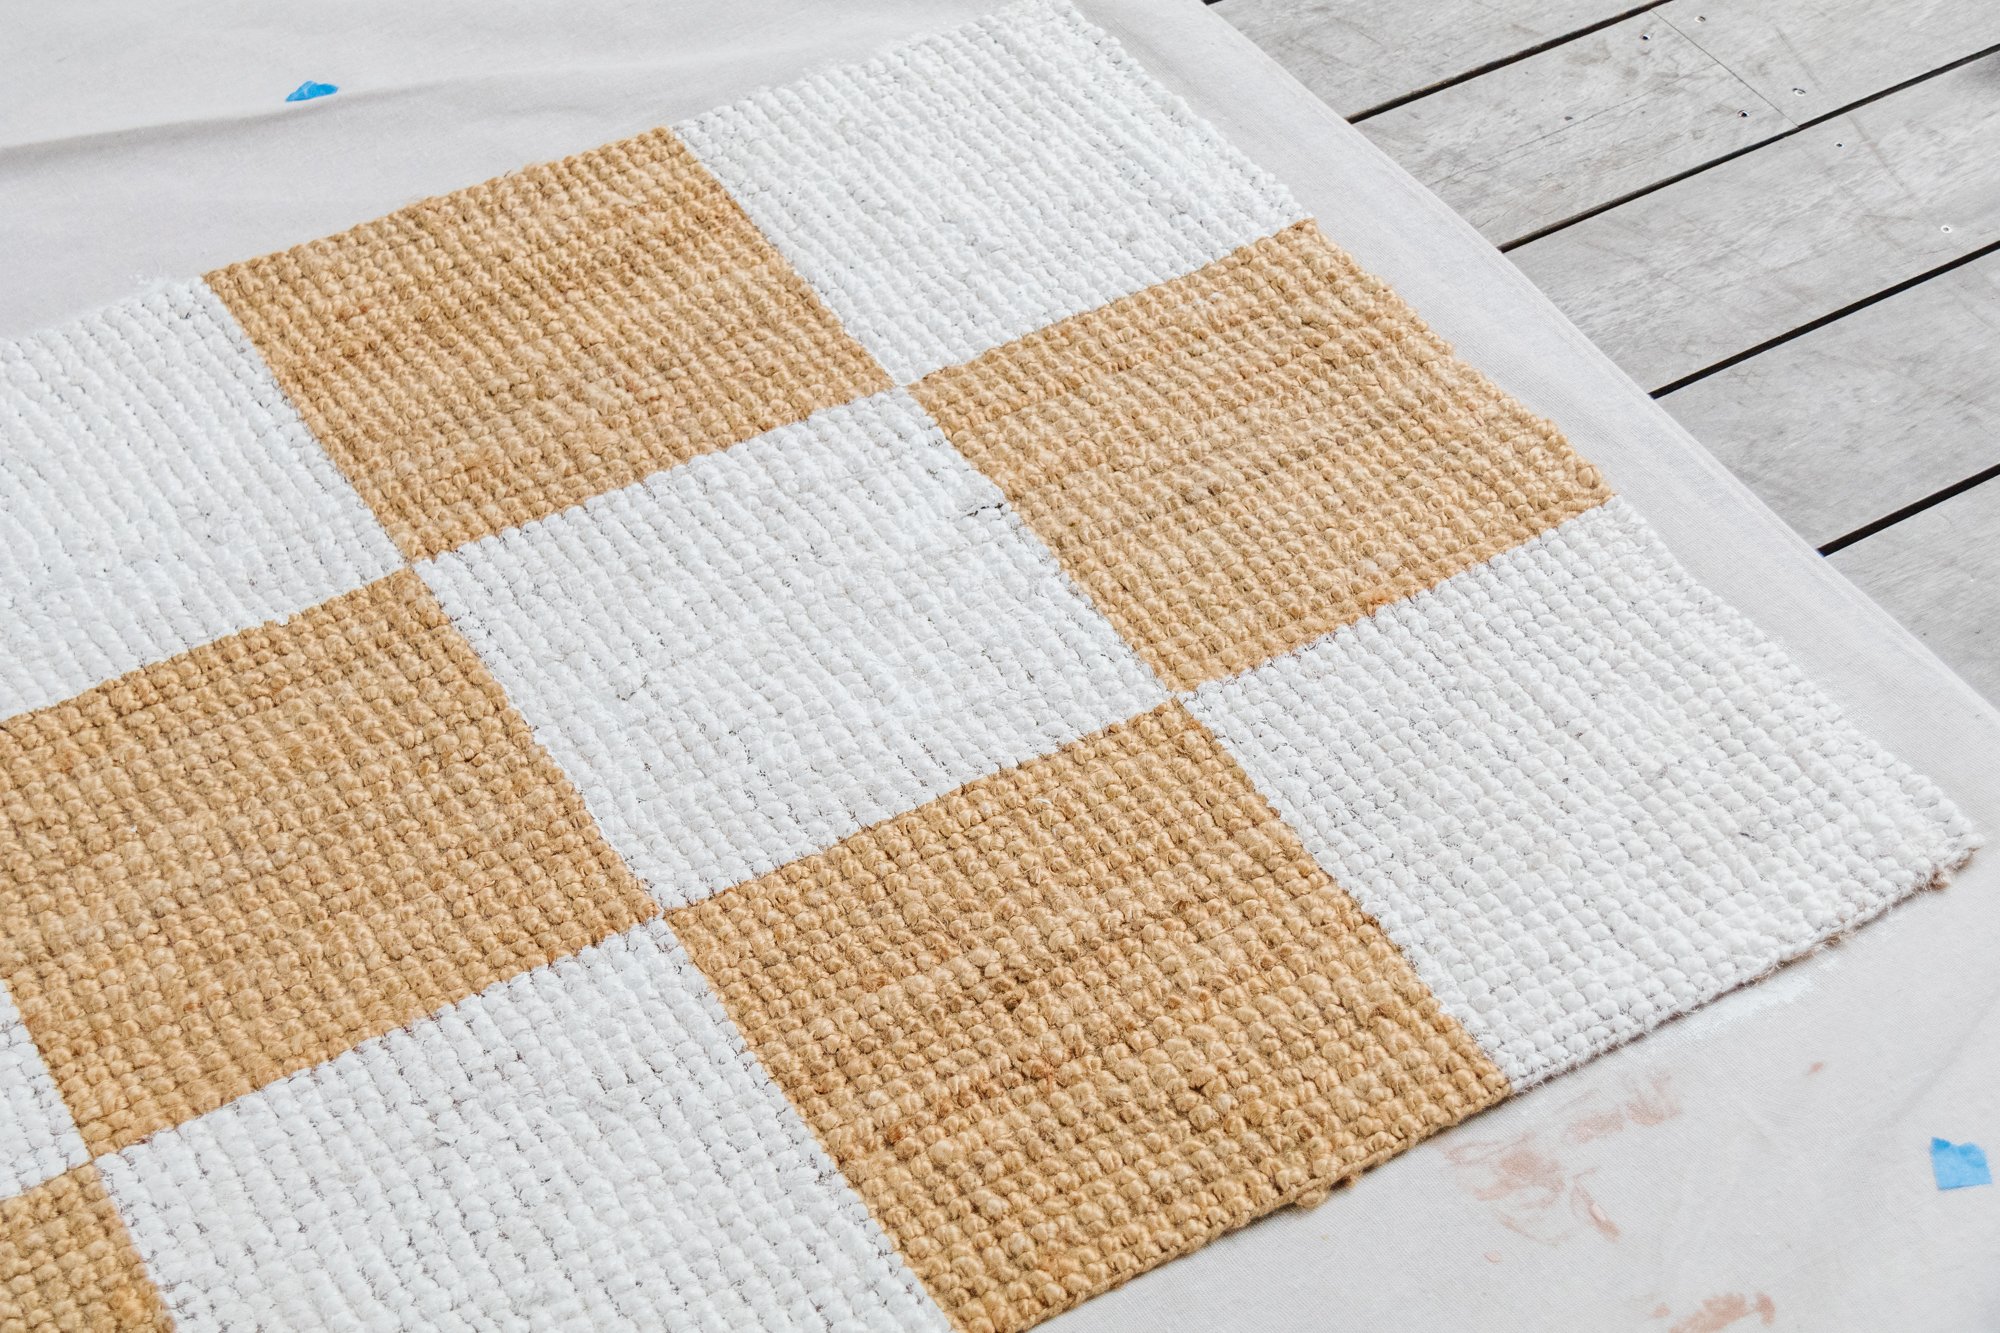
Paint every second/alternate square (which you have marked with a small bit of painter’s tape). Be sure the painted squares line up in the corners. When you have finished painting the rug, peel the painters tape off while the paint is still wet. This is a little painting hack! It helps stock cracking and bleeding. Wait for the paint to completely dry then style your beautiful new DIY Checker Painted Rug in your home.
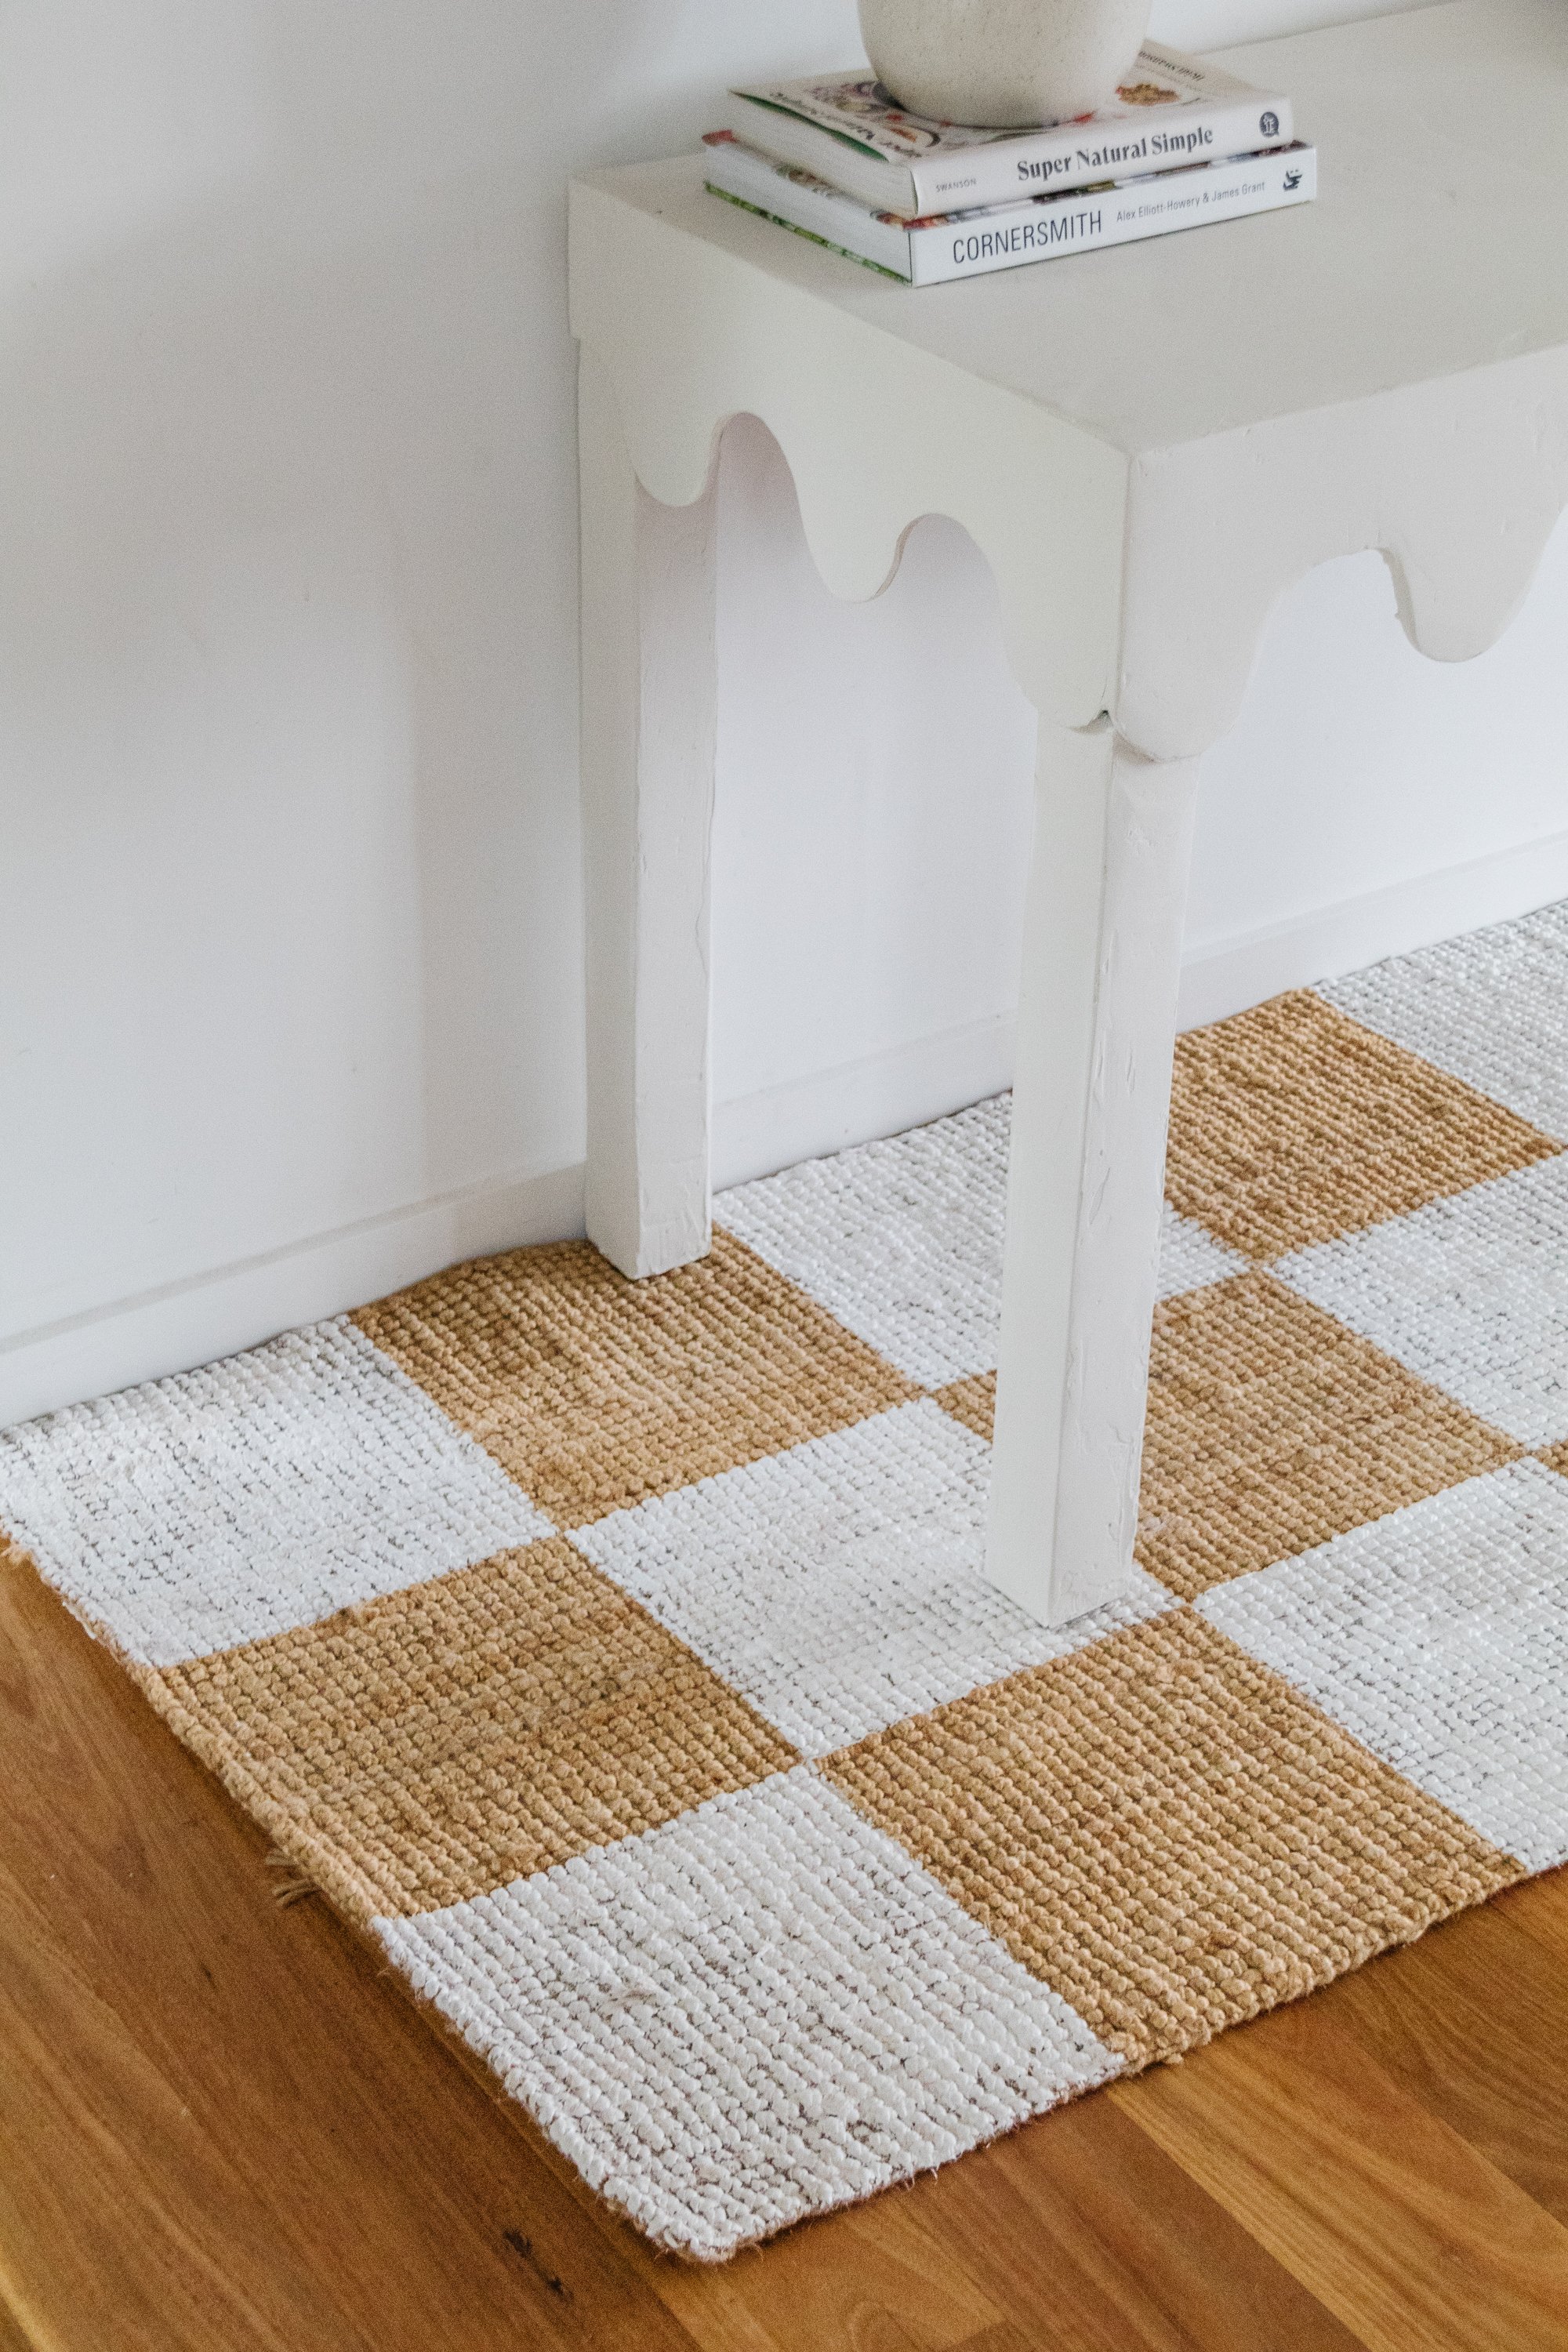
Ta daaaa! Adding a DIY Checker Paint Rug into your space for less has never been easier, or as effortless.
This is such an affordable and easy project to do if you have been living the checker trend but not sure how or where to commit without breaking the bank. I found the Ikea Lohals jute runner rug to be perfect for this project because it’s not a big commitment, and you can use a runner rug in lots of locations around your home - entryway, kitchen, bedroom, laundry and office! And I am pretty sure everyone has one of these Ikea rugs in their homes. You can choose any paint colour you like, make the checker pattern big or small and really tap into the checker trend without spending hundreds (and thousands) of dollars. What I also loved about this project is with my other painted checker projects below, you only need to paint the pattern once, which is a huge time saver and means you can finish this project in under an hour.
I hope I have inspired you to you to paint your own rugs at home. You could even paint over patterned rugs if you wanted to make a bold checker statement. If you do try this fun and easy project, remember to tag me on Instagram because I absolutely love seeing what you create. It brings me so much joy! And if you have any questions at all, please don’t hesitate to get in touch. I love to help.
Ps. If you love the checker trend, make sure you “check” out these projects below. There is a great range of projects depending on how big or small you want to go with the checker trend!


