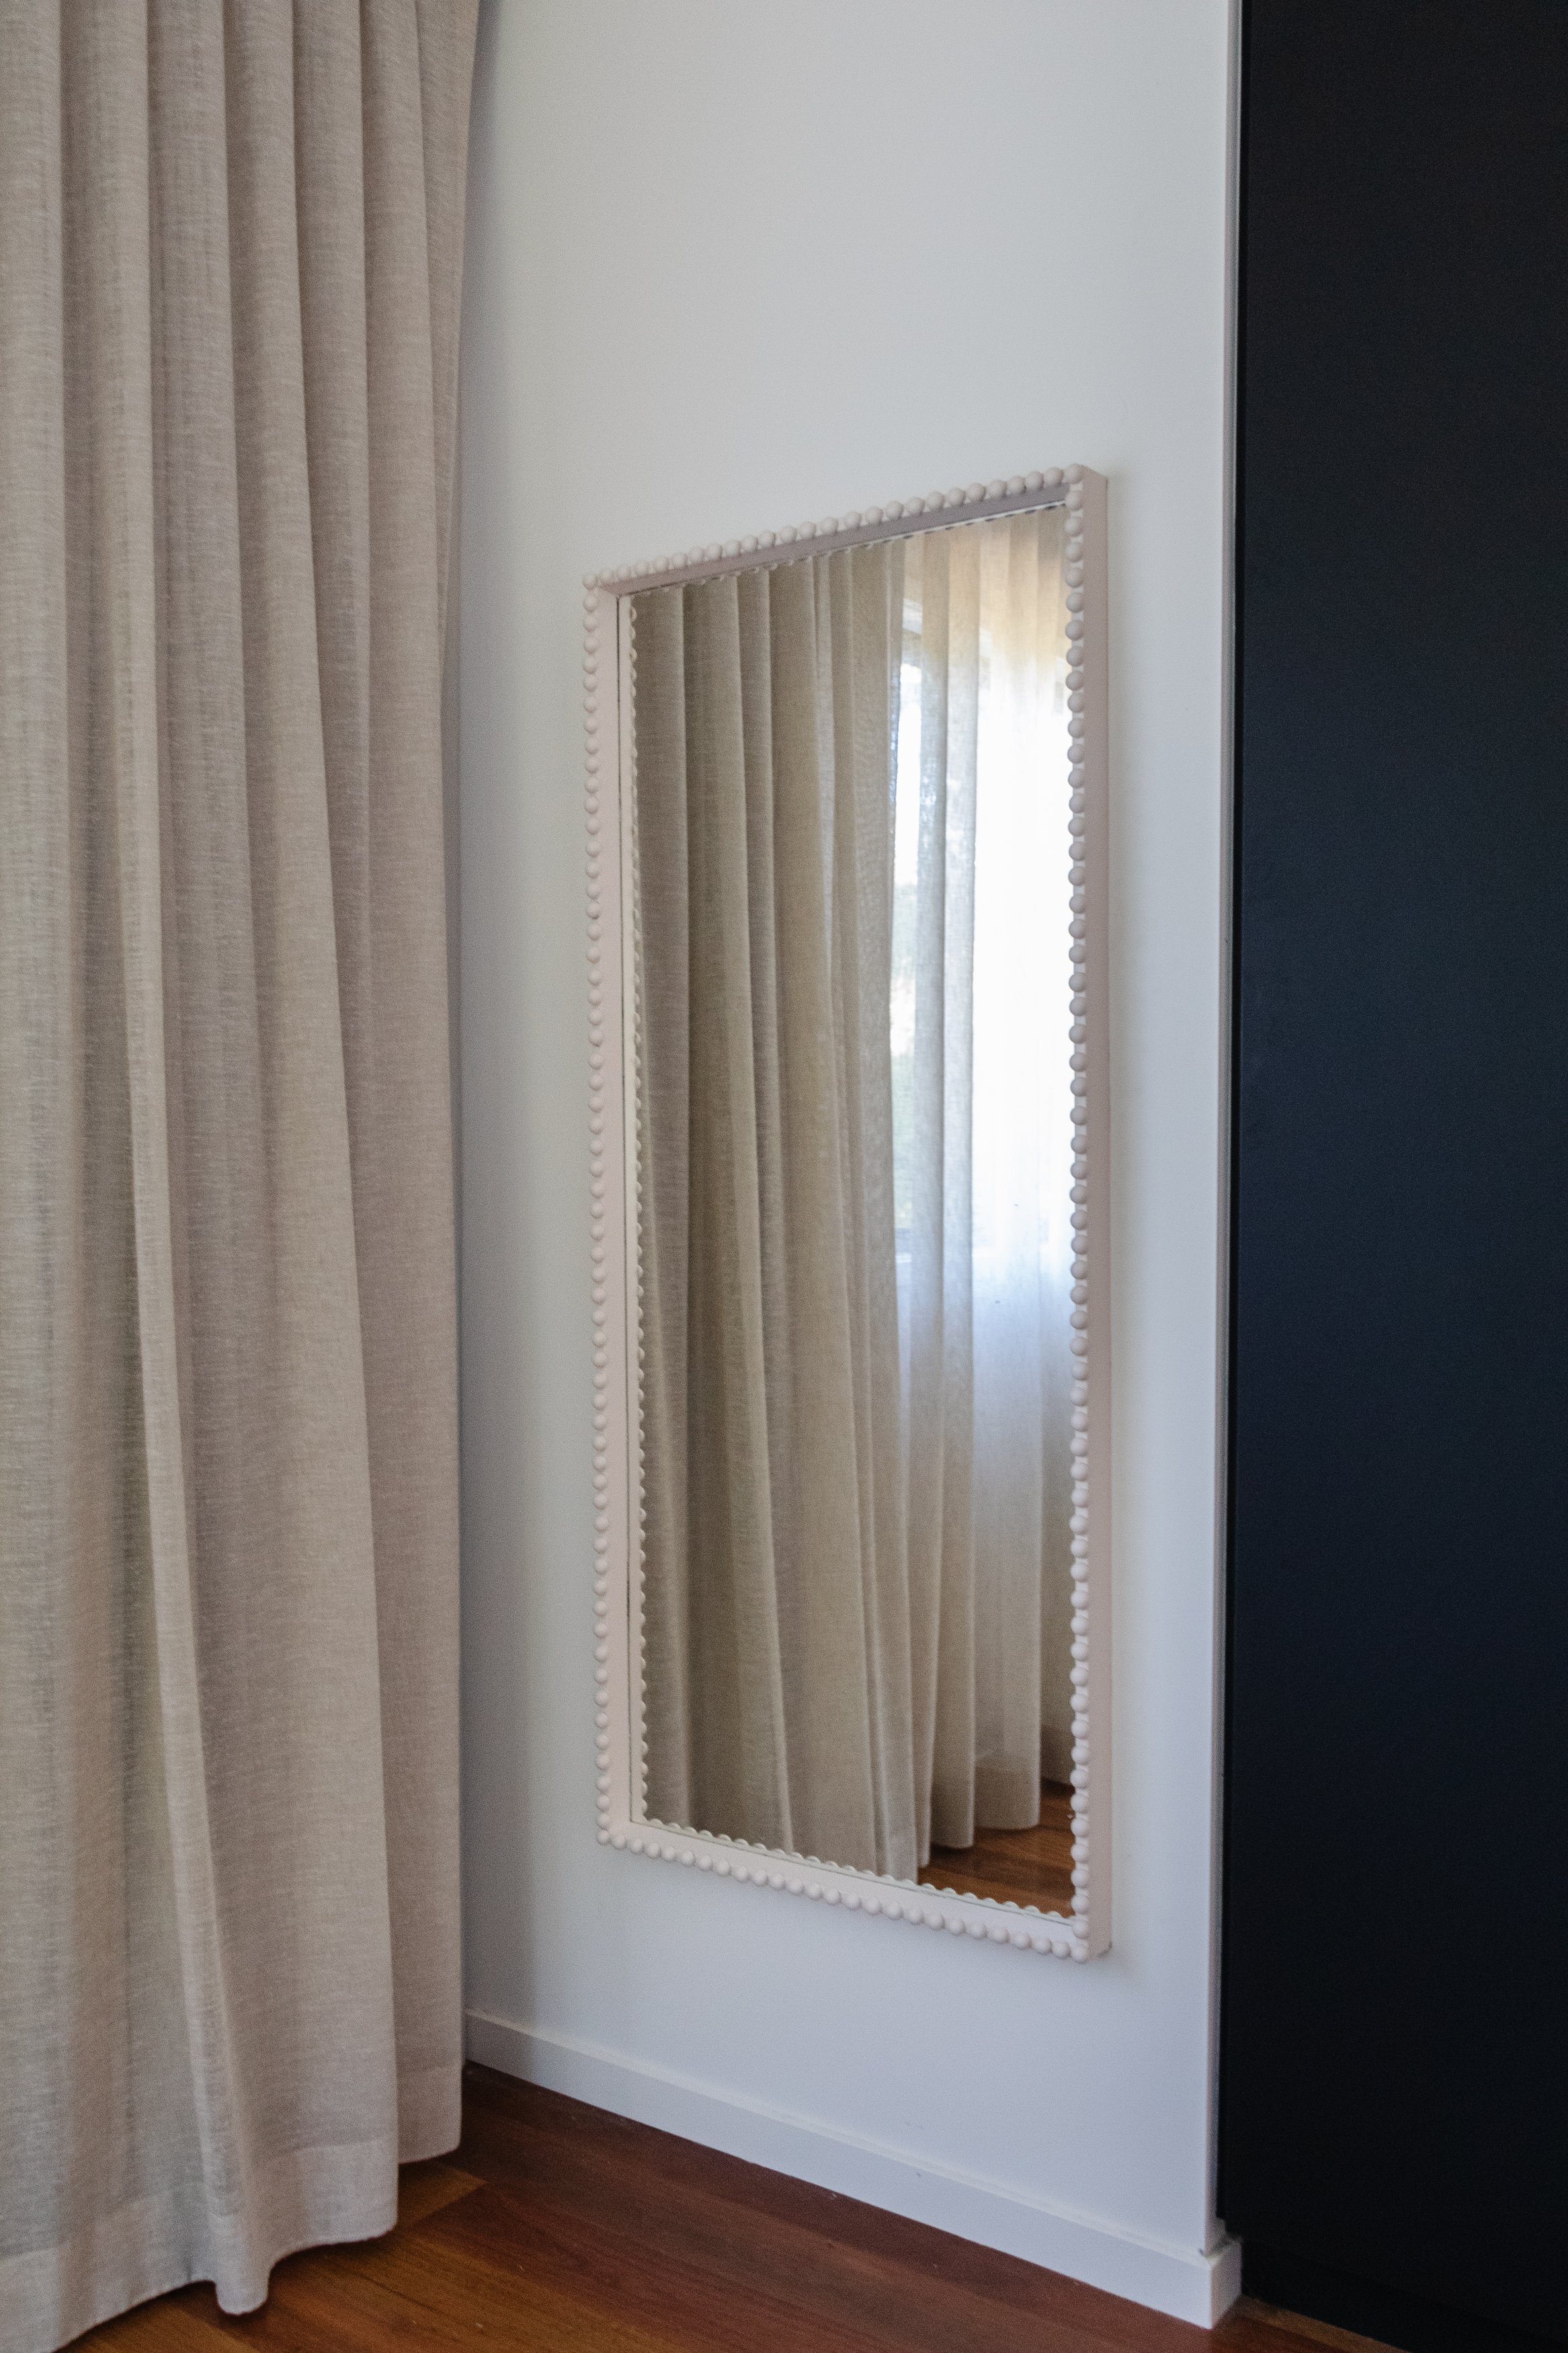
DIY Bobbin Mirror
I am so excited to share my latest project with you - the DIY Bobbin Mirror! I absolutely loved working with wooden half beads for my Upcycled Bubble Vases and I have been waiting for more to arrive in the mail as I have a few other projects in mind for them. They’re a very affordable and approachable way to create a stunning textural moment in your home, and as I’ve been wanting to give our bedroom mirror a glow up for ages, so I knew these would be perfect for making a Bobbin Mirror (see the inspiration for this project over here!). And I couldn’t be happier with the end result! This little corner in our bedroom is so much brighter and captivating, all thanks to the wooden half beads and a lick of paint. This project is perfect if you’re a DIY beginner (or seasoned pro) - it’s approachable, affordable and only takes about an hour of actual DIYing time. Read on to DIY your own Bobbin Mirror. And as always, happy making!
Project Details
🕒 Project Time Estimate: 1 hour to 90 mins DIYing. At least 12 hours for the glue and paint to dry.
💰 Materials Cost: Under $50 (assuming you are using a mirror you already own and you have paint brushes/primer)
👷♀️ Skill Level: Beginner DIYer
Materials
Mirror with a frame
Wooden Half Beads from Amazon
Selley’s Liquid Nails from Bunnings (I used my hot glue gun originally but the beads kept popping off so I ended up using Liquid Nails instead).
Painter’s tape from Bunnings
Zinsser Bin Sealer Primer Blocker from Bunnings
Disposable paint brush (I used an old microfibre roller)
Paint in your favourite colour - I used “Himalayan Salt” by Porter’s Paint in Aquasatin from Bunnings
Tip: You will need methylated spirits to clean your paint brush after applying the Zissner primer. It’s ok if you don’t have this, however you will need to dispose of your paint brush after as you won’t be able to reuse it.
How To
The steps in this tutorial are not the same as I approached this project over on Instagram. Below is the order in which I would have approached this DIY if I did this project again.
Clean the frame of your mirror. Apply painters tape around the inside edge of the mirror. Apply one coat of Zinsser Bin Sealer Primer Blocker directly onto the frame. When dried, paint the frame with two coats of your chosen paint colour. Set aside to dry.
Glue the wooden half beads onto the frame using Liquid Nails. Set aside to dry overnight.
Paint the wooden beads with two coats of your chosen paint colour. Set aside to dry.
Ta daaaa! A stunning DIY Bobbin Mirror that creates a stunning textural moment in your home.
This is the perfect project if you want to elevate a “meh” mirror at home but don’t have a lot of time. This quick and easy DIY Bobbin Mirror is not only affordable and approachable, the priming, gluing and painting only takes about an hour all up! You can space the wooden half beads right next to each other, or a little more spaced out than what I did and choose your favourite paint colour - or even two if you want a two tonal look. You could even use smaller wooden half beads or larger ones if you really want to make a big statement. Whichever DIY route you choose, your DIY Bobbin Mirror will look bespoke in your home for years to come. And I am so excited to experiment more with these wooden half beads, stay tuned!


