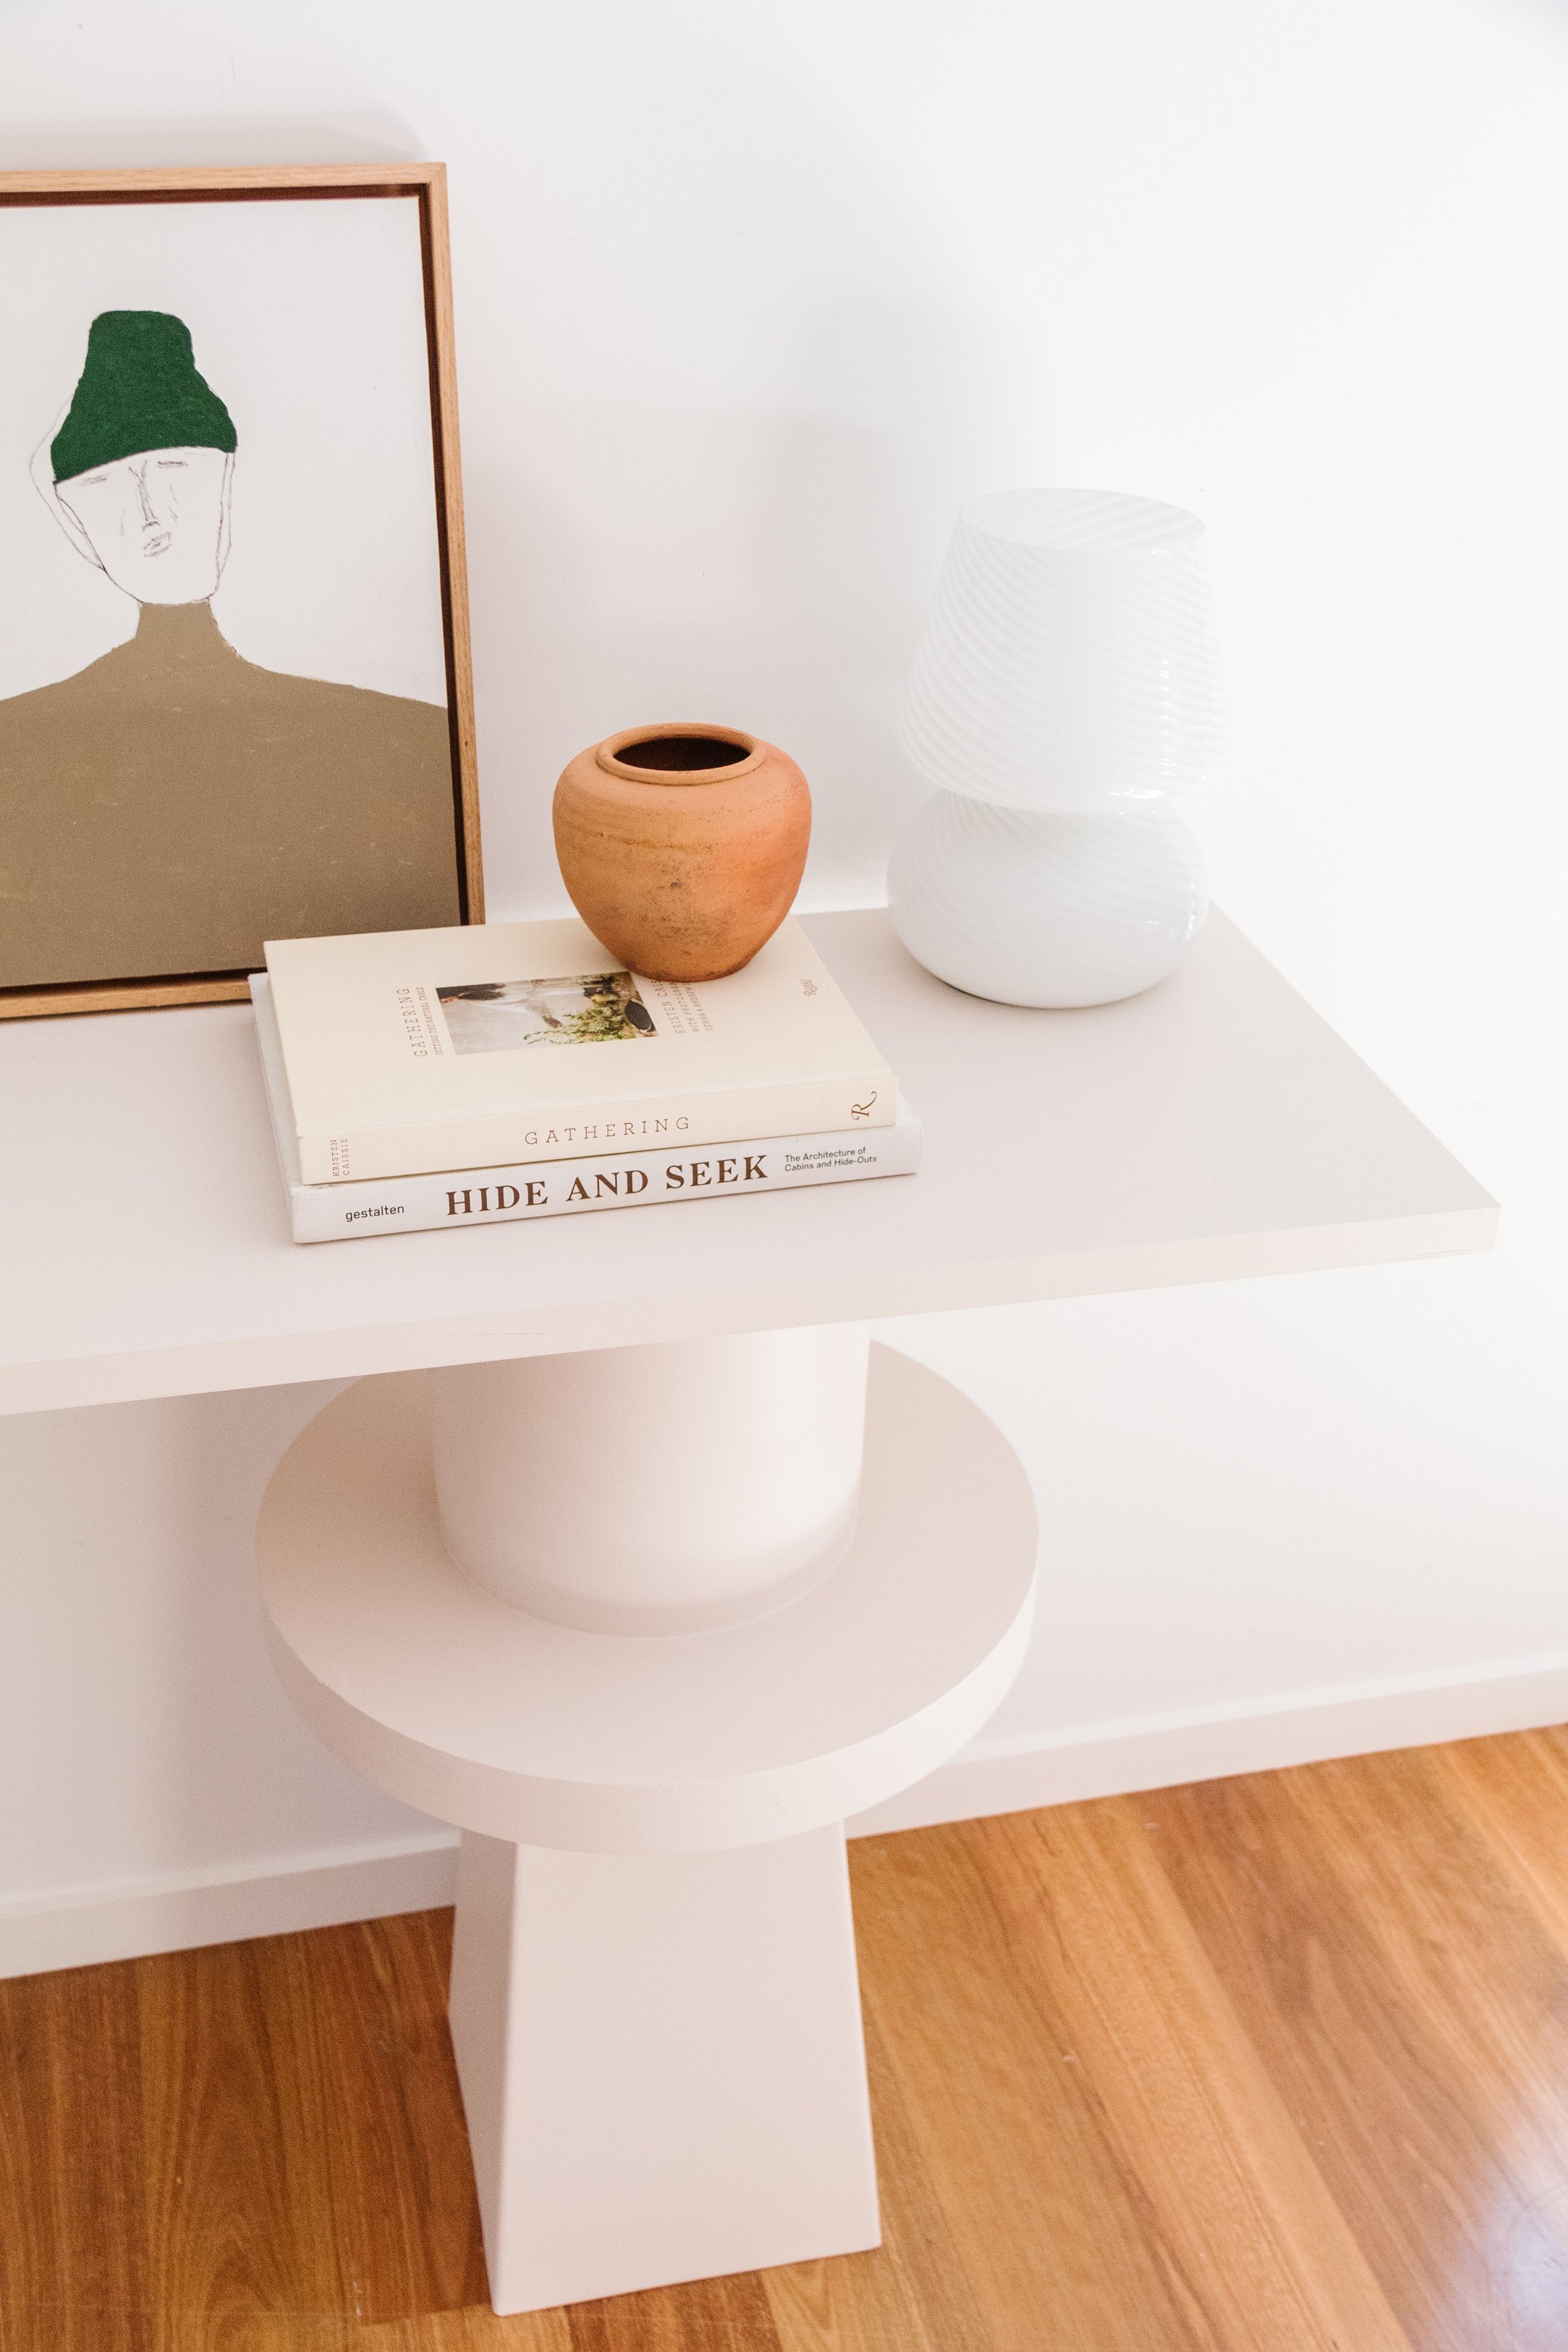
DIY Sculptural Console Table
Make your dream console table using plant pots and pine panels. True story!
It’s DIY July over at Bunnings, which is a month long celebration encouraging people to pick up their power tools and paint brushes, and get making. As you know, I am all about making your dream home for less and one of my favourite things to do is to make something for your home at a fraction of the cost. Enter my DIY Sculptural Console Table.
I have been feeling very inspired by sculptural details lately and after seeing this photo, I knew I had to get creative and put my own spin on it. After selling my hutch and bookshelf recently, I knew making a console table would be perfect for this now empty space in my studio. This isn’t my first foray into making a console table (have you seen my Upcycled Wavy Console Table yet?), so I was excited to make another one!
For this project I was heavily influenced by Bunnings SpecRite range, particularly the round pine panels. I’ve used them in a couple of my projects (have you seen my DIY Totem Side Table and my DIY Fluted Side Table?) and I knew they would be perfect to create a sculptural detail. After walking up and down the aisles at Bunnings, I was drawn to some pots in the gardening section and as they say, the rest is history.
To see how this DIY Sculptural Console Table came together, check out this video!
Before & After
Project Details
🕒 Project Time Estimate: 2 hours (not including glue drying time)
💰 Materials Cost: $250
⚒️ Power Tools: None!
👷♀️ Skill Level: Beginner DIYer
Materials
All materials are from Bunnings:
Heavy Duty Liquid Nails, No More Gaps Interior and a caulking gun
1L Dulux 4L Semi-Gloss Interior Paint in “Clay Pipe Half”
How To
DAY ONE
Start by gluing 3 pieces of SpecRite round pine panels on top of each other using the Liquid Nails. Repeat with the remaining 3 SpecRite round pine panels. Set aside.
Turn the “Ella” pot upside down and apply Liquid nails on the top (which is actually the base). Place one stack of glued round pine panels on top. Repeat with the other “Ella” pot and the other glued round pine panels.
Turn the “Ava” pot upside down and apply Liquid nails on the top (which is actually the base). Place this on top of one stack of glued round pine panels. Repeat with the other “Ava” pot. You will now have the two legs for the console table.
While the glue is curing, paint the SpecRite pine panel with one coat of Dulux primer (using the roller). Then apply one coat of Dulux primer all over the surface of the two console table legs. All surfaces (two console legs and tabletop) should now be painted with one coat of Dulux primer. Set aside to dry overnight.
DAY TWO
Apply two coats of Dulux Semi-Gloss Interior paint to the console tabletop and sculptural legs, making sure the first coat is completely dry before applying the second coat.
When the paint has dried, position the console legs inside your home where you want the console table to be. Place the tabletop on top and play around with the position of the legs. You may want to position them closer together or further apart; it may seem trivial but it will have an impact on the final look of the console table.
Place Liquid Nails on top of the pots and then place the tabletop on top. After an hour or so, the DIY Sculptural Console Table will be ready for you to style. Please note, the glue will take at least 24 hours to properly dry so don’t physically move the table for at least 2 days!
Ta daaaa! A beautiful DIY Sculptural Console Table that will bring so much joy and satisfaction at home.
Why? Because there is no better feeling than knowing you made something yourself for less. I have seen similar tables cost thousands (truly!) and this came in at under $250. Can you believe that? And I made it using the pine panels and gardening pots. Crazy! But true. I hope you feel inspired to make your own DIY Sculptural Console Table. There are so many possibilities with this project - you can use rounded pots instead of angled ones like I used, you can play with the sculptural legs and create your own design, you can create a racetrack tabletop (like I did with this DIY Fluted Coffee Table) and you can use a different paint colour, or even paint stripes! The best thing about this project is that you can truly make it your own, to suit your own home. And how good is that?
This project is in partnership with Bunnings.


