DIY Abstract Vase (using styrofoam balls!)
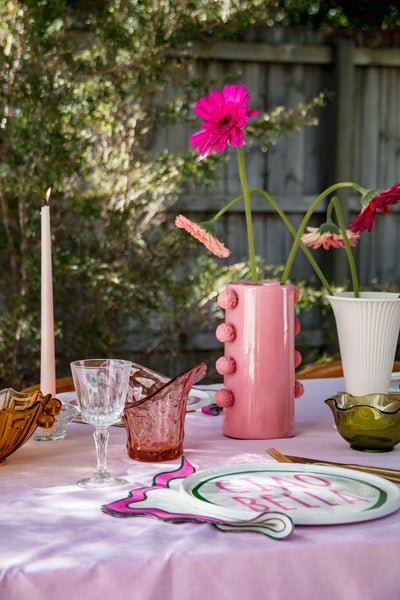
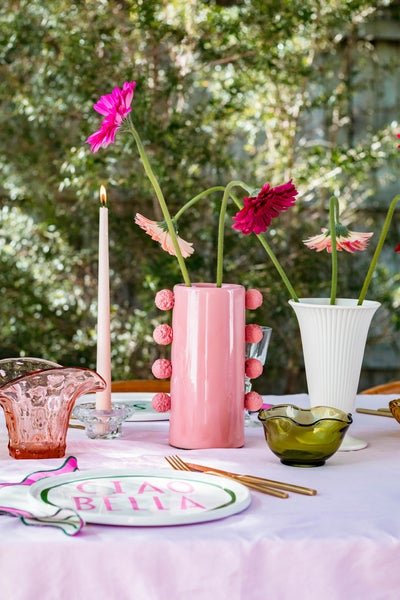
There is something so special about the way a gorgeous table setting makes you feel. Cosy, welcoming, comforting. All the feels. To me, a great table setting is about creating an experience. It's the foundation of a memorable food experience with family and friends. It sets the tone. When I style a table setting I love to mix old pieces and new pieces. It adds texture and a story. To me, the perfect table setting has a tablecloth that sets the foundation, a mix of new and secondhand plates and bowls, glassware, cutlery, candle holders, jugs and vases with foraged greens or freshly cut flowers.
If you have been following along here for a while, then you'll know how much I love sourcing secondhand items for the home, kitchen and table. Recently I have been experimenting with different materials to bring secondhand vases (that I found collecting dust at my local charity store) back to life - aka the Thrift Flip. I transformed this vase using concrete and spray paint, and this vase was repurposed using joint compound and a sanding sponge. And that's why I am so excited to share my latest project, the DIY Abstract Vase - using styrofoam balls! I'll have to admit, I almost gave up on this project. In my mind, I knew I wanted to glue balls of some sort down the side of a straight edged vase and spray paint it. I have been feeling really inspired by hand formed clay vases, but wanted to work with something easy - enter styrofoam balls.
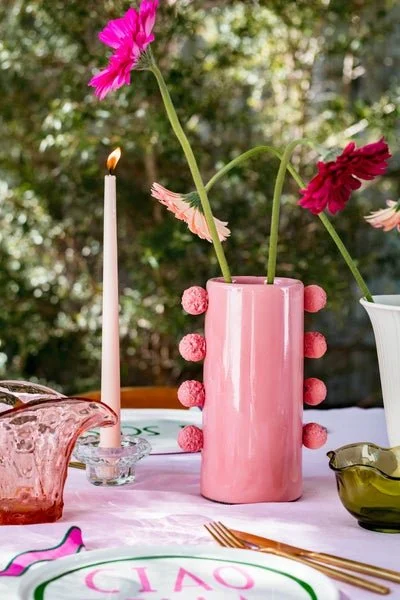
After marking out the vase with a pen, I began to apply the styrofoam balls to the sides of the vase using superglue. I noticed pretty quickly that the styrofoam balls were melting a little, but didn't think too much of it. Then I applied the first coat of spray paint and noticed the styrofoam balls were reacting to the spray paint and also melting a little. At first when this happened I was gutted because I thought my project was ruined. But then I noticed how much texture was being added to the styrofoam balls, and I fell in love with it! They look like little balls of crushed concrete and the texture is both beautiful and astonishing. It seems I stumbled on a reaction between the chemicals in the paint/glue and the styrofoam. I decided to start experiment with this a little more and gently applied another layer of spray paint and I couldn't be happier with the final result; it looks spectacular. Read on to find out how you can make your own DIY Abstract Vase.


How To
Step 1: Cover your workbench with a drop cloth or an old sheet. Start by wiping down your secondhand vase with a clean damp cloth to remove any dust or dirt, and wait for it to dry.
Step 2: Using a ruler and a pen, mark out on your vase where you would like the balls to be applied with superglue. Don't worry about marking the vase as you will be spray painting over it.
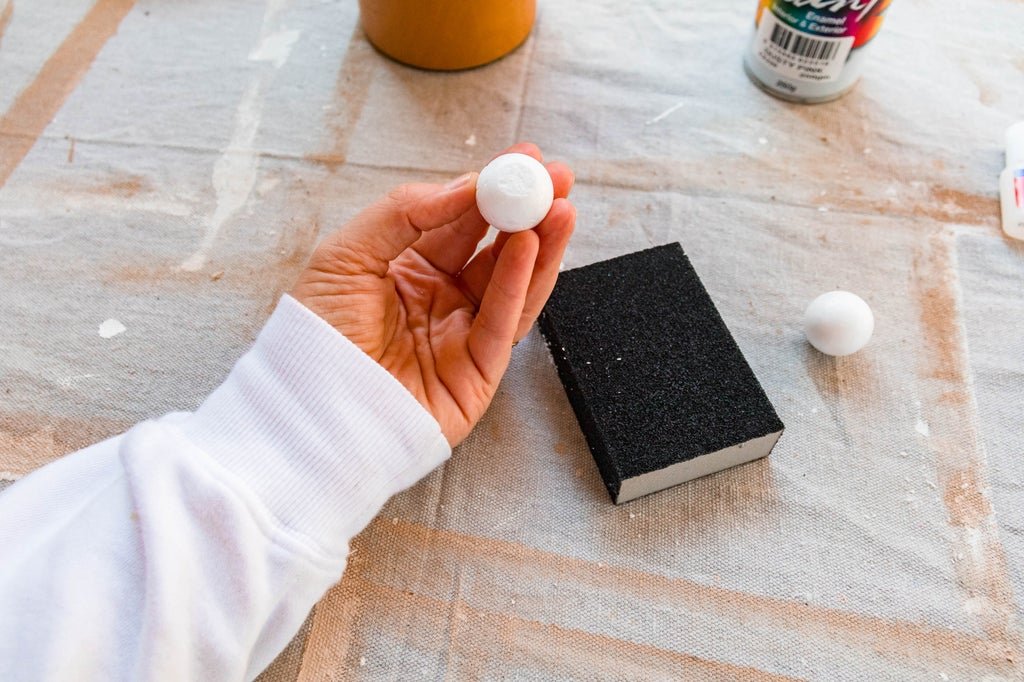
Step 3: Gently sand back one side of a styrofoam ball by a couple of millimetres so the edge is flat. This will help secure the styrofoam ball to the vase easily. Repeat with your desired number of styrofoam balls. I used 8 in total.
Step 4: One by one, apply super glue onto the straight edge of the styrofoam balls and stick it onto the vase where you have marked it out. Press the styrofoam ball onto the vase for at least 10 seconds with your hands so it has time to set. If you don't do this, it'll fall off straight way. You may also notice the superglue melting the styrofoam ball after it's stuck onto the vase, that's totally ok. Don't worry if there are any gaps between the vase and styrofoam balls as long as it's sticking.


Step 5: When all of the styrofoam balls are glue to your vase, hold the spray paint can approximately 30cm away from the vase and cover the entire vase with one coat of spray paint, including the styrofoam balls. You may notice that the styrofoam balls start to melt, this is exactly what you want to happen.
Step 6: Wait 5 minutes before covering the entire vase with another coat of spray paint. You should hold the can approximately 30cm away from the vase, but this time spray the styrofoam balls a bit closer. They will start to melt but don't get carried away and overspray the styrofoam balls, otherwise they may melt too much. You still want the styrofoam balls to retain their shape, but look like balls of crushed concrete. Set aside to dry overnight.


I hope you enjoy the DIY! It's the third project in my DIY Vase Series. If you haven't already, make sure you check out these two projects where I totally transform second hand vases using concrete, spray paint, joint compounding and a sanding sponge. I think you'll love them!