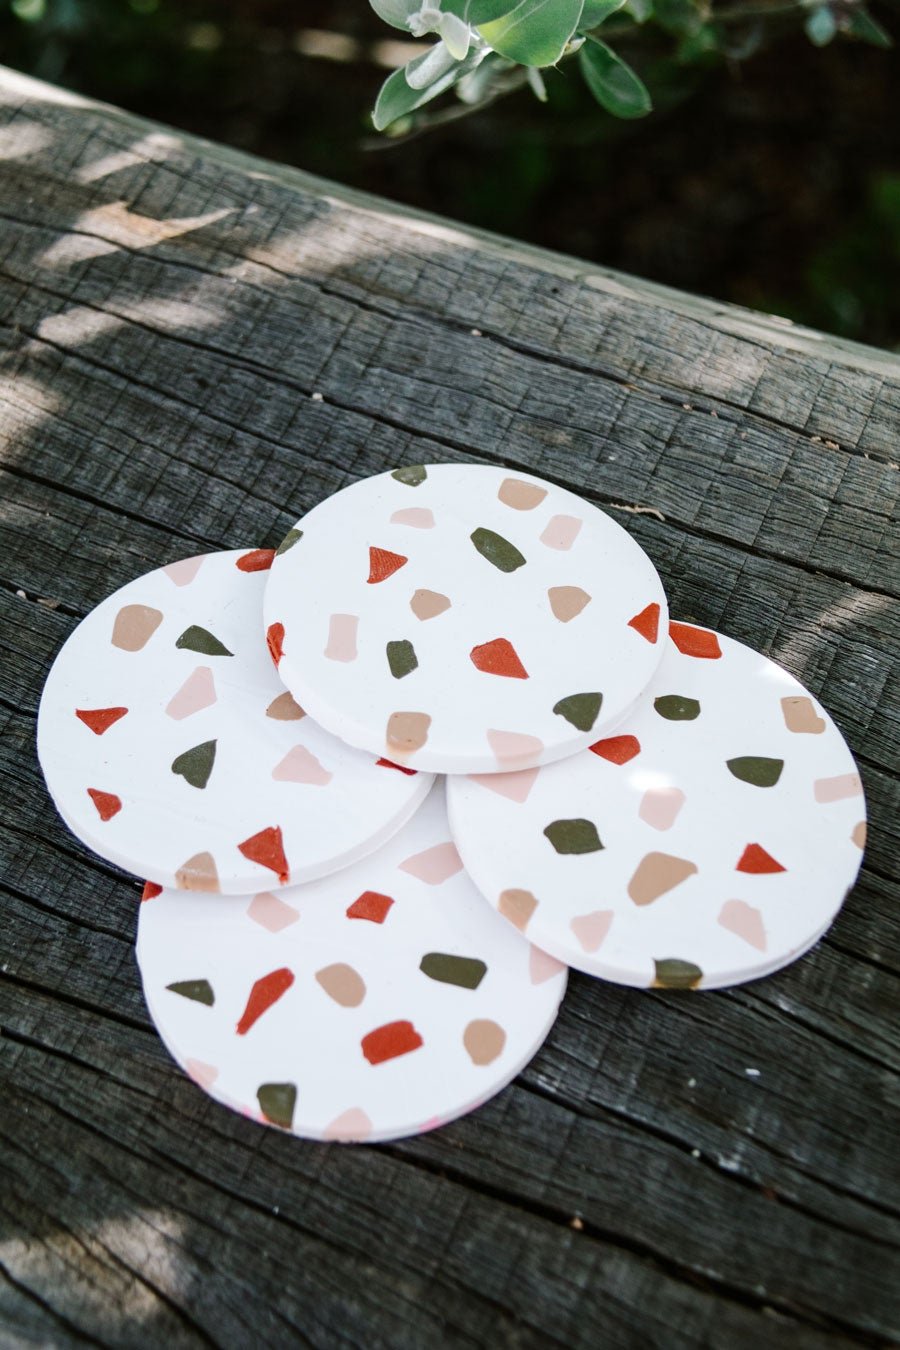
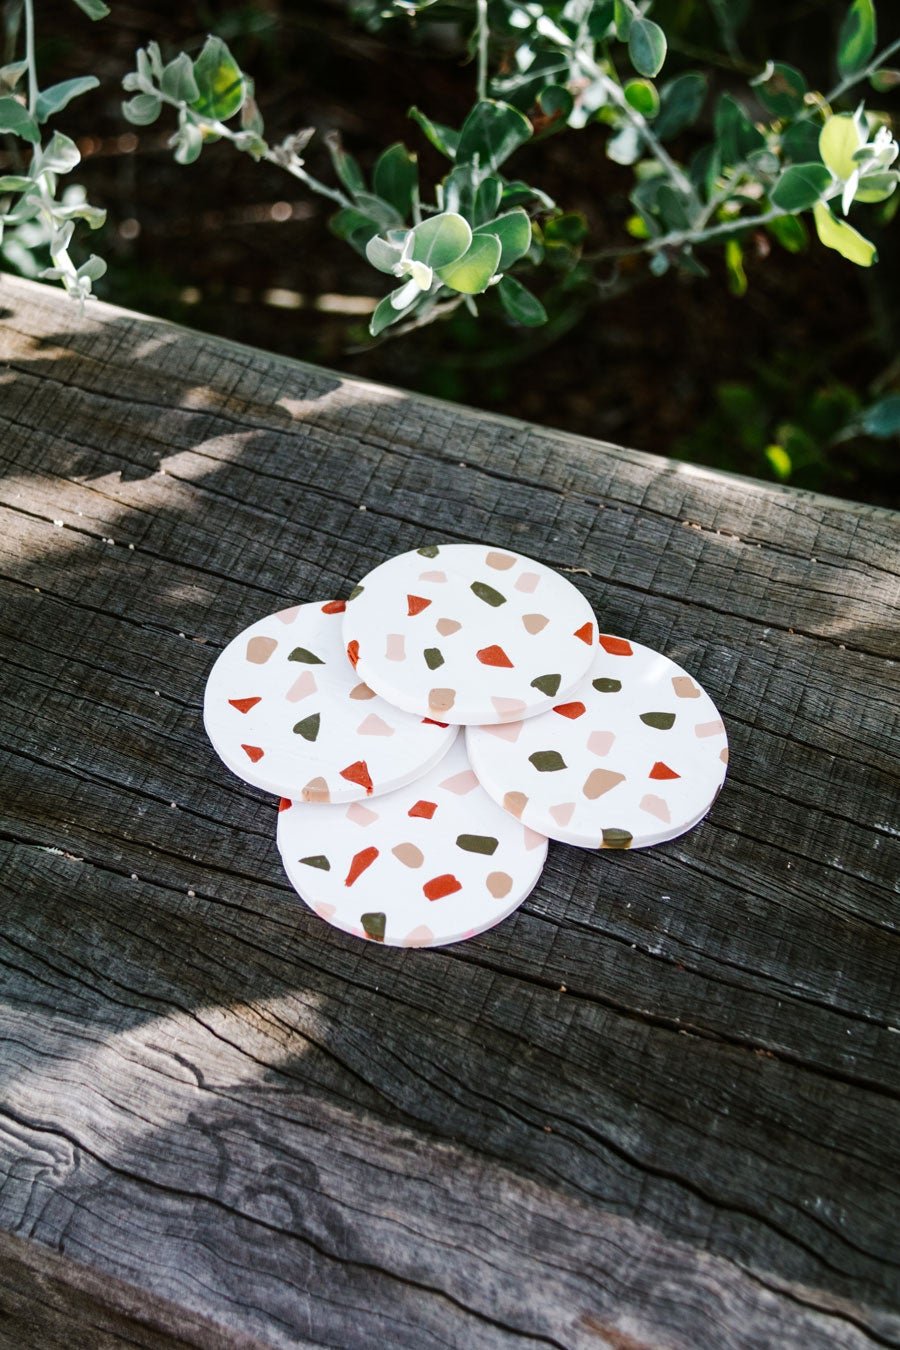
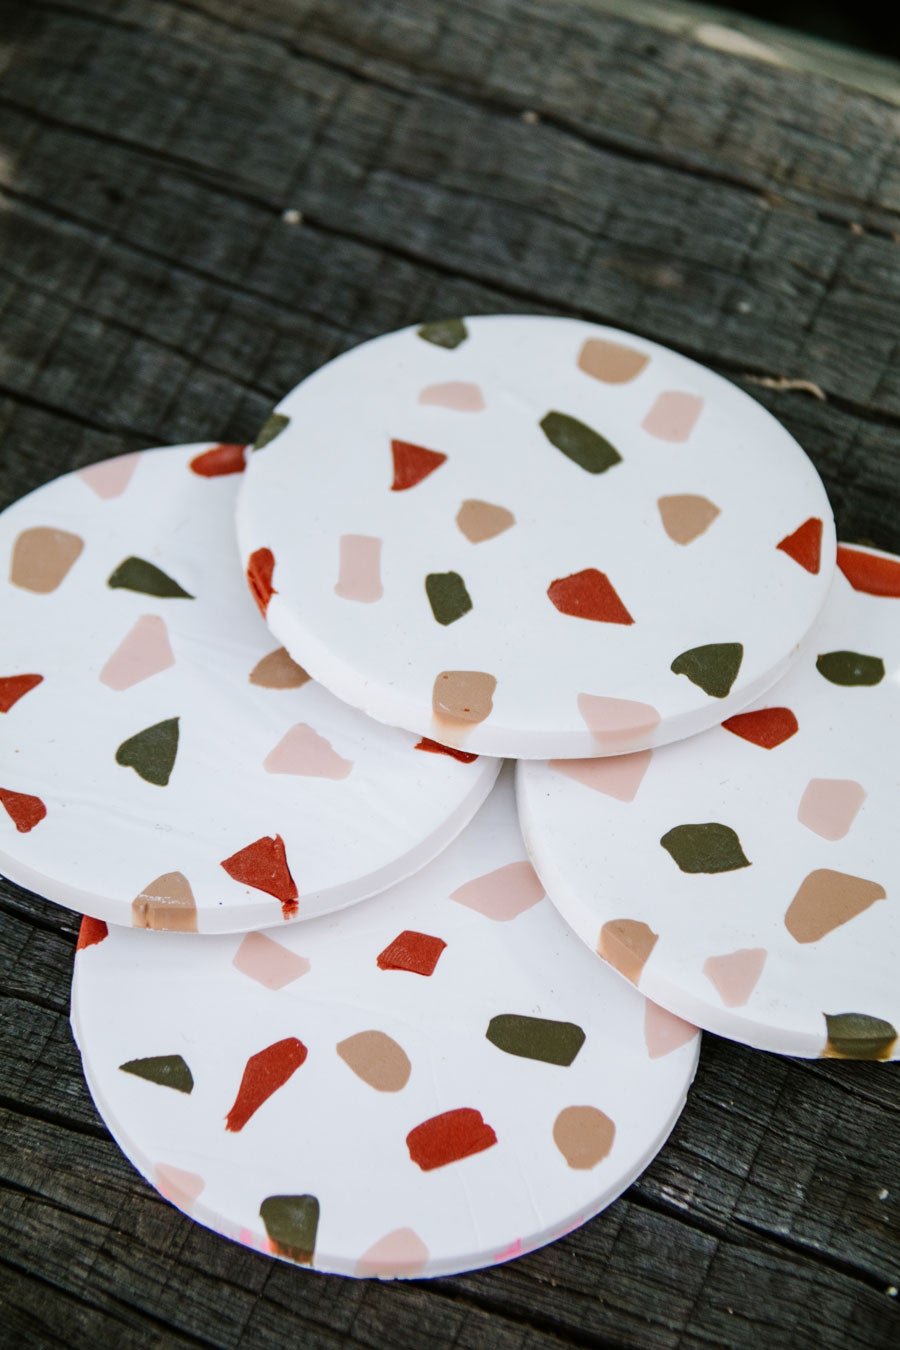
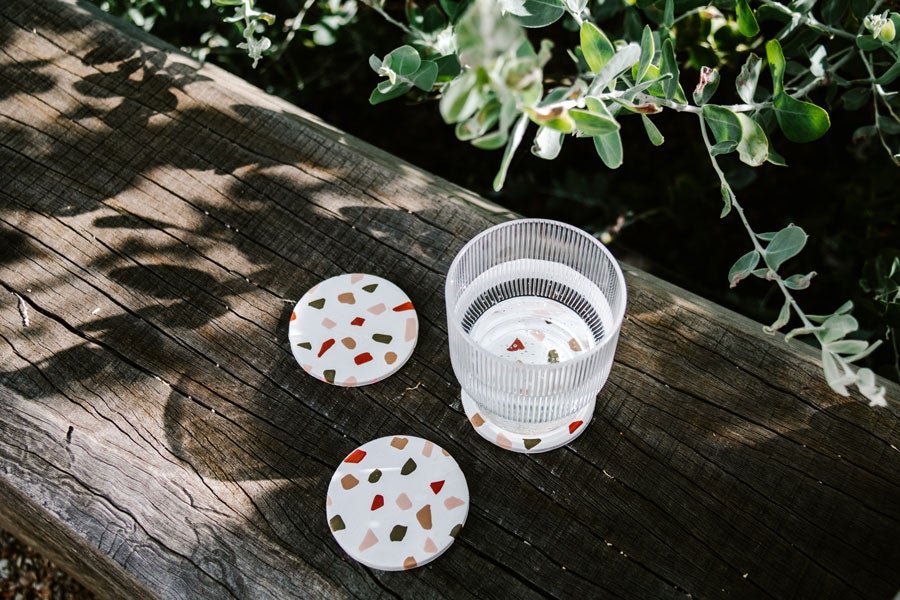
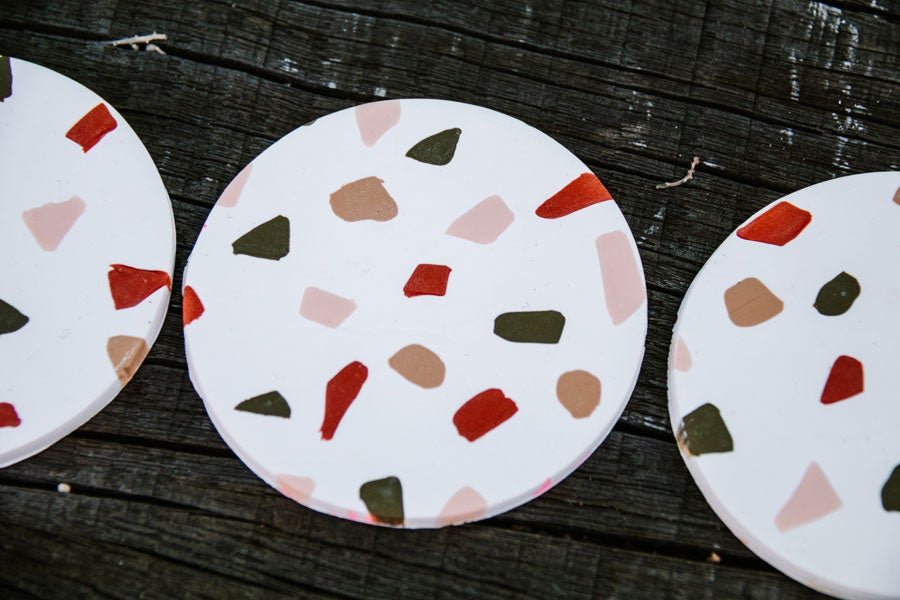
DIY Terrazzo Clay Coasters
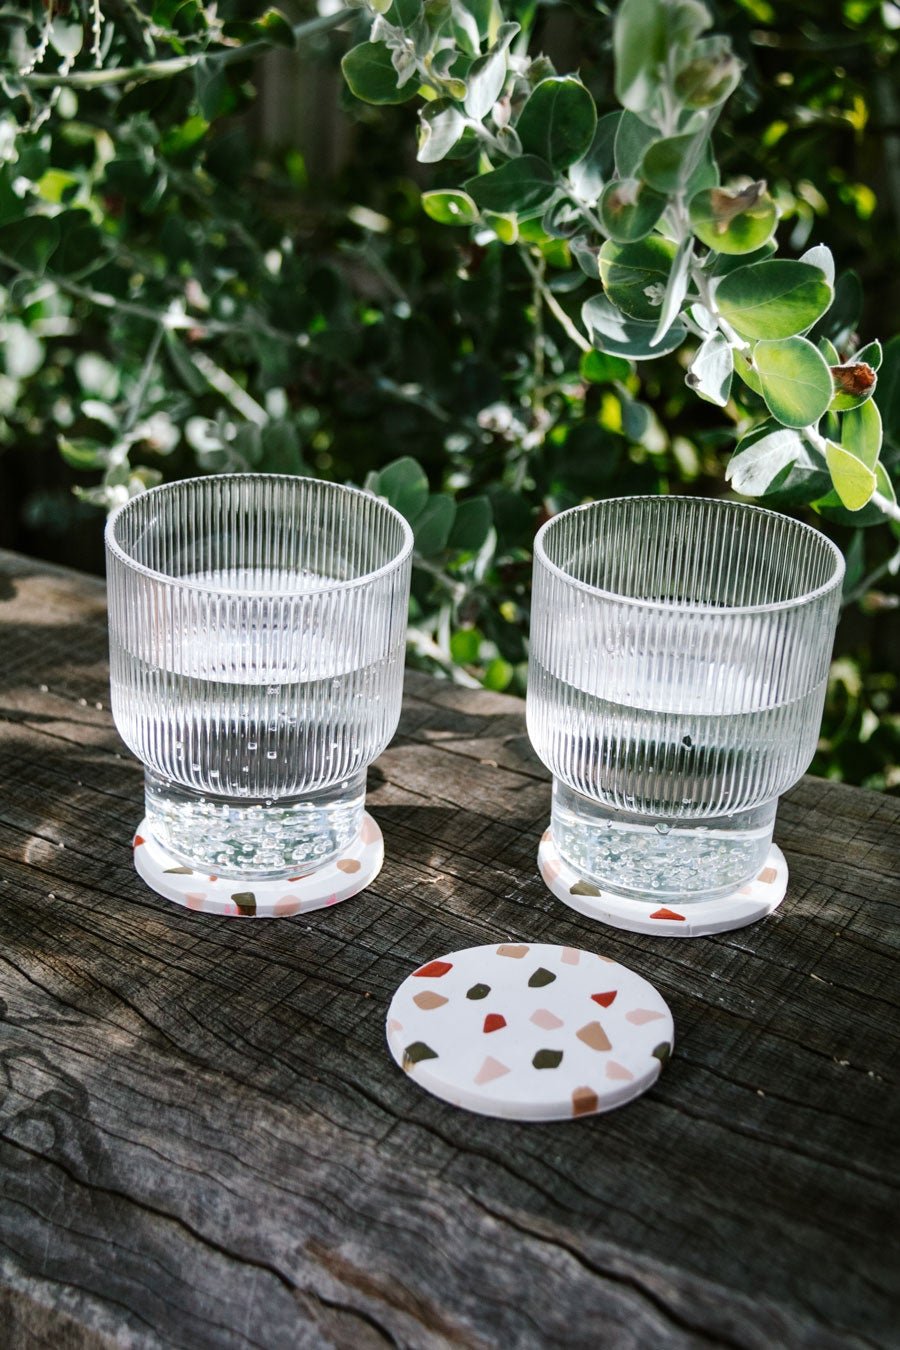
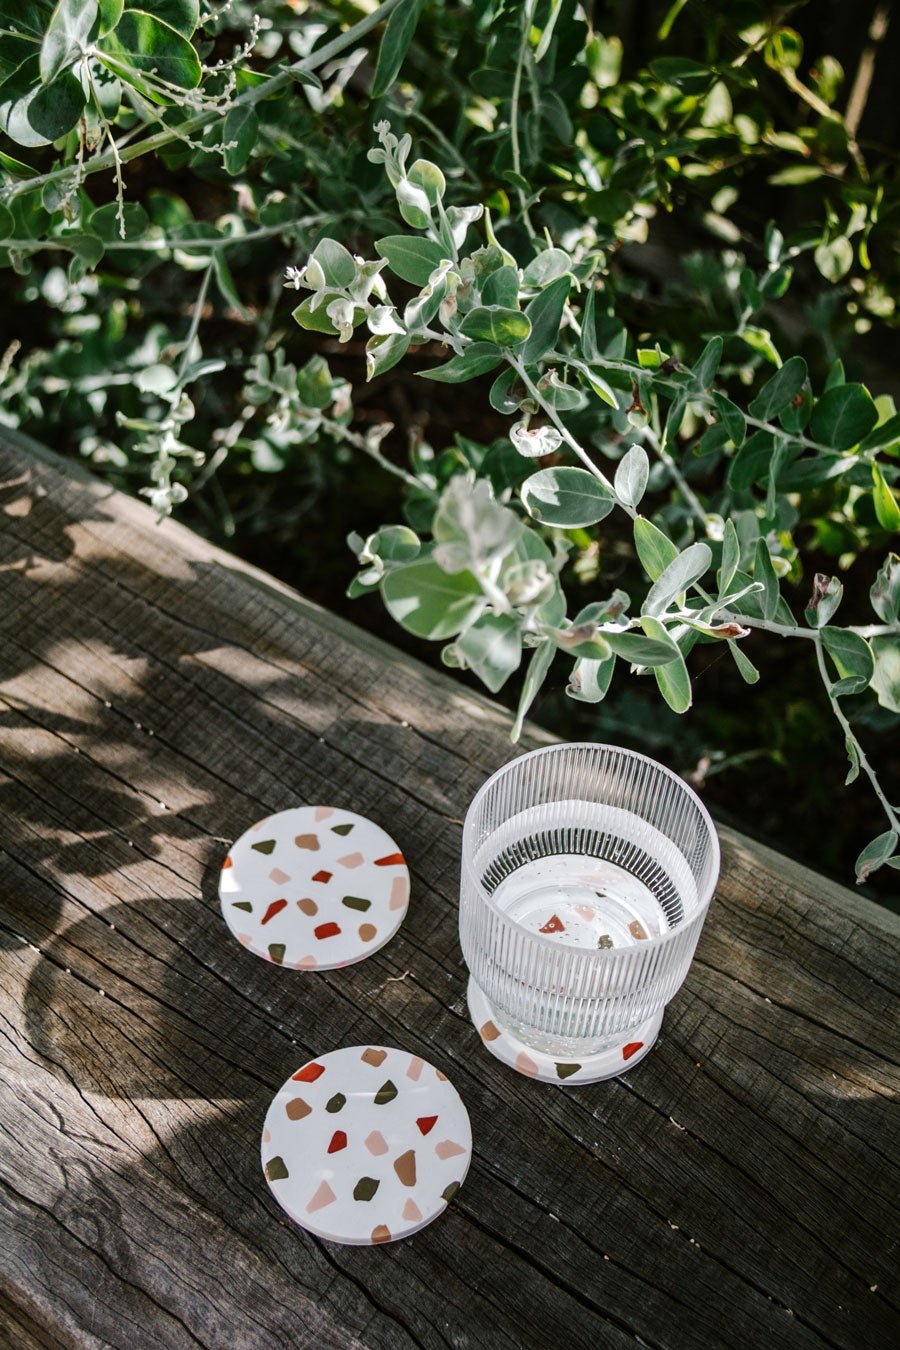
Our first DIY project for 2021! The last couple of weeks have been so restful and filled with lots of eating, sleeping, reading, hiking, relaxing and swimming. But now we're itching to get back into creating and making. One of our goals this year is to share lots of DIY projects with a big focus on entertaining, cooking and the outdoors. And what better way to kick this new year off than to make something for the table - our DIY Terrazzo Clay Coasters.
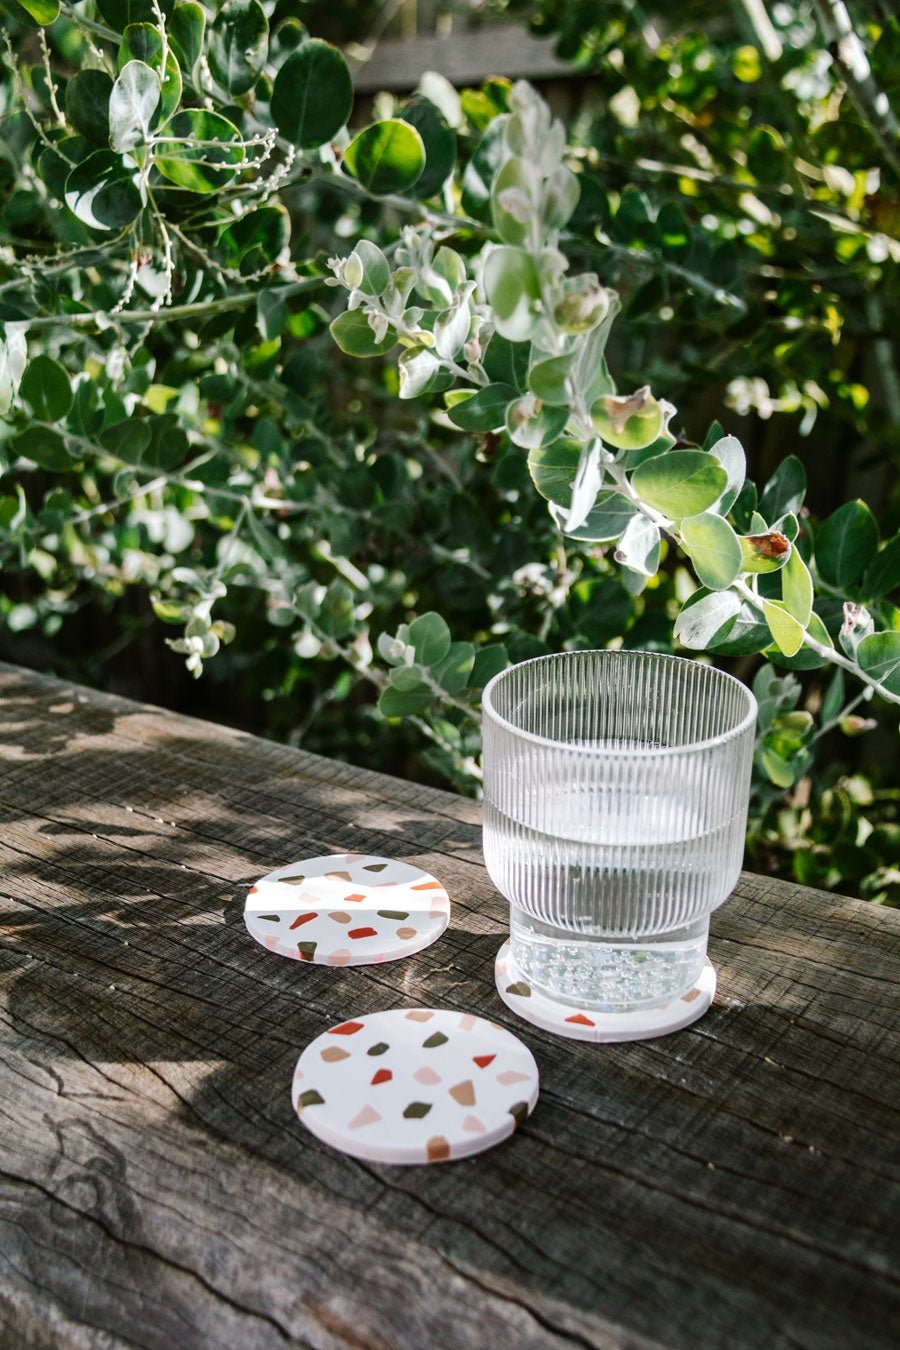
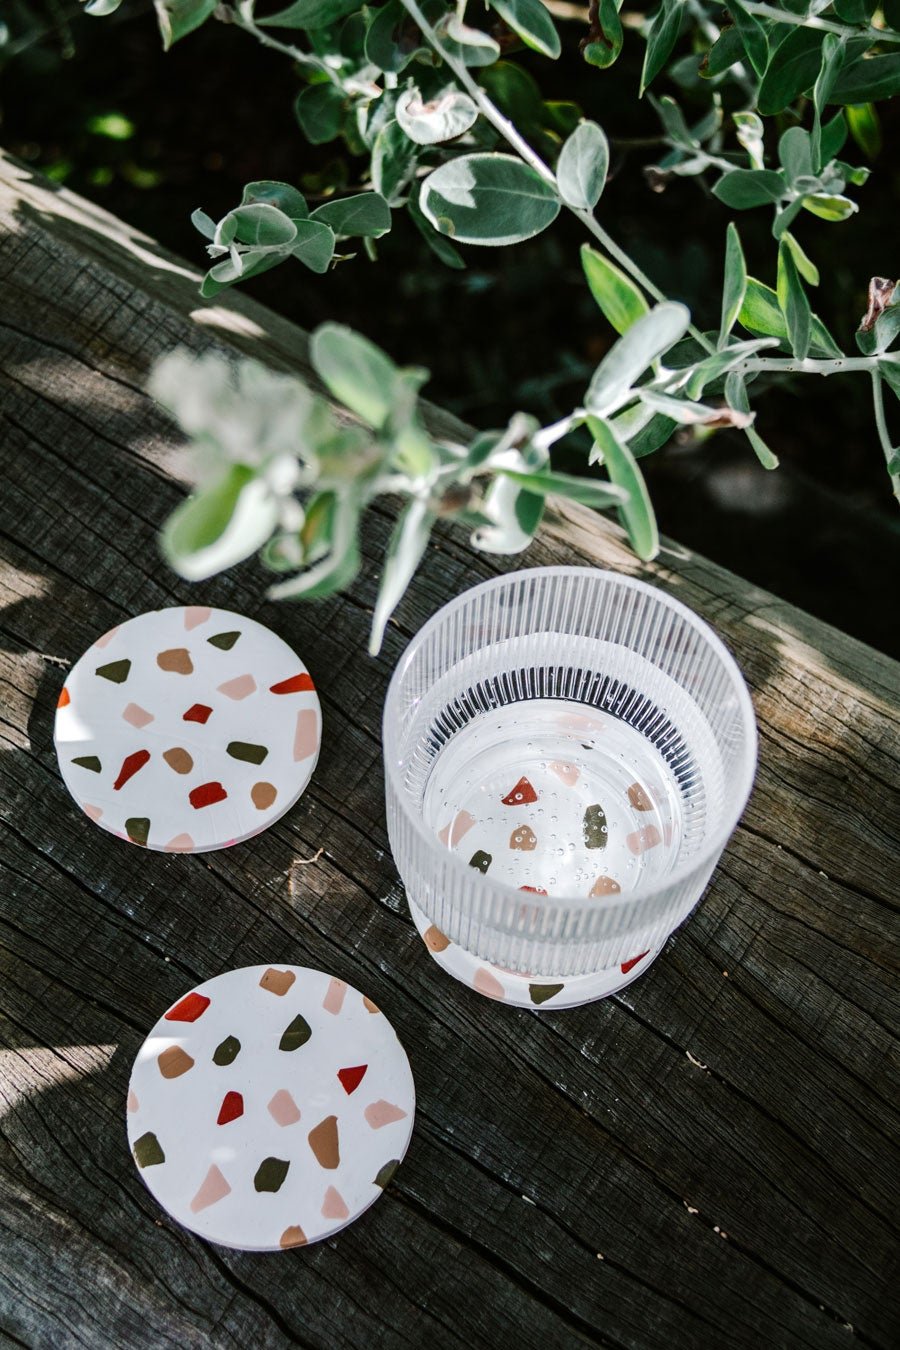
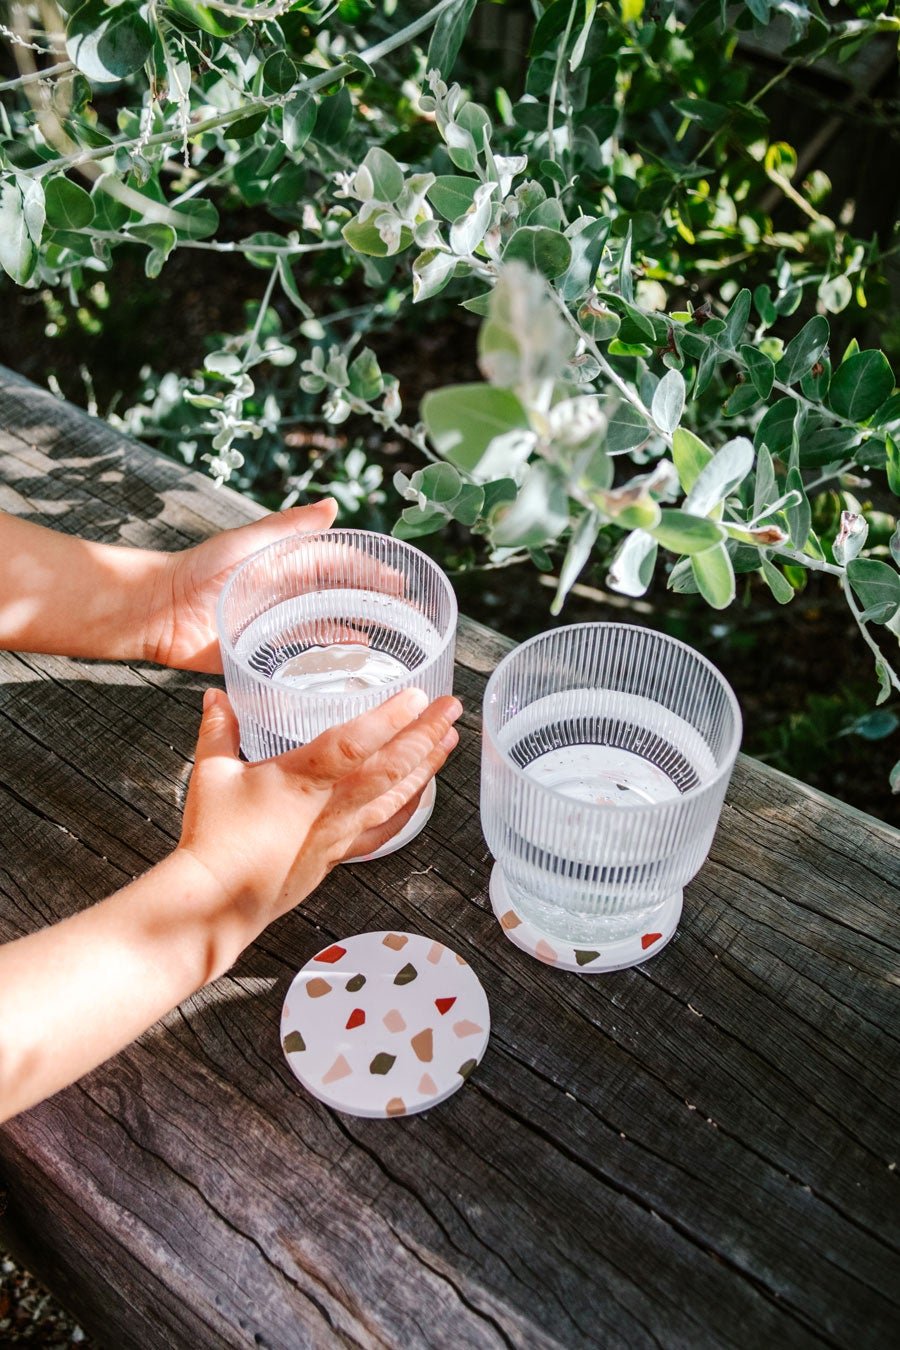
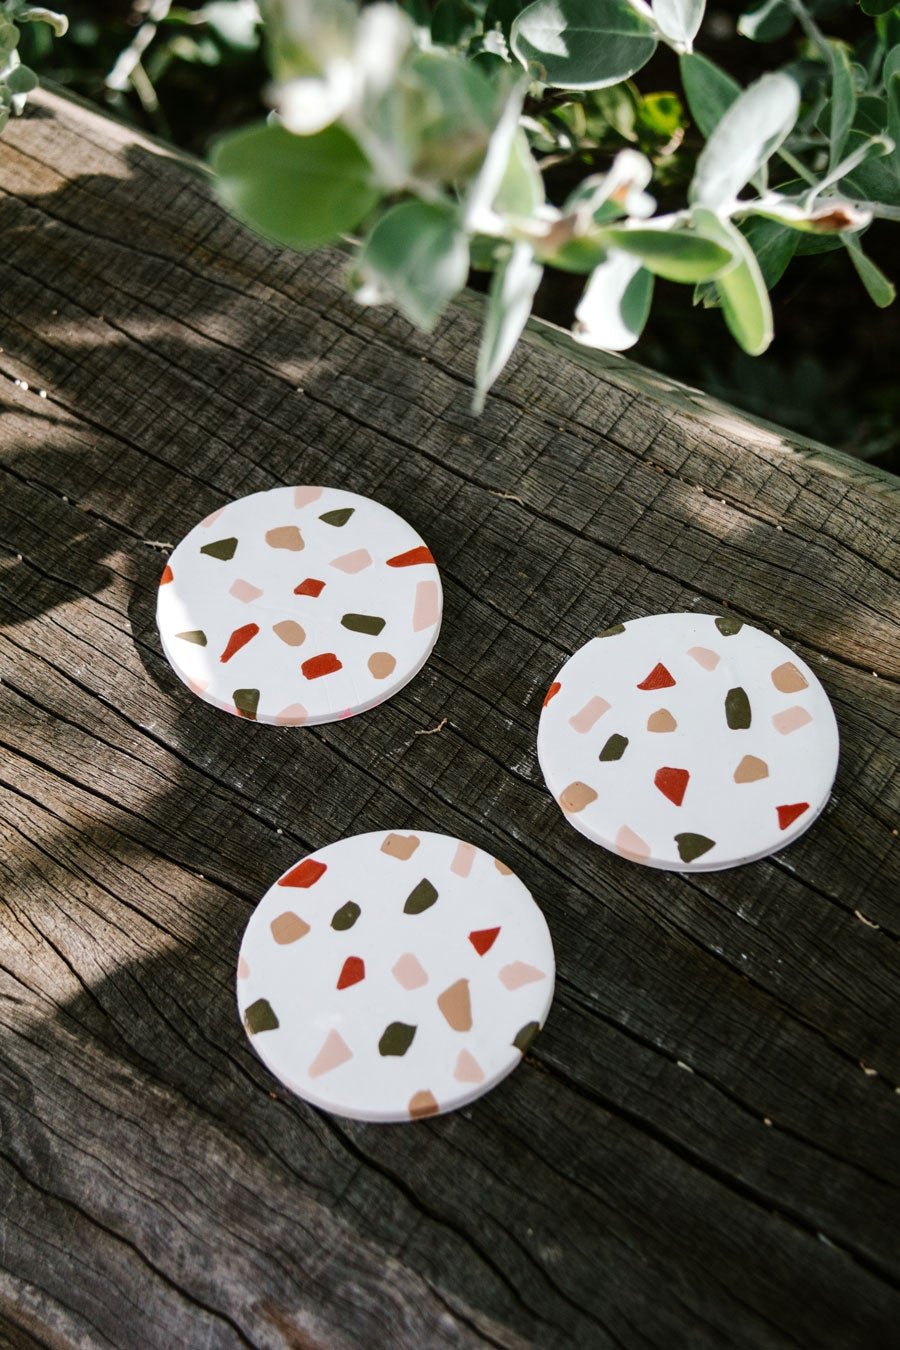
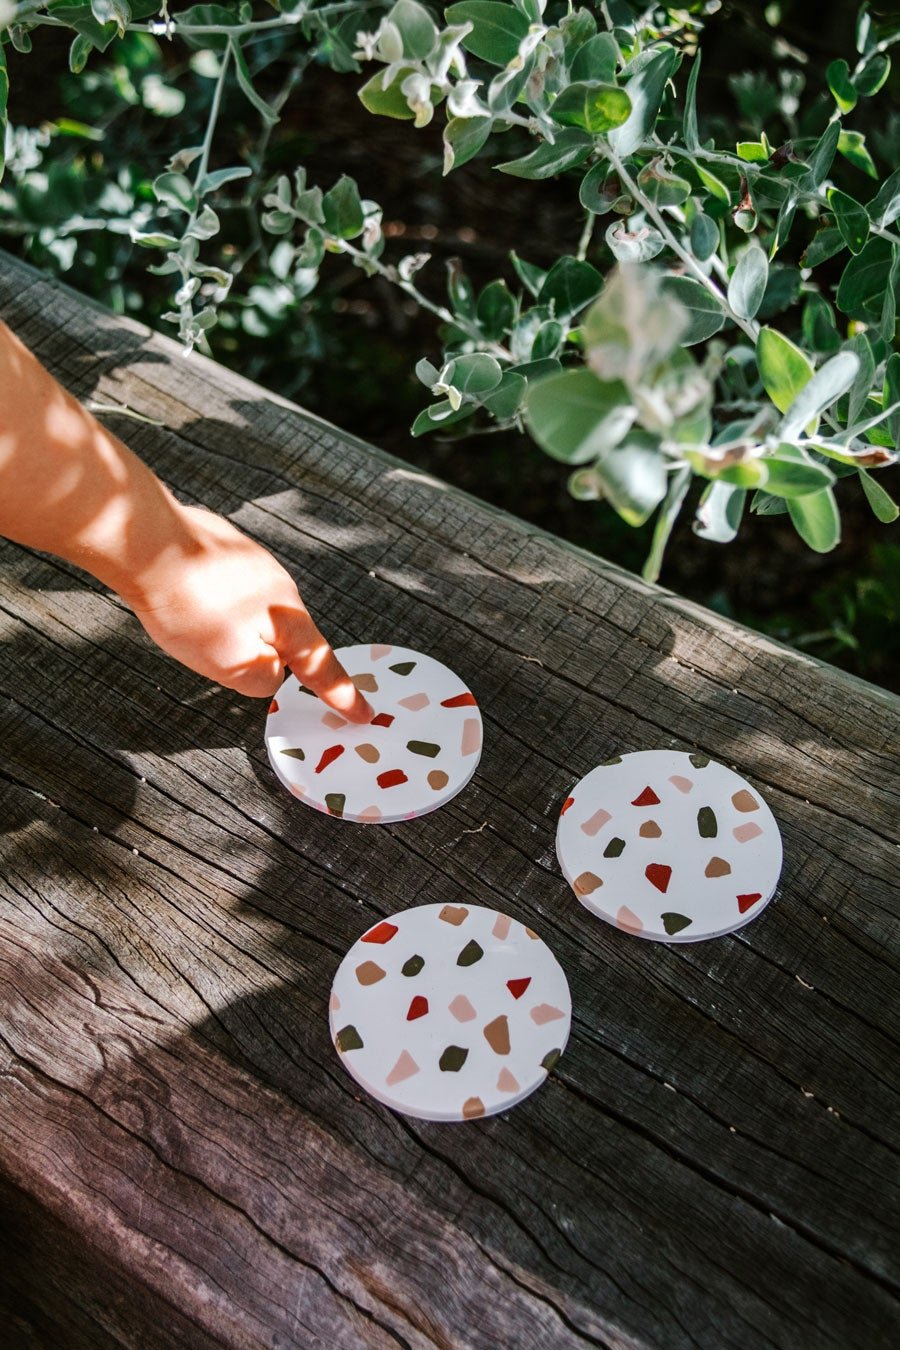
These coasters are perfect to add some colour to your table while enjoying a meal with your family or entertaining for friends. And best of all this project is super fun and easy, and we loved it so much we're thinking about making placemats and other items for the table too! You can choose any colours you like and mix and match till your hearts content. Best of all, you only need a few materials and you don't need to be a DIY whizz to make your very own beautiful terrazzo coasters! If we can do this, you can too. Read on for the materials (which we have also linked for you) and tutorial.
Materials
Egg ring, or a glass bottle/lid
Rolling pin
Baking paper
Flat surface or a board (we used a concrete serving plate or marble is also an excellent surface to roll clay)
Baking tray or sheet pan lined with baking paper
Steps
Preheat your oven to 130C and line your flat surface with baking paper.
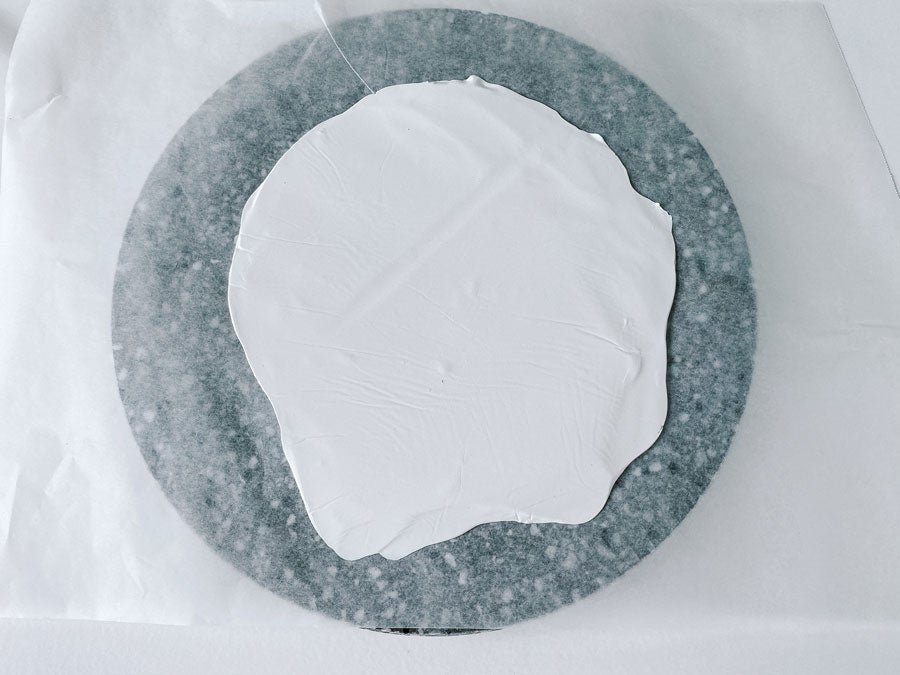
Knead the block of Sculpey white clay in your hands until it's soft. Shape it into a ball and place on your lined flat surface.
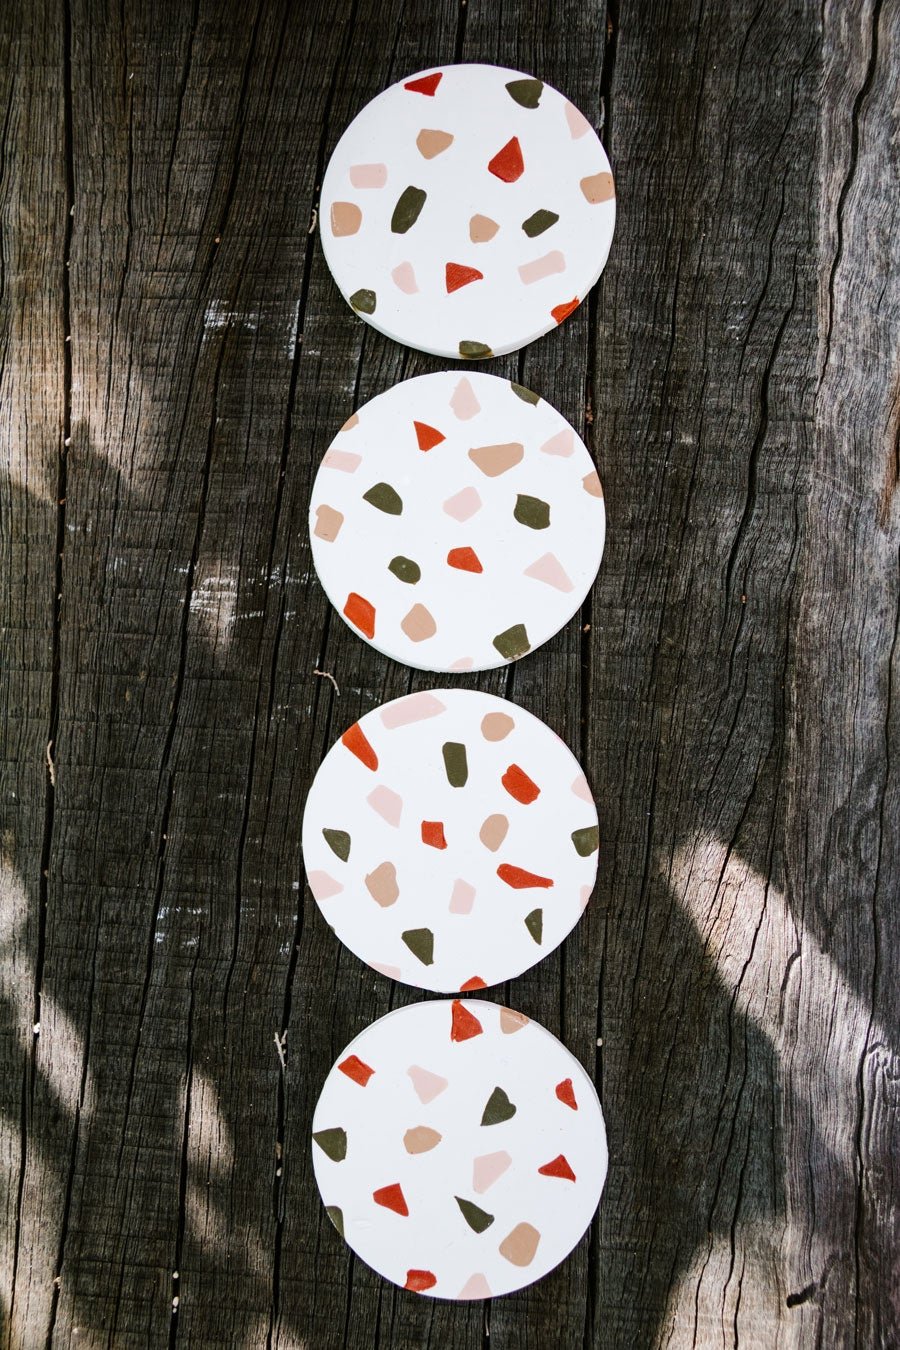
Using your rolling pin, roll out the clay until it's about 5mm thick. You want to make sure the clay is wide enough to cut out four coasters, so keep rolling it out until you're happy it's big enough to cut.
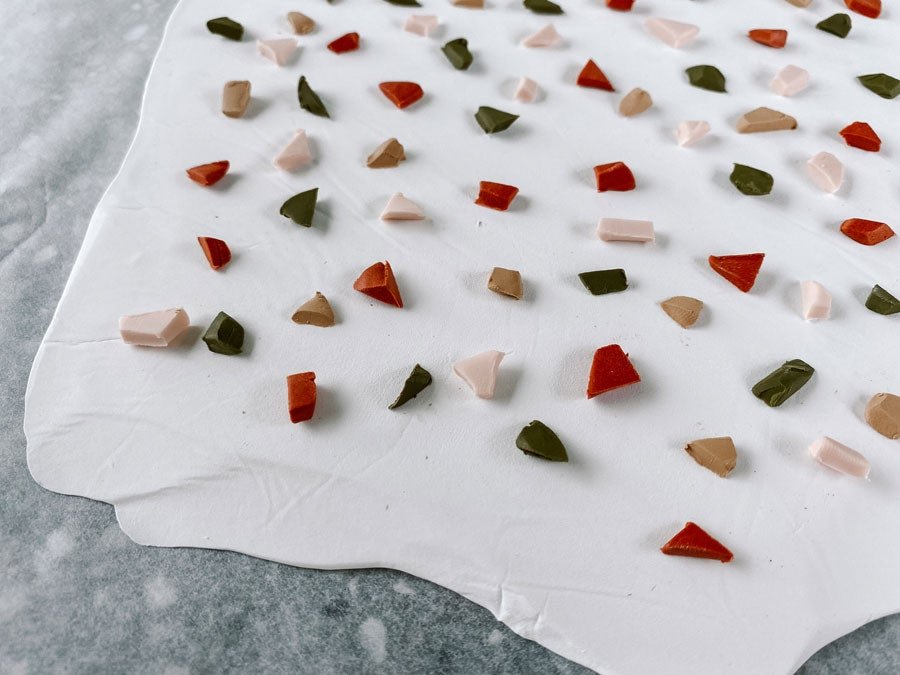
Using the craft knife in your Sculpey Clay Tool Set (or a craft knife, or an underrated knife), chop bits of clay from your other colours into very small pieces of random shapes - almost like small pieces of differently shaped confetti. We ended up choosing a fourth colour (beige) as we felt it needed it!
Place the different coloured clay pieces onto the base clay and make sure the colours are spread out all over - don't clump the same colours together.
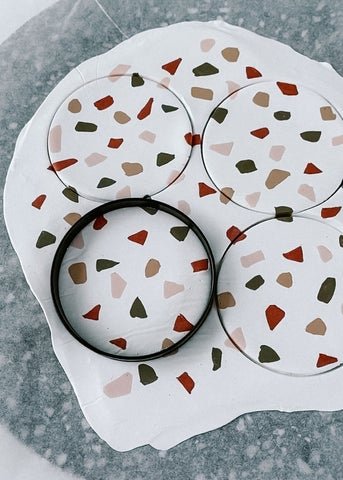
Place another sheet of baking paper over the clay and using your rolling pin, roll the coloured clay into the white clay base until it's a clean flat surface.
Use your egg ring to cut out four circles and use your craft knife to lift the circles off the baking paper.
Place the four circles onto your lined baking tray or sheet pan and bake at 130C for 15 minutes. The general rile with Sculpey clay is bake for 15 minutes per 6mm thickness (of clay).
Turn the oven off after 15 minutes and let the coasters cool completely before taking them out of the oven. If you don't do this, your clay may crack.
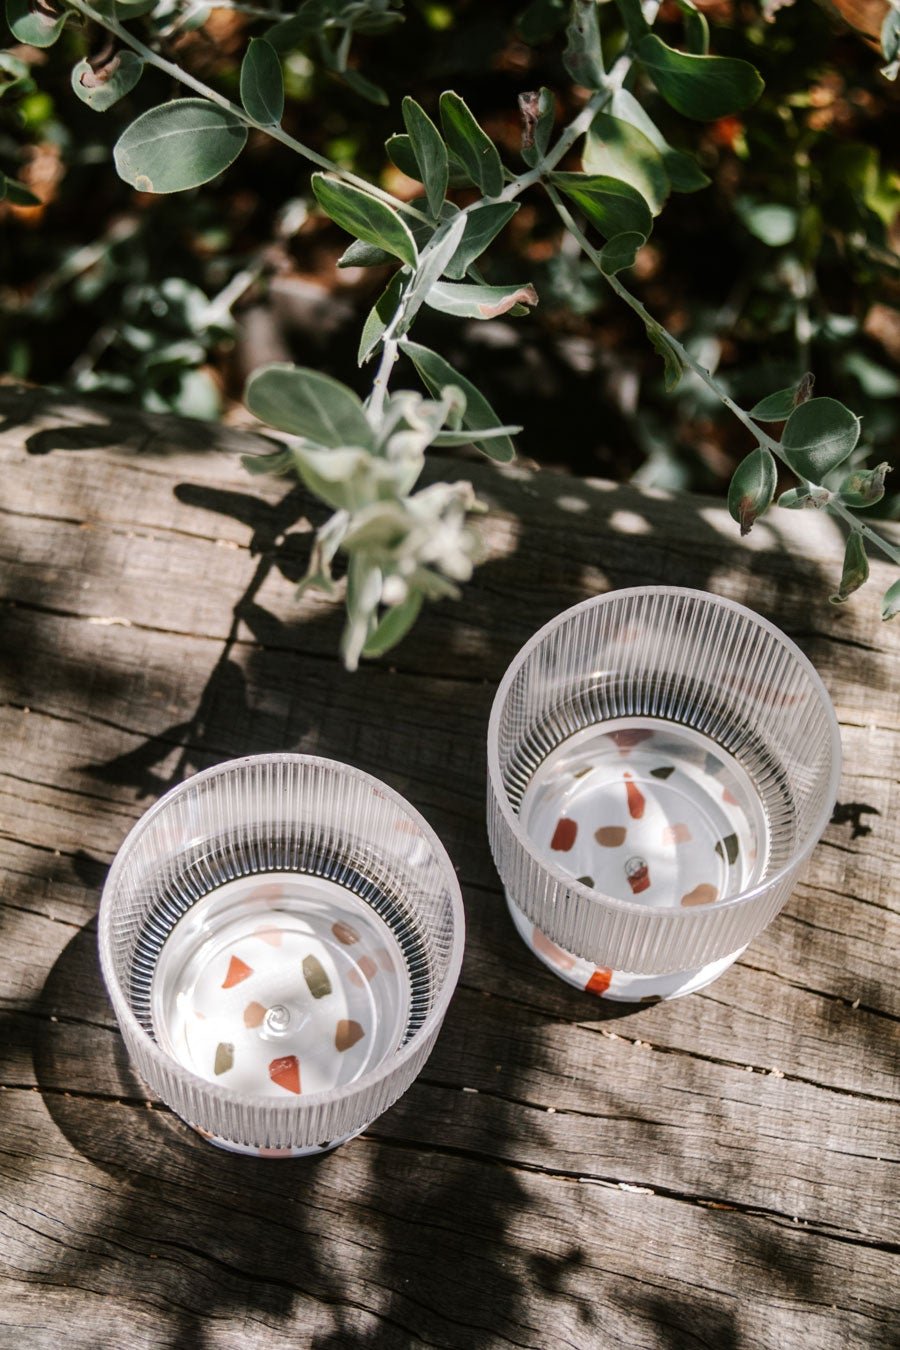
When completely cool, your DIY Terrazzo Clay Coasters are ready to use! You can also protect the coasters with Sculpey's gloss glaze, which you can get from Sculpey.
Enjoy!
Ps. If you make our DIY Terrazzo Coasters, remember to show and tag us on Instagram @smorkitchen #smorkitchen. We love seeing you make our DIY projects! It makes us incredibly happy!


